If an apple a day keeps the doctor away, then my little James is going to have the doctors bolting in the other direction. The kid eats, oh, anywhere from 5 – 10 apples a day. No joke.
At one point, I would dole out his daily allotment of apples, spending a ridiculous percentage of my days washing, peeling, and slicing his favorite food. After eating 3 in a day, I’d determine he’d reached his daily apple limit and try to persuade him to eat some nice, delicious cookies or perhaps some potato chips instead.
This never ended well. In fact, our worst fights pretty much all came down to a disagreement over how many apples a two-year-old should reasonably eat in a day.
But, you know, as parents, you have to pick your battles, and eventually, I simply decided that if the kid wants to eat apples from dawn to dusk, then so be it.
We now buy multiple sacks of apples each week, which I wash and leave in a giant mountain on the counter, for my little guy to snack on at will. My only remaining problem is finding half-eaten apples hidden within my slippers. True story.
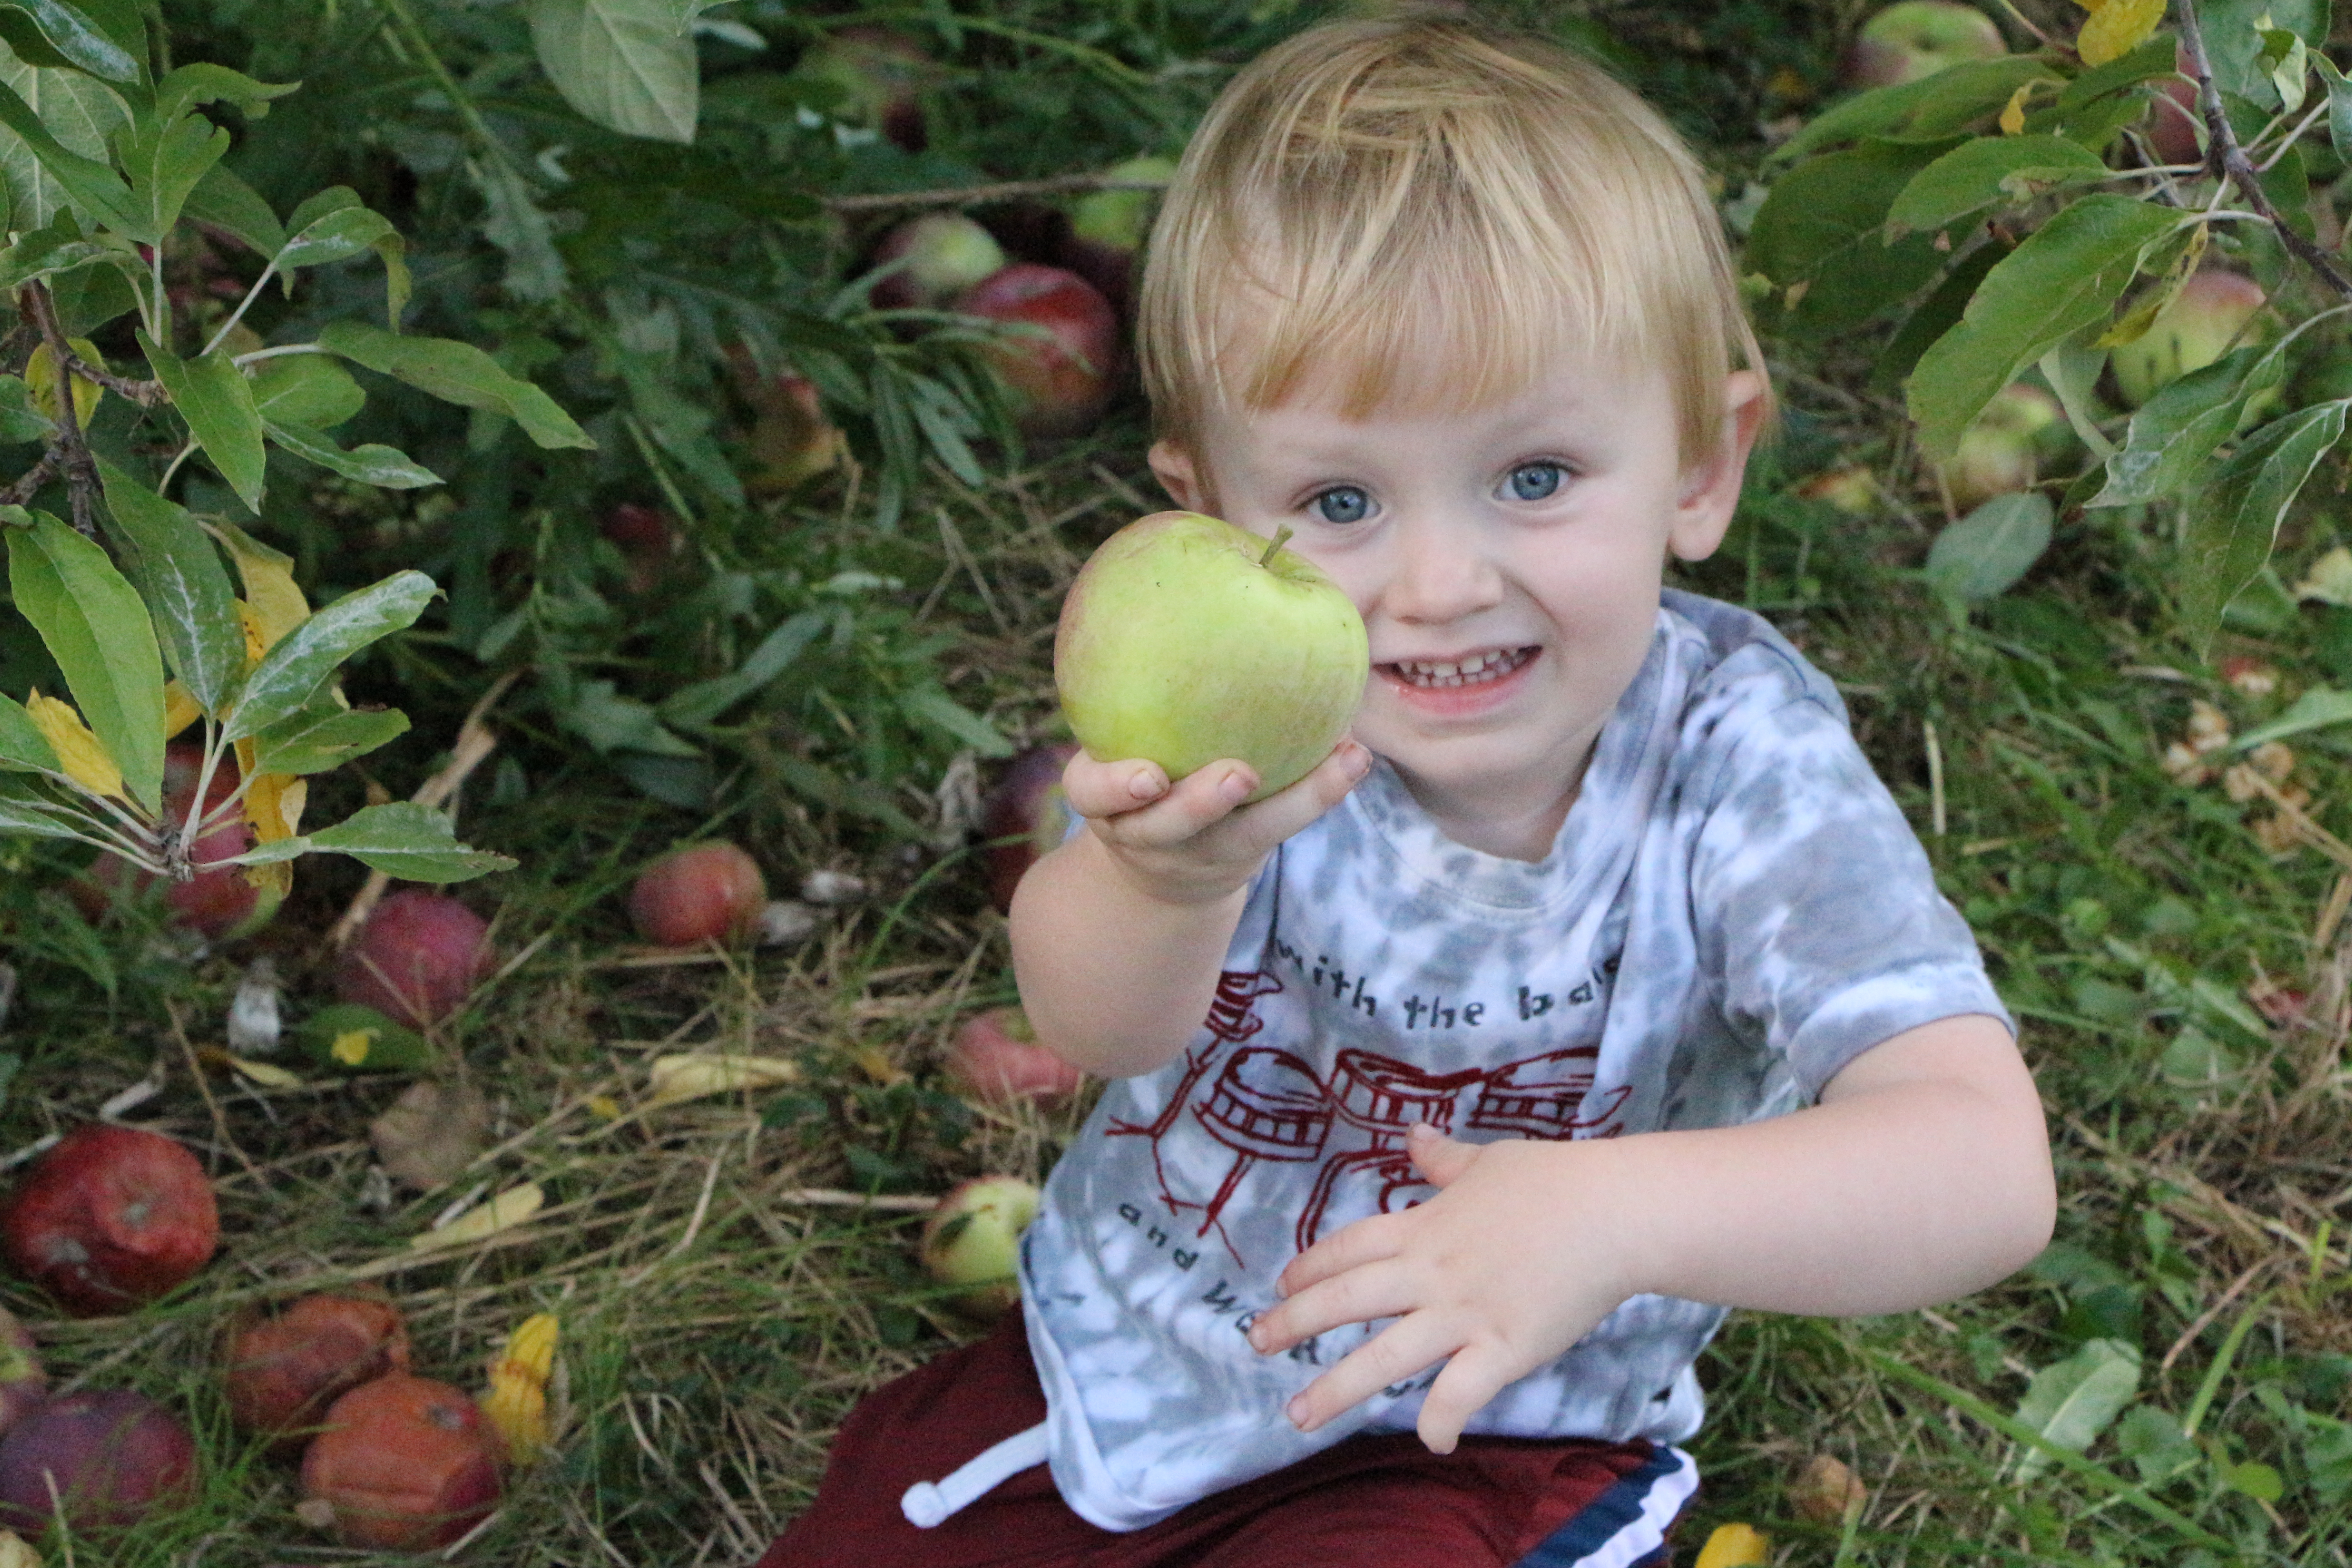
Naturally, being peak apple season up here in Central New York, we recently spent an afternoon at our favorite apple orchard, Beak and Skiff, where we rode a flatbed tractor up to the rows of ripe Cortland apples and picked until the bags were too heavy to carry.
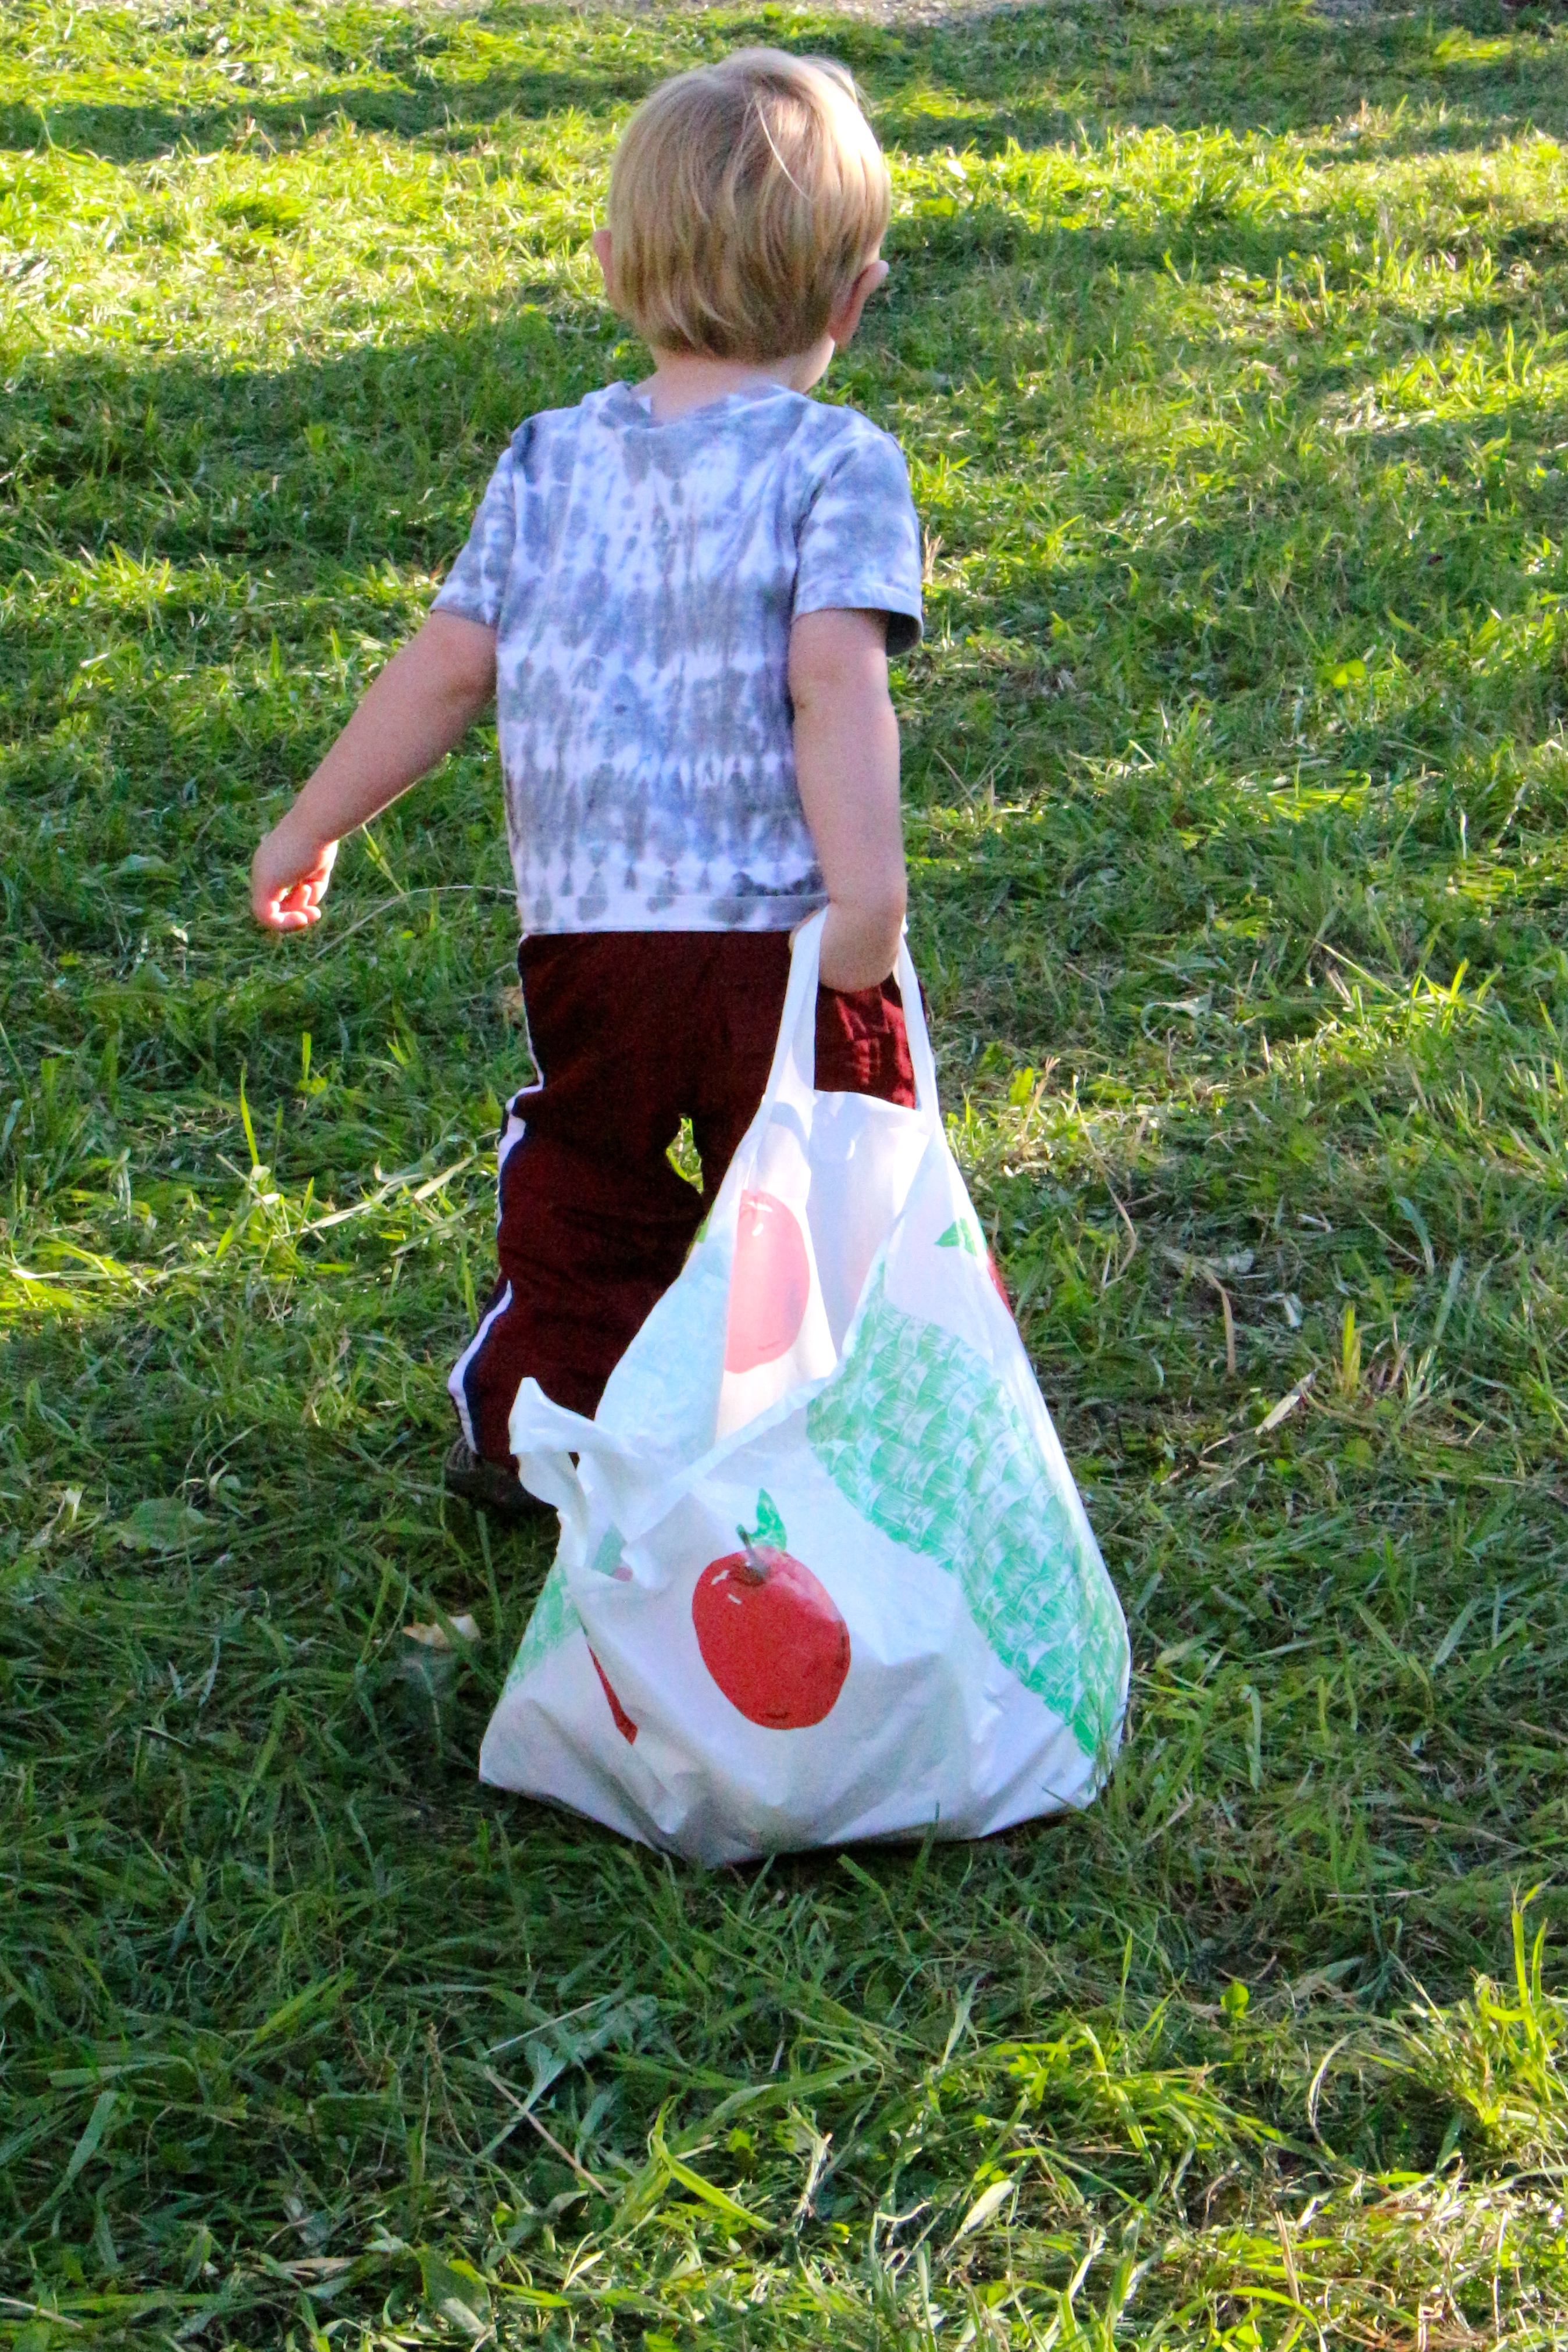
James filled his bag, then refused to let anyone touch his precious, precious fruit. He walked row by row, dragging that bulging bag of apples behind his little apple-nourished body, shrieking if I even attempted to lighten his load.
After riding the tractor back to the front of the orchard, we placed our loot on the scales and handed over $26 for our sweet bounty. (Note to self: It costs 16 cents more per pound to pick the apples yourself than to buy the same apples, from the same orchard at the local grocery store.)
I went through the bags of apples once we’d arrived home. To my utter lack of surprise, James’ bag contained at least 10 bucks worth of half-eaten apples.
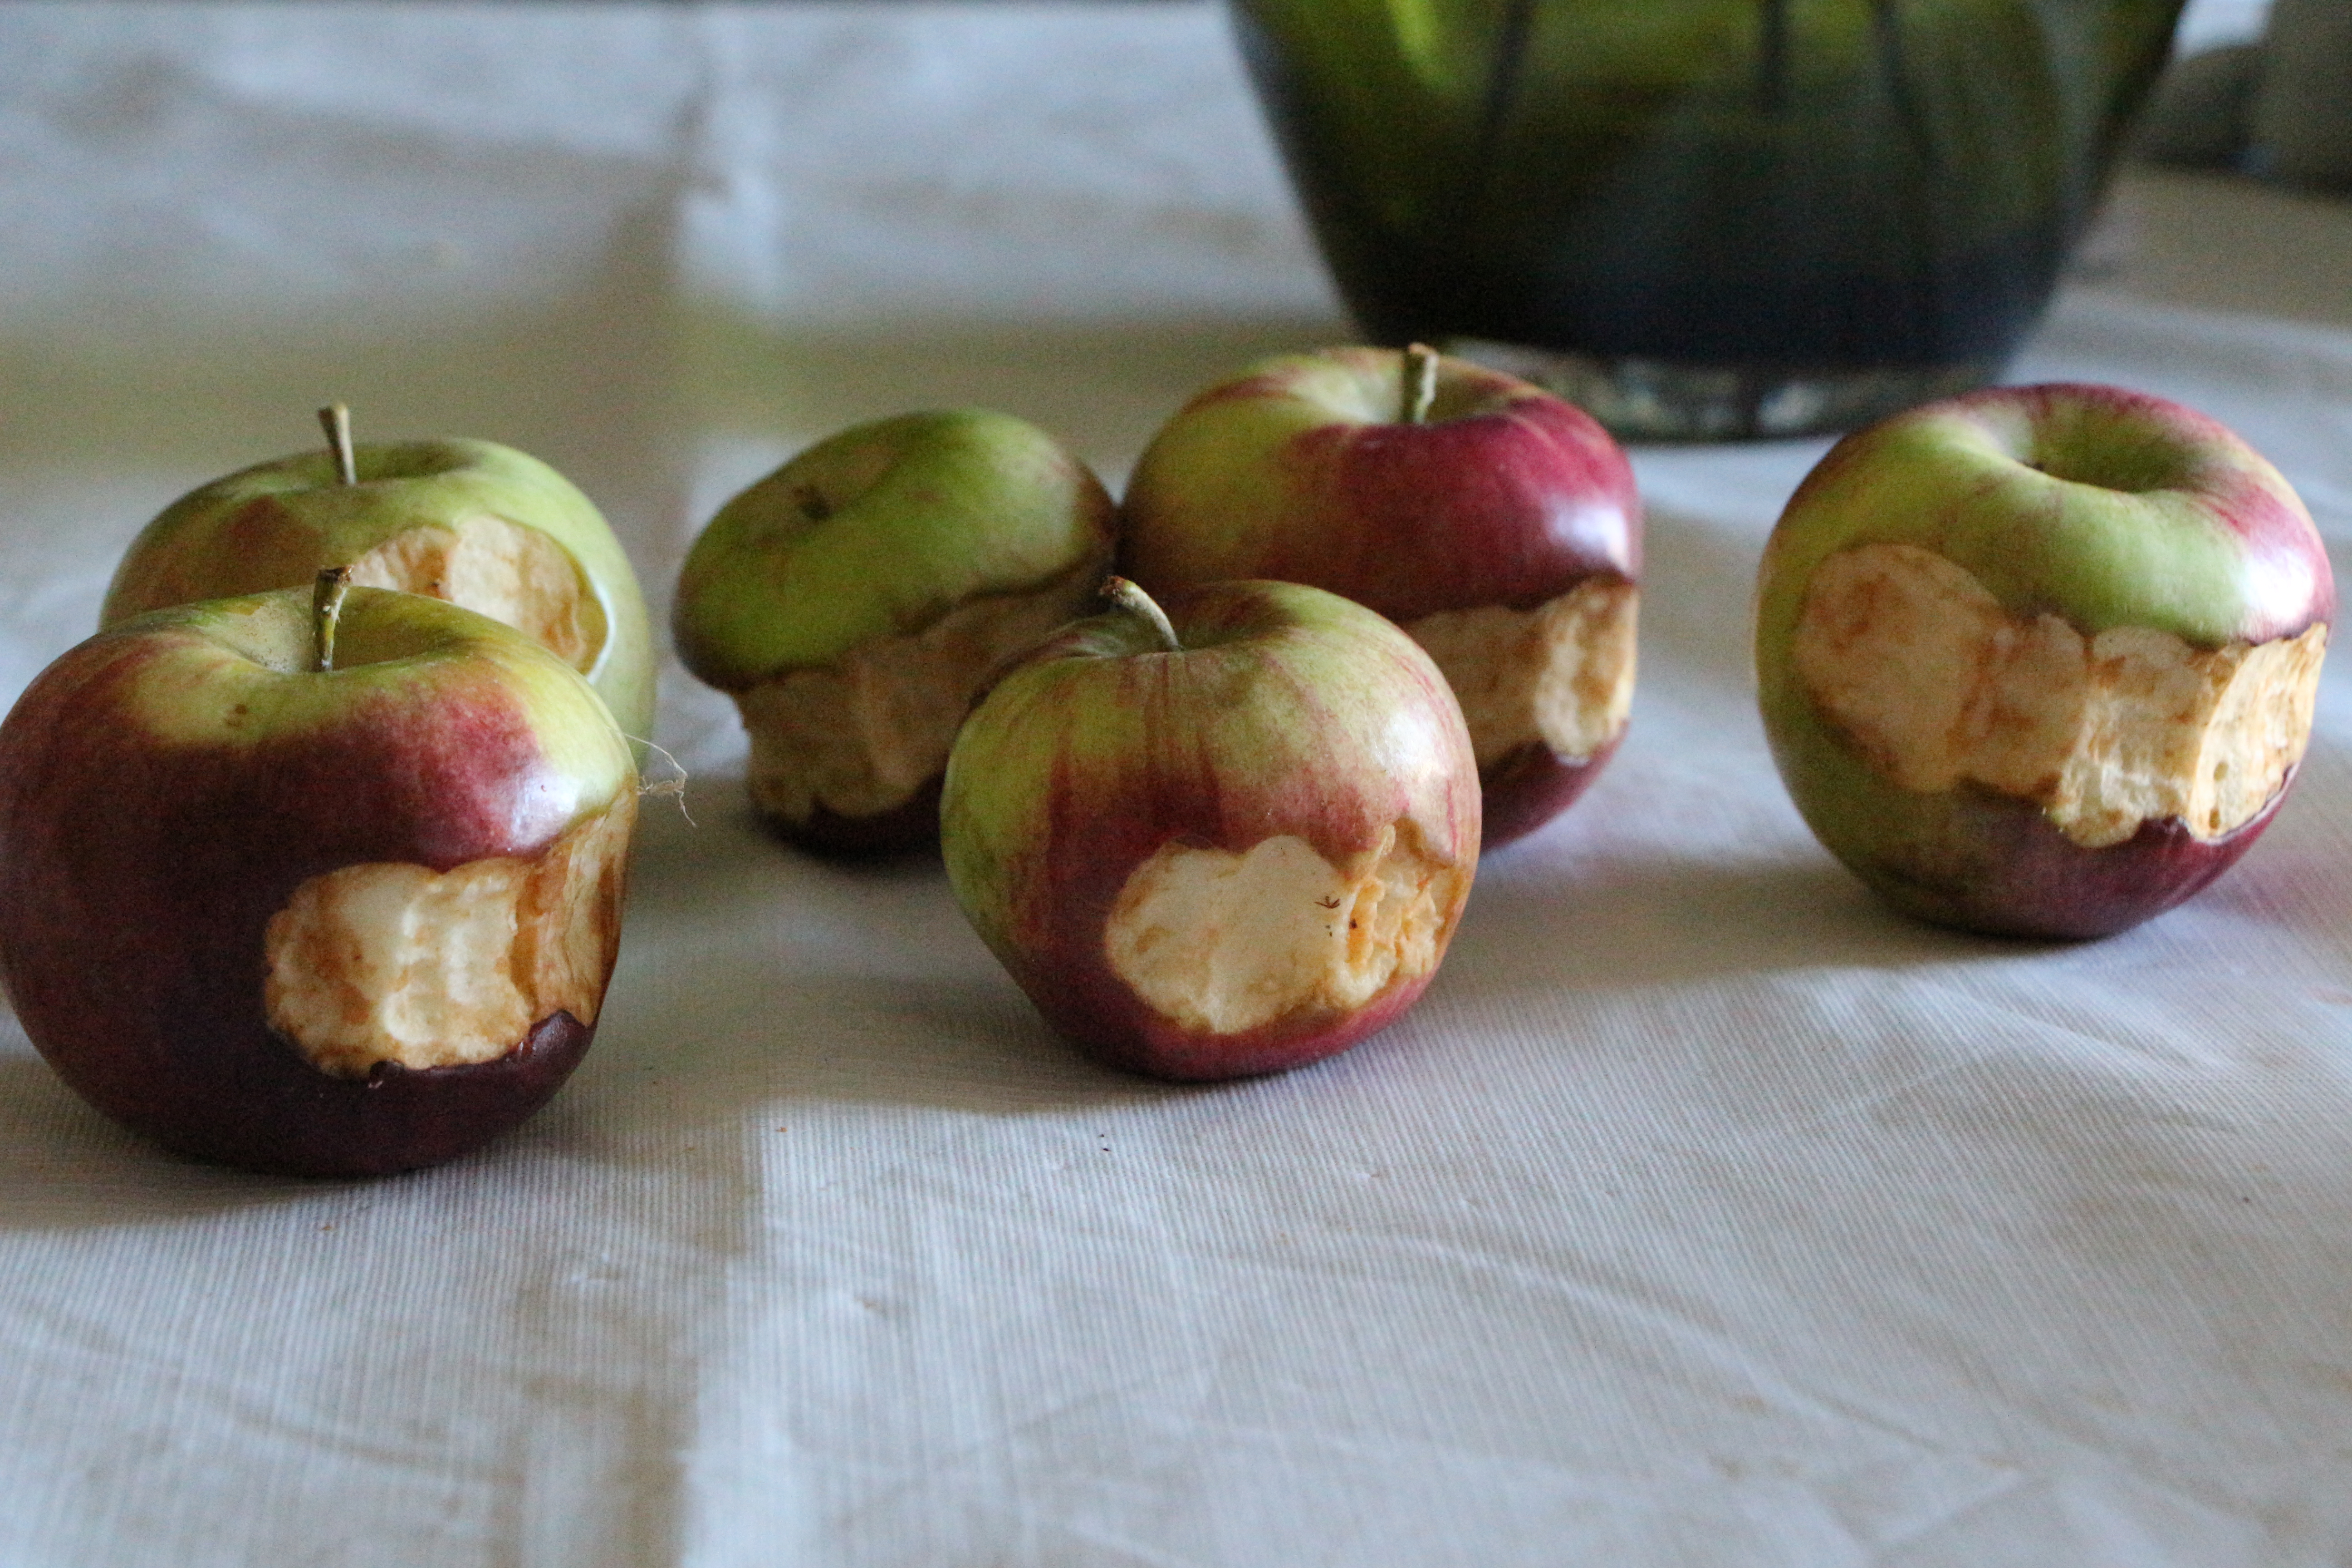
Some of what I found in James’ bag of apples…
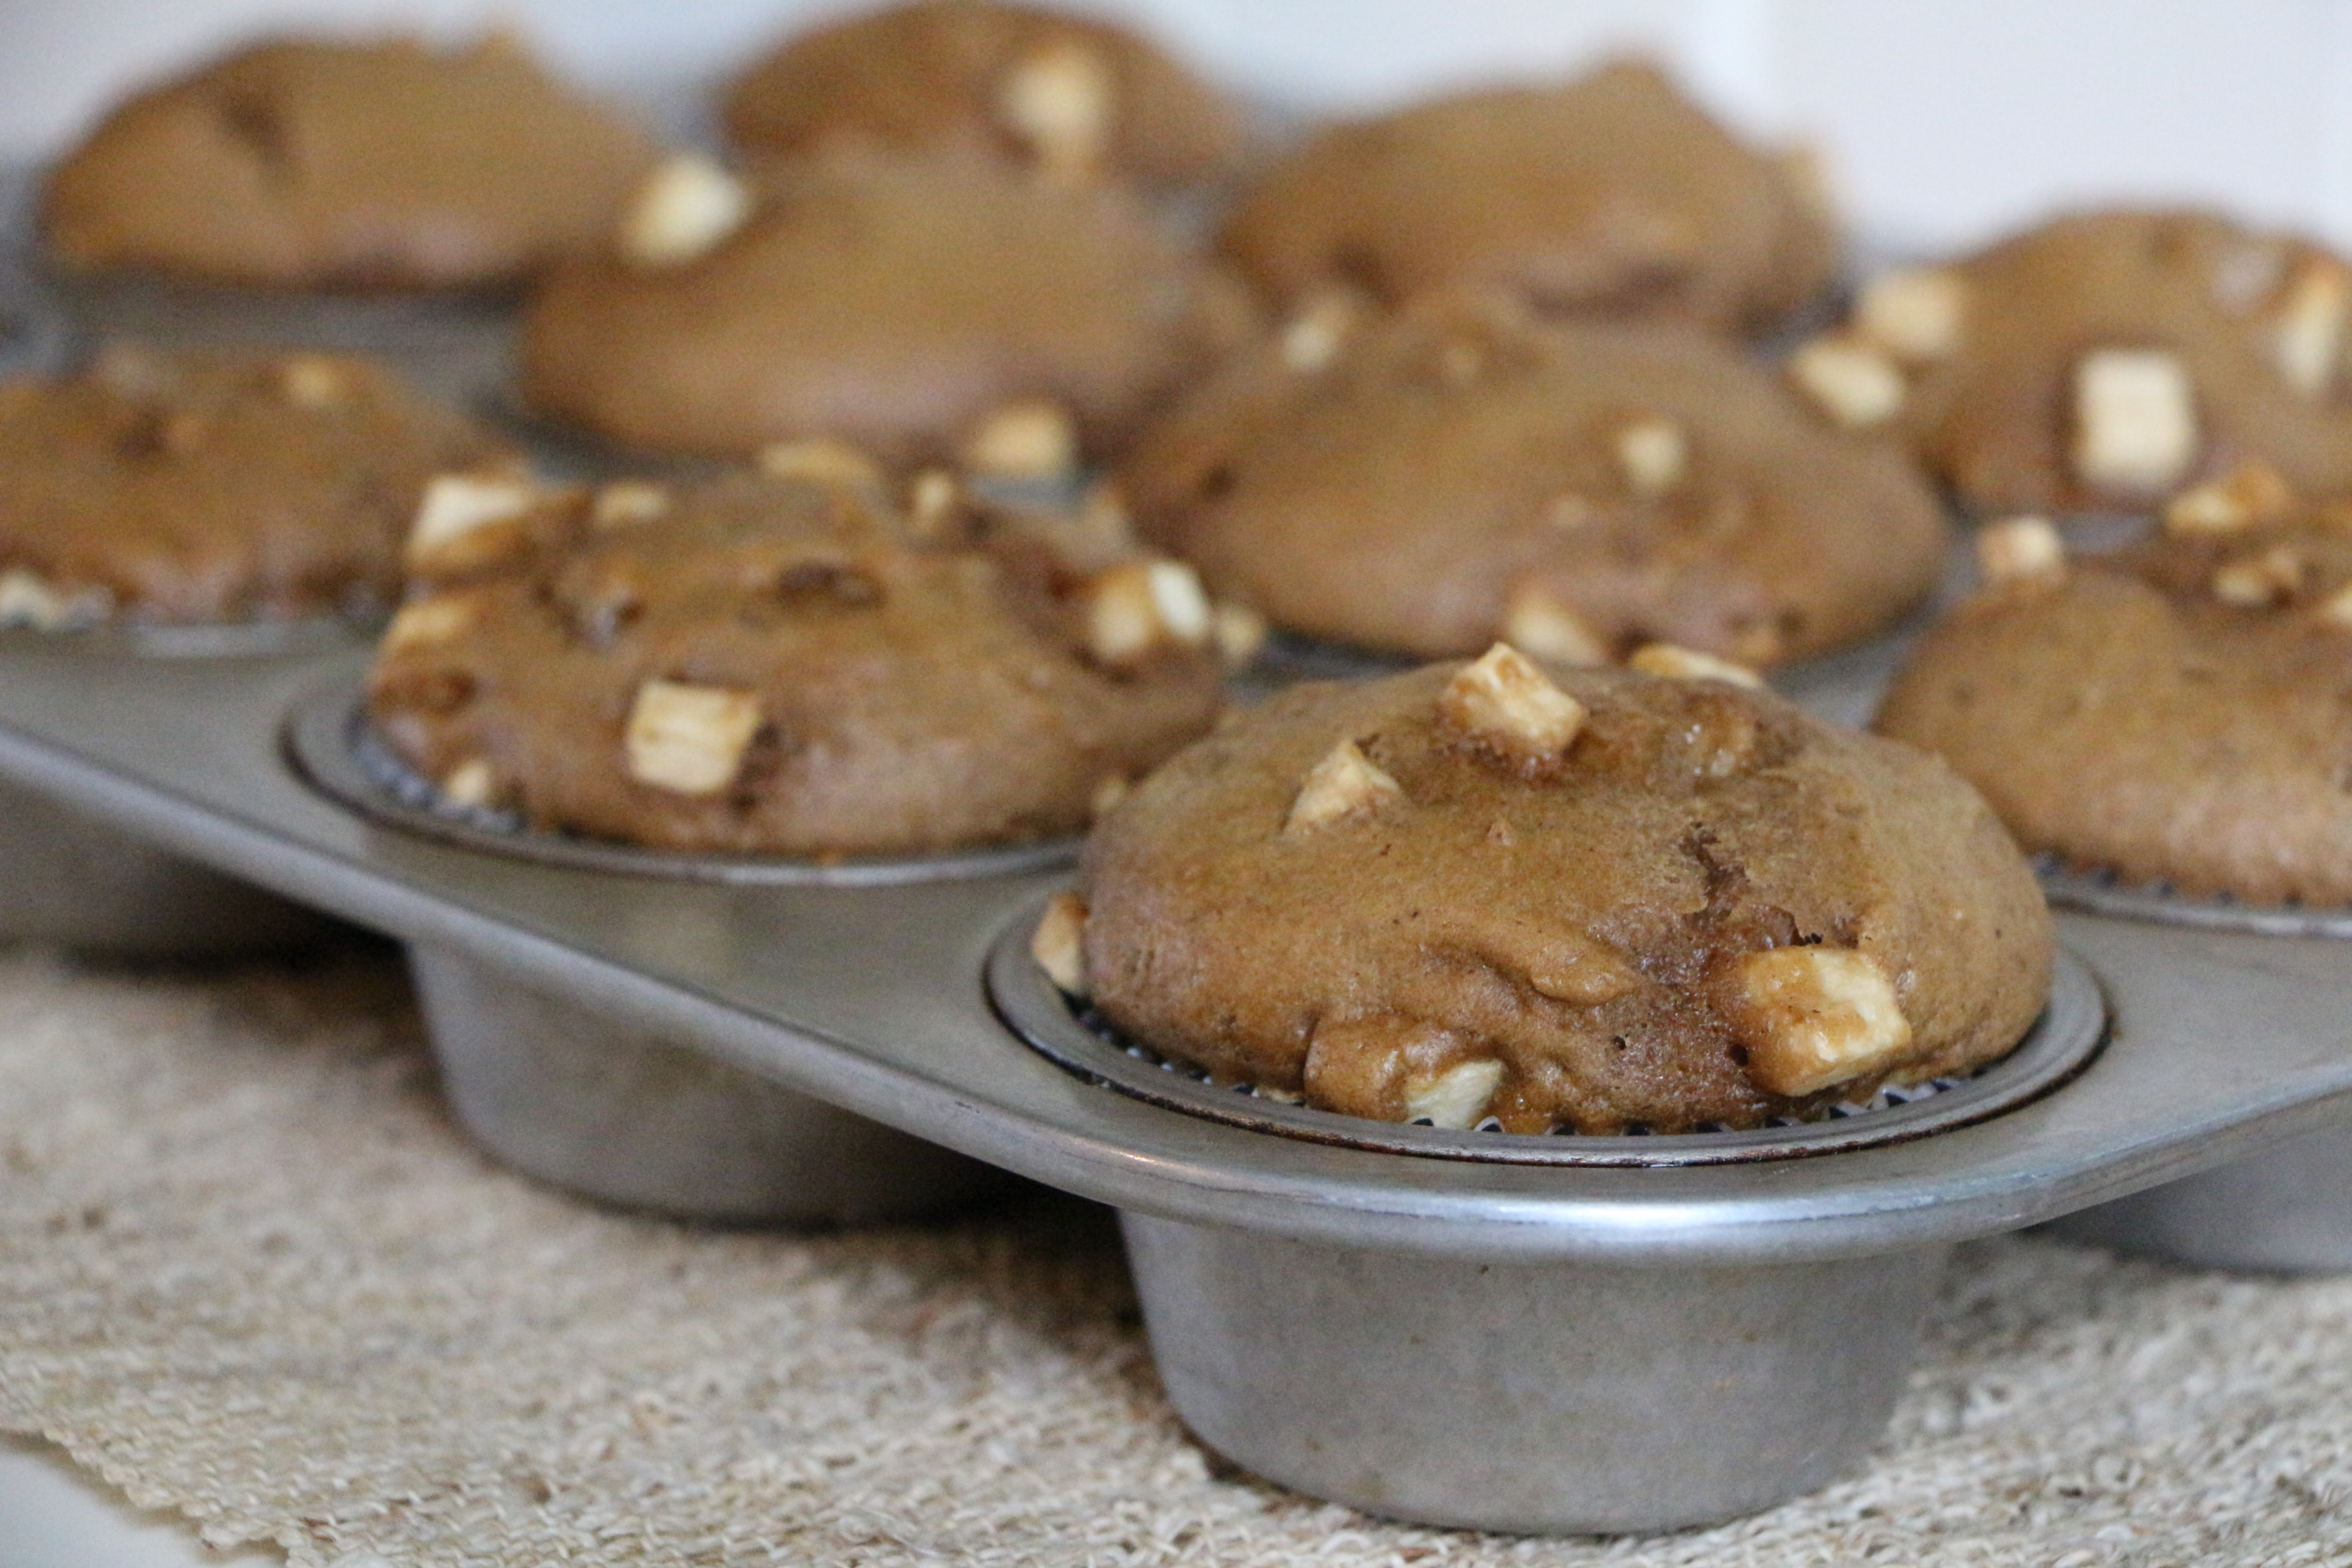
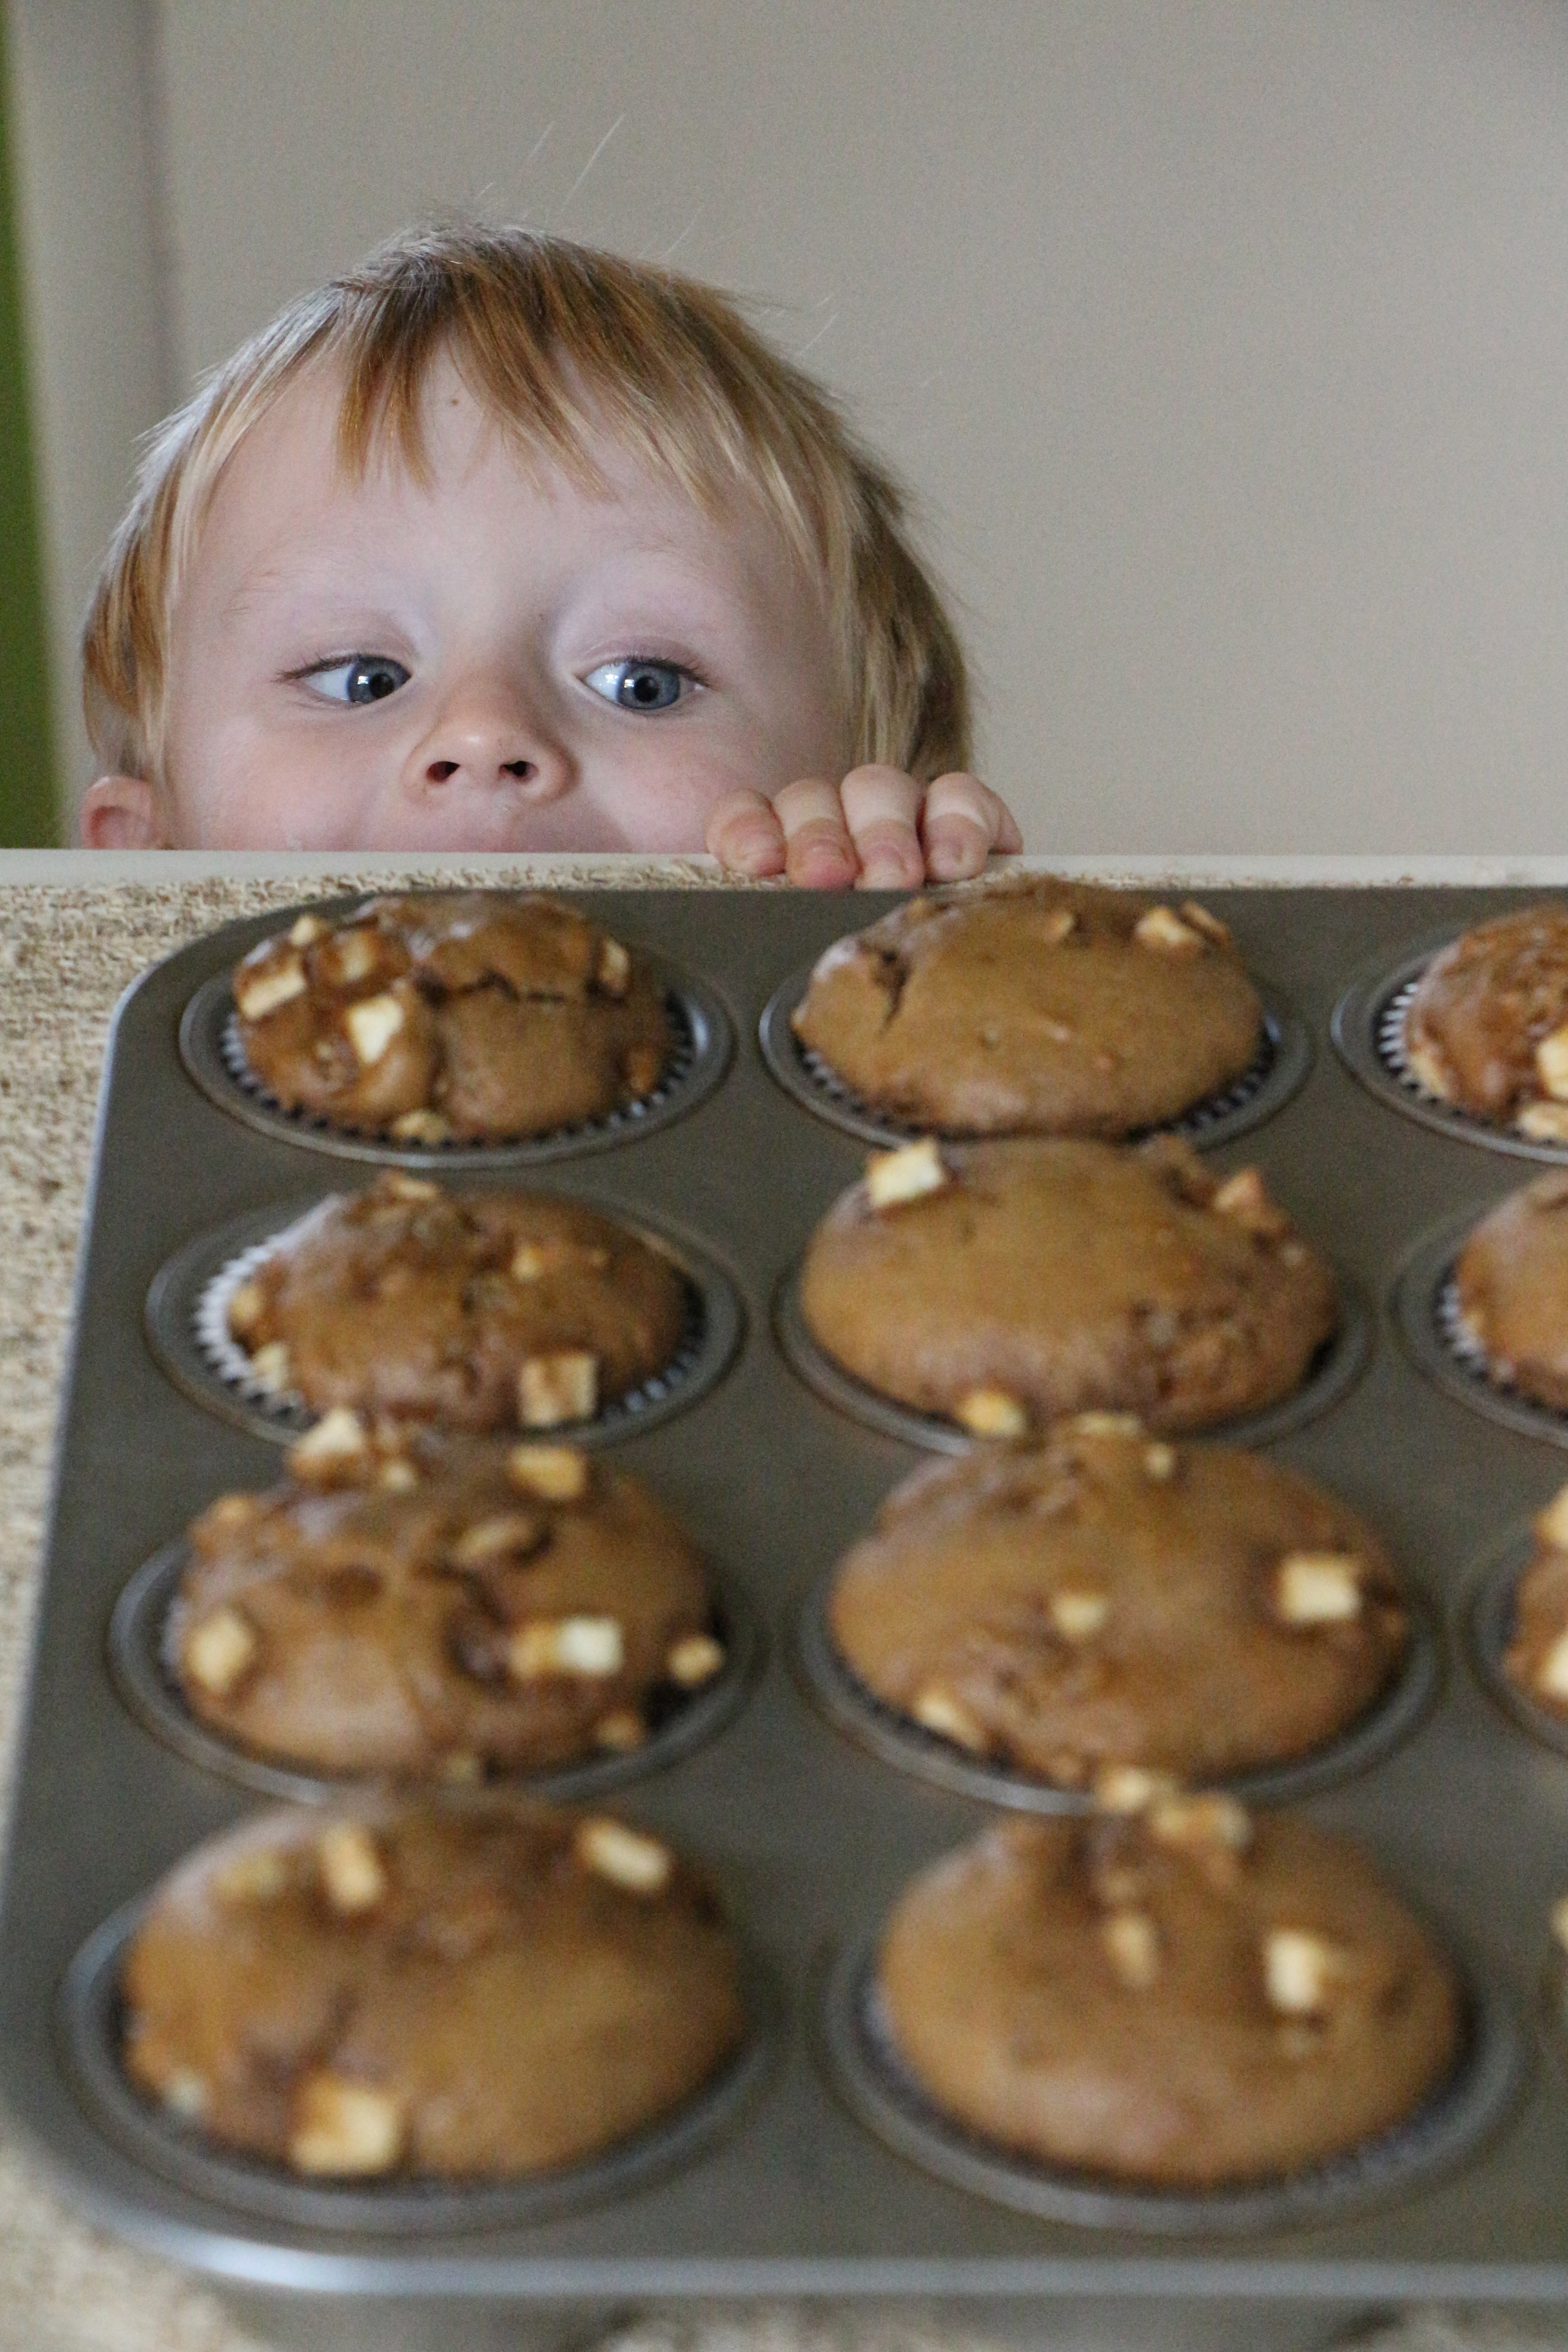
Thankfully, most of Liam and Lucas’ apples were not already eaten, leaving plenty of freshly-picked apples for snacking and for making these outrageous muffins. Based on a basic not-too-sweet molasses muffin, accented with a triple dose of ground, fresh, and crystallized ginger, these spicy muffins barely made it to the next morning.
I recommend making a double batch.
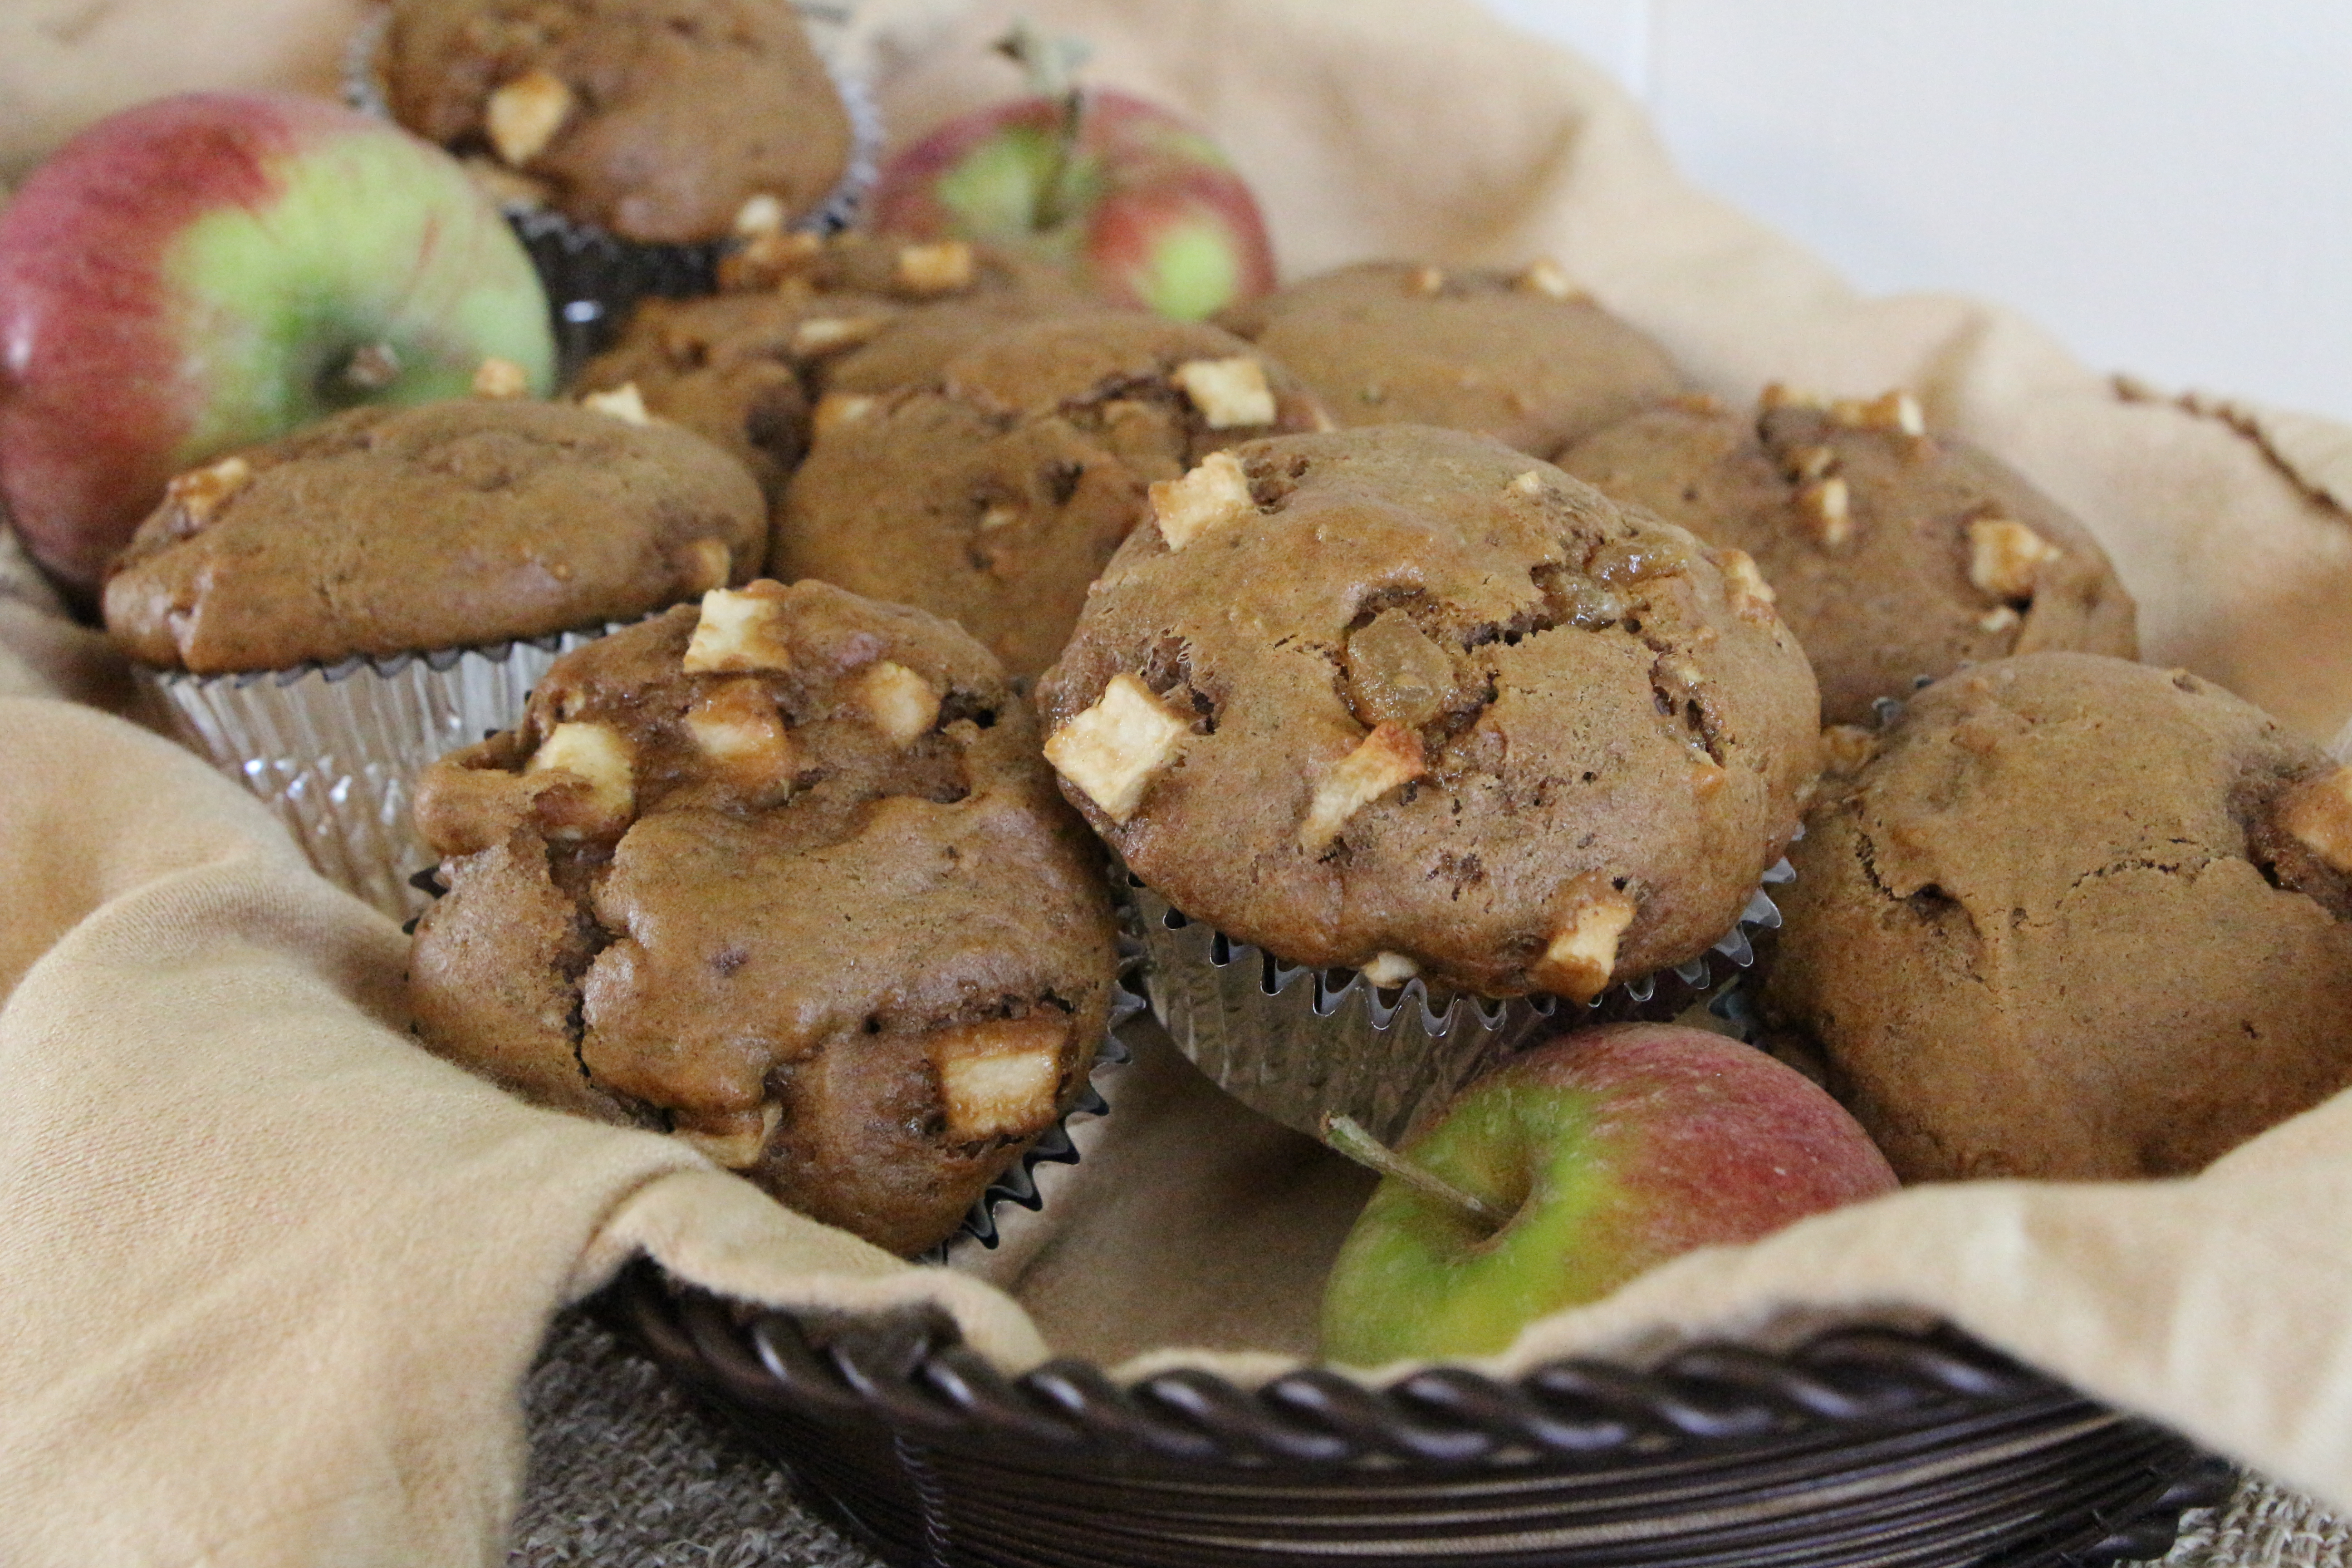
Triple Ginger Apple Muffins
Ingredients
- 2 cups flour
- 1/3 cup sugar
- 1 teaspoon baking soda
- 1/2 teaspoon salt
- 1 teaspoon ground ginger
- 1/2 teaspoon ground cinnamon
- 1 6-ounce container vanilla or apple-cinnamon greek yogurt
- 2 eggs
- 1/3 cup vegetable oil
- 1/3 cup molasses
- 1 tablespoon fresh ginger, grated
- 1/4 cup crystallized ginger, chopped
- 1 1/2 cups apple, peeled and diced
Directions
Preheat oven to 325ºF. Prepare muffin tins with liners or by spraying with a nonstick baking spray.
Combine the flour, sugar, baking soda, salt, ground ginger, and cinnamon in a large bowl. In a separate bowl, whisk together the yogurt, eggs, oil, and molasses. Stir in the fresh ginger.
Combine the wet ingredients with the dry ingredients until well blended. Stir in the crystallized ginger and the apple. The batter will be pretty thick.
Spoon the batter into the muffin tins, so that each tin is about 2/3 – 3/4 full.
Bake for 20-25 minutes.
Makes 12-15 muffins