My husband’s band was out of town for a gig on Saturday night, leaving me to get up early with the kids on Mother’s Day, as they eagerly attempted to prepare me my traditional, once-a-year breakfast-in-bed. My breakfast tray featured a half-eaten chocolate donut, sitting on top of a frozen pancake, which was elegantly placed on the foil wrapper from the plastic tub of the Frosted Flakes they prepared for me. (My boys prepare a classy breakfast tray.) They decided to toast only half of the bagel and gave up on spreading the too-thick cream cheese. The baby stayed occupied during the breakfast preparation by dipping an Elmo spoon into my cup of orange juice, taking small sips, then repeating. I enthusiastically ate all of my perfectly imperfect breakfast, of course.

Following breakfast, the three boys proceeded to spin cyclones of chaos around the house in a flurry of special day excitement equivalent to that of Christmas morning. I spent a good part of the morning chasing after them, picking up garbage and toys from the floor, in a fruitless attempt at maintaining some semblance of order. At some point, caught between equal parts desire to live in a tidy house and lack of desire to pick up any more toys or fight with the kids to do it, compounded by my longing for a restful Mother’s Day, I fell apart. I sat on the stairs and had myself a good cry, equal parts disappointed that my day wasn’t going as I envisioned it would and angry at myself for being unable to just settle into the chaotic messiness of the morning.
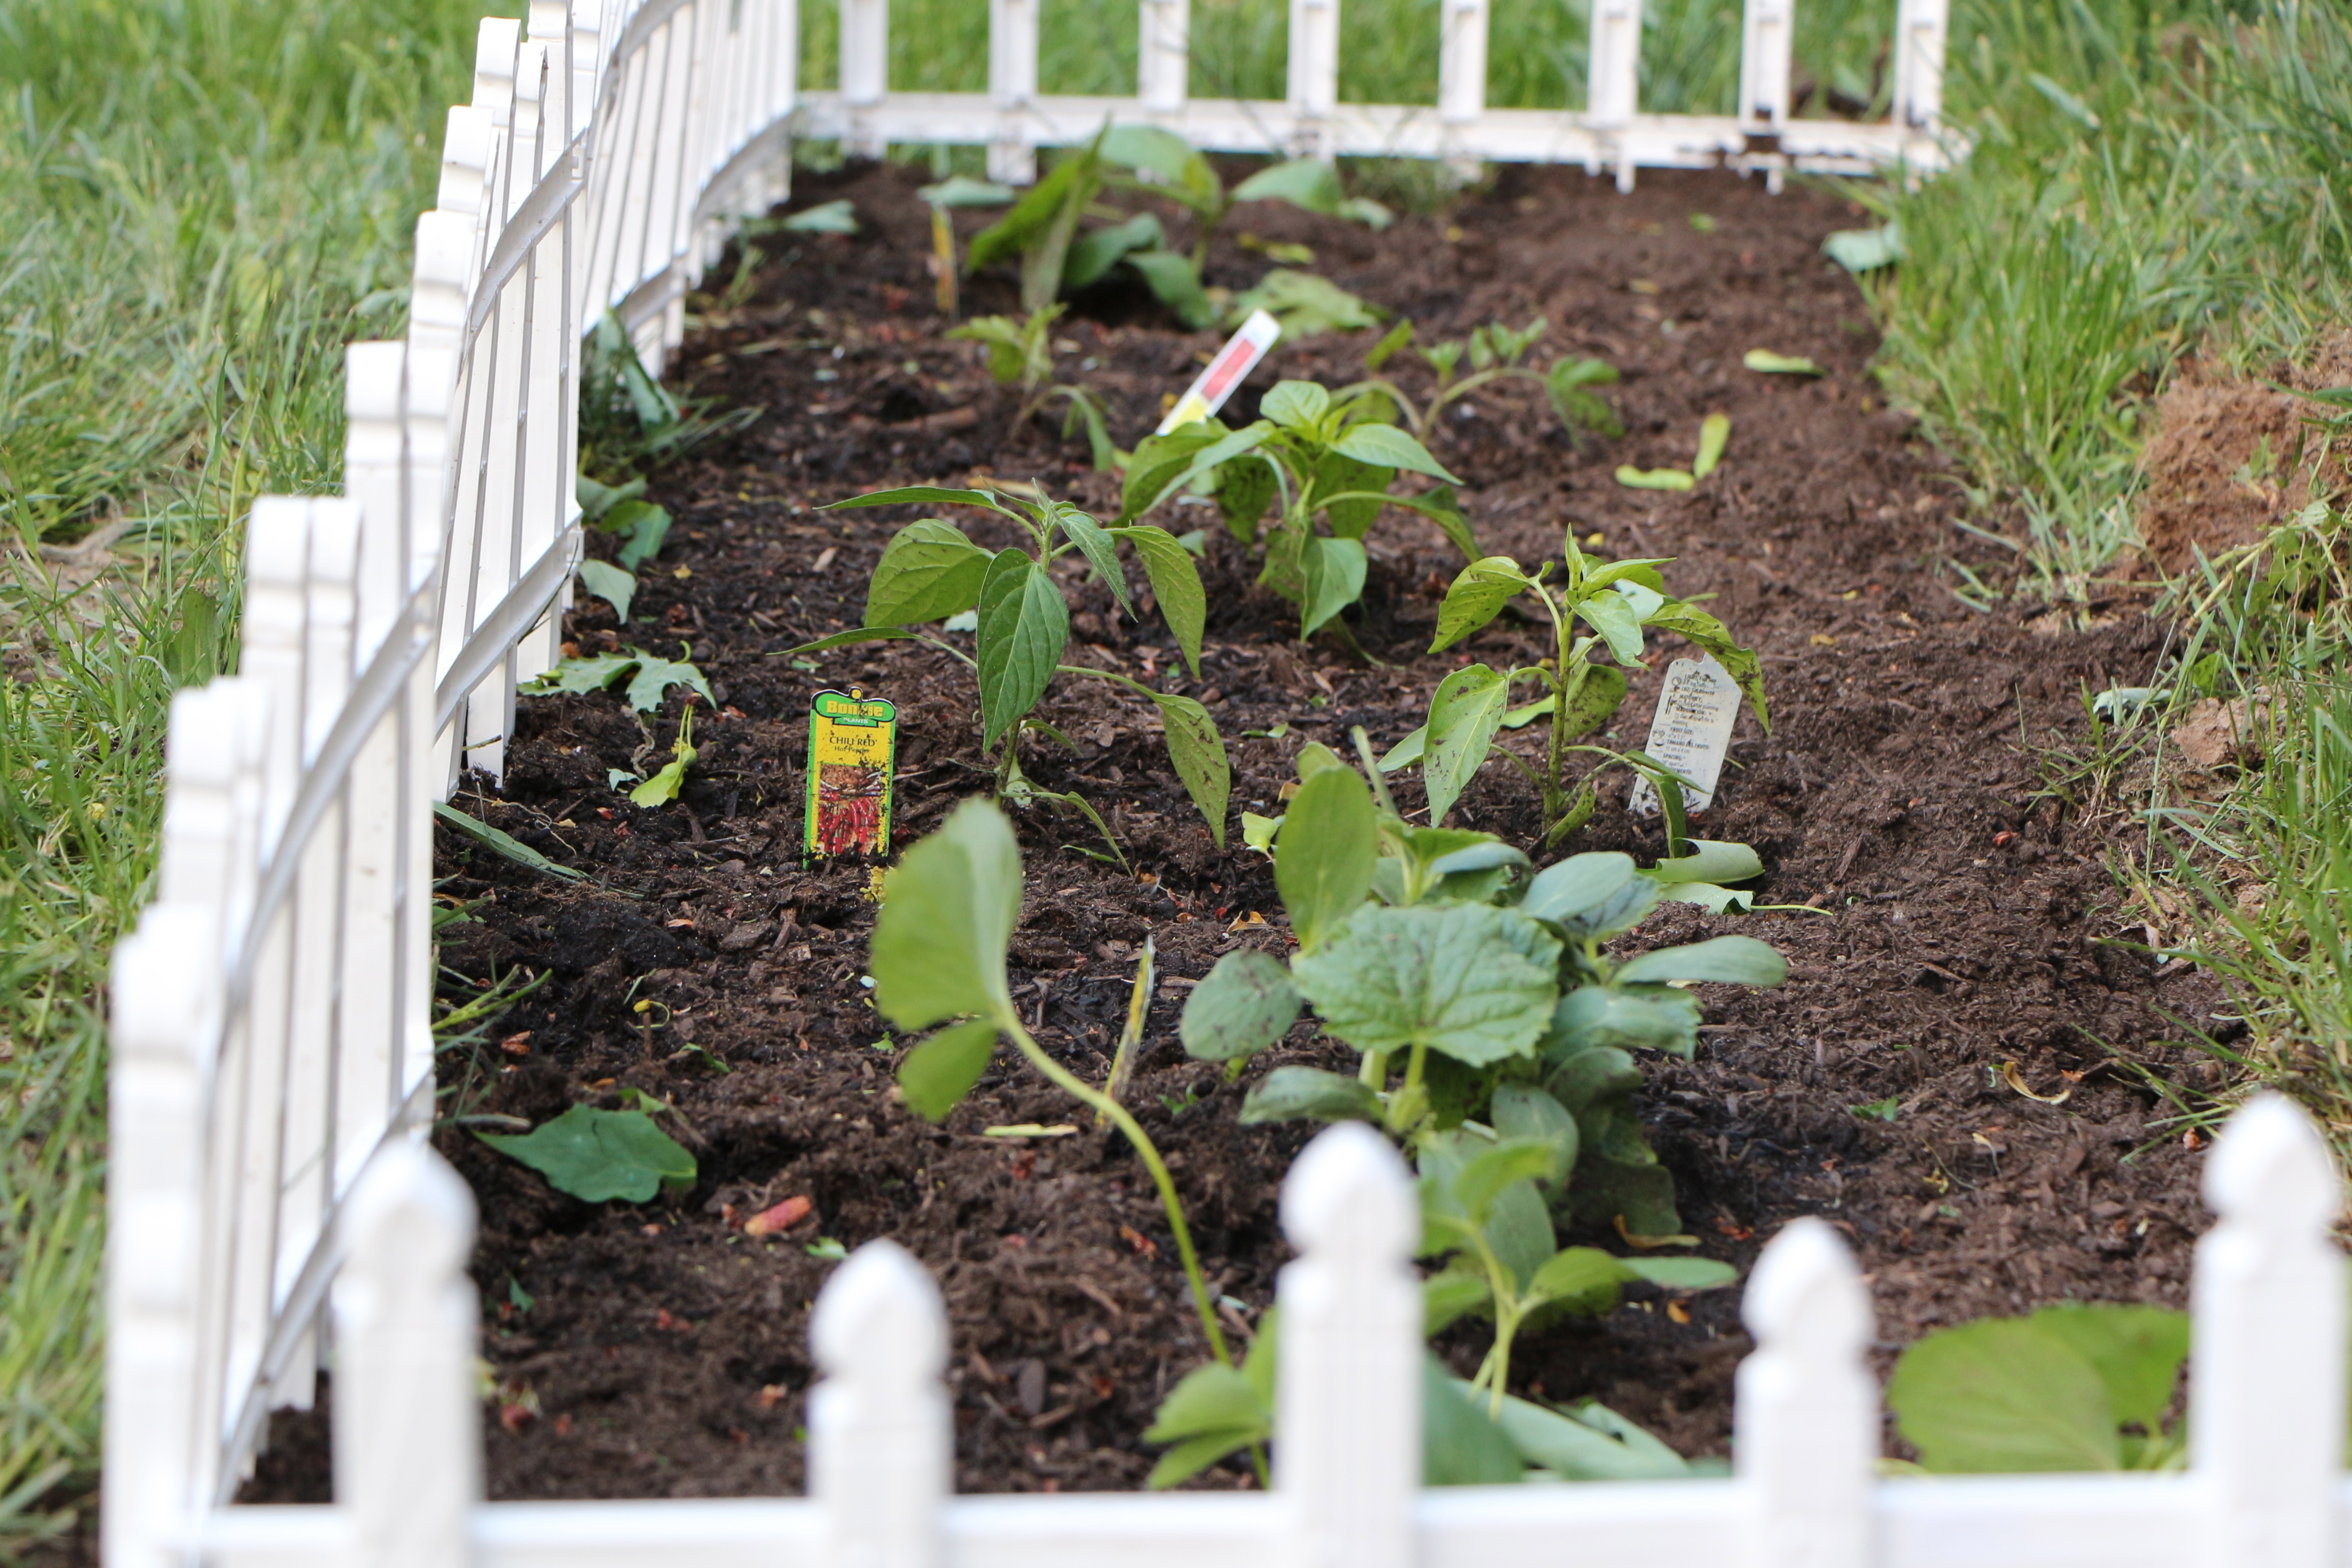
Being a mom isn’t easy and it’s not always fun, not even on Mother’s Day, but what else can you do besides keep on keeping on. So, I stood up, waited for my eyes to be not so red, dressed the kids and brought them to Home Depot to purchase gardening supplies. When we got home, we planted a small fruit and vegetable garden in the backyard. We needed something to do to keep busy and the boys like dirt, plain and simple. I took a picture of our new little garden.

The nature of the moments we capture on film lend themselves towards the good times: achievements, celebrations, vacations, something beautiful, or something funny; a graduation from school, a birthday party, an escape to Barbados, a stunning rainbow, a hand-made quilt, smiling faces, evidence of loving and of being loved, a garden. We share these images and it paints a portrait of an idyllic life, filled with joyful events and beautiful moments.
And life is beautiful, but it is far from the perpetually blissful existence that any one person’s photo album might suggest. We just don’t capture the ugly, frustrating, tearful moments on film, because those are the moments we are simply getting through. We’re not picking up the camera when the kids are fighting, because we’re busy playing referee. We’re not picking up the camera when the baby is smearing yogurt on the wall, because we’re busy grabbing paper towels. We’re not picking up the camera when the entire load of folded laundry has just been dumped on the floor, because we’re busy refolding it. We’re not picking up the camera when the house is covered in toys and the kids are all in time-out for refusing to pick them up, because we’re sitting on the stairs crying in frustration over something that shouldn’t be nearly as frustrating as it somehow feels in that moment.

The experience of being a mom is a lot like planting that little fruit and vegetable garden. Successfully done, the plants will grow and thrive and produce photo-worthy, sweet fruits and nourishing veggies. I’ll proudly share those photos with family and friends, evidence of my gardening prowess. What the photos will not show however, are my tears of frustration that led to the trip to Home Depot, my dirt stained knees, the sun burn on the back of my neck, the muscle aches from cutting through the roots of an old tree as I prepared the garden bed, or the dirt collected under my fingernails. Yet all of those things were part of the experience.
My point is this… We share the fruit. We don’t often share the pains it took to get there. Being a mom can be messy and ugly. Like planting a garden, it’s hard work, but every so often, we get to harvest our fruit. Those are the moments we capture on film to remember why we do what we do, day in and day out. In between those moments, we’ve got tears on our face and dirt under our nails. As moms, we have a tendency to look at photos of other mom’s gardens and wonder why our own garden doesn’t seem as bountiful, forgetting that in between harvesting their fruit, that mom has got tears on her face and dirt under her nails too. We’re all living this perfectly imperfect life together.
I hope every mom out there had a beautiful Mother’s Day with a few perfect moments of bliss. Keep on keeping on. Your garden is growing and thriving as a result of everything you do in all of the moments between the photo-worthy ones.

I’ve been hanging on to this recipe for a while and now seems like the right time to share this tasty treat. This is a multi-component recipe which takes a bit of time to assemble, but everything can be prepared ahead of time. The best part about the components of this dish is that you can mix and match the pieces in a million ways. Enjoy the corn and bean relish as part of this sandwich or with a bowl of tortilla chips or used as a bed for shrimp burgers. Enjoy the queso drizzled over a hamburger, tossed with macaroni or straight-up with chips. The tender, spicy beef is fantastic on this sandwich, but would stand alone beautifully too, served with a side of mashed potatoes.

Chipotle Shredded Beef Flatbread Sandwiches
Ingredients
- 4-6 flatbreads
- 1 ripe avocado, sliced (Click here for a photo guide on slicing avocado)
For the Chipotle Braised Beef
- 2 tablespoons olive oil
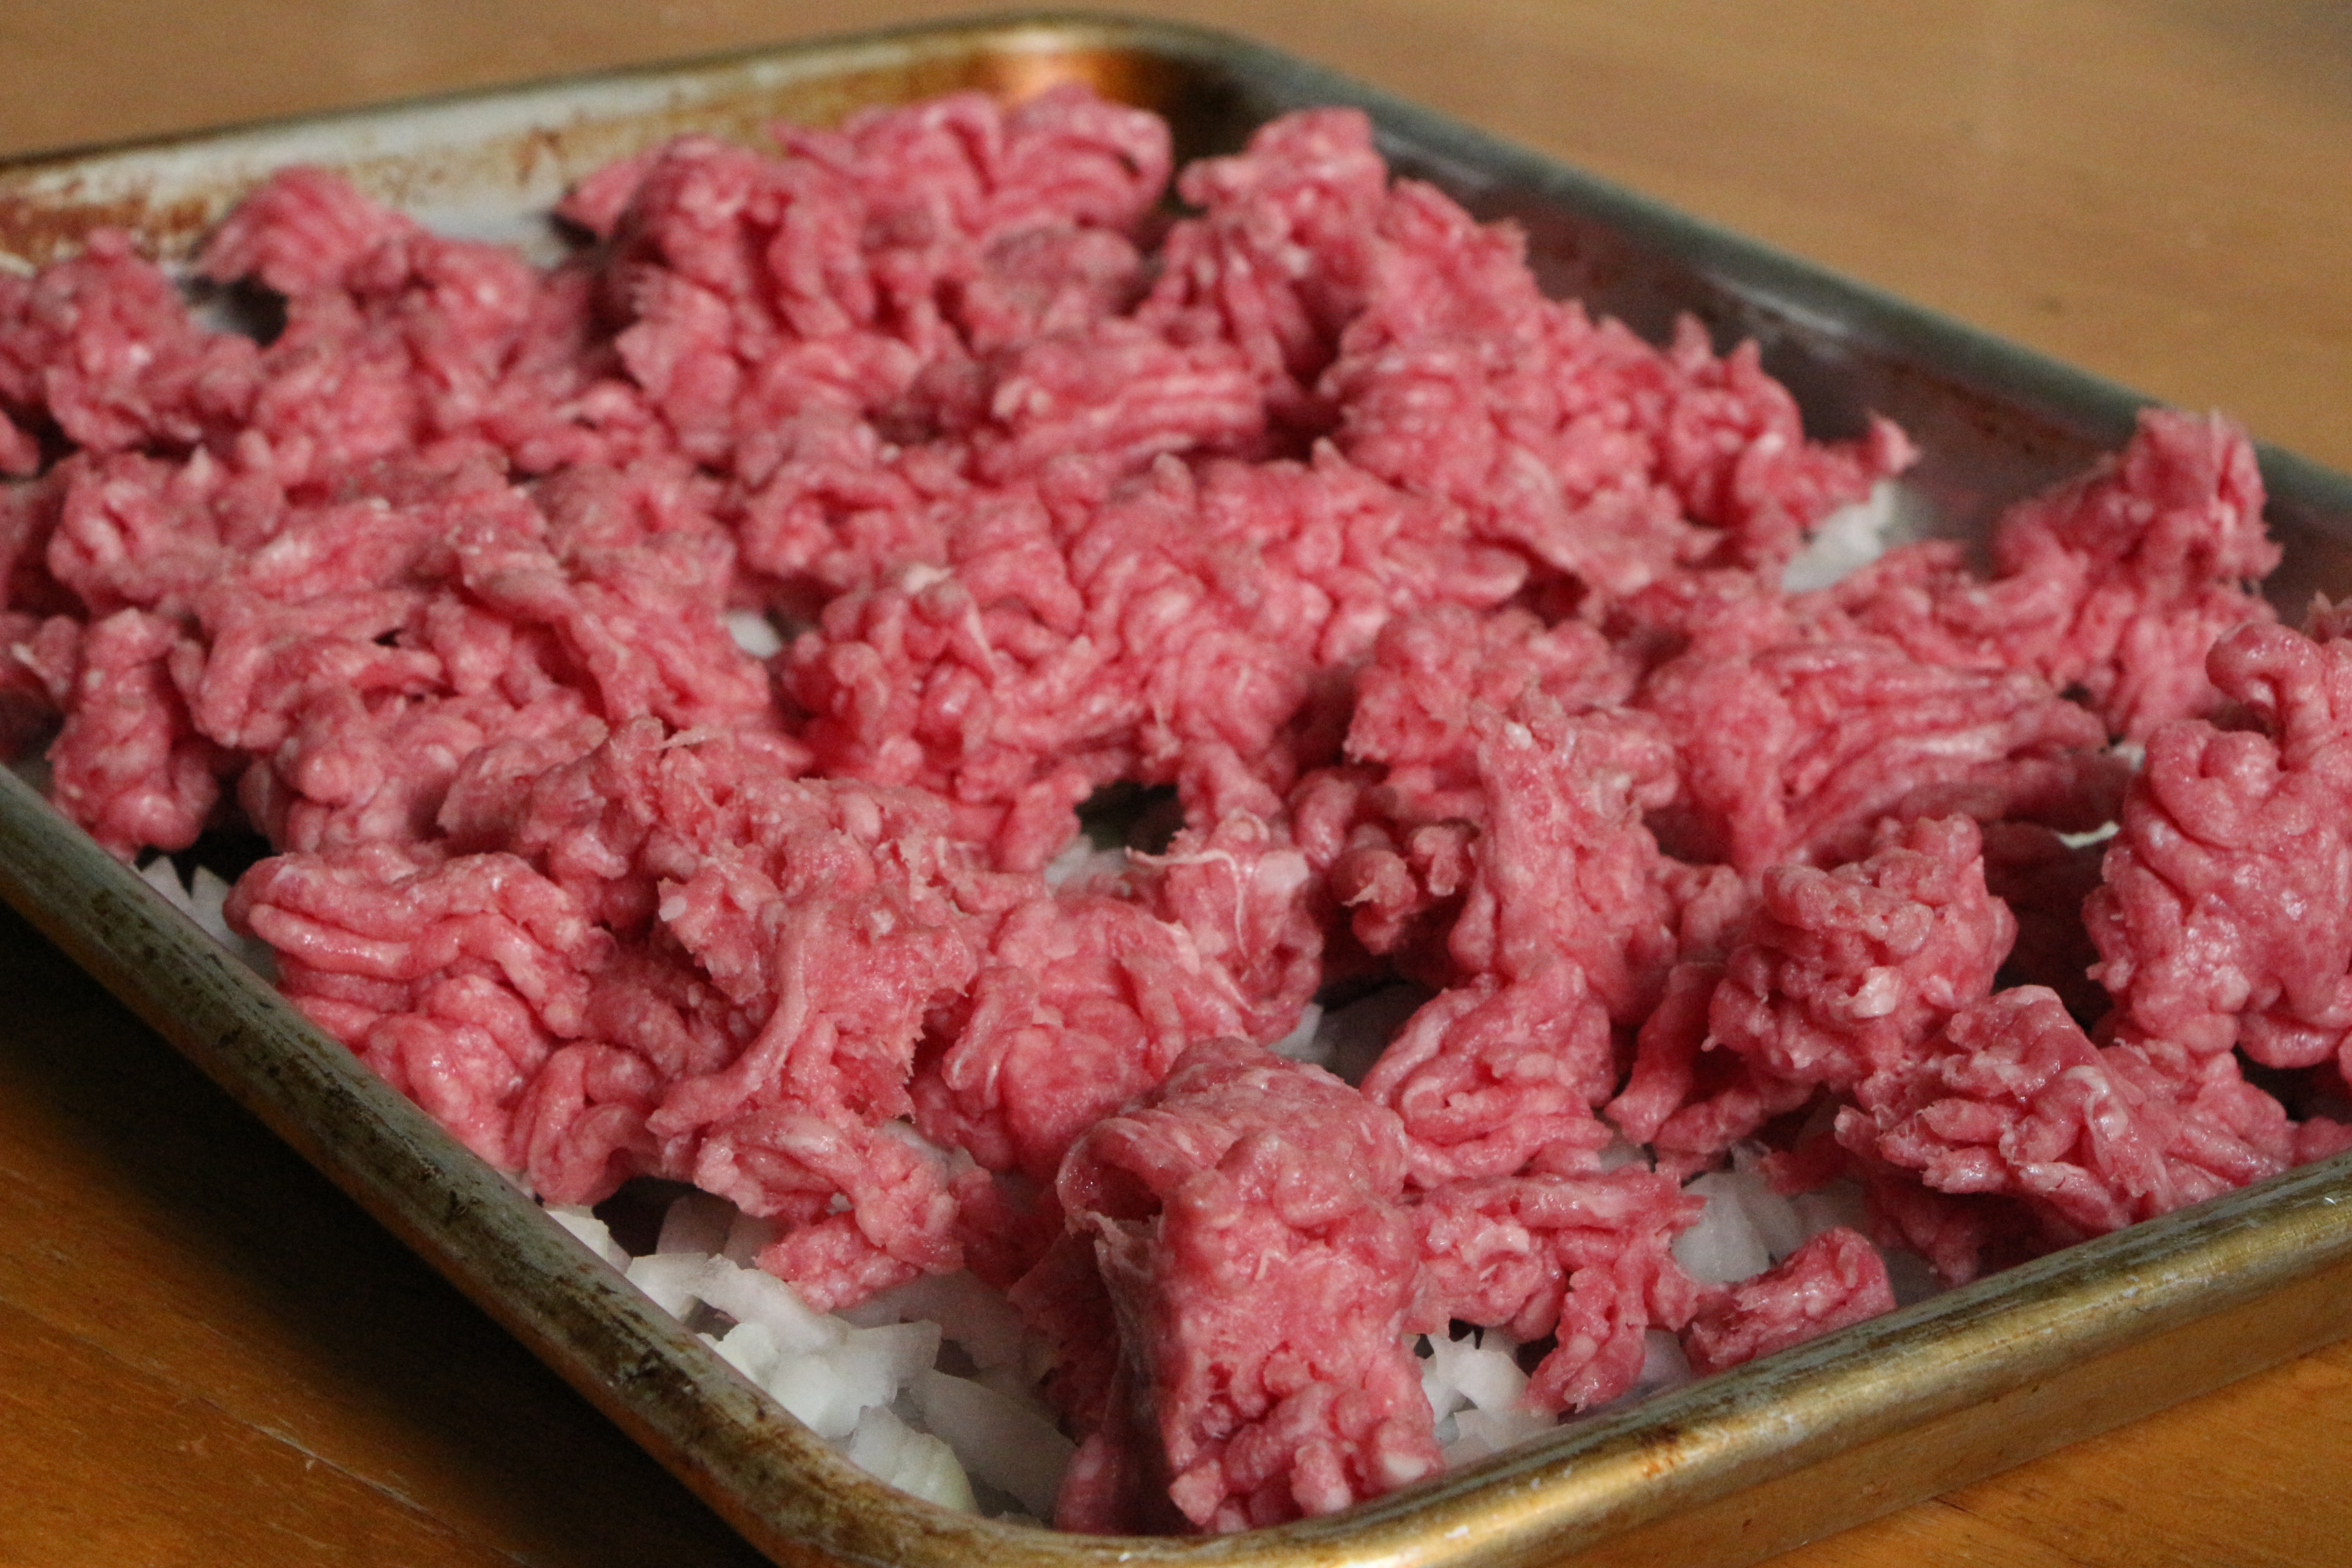
- Approximately 3-lb beef chuck roast
- 1 can chipotles in adobo (only use a few for a less spicy result)
- 1/2 red onion, coarse chopped
- 3 cloves garlic, smashed
- 2-3 cups beef broth
- Salt
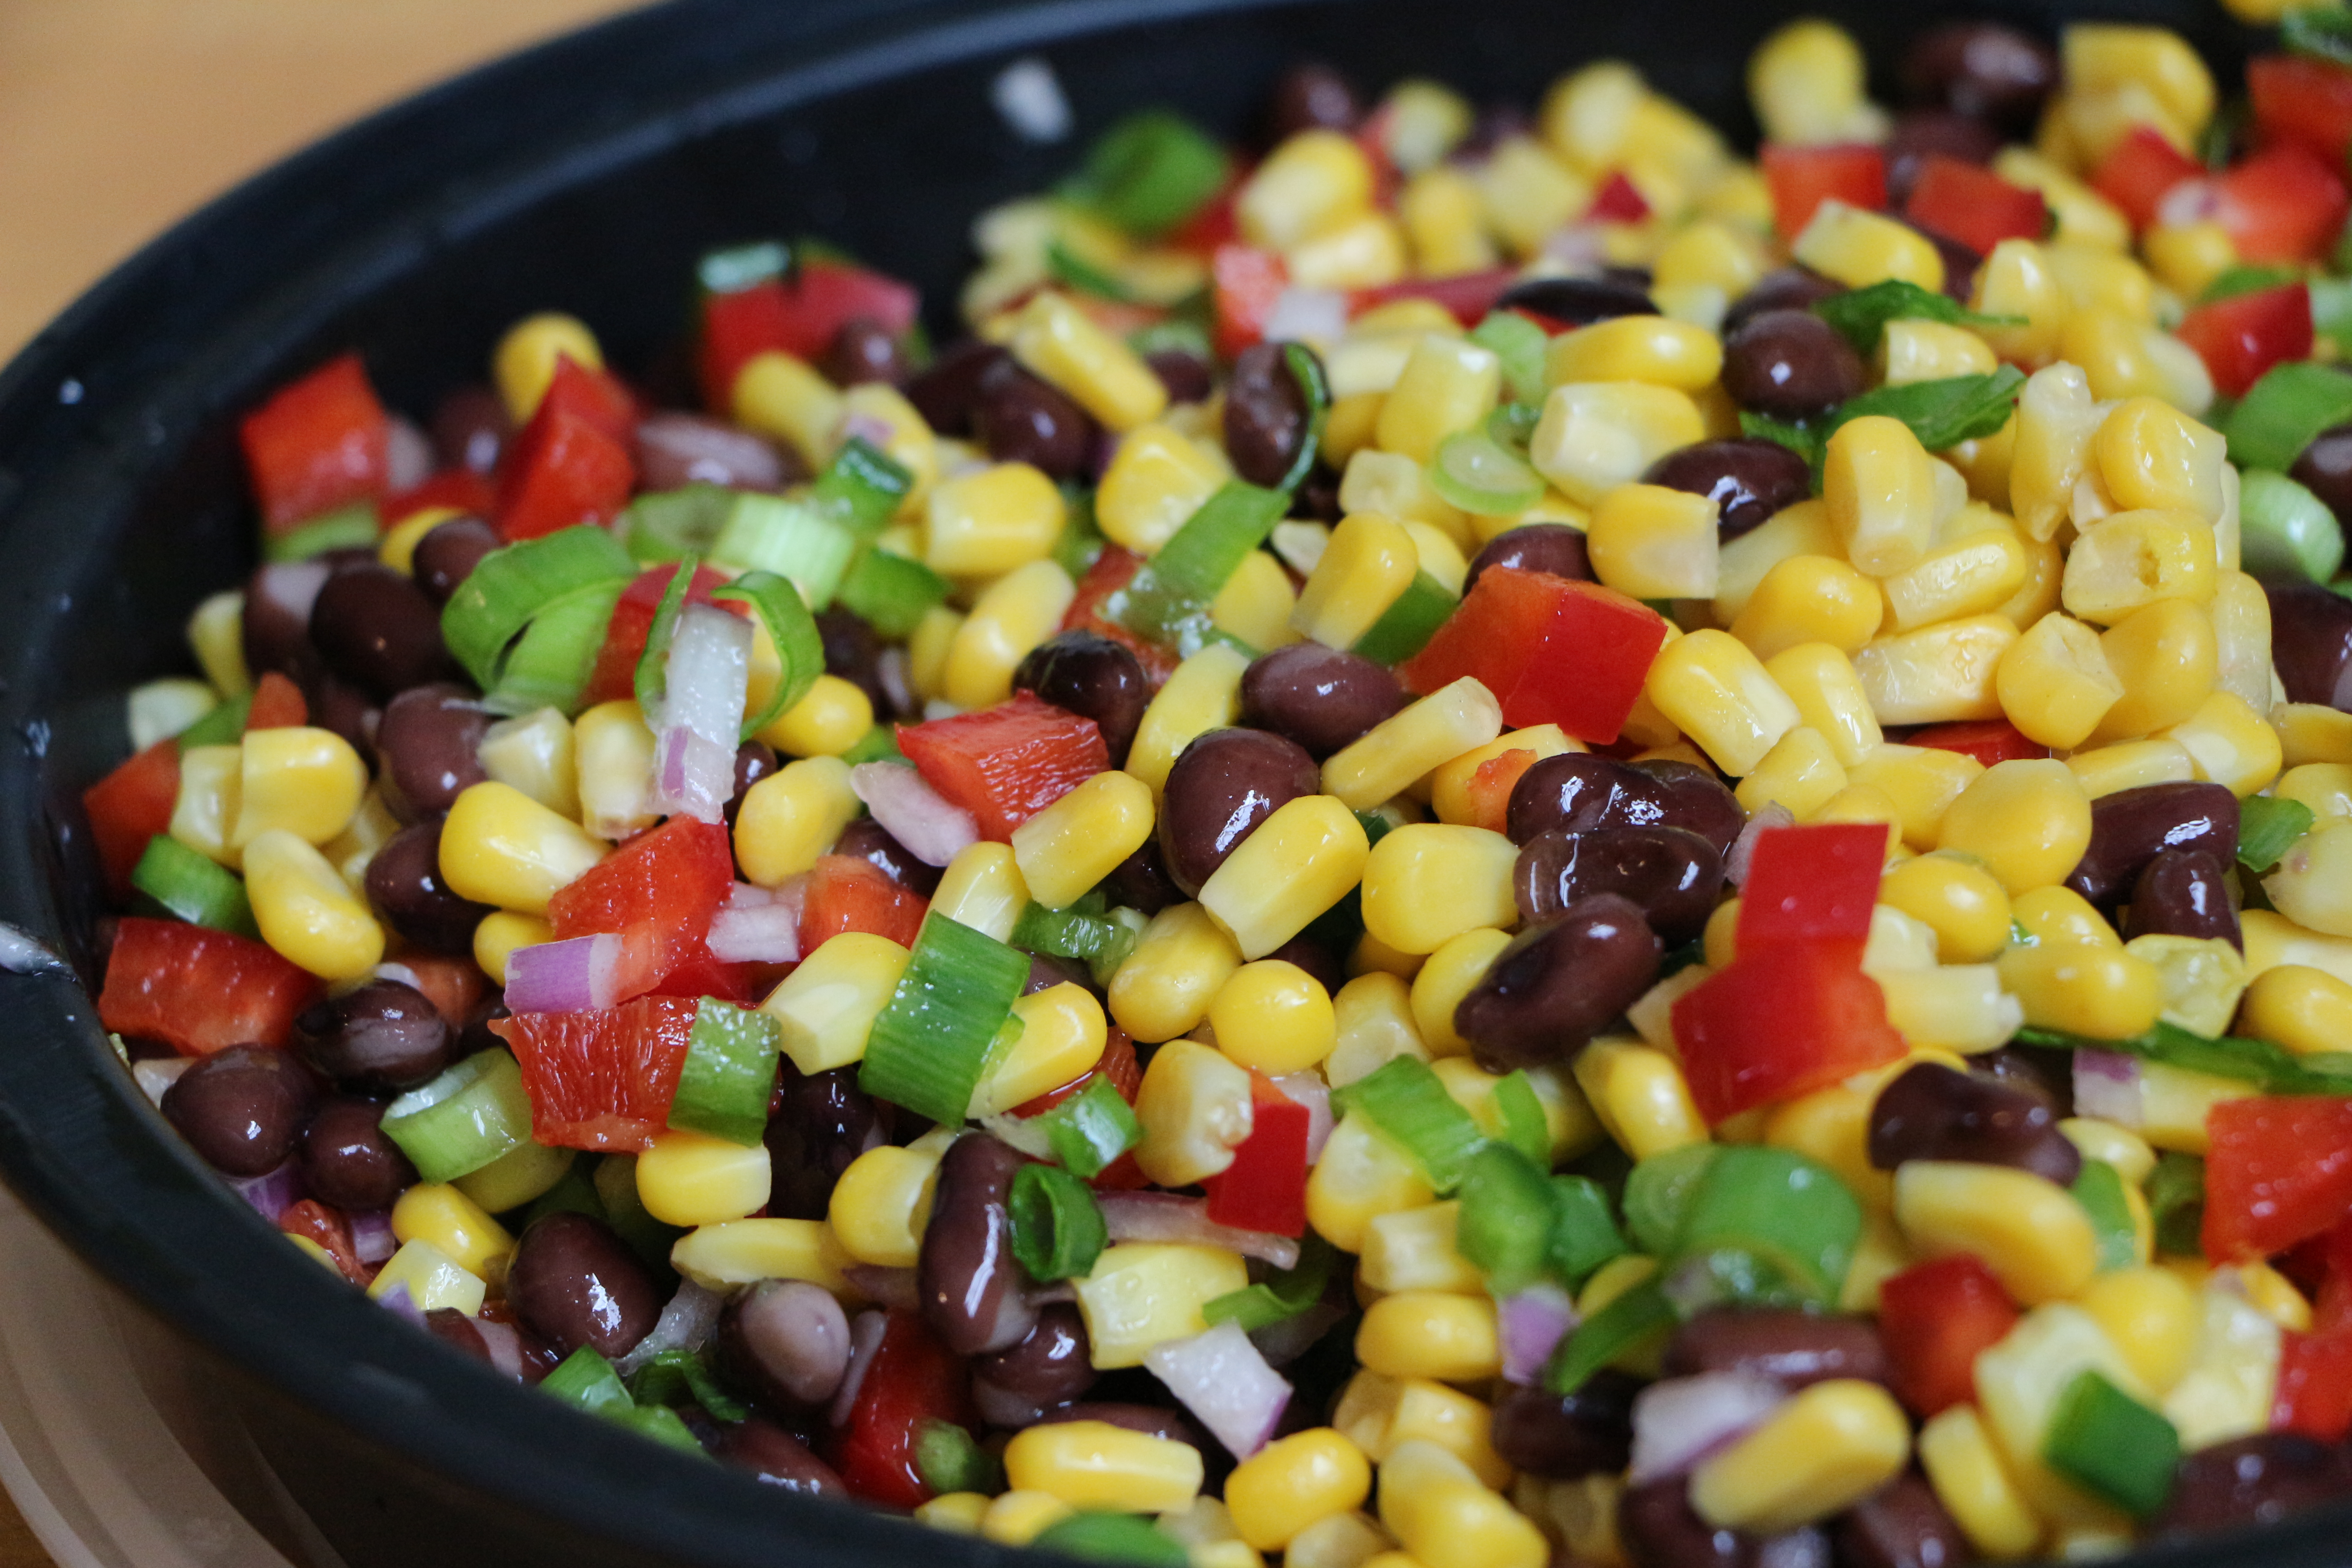
For the Corn and Bean Relish
- 1 1/2 cups sweet corn kernels (defrosted frozen corn kernels will do the trick)
- 1 15-ounce can black beans, drained and rinsed
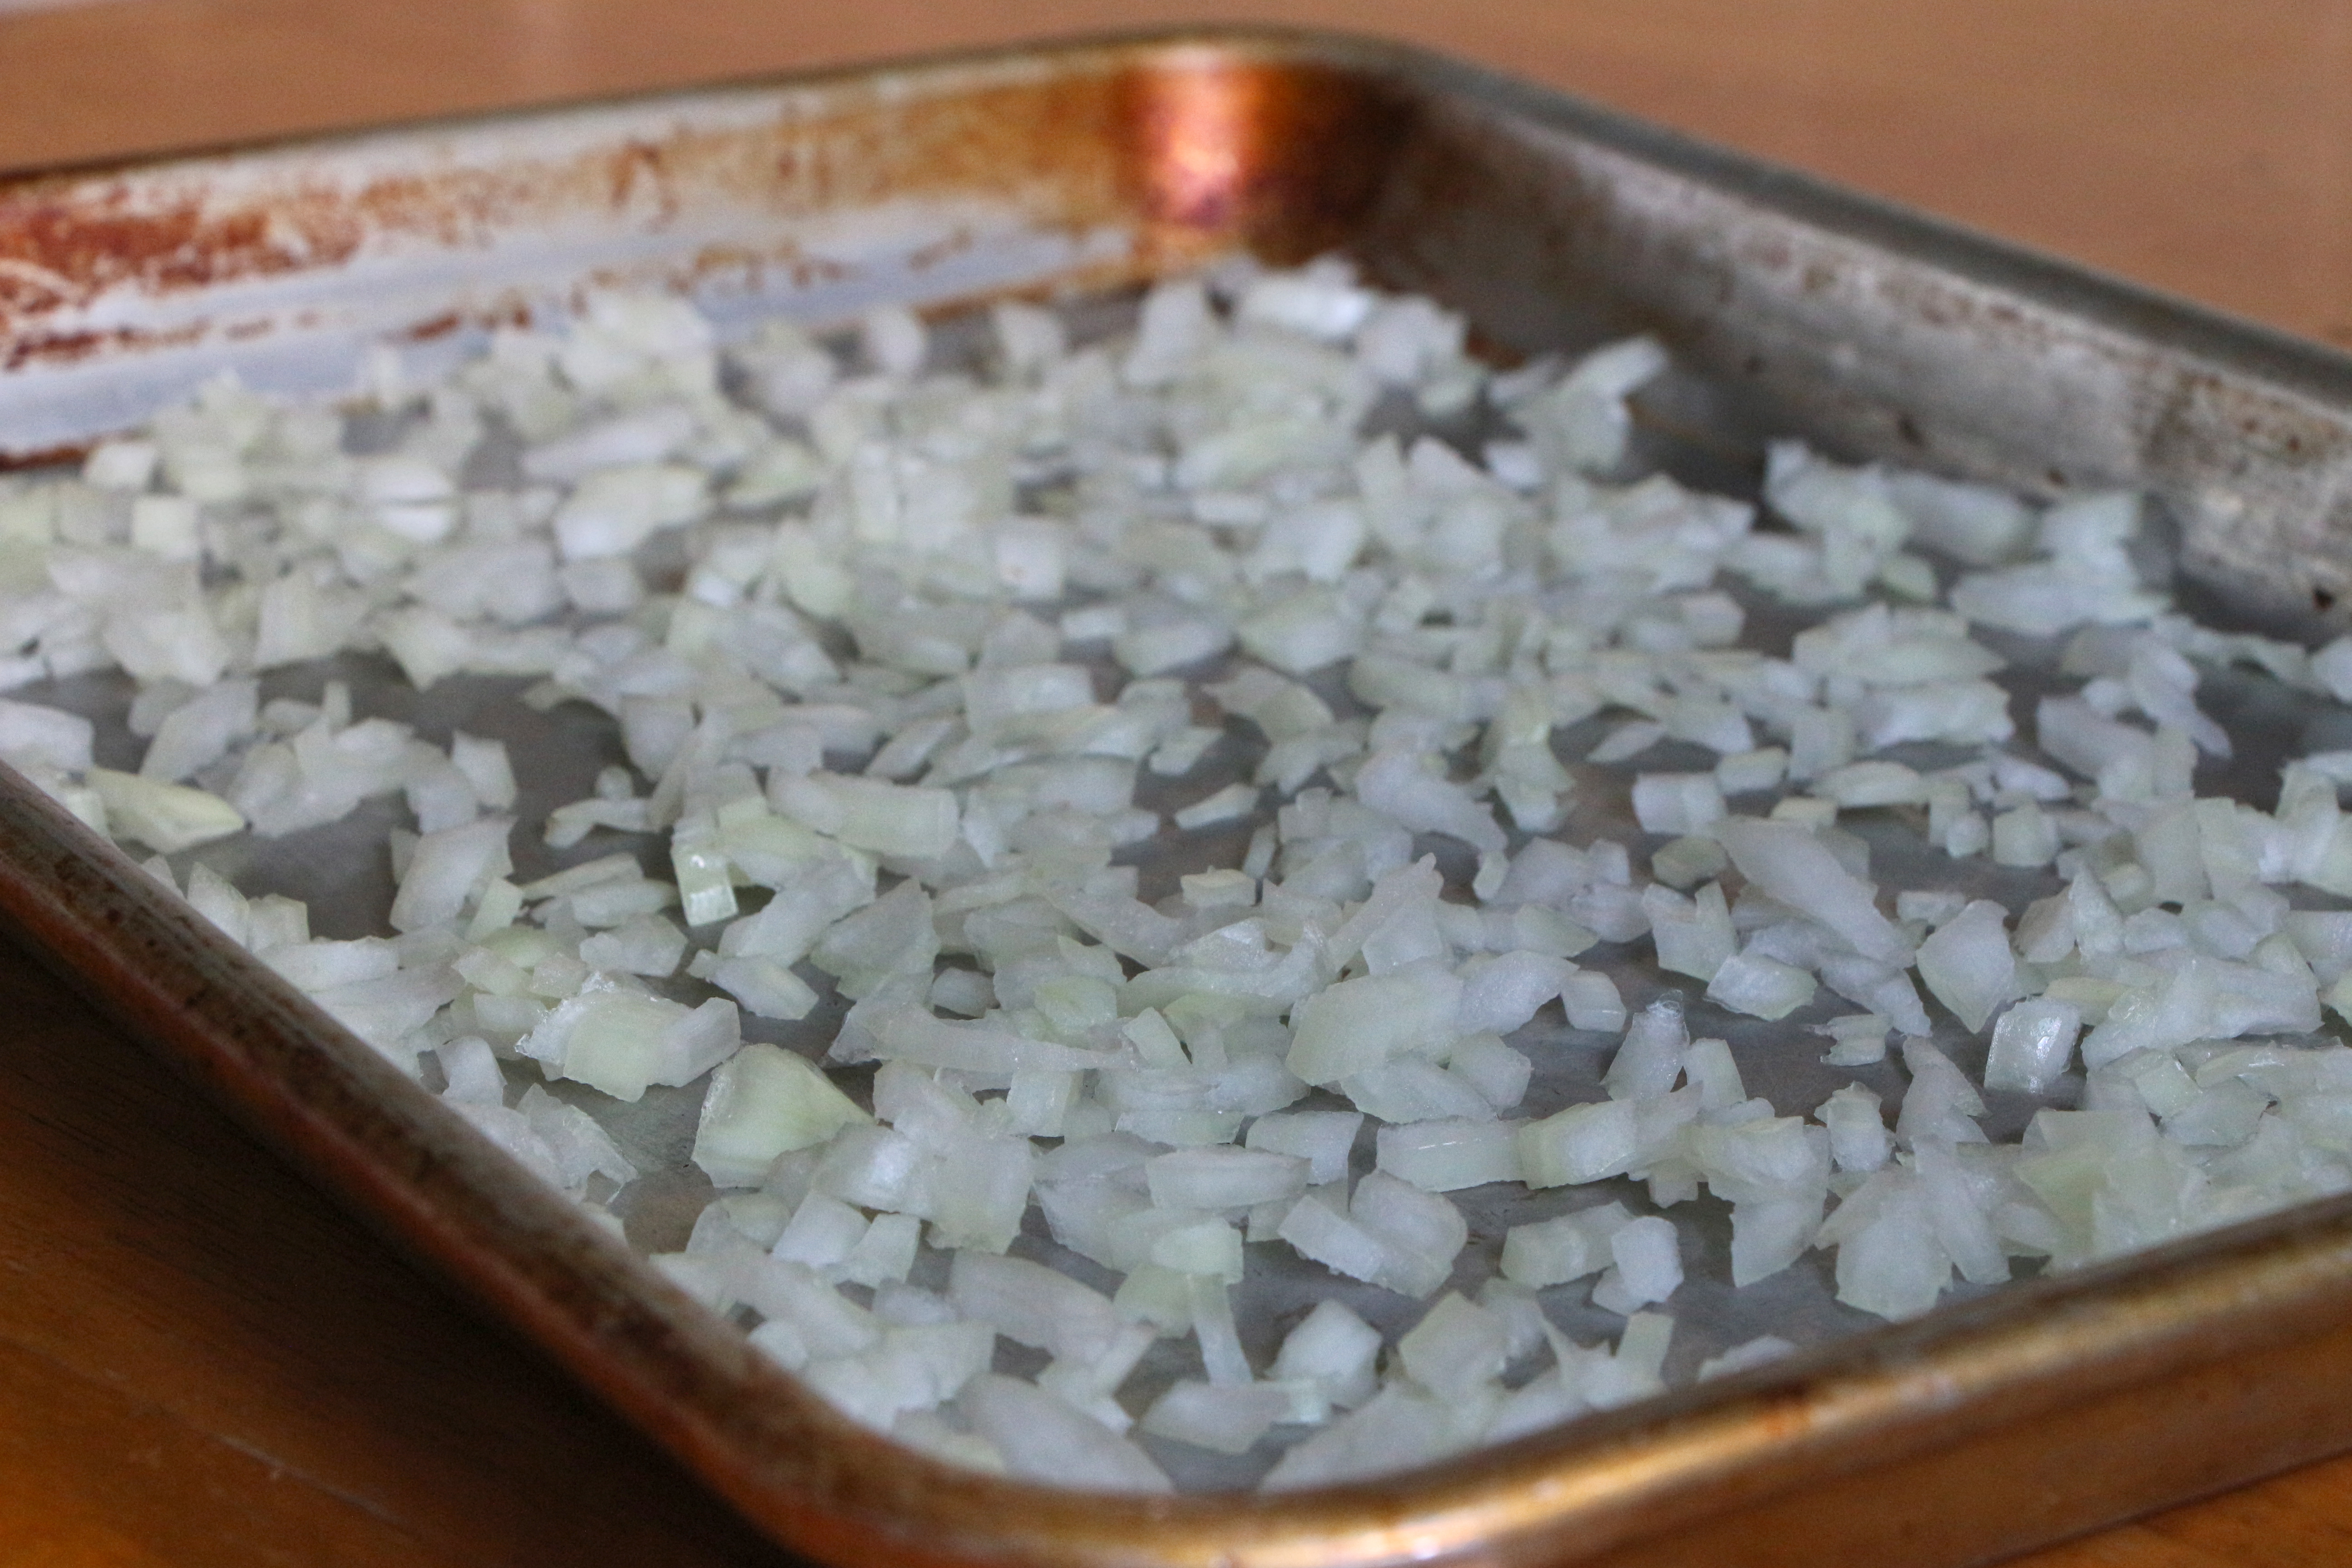
- 1/2 red onion, finely diced (Click here for a photo guide on dicing onions)
- 1 red bell pepper, ribs and seeds removed, finely diced
- 1 teaspoon garlic, minced
- 2-3 green onions, chopped
- 1/4 cup fresh cilantro, chopped
- Juice from 1/2 lime
- Salt and pepper, to taste
For the Homemade Queso
- 2 tablespoons butter
- 1 poblano pepper, ribs and seeds removed, finely diced
- 1 jalapeno peppers, ribs and seeds removed, finely diced
- 1/2 red onion, finely diced
- 1 teaspoon garlic
- 1 1/2 tablespoons flour
- 1 cup milk
- 1 cup Mexican cheese blend, shredded
- 1 tomato, finely diced
- Salt and cayenne pepper, to taste
Directions
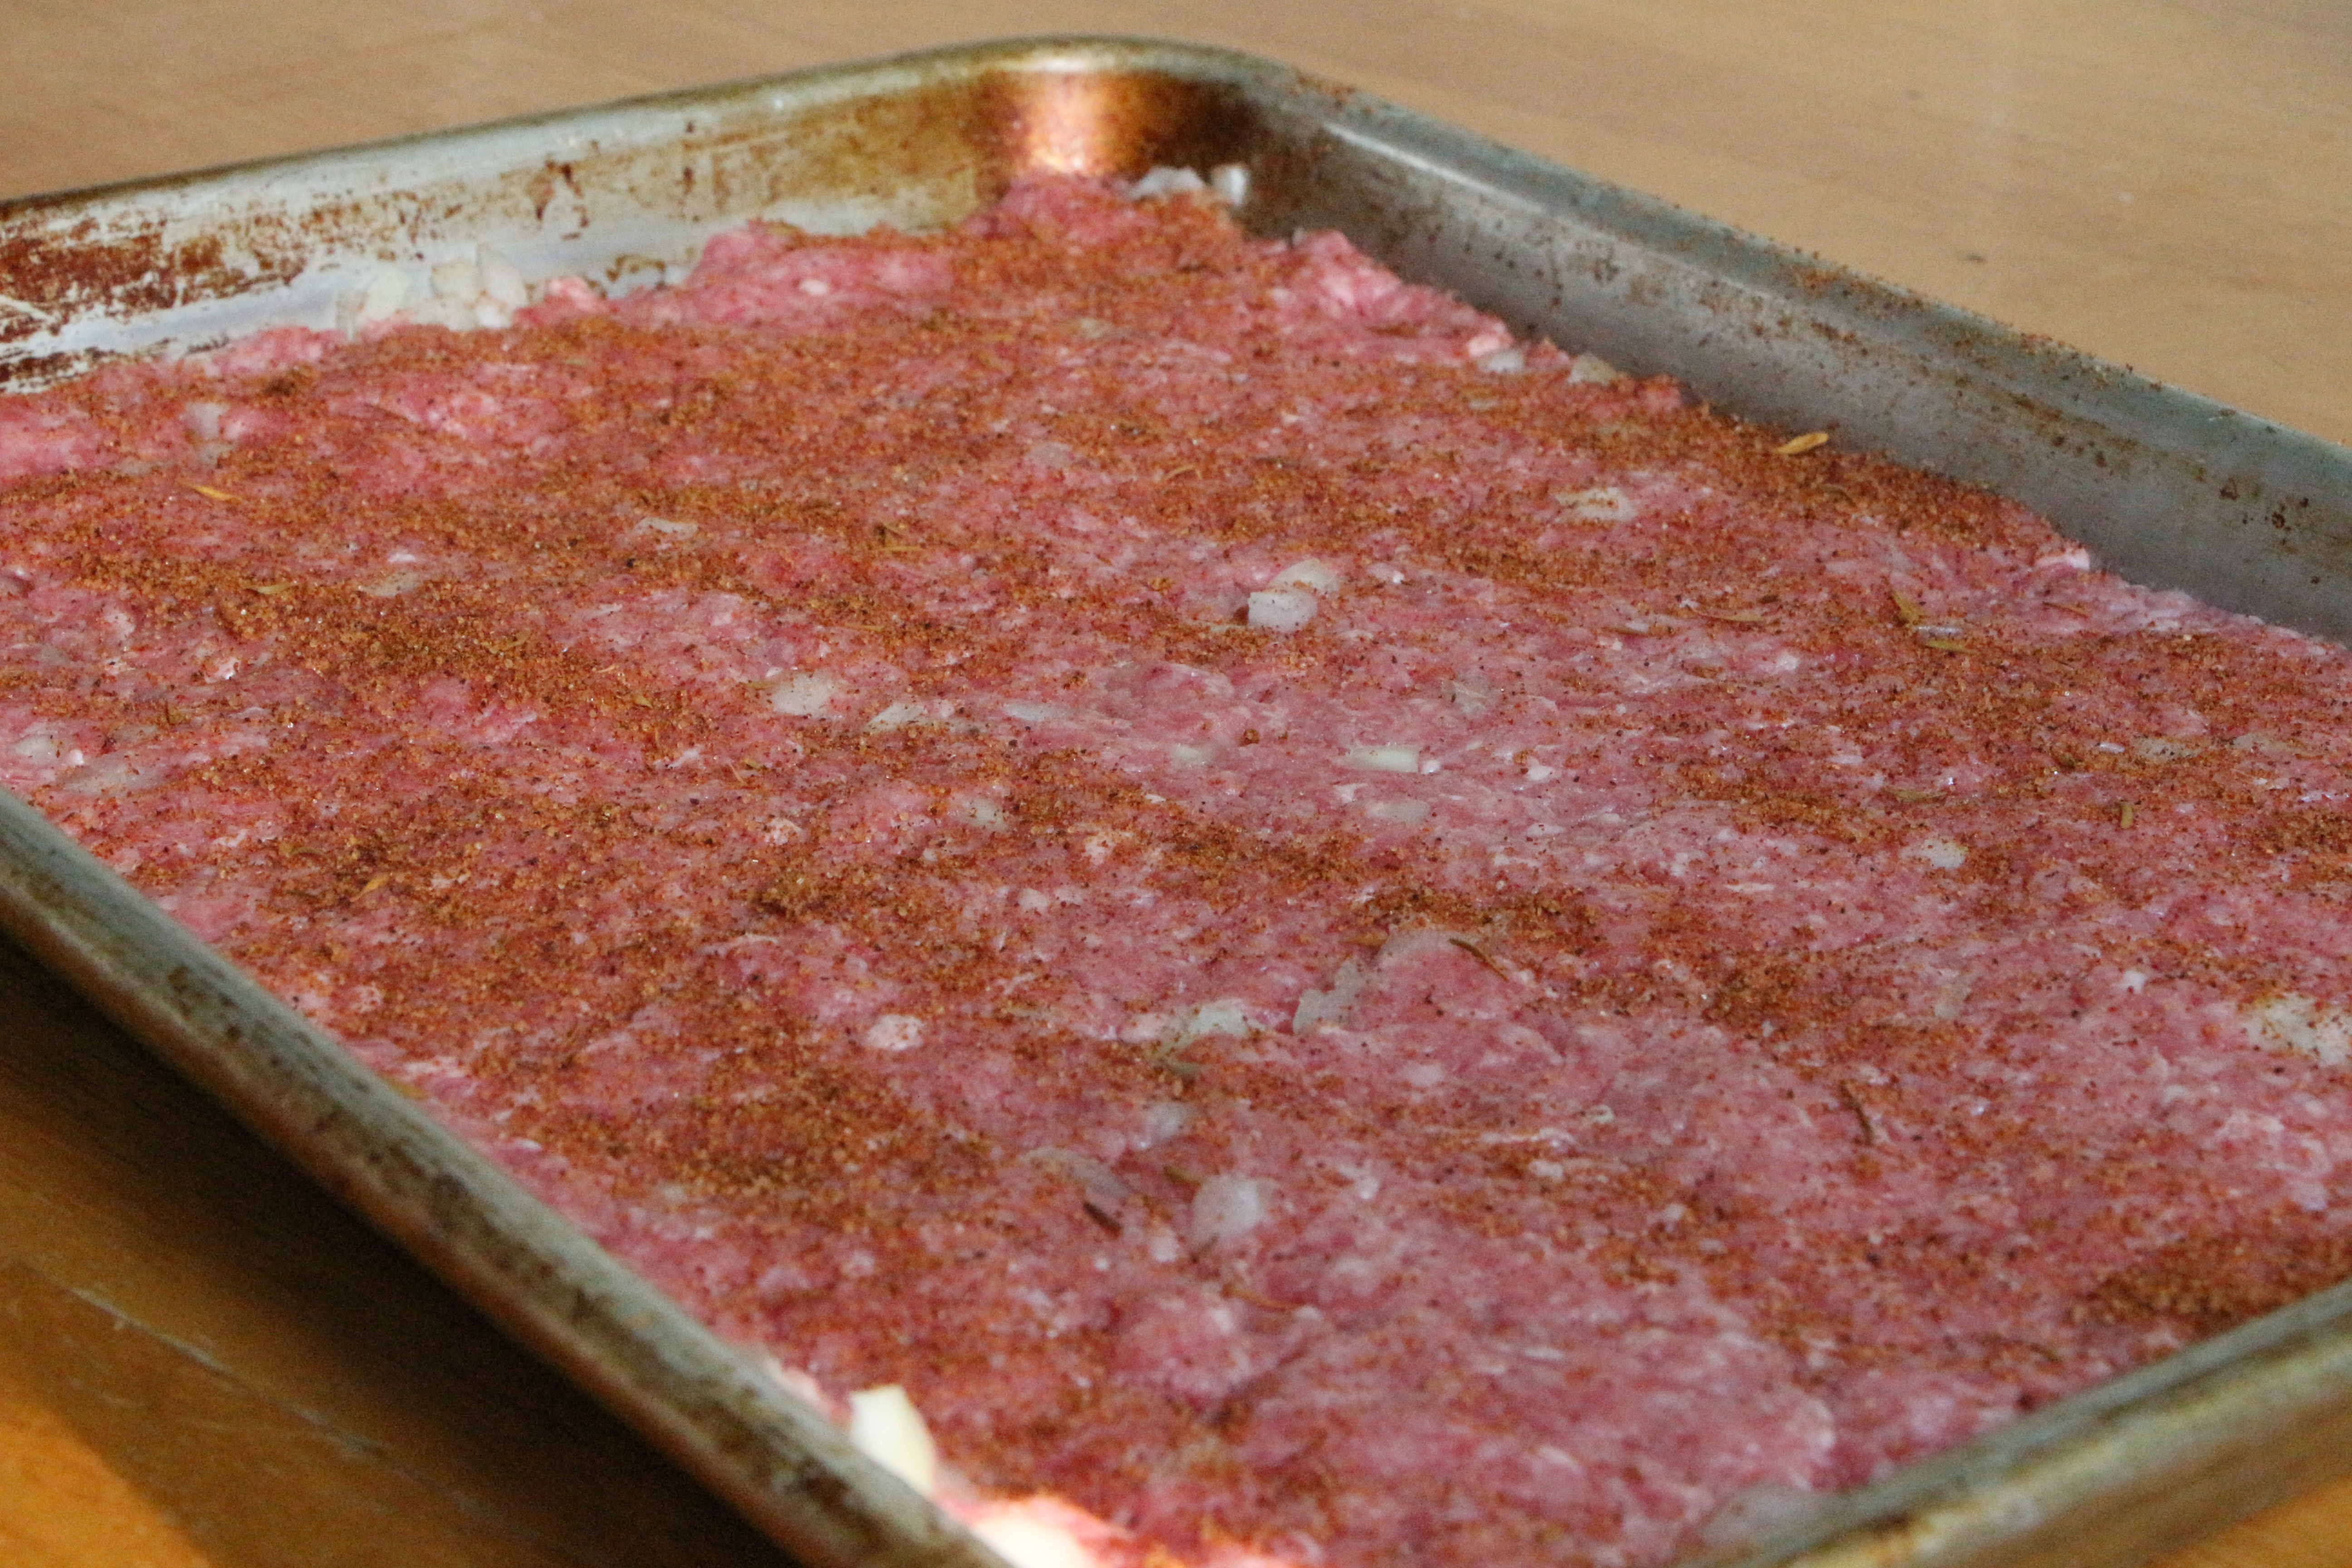
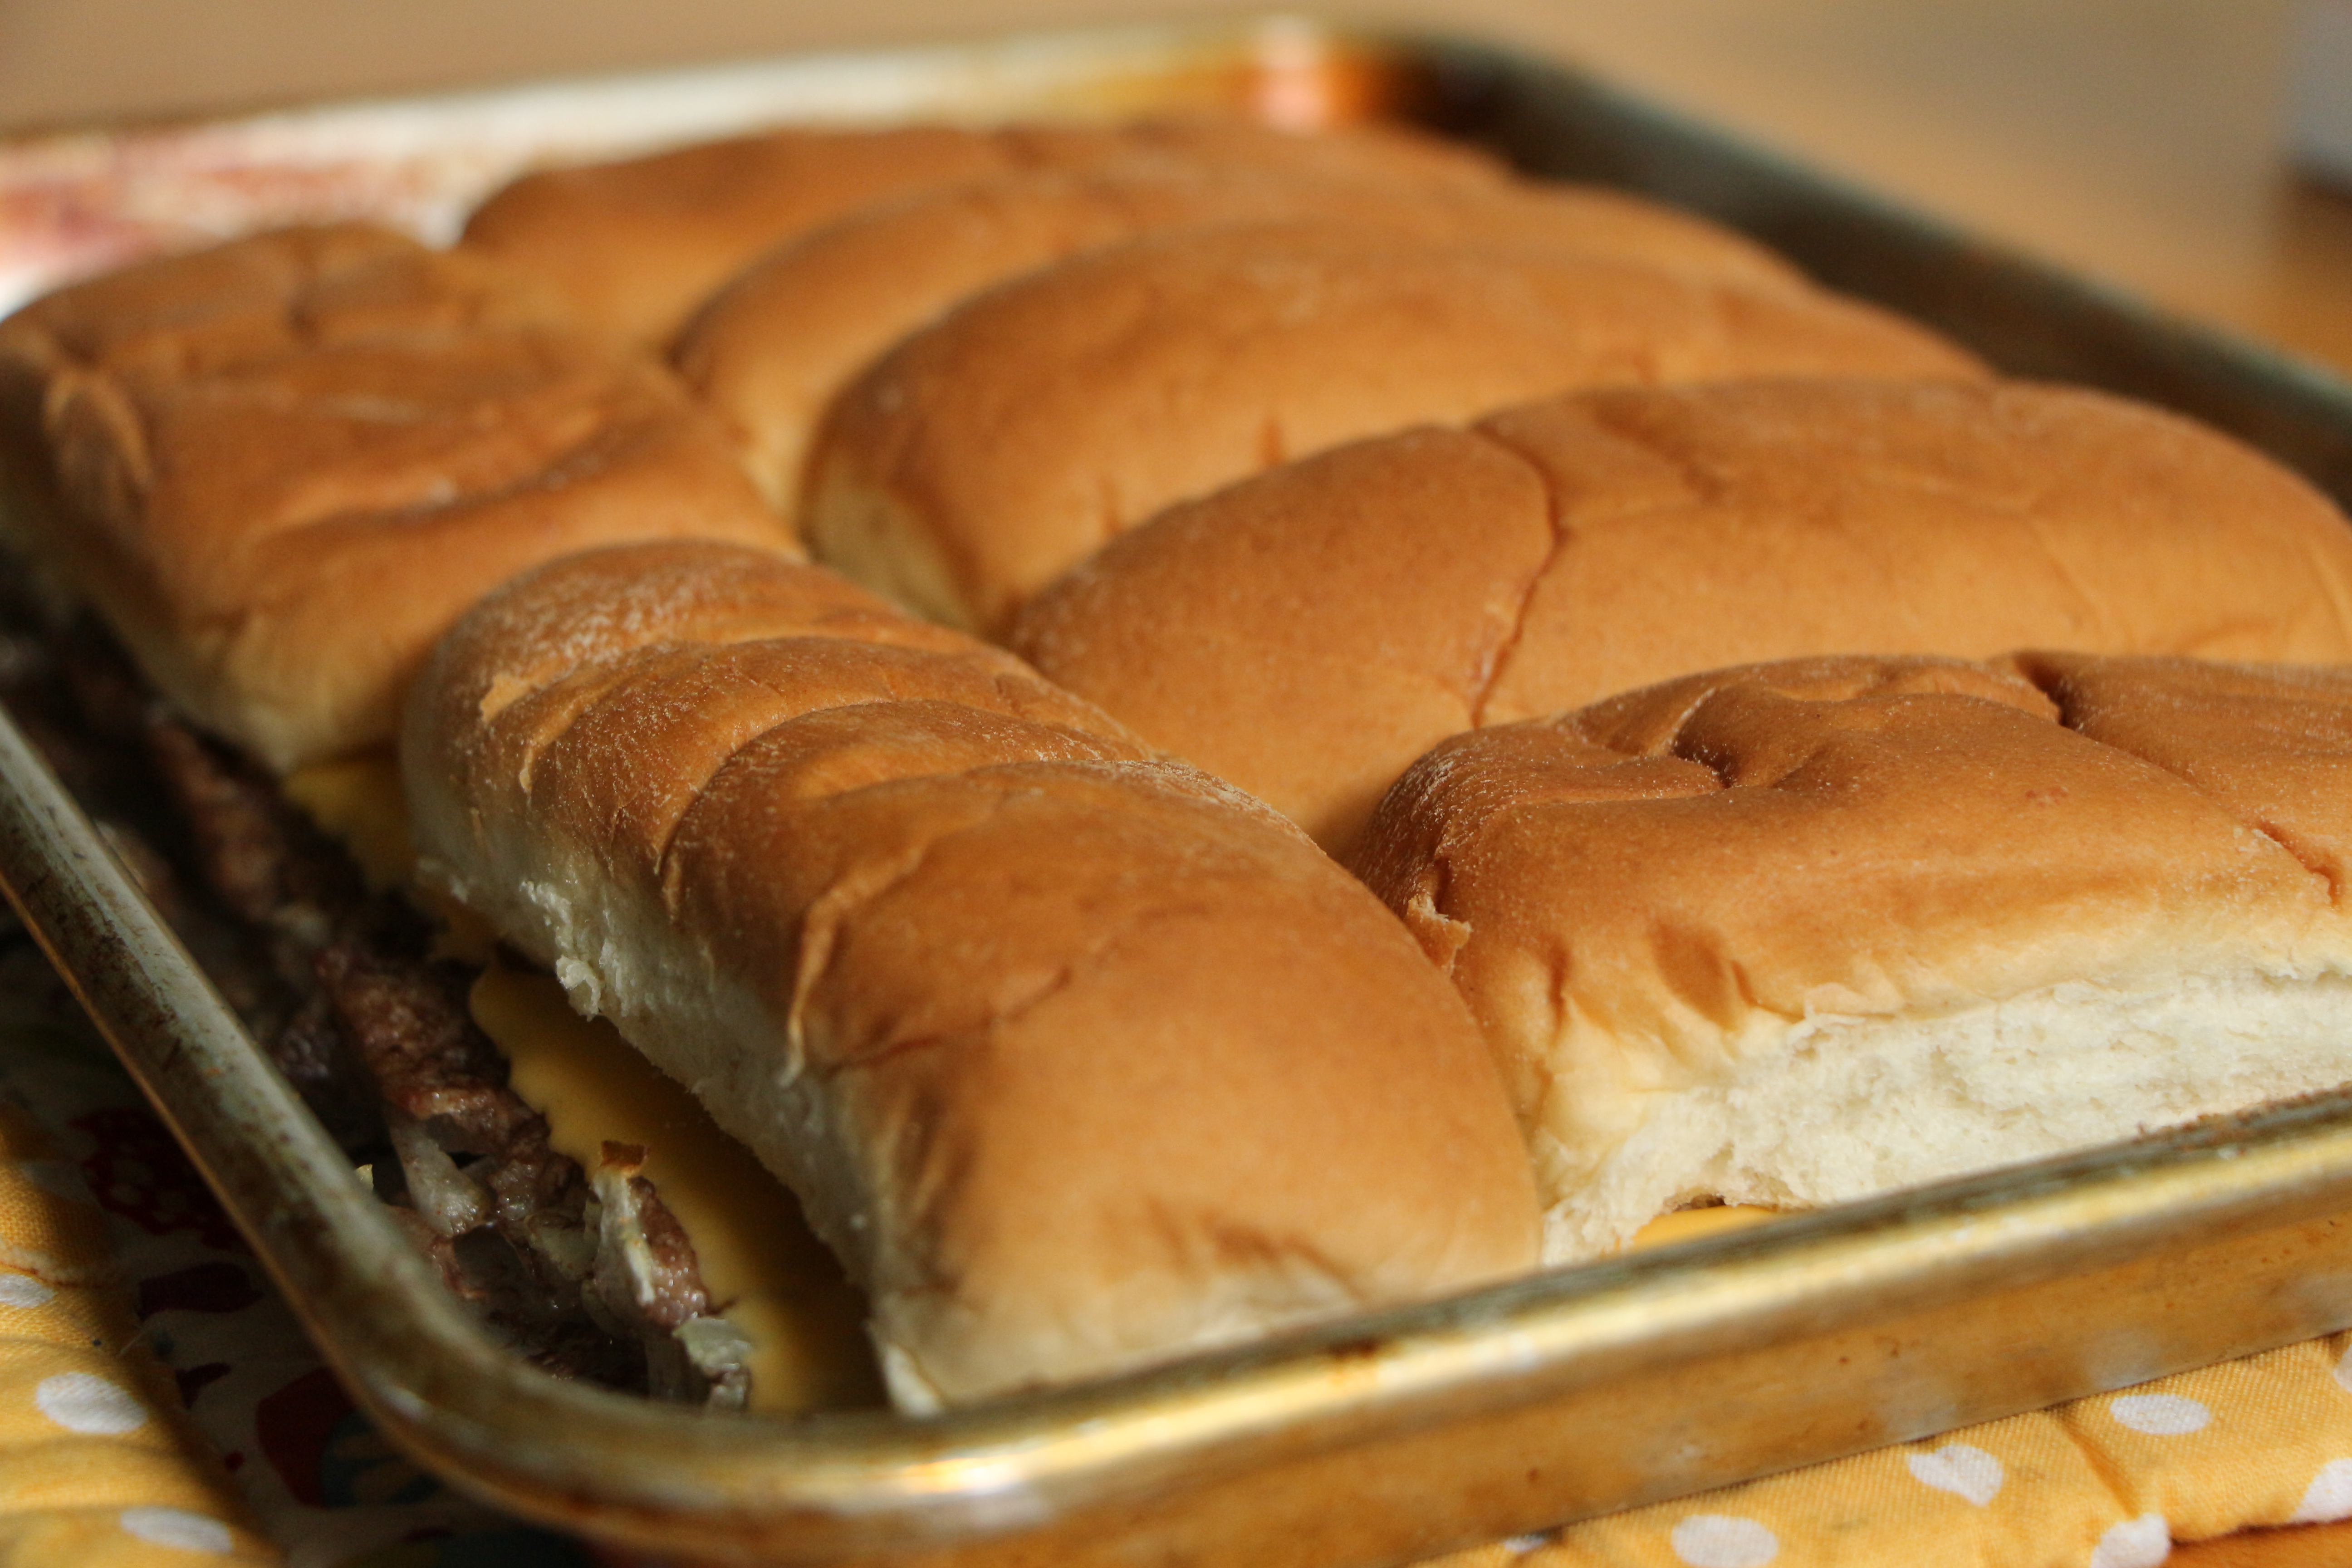
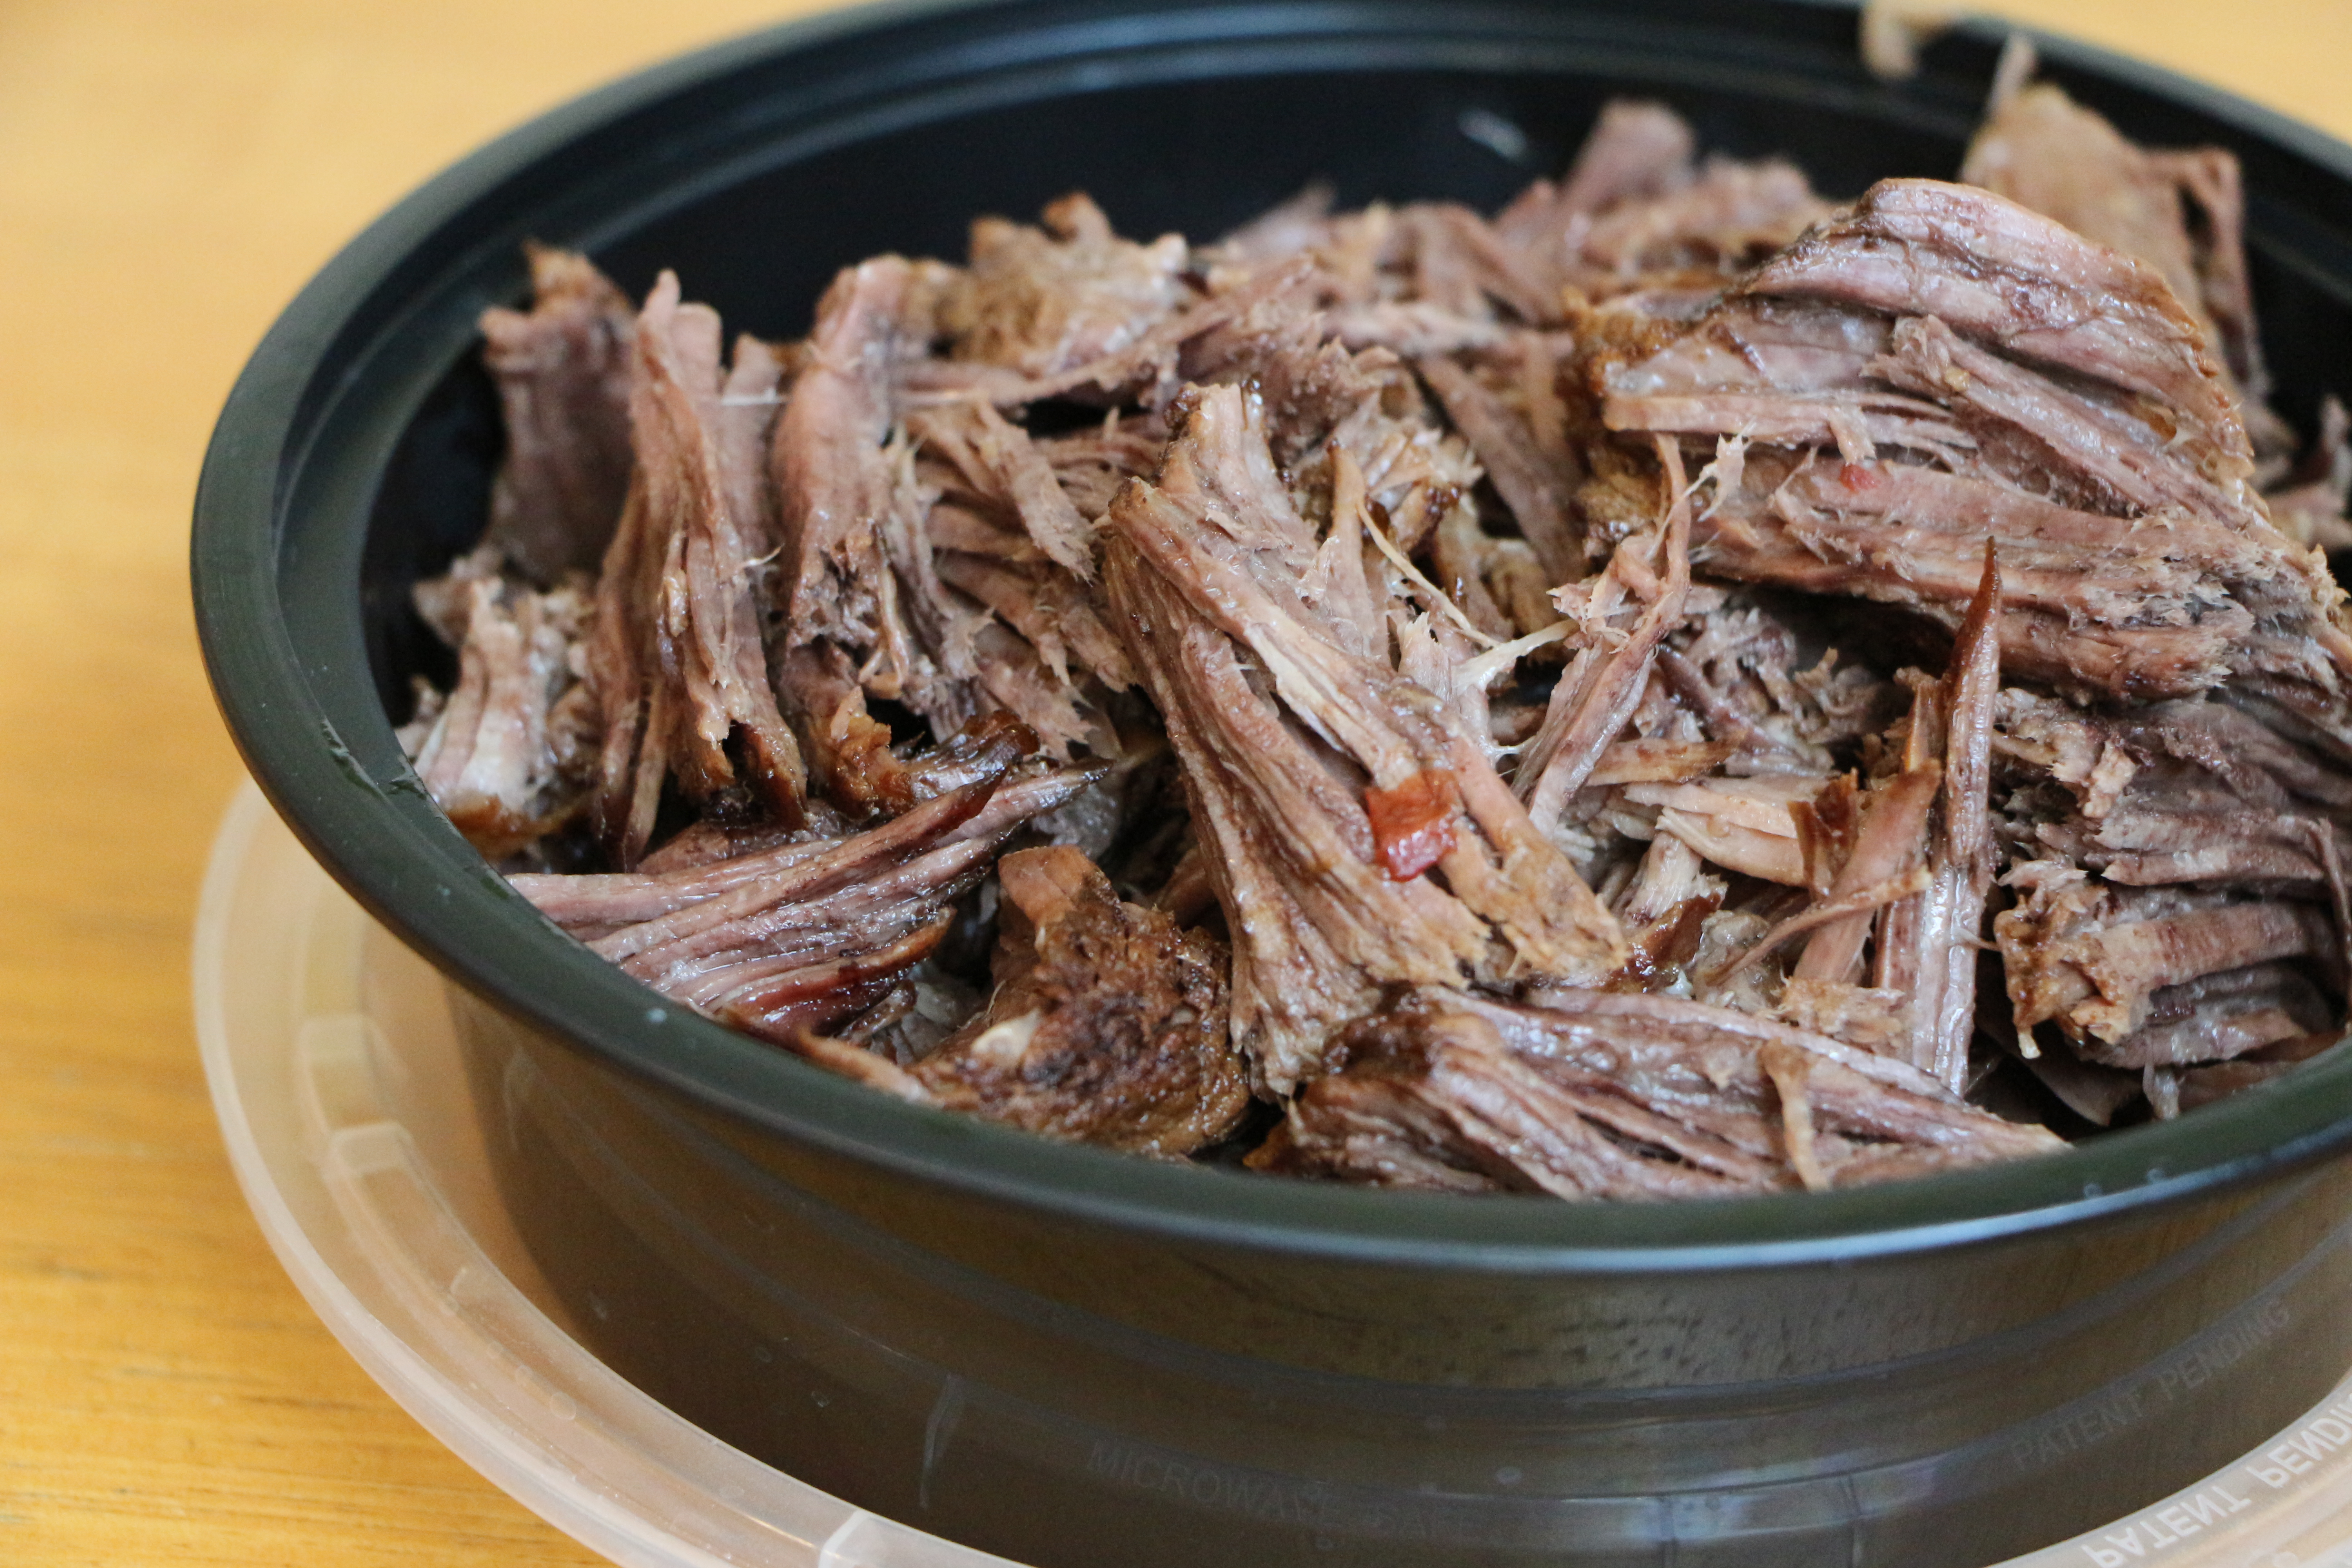
For the Chipotle Braised Beef – Preheat oven to 325 degrees. Trim the chuck roast of any excess exterior fat. Season generously with salt. In a large dutch oven or oven safe pan, heat olive oil over medium/medium-high heat. Place the meat in the pan and brown on all sides, about 2-3 minutes per side. Add the beef broth, red onion, garlic, and as many chipotles as desired (I used all of them). The beef broth should come almost to the top of the meat, but not cover it. Bring the liquid to a simmer, then cover the pan and place it in the oven. Cook for 3.5 hours. Remove from the oven and allow to cool slightly. Using your fingers or a fork, pull the tender beef into small pieces, discarding any fatty bits.
For the Corn and Bean Relish – Combine the corn, black beans, red pepper, green onions, red onion, garlic, and cilantro in a medium sized container. Squeeze half a lime over the mixture and toss to combine. Season with salt and pepper, as desired.
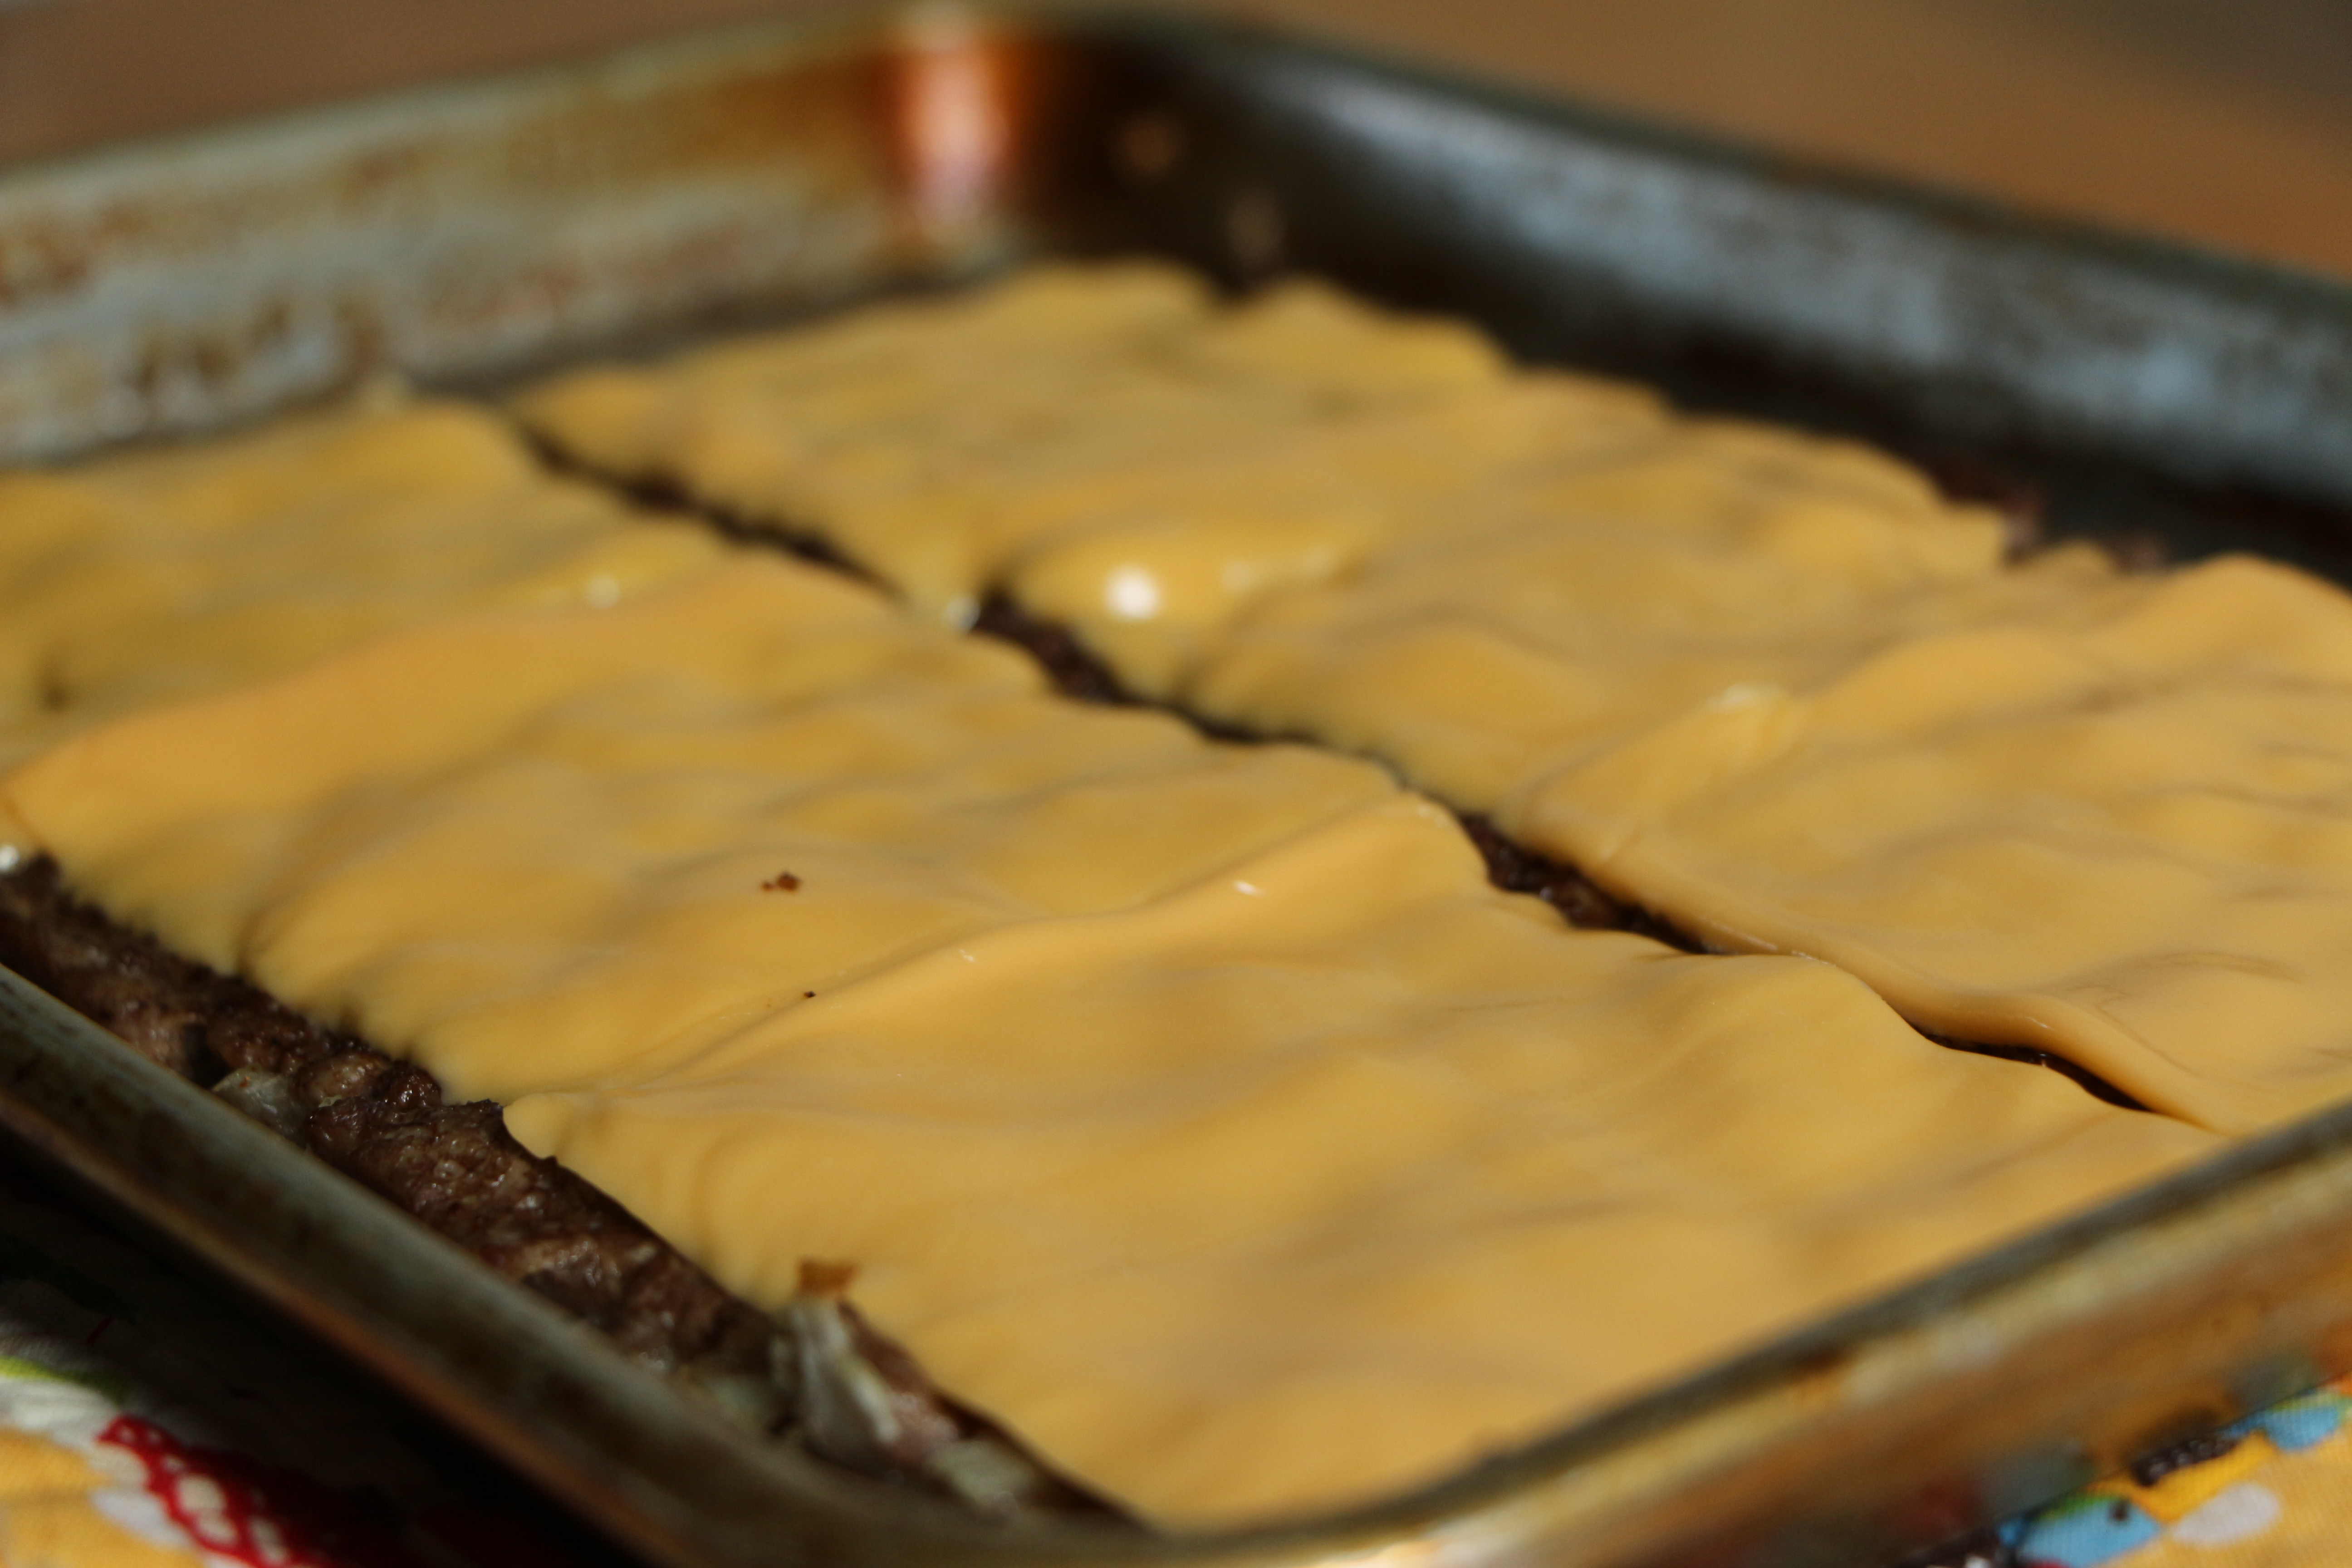
For the Queso – In a saucepan, melt the butter over medium heat. Add the peppers, onion, and garlic. Cook for about 5 minutes, until tender. Sprinkle the flour over the mixture and stir to coat. Cook for another minute or two. Gradually add the milk and whisk to combine. Bring the mixture to a gentle simmer and cook for a few minutes until the milk thickens. Turn the heat down to low and add the cheese. Stir until the cheese has melted into the sauce. Stir in the chopped tomato. Season with salt and cayenne pepper, to taste.
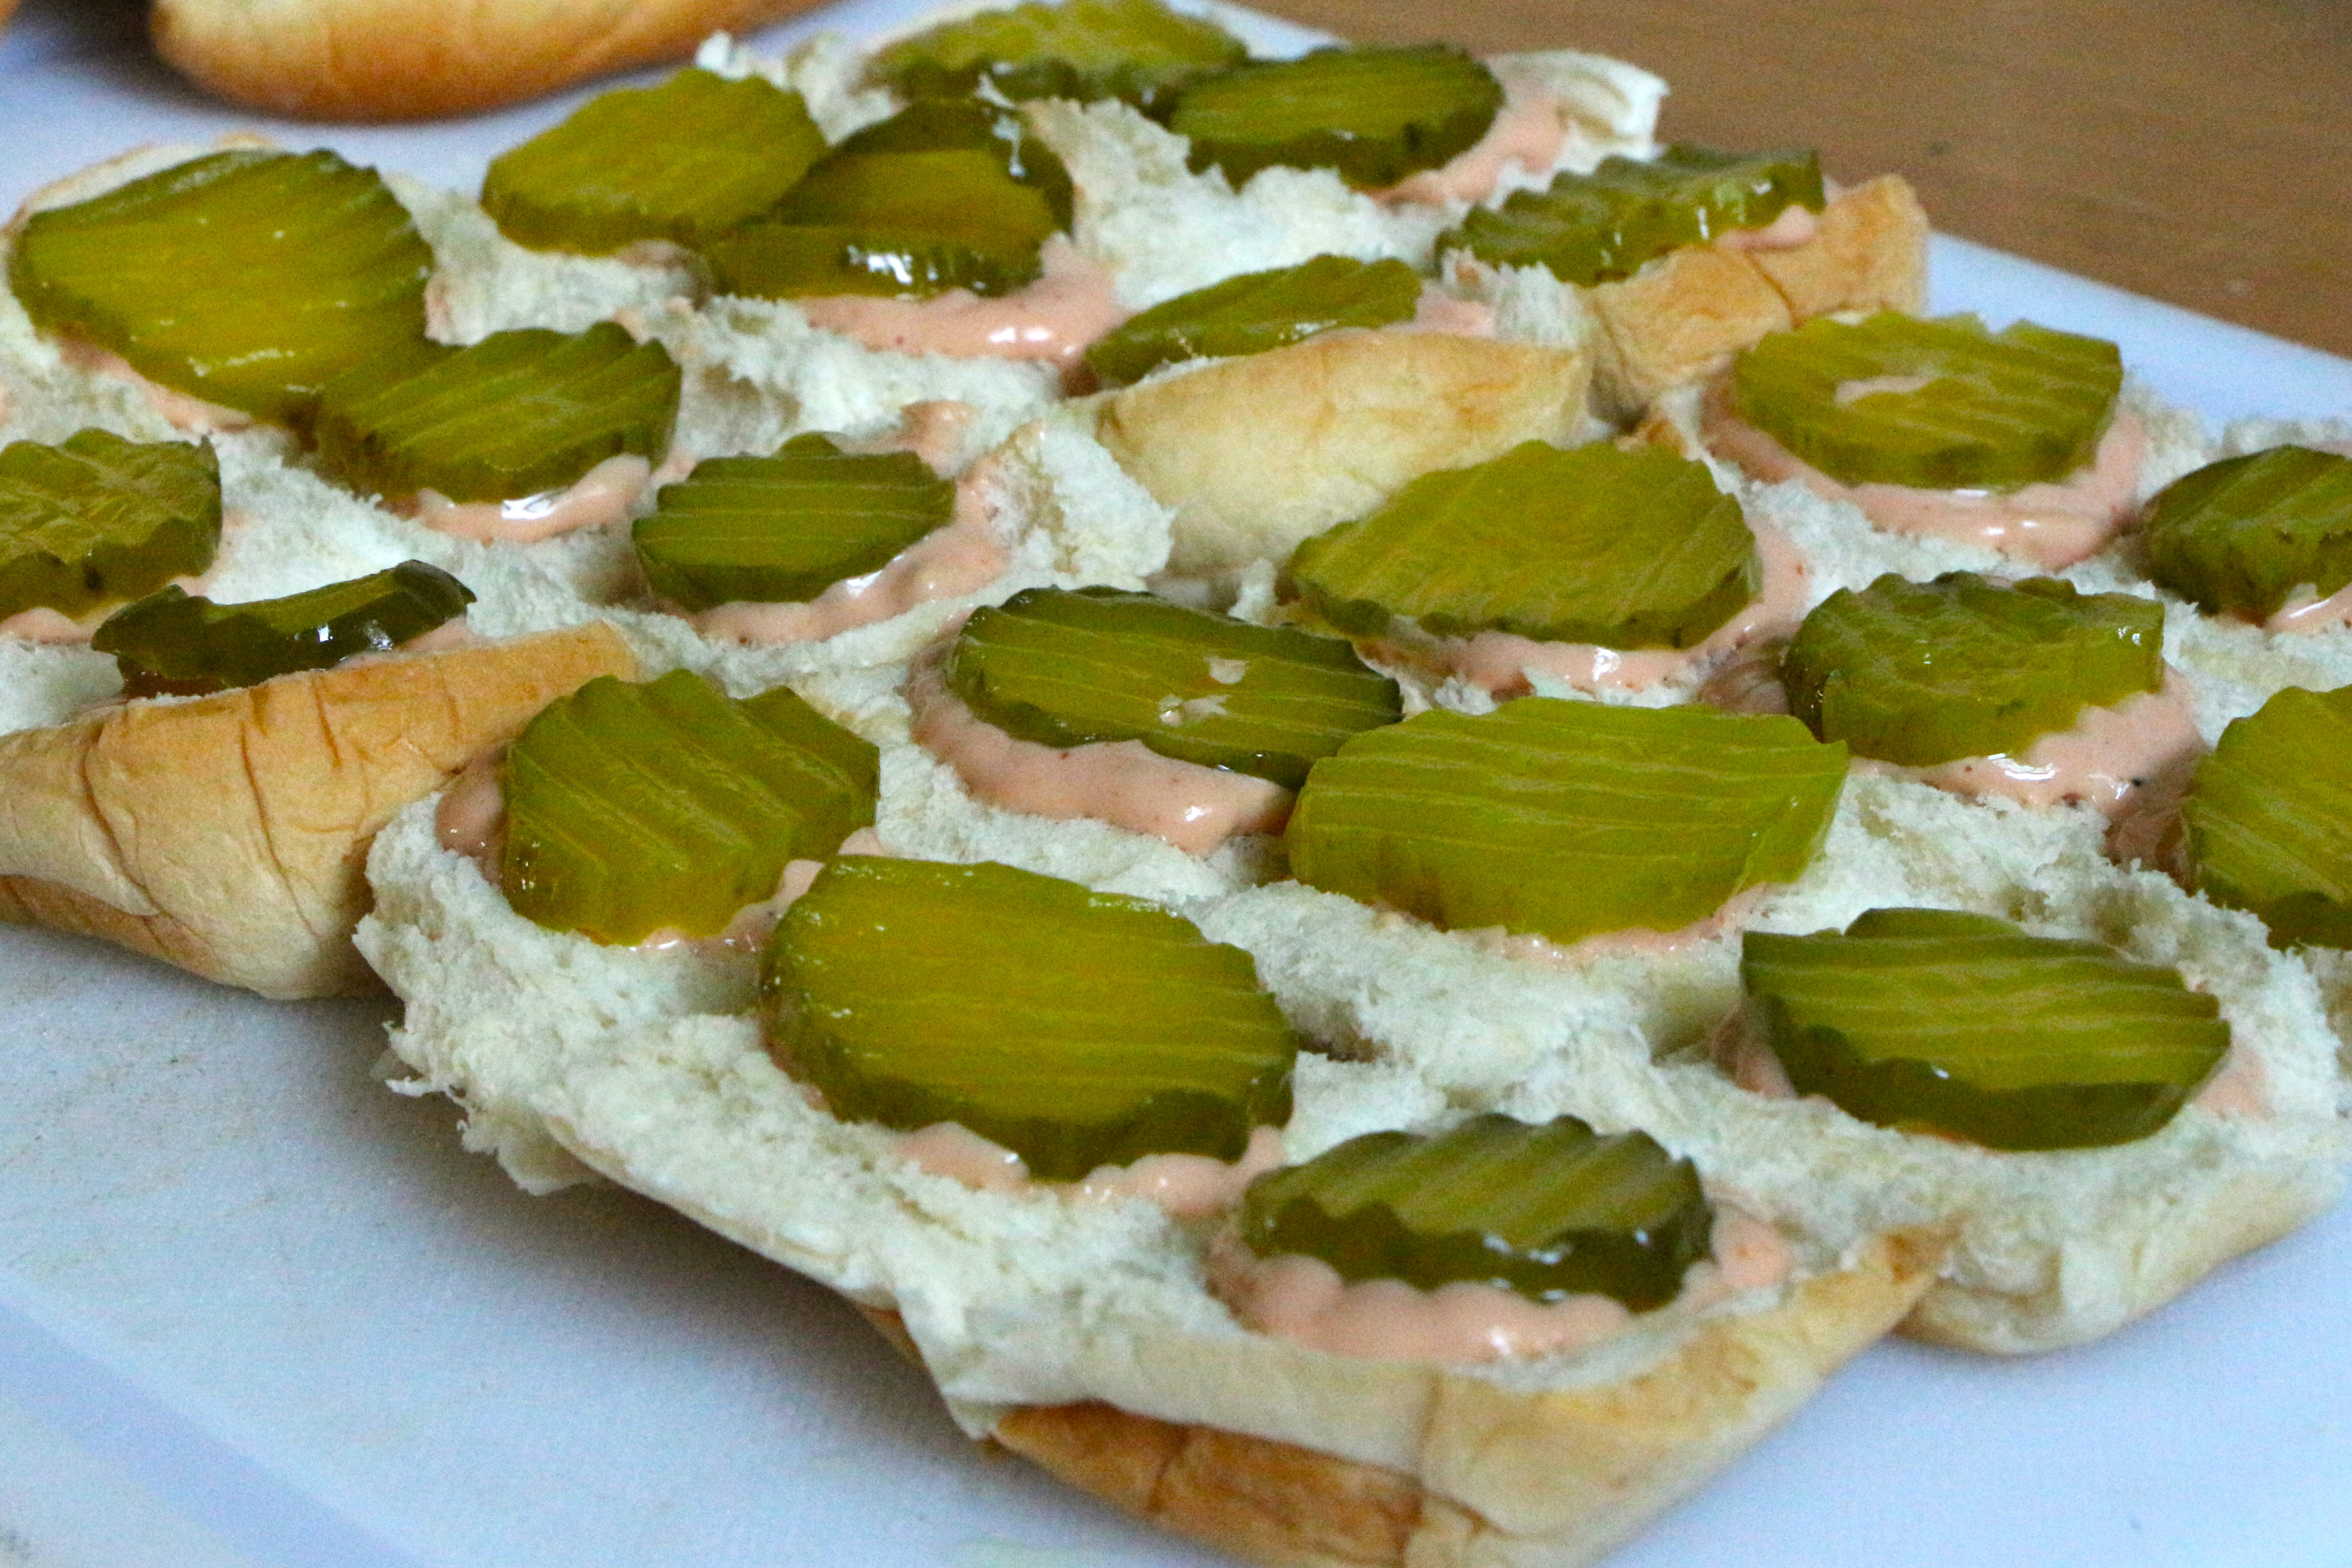
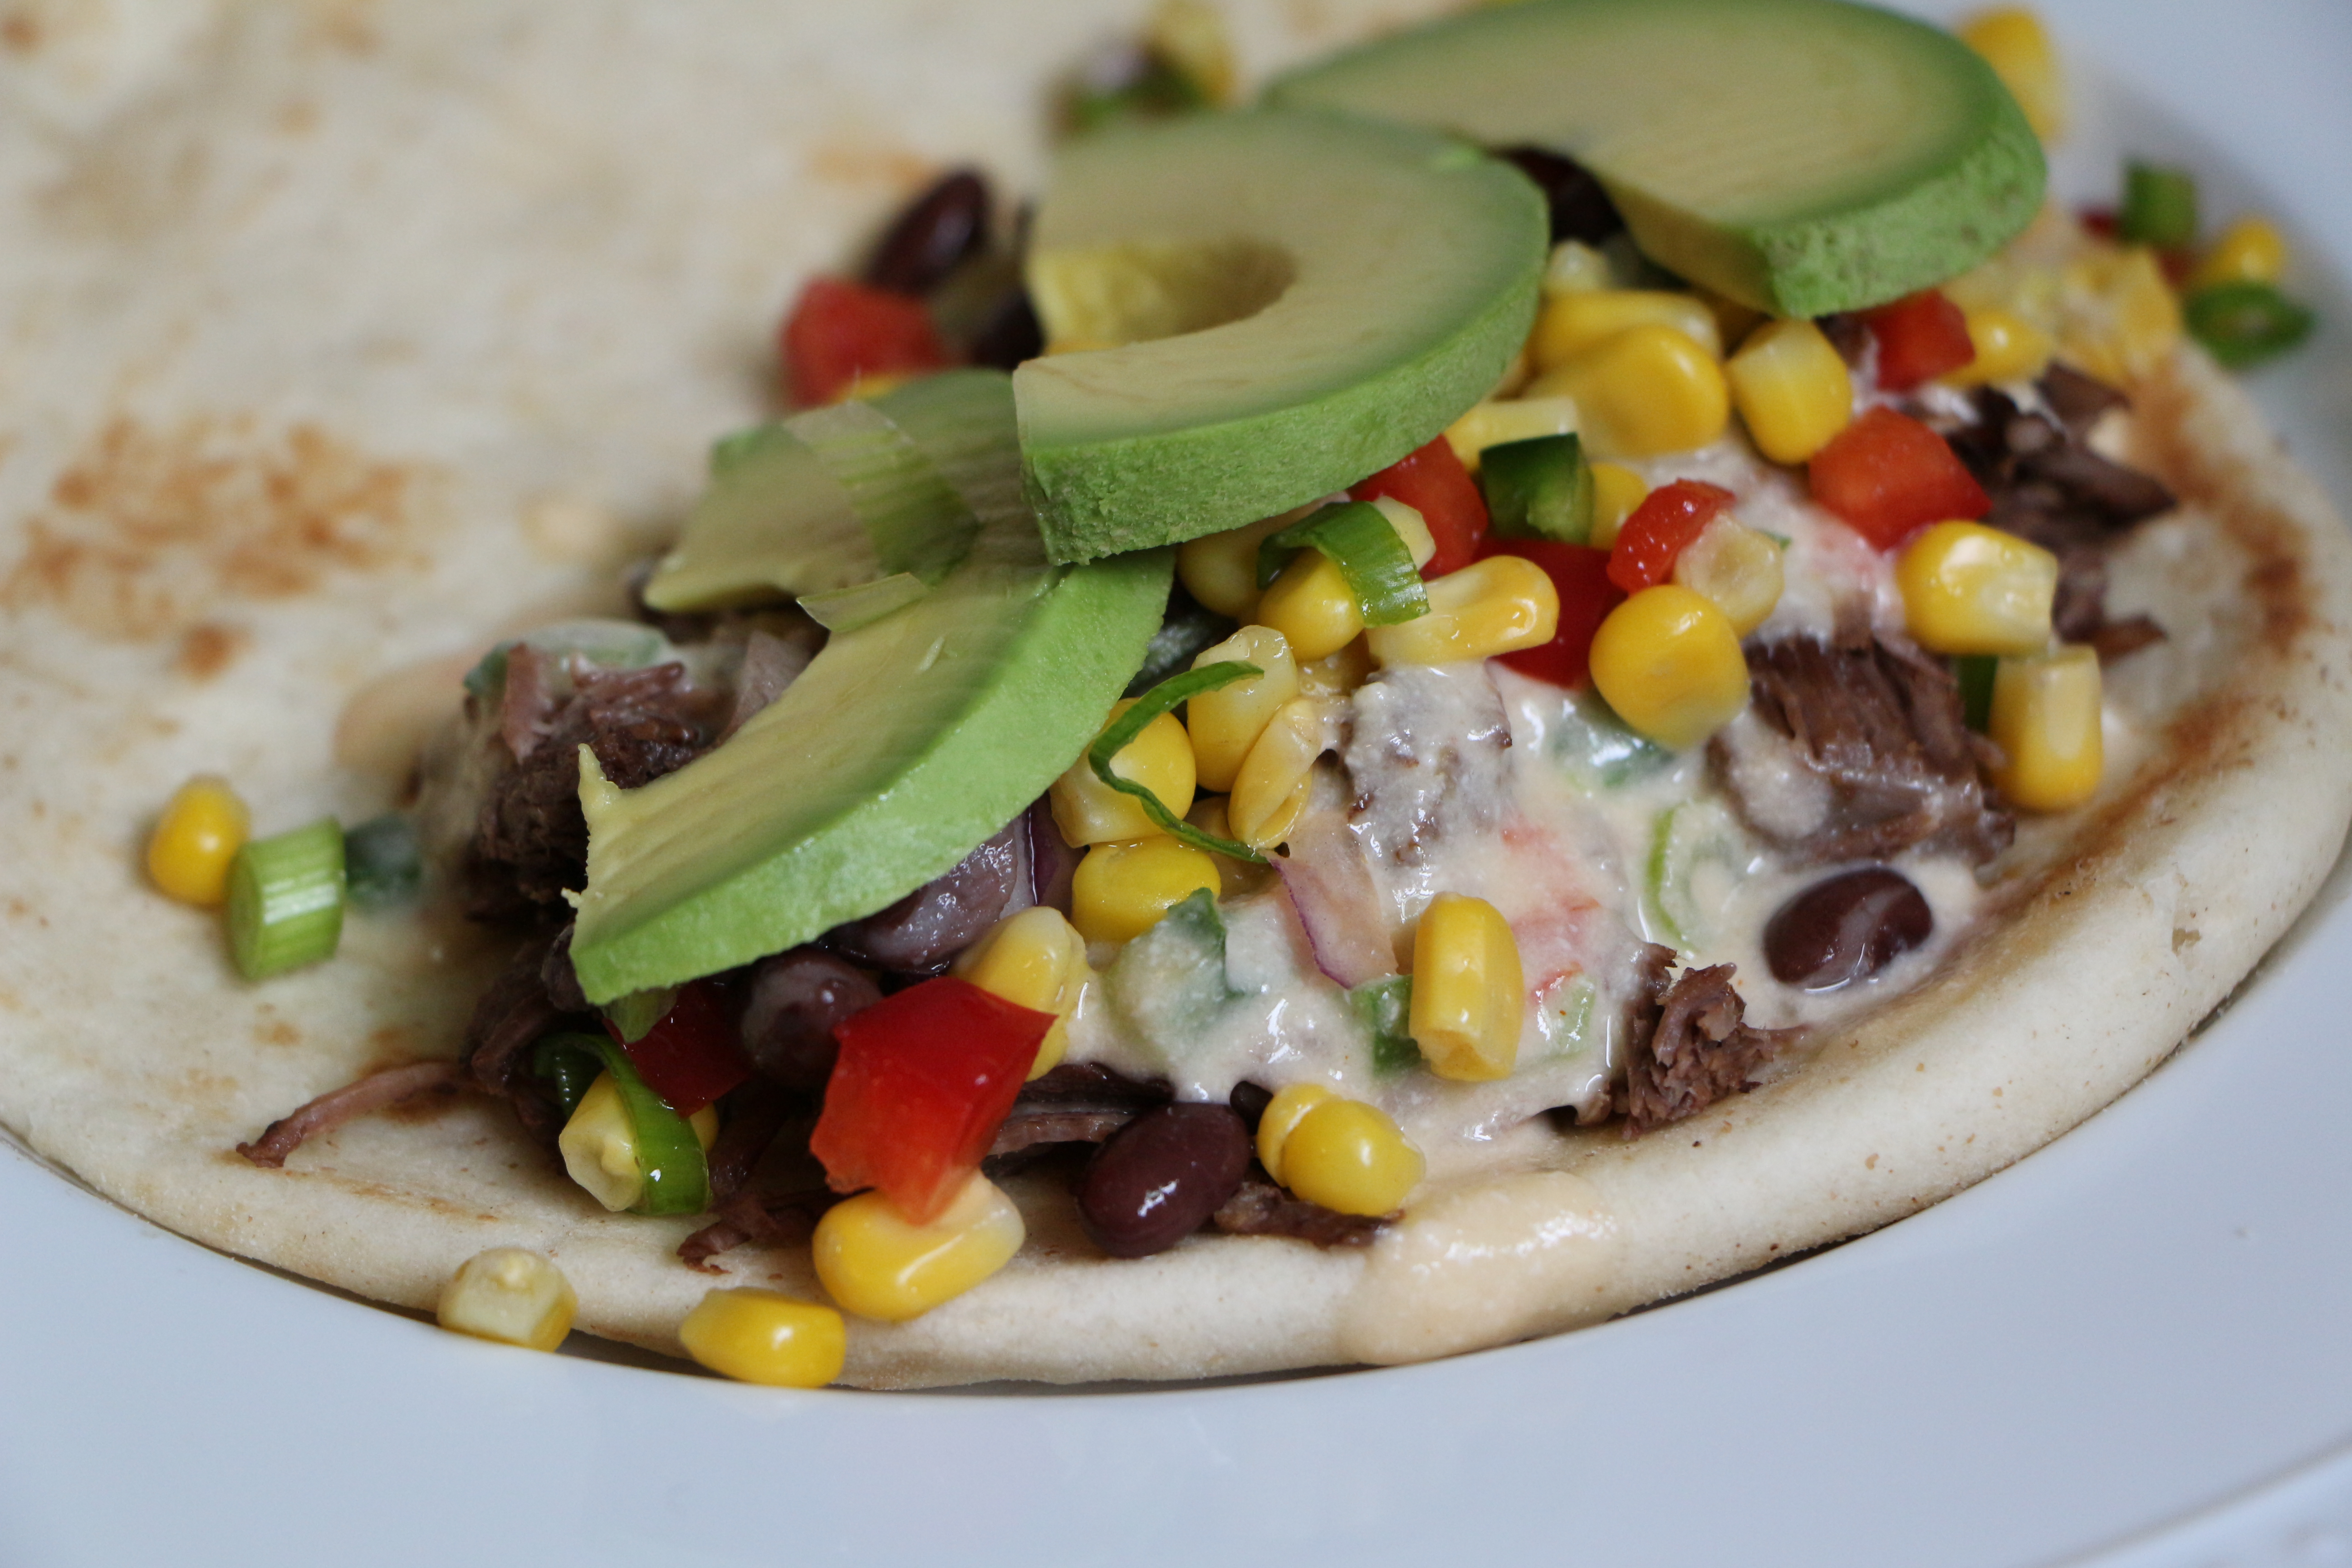
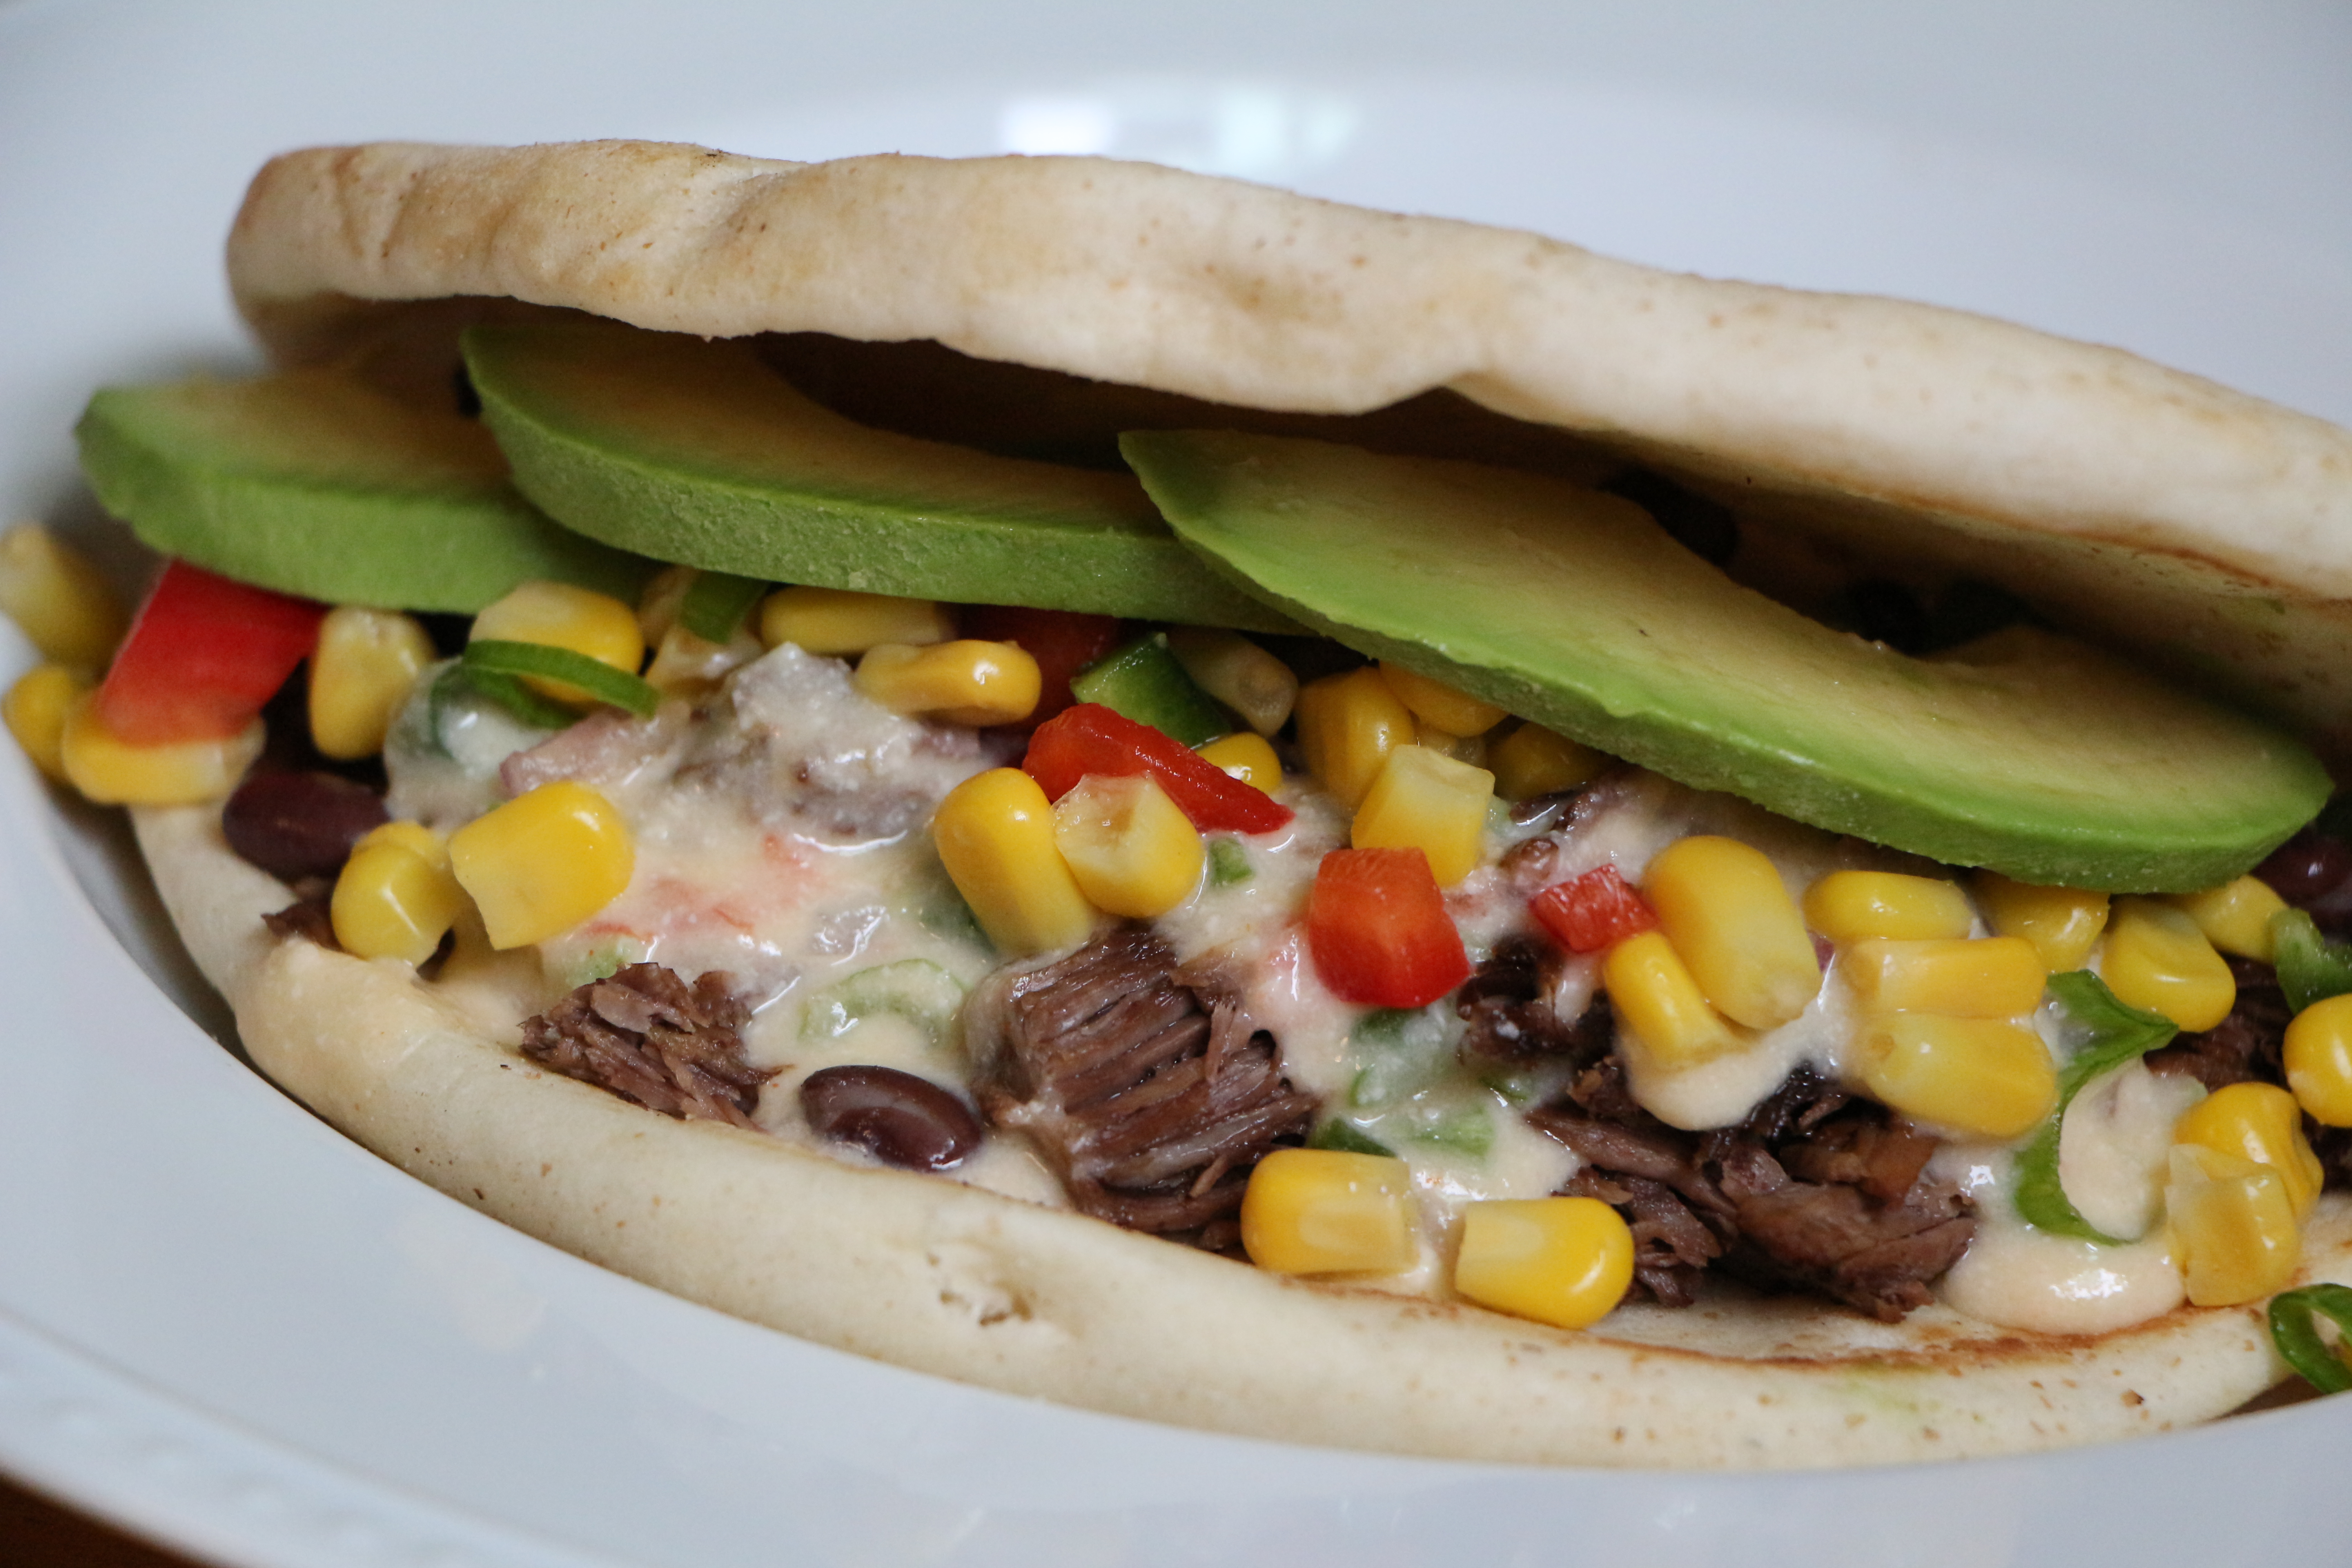
To Assemble the Sandwiches – Warm the flatbreads for a few minutes in a 350 degrees oven. In the center of each flatbread, place a generous mound of the braised beef. Drizzle the beef with warm queso. Top with the corn salsa and slices of fresh avocado.
Makes 4-6 Sandwiches