RSS Feed

Category Archives: Cakes

Thanksgiving Menu Ideas

Hey, folks…

Reposting last year’s round-up of Thanksgiving ideas for a little menu-planning inspiration!

~Amy

APPETIZERS

Cranberry Chipotle Meatballs

Corn and Bacon Fritters with Smoked Salmon

Bacon-Wrapped Dates stuffed with Bleu Cheese

THE MAIN EVENT

Herb-Roasted Turkey Breast with Pan Gravy (and tips for roasting a whole turkey)

Bacon and Cider Braised Turkey Drumsticks (and garlicky creamed spinach)

Spiced Sweet Potato Puree with Pecan Streusel

Sausage, Apple, and Leek Stuffing

Cranberry-Orange Sauce

Green Beans Almondine

Roasted Brussels Sprouts with Bacon and Walnuts

Hot Doughy Buns

DESSERTS

Chocolate Pecan Pie

Pumpkin Coconut Pie

A Few Variations on Apple Pie (in an all butter pie crust)

Caramel Apple Cake

Turkey-Shaped Sugar Cookies

Caramel Apple Tartlets

Spiced Mango Upside Down Cake

Cannoli Cheesecake

Cheesecake-Swirled Carrot Cake

Posted on

Every so often, I get an idea for a recipe which I’m certain is so genius that no home cook or master chef has thought of it yet. 99.9999% of the time, it turns out that someone else has already covered that ground. It’s really challenging to come up with something truly novel and unique in the culinary field…at least for me it is.

IMG_6415

Such is the case with this cheesecake-swirled carrot cake. The idea came to me as I was brainstorming for some interesting twist on carrot cake to share as Easter approaches. The way I figured it, if carrot cake and sweet vanilla cream cheese frosting are delicious together (and they are), and cheesecake is also made with cream cheese, sugar, and vanilla (which it is), then carrot cake and cheesecake would be delicious together. If A and B, then C sort of logic…or something like that anyway.

IMG_6446

I initially contemplated stacking layers of carrot cake with cheesecake, but the idea seemed too similar to a basic carrot cake with cream cheese frosting. That was the point where I decided I’d bake the two cakes together in one pan, intermingled to create one grand cheesecake-swirled carrot cake. It was in my research phase of concocting this delicious confection that I discovered The Cheesecake Factory already beat me to the punch. Having been to The Cheesecake Factory a grand total of one, maybe two times in my life, probably about ten years ago, this was news to me. Perhaps you’ve already had theirs??

IMG_6564

So, turns out my grand idea isn’t nearly as revolutionary as I’d initially thought, but it is spectacularly delicious, nonetheless. Rich, moist carrot cake gets twisted with a creamy classic cheesecake to create a treat which is sure to be the hit of the Easter dessert buffet. Ol’ Peter Rabbit might even forego his basket of candy in favor of a slice of this carroty beauty.

IMG_6503

Cheesecake-Swirled Carrot Cake

Ingredients

For the Carrot Cake

  • 1 3/4 cups flour
  • 3/4 teaspoon baking powder
  • 3/4 teaspoon baking soda
  • 3/4 teaspoon cinnamon
  • 1/4 teaspoon ginger
  • Pinch of nutmeg
  • 1/2 teaspoon salt
  • 2 sticks unsalted butter, softened to room temperature (plus more for greasing pan)
  • 2/3 cup dark brown sugar
  • 1/3 cup white sugar
  • 1 1/2 teaspoon vanilla
  • 2 eggs
  • 1/3 cup water
  • 2 cups finely grated carrots (approximately 4 medium-sized carrots)
  • 3/4 cup golden raisins (optional, but recommended)

For the Cheesecake

  • 3 8-ounce bars of cream cheese, softened to room temperature
  • 1 cup sugar
  • 3 eggs
  • 1 teaspoon vanilla

Directions

Preheat oven to 350 degrees. Grease a 10″ springform pan with butter.

For the Carrot Cake: In a large bowl, combine the flour, baking powder, baking soda, cinnamon, ginger, nutmeg and salt. In a separate bowl, beat together the butter and sugars until light and fluffy. Add the vanilla and the eggs, one at a time, beating between each addition. Add the water, then beat for another minute. Add the carrots, then beat for another minute. On low speed, gradually beat in the dry mixture until well blended. Stir in the raisins.

For the Cheesecake: Using an electric mixer, beat together the cream cheese and sugar until well blended. Add the vanilla and the eggs one at a time, beating until well blended.

To Assemble the Cake: Spread about 1/2 of the carrot cake batter over the bottom of the prepared springform pan. Drop large spoonfuls of about 1/2 of the cheesecake mixture on top of the carrot cake. Drop large spoonfuls of the remaining carrot cake mixture on top of and around the cheesecake. Pour the remaining cheesecake mixture over the top. Use a spatula to smooth the cheesecake on the top. Bake for about 55-65 minutes, until set.

Cool at room temperature for about an hour, then refrigerate for a few hours until completely chilled.

** Carrot cake portion of the recipe is adapted from Martha Stewart’s Carrot Cake recipe, found HERE.

Thanksgiving Inspiration

I learned something interesting about myself this week – I do not like corn bread stuffing. I love corn, corn muffins, corn bread, and corn fritters. I eat a ridiculous amount of corn when it’s in season. I even once made a sweet corn ice cream. But I do not like corn bread stuffing.

I guess it comes down to what you’re raised with – sort of how some families are the Crest kind of people and some families are the Colgate kind. Some families are loyal to Miracle Whip, while others will only use mayonnaise. Some families have corn bread stuffing at Thanksgiving and some families have white bread stuffing. Our family was always a Crest, mayonnaise, and white bread stuffing sort of family.

The four things I am most thankful for.

I didn’t realize how ingrained this inclination towards white bread stuffing was until I set about preparing a corn bread stuffing earlier this week. It should’ve been delicious, with crispy bits of bacon, tender dates, shallots, and celery. It was supposed to be a new recipe to feature in this post about Thanksgiving ideas. But I didn’t like it. I can’t even tell you if it was good or not, as far as corn bread stuffings go. I am just a white bread stuffing girl through and through and I couldn’t wrap my taste buds or my heart around that corn bread stuffing. I’m not sharing the recipe.

But I am going to share this round-up of wonderful, tried and true Thanksgiving ideas, in plenty of time to add them to your Thanksgiving menu…

Give thanks for good food, friends.

APPETIZERS

Cranberry Chipotle Meatballs

Corn and Bacon Fritters with Smoked Salmon

Bacon-Wrapped Dates stuffed with Bleu Cheese

THE MAIN EVENT

Herb-Roasted Turkey Breast with Pan Gravy (and tips for roasting a whole turkey)

Bacon and Cider Braised Turkey Drumsticks (and garlicky creamed spinach)

Spiced Sweet Potato Puree with Pecan Streusel

Sausage, Apple, and Leek Stuffing

Cranberry-Orange Sauce

Green Beans Almondine

Roasted Brussels Sprouts with Bacon and Walnuts

Hot Doughy Buns

DESSERTS

Chocolate Pecan Pie

Pumpkin Coconut Pie

A Few Variations on Apple Pie (in an all butter pie crust)

Caramel Apple Cake

Turkey-Shaped Sugar Cookies

Caramel Apple Tartlets

Spiced Mango Upside Down Cake

Cannoli Cheesecake

Spiced Mango Upside Down Cake

When I think of mangos, my first thoughts are of tropical flavors. I’m pretty sure the mango belongs somewhere in that song with the lime and the coconut. I think of seafood and summery flavors, like fish tacos and spicy mango salsa (with mango margaritas on the side). I think of mango creamsicle smoothies, chilled mango cucumber soups, or even barbecue bacon mango pizzas. It’s certainly never occurred to me to combine mango with the aromatic spices of the holiday season, like cinnamon, ginger, nutmeg, or cloves.

So, when the National Mango Board offered to send me a sampling of mangos along with some ideas for pairing mangos with festive holiday flavors, my interest was piqued. I accepted their offer, eager for the opportunity to experiment with one of my favorite fruits in a novel way.

The shipment of perfectly ripe mangos arrived last week. Along with the selection of vibrant mangos, the National Mango Board provided a sampling of seasonal spices and a few recipe cards for inspiration. One of those recipe cards grabbed my attention in a way I couldn’t resist; Mango Upside Down Cake.

This festive spiced mango upside down cake is a definite keeper. The cake is moist and flavorful with a satisfying texture, the result of folding beaten egg whites into the batter; an extra step worth taking. And I’m fairly certain I could be happy eating nothing but the tender mango and caramelized top of this cake for the rest of my life. Seriously, the gooey top layer of this cake is something that epic poems should be written about.

This cake would work well any time of year, though I think it would be make a perfect addition to any Thanksgiving or Christmas dessert spread. The glazed top and artful mango star make it truly show-stopping and worthy of the festive season!

Today’s Focus on Technique – Folding in Egg Whites

Beaten egg whites can be folded into a variety of dishes, such as cake, mousse, souffle, and waffles for a lighter, fluffier result. The goal of folding in the egg whites, as compared to just stirring them in, is to maintain as much of the air, which has been beaten into the egg whites, as possible.

To begin, start by carefully separating the yolks from the whites, taking care not to allow any yolk to mix with the whites. (This can prevent the egg whites from getting properly light and fluffy.) Beat the egg whites using an electric mixer at medium/medium-high speed until soft peaks form. To incorporate the egg whites into your batter, start by adding about 1/3 of the beaten egg whites. Holding your spatula in an almost horizontal position, gently turn the mixture over the egg whites until the egg whites are incorporated. (This first 1/3 helps to lighten the batter, making it easier to incorporate the remaining 2/3). Add another 1/3 of the mixture, gently lifting and turning the batter over the egg whites. Add the remaining 1/3 of the egg whites, using the same gentle lifting and turning maneuver, just until the egg whites are blended and no longer. Over-mixing the egg whites into the batter will diminish the lightening effect of the beaten egg whites.

Spiced Mango Upside Down Cake

Ingredients

  • 1 1/2 sticks (12 tablespoons) unsalted butter, softened (divided)
  • 1/2 cup light brown sugar
  • 1 large mango, peeled, pitted and sliced ¼-inch thick
  • 1 1/2 cups all-purpose flour
  • 1 teaspoon baking powder
  • 1/4 teaspoon salt
  • 1/4 teaspoon ground cloves
  • 1/4 teaspoon ginger
  • 1/2 teaspoon cinnamon
  • 1 cup granulated sugar
  • 1/2 teaspoon orange zest
  • 3 eggs, separated
  • 1 teaspoon vanilla extract
  • 1/3 cup mango nectar or mango puree
  • 1/3 cup milk

Directions

Preheat oven to 350 degrees. Butter a 9-inch round cake pan, set aside.

In small saucepan, melt ½ stick of butter and stir in brown sugar, simmer for about 2 minutes. Pour mixture into prepared cake pan and top with sliced mango, creating a circular fan pattern.

In medium bowl, stir  together flour, baking powder, salt, cloves, and cinnamon. Set aside.

In another bowl, using an electric mixer, beat remaining 1 stick softened butter, granulated sugar and orange zest on high until pale yellow and fluffy, about 5 minutes. Add whole egg yolks, one at a time until well blended. Add vanilla. Decrease speed to low and add half of flour mixture. Mix in mango nectar (or mango puree) and milk and then remaining flour mixture.

In another bowl, beat egg whites until soft peaks form. Fold one third of the egg whites into the batter. Repeat with another third of the egg whites. Finally, fold the remaining third of egg whites into the batter, taking care not to over-mix.

Carefully pour cake batter over mangos, spreading evenly. Bake for about an hour, or until toothpick inserted into center of cake comes out clean. Cool in pan for 15 minutes then invert cake onto plate. Cool completely.

Garnish with whipped cream or vanilla ice cream and candied orange peel, if desired.

*Recipe slightly modified from the one provided by the National Mango Board

The National Mango Board provided me with a box of mangos and sampling of spices, which I used to prepare this recipe.

Cannoli Cheesecake

I was undecided – and frankly, feeling a bit resentful over the implication that we undecided folks were either not paying attention or have the intellect of potatoes. I’d paid attention, done my research, weighed the pros and cons, and reflected on my personal tastes. And yet, I was still undecided; twisted by my contrary desires, unable to decipher the antsy feeling in my gut.

I take important decisions such as these quite seriously, you know.

But how in the world is a person supposed to choose between cheesecake and cannoli?? (Oh, did you think I was talking about the presidential election?) I mean, the cheesecake is rich and refined – maybe a little too rich for my tastes – but an intriguing option nonetheless. The familiar cannoli is a bit rougher around the edges and sometimes messy to consume, yet it calls to me. I wanted both; I wanted neither. My stomach churned with restless indecision. What if I wanted something different? Another choice on the menu? A third-party option of sorts?

So I decided not to choose between the cannoli or the cheesecake. I wanted something else. So I voted for the cannoli cheesecake instead.

This cannoli cheesecake isn’t going to be making any speeches come inauguration day, but it’s a definite winner in my book. Creamy, sweetened ricotta is blended with cream cheese and hints of chocolate, candied orange, and cinnamon, then baked in the form of a decadent cheesecake with a graham cracker crust. The end result is lighter than a traditional New York style cheesecake, with the subtle texture of ricotta cannoli filling. It’s presidentially delicious.

Author’s Note – By no means is this post intending to compare our presidential candidates to delicious Italian desserts. That would just be silly. I did, in fact, vote for an actual candidate in today’s election; not a cannoli cheesecake. Though if this cannoli cheesecake were on the ballot, it probably would have had my support.

Today’s Focus on Technique – Cooking with a Bain Marie

Cooking in a bain-marie refers to using a water bath. The purpose of using a water bath is to moderate the oven heat so that delicate ingredients cook more slowly and evenly. The water provides a moist, indirect heat that allows for a more gentle cooking process, which is ideal for many egg-based desserts, such as cheesecake, custard, and creme brulee.

No special equipment is required for a bain-marie set-up. You can make use of a regular roasting pan, baking dish or baking pan. Place the pan or ramekin you’re cooking in within the larger baking dish or baking pan. Place the entire set up in the oven, then fill the outer pan with a layer of warm water. (Placing the set-up in the oven before filling it with water is usually the easiest approach.)

*Always wrap the bottom of springform pans to prevent water from seeping into the bottom.

Cannoli Cheesecake

Ingredients

  • 1 1/2 cup graham crackers, finely crushed
  • 3 tablespoons sugar
  • 8 tablespoons unsalted butter, melted
  • 1 pound cream cheese (2 8-ounce bars), softened to room temperature
  • 1 15-ounce container ricotta cheese
  • 1 1/4 cups sugar
  • 1 teaspoon vanilla extract
  • 1/4 teaspoon cinnamon
  • 1/4 cup candied orange peel, finely diced
  • 4 eggs
  • 1/2 cup mini chocolate chips

Directions

Preheat oven to 350 degrees.

For the crust: Combine the graham cracker crumbs, sugar, and melted butter. Press the mixture into the bottom of a 10 inch springform pan*. Place the pan in the oven for 5 minutes to set the crust. Remove the pan from the oven and cool while you prepare the filling. (Leave the oven on.)

For the filling: Beat together the cream cheese and sugar until smooth. Add the ricotta cheese, vanilla extract, cinnamon, and orange peel. Beat for another minute until well blended. Add the eggs one at a time and beat just until blended. Stir in the chocolate chips.

Securely wrap the bottom of the cooled springform pan with foil (to prevent water from seeping into the pan).

Pour the filling into the springform pan. Place the pan within a large baking sheet or baking pan. Place the water bath set-up on the middle oven rack, then pour a small layer of warm water into the baking sheet/baking pan, so that it comes about 1/2″ up the side of the springform pan.

Bake for 60-65 minutes. The filling will still be slightly jiggly in the center when done. Cool the cake for 30 minutes at room temperature, then refrigerate until completely chilled.

*You can use a smaller springform pan, but the cooking time will vary.

Chocolate Peanut Butter Chocoflan

Posted on

I lied to you a little, about the whole not needing a wine rack because we drink our wine too fast. That statement is mostly true. We buy our regular wine in the big 1.5 liter bottles. It’s sold two for twenty bucks and it’s pretty darn tasty for that price. We are not wine snobs, as you can tell. I mean, we appreciate a fine wine, but we’ll gladly drink the cheap stuff too, as long as it doesn’t taste like grape juice mixed with well vodka. We pick up a few of those big bottles each week and we drink them promptly. Wine storage isn’t really a concern for us.

But we do actually have a small collection of wine in our wine cellar…errr, I mean the basement storage room, right next to the bins of Christmas decorations and miscellaneous crafting supplies. There are probably ten or so bottles down there; mostly wines we were given as gifts, a few mementos from our wedding, and some we picked up on wine tours. For the most part, they are white wines, which are spared from drinking due to our preference for red and the fact that they live unchilled in our basement.

There was a bottle of red down there. Was. I hadn’t forgotten about it. Many a night, I’ve thought about that bottle of wine. We bought it on a wine tour in Virginia, one weekend that we spent at this great little spa hotel. The concierge paired us with another couple and we shared a limo as we toured some the area’s wineries. We tasted several wines that day, including one with an aroma of tobacco that one of our new wine tour friends described as smelling of Colonial Williamsburg. Oddly, we all knew exactly what she meant. None of us purchased that wine. But we also tasted a delicious red called Ameritage Reserve at Pearmund Cellars; a blend of their best malbec, petite verdot and cabernet sauvignon. We were told it would be an ideal wine for aging. So we bought it and we aged it…for 9 years. We probably would have aged it forever if I hadn’t reminded my husband of its existence last night.

But, we were about to start the final episode of Downton Abbey’s second season and we’d exhausted our big bottle of cheapo red. We’d already watched two episodes that evening and were feeling quite regal by that point, as if we were destined for a life of fine wine. We do have a bottle of red, I heard myself say. Well, crack it open, was my husband’s response. And then we cracked open the bottle of 9 year old red. The cork practically crumbled as I pulled it from our precious aged wine. We traded in our standard drinking tumblers for actual wine glasses and took a sip. It was beautiful. It tasted as elegant as the halls of Downton Abbey. I may or may not have spoken with an English accent for the remainder of the evening.

It’s going to be hard to go back to drinking our budget wine this evening.

That wine was a special treat. No regrets.

I’ve got a treat for you too. Sometime in the weeks before our little Mexican fiesta, I picked up a Better Homes and Gardens magazine which featured all Mexican recipes. As I was flipping through the mag, I came across a recipe for a minted cake with a layer of dulce de leche flan on the top. Honestly, the combination of mint and dulce de leche did nothing to excite my taste buds, but in the description of this recipe, it mentioned something called chocoflan. Chocolate cake and creamy, caramelly flan??  Yup. I could get behind that idea. I found a recipe for chocoflan on the Food Network website and made it for my fiesta.

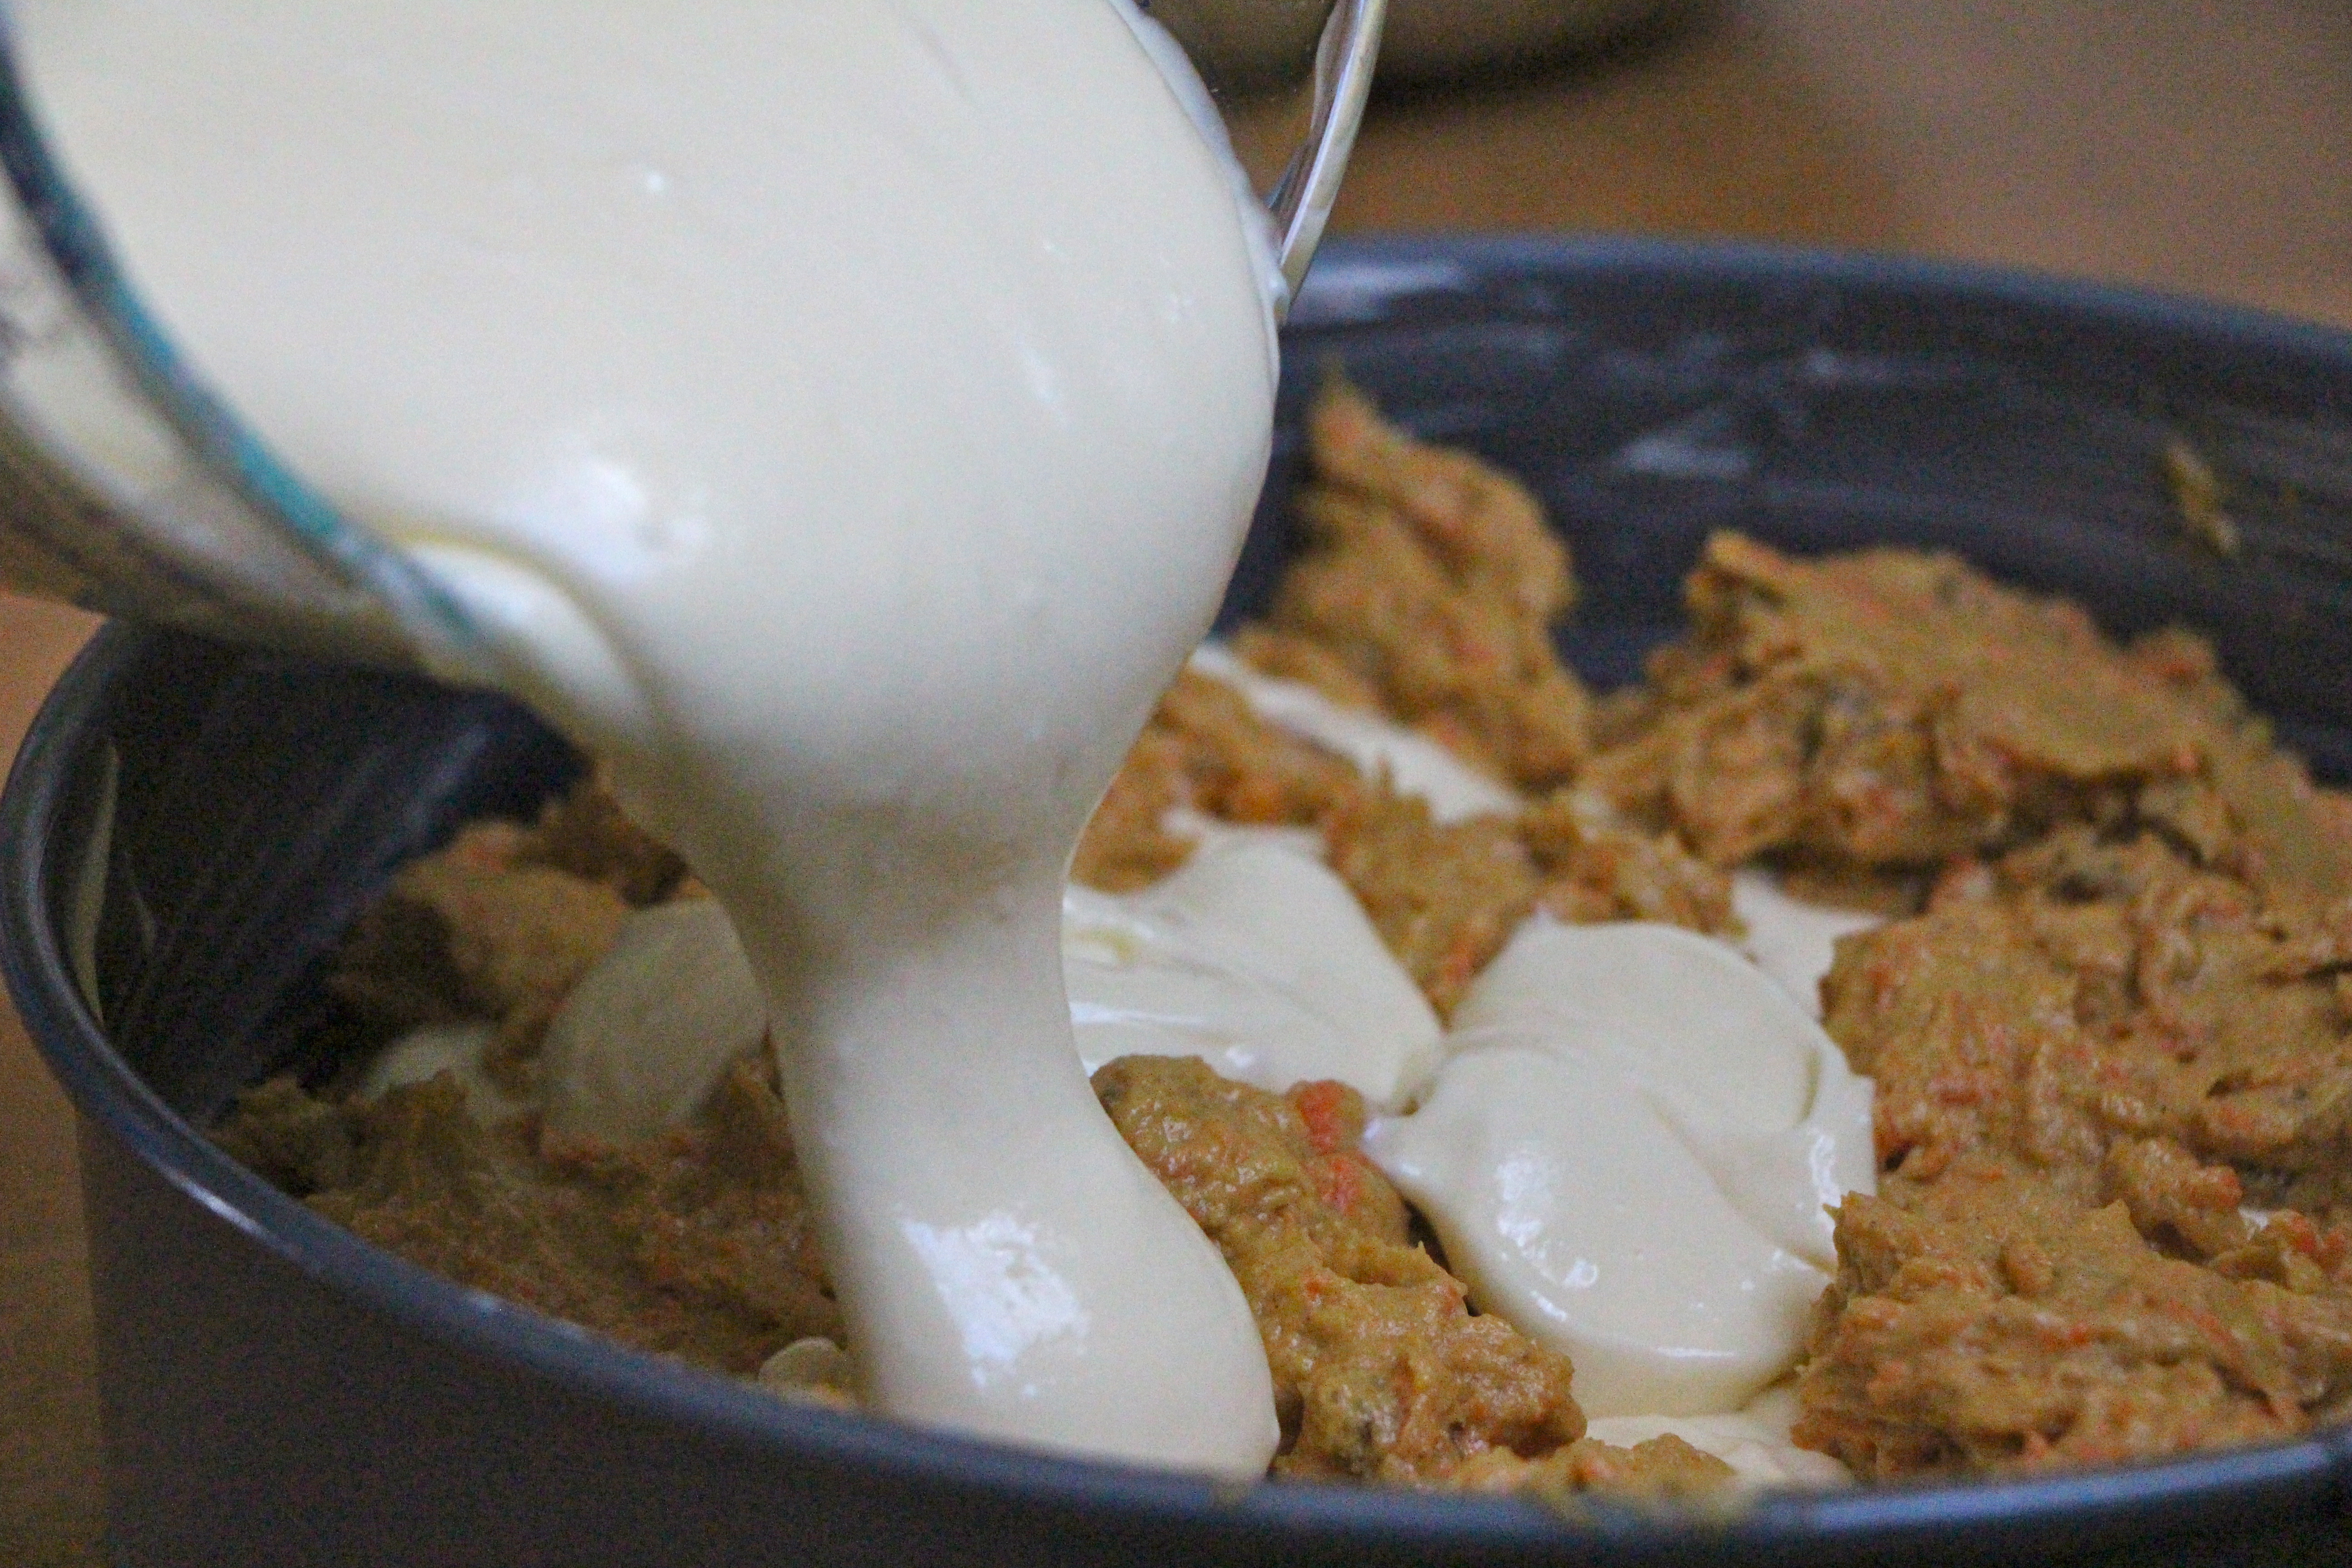
As far as baking goes, this is a pretty cool cake to make. The flan mixture gets poured over the cake mixture and sometime during the baking, the cake rises to the top, while the flan gently cooks in the bottom of the bundt pan. I followed the original recipe exactly as written, as I often do when I’m baking something unfamiliar. Baking is a much more exact process than cooking, so it’s a bit more important not to play around too much with ingredients and procedures until you have a better sense of what you’re working with. So, when the recipe instructed me to ‘giggle a little’, I giggled as told, even though I’m guessing the actual intention was to jiggle the cake.

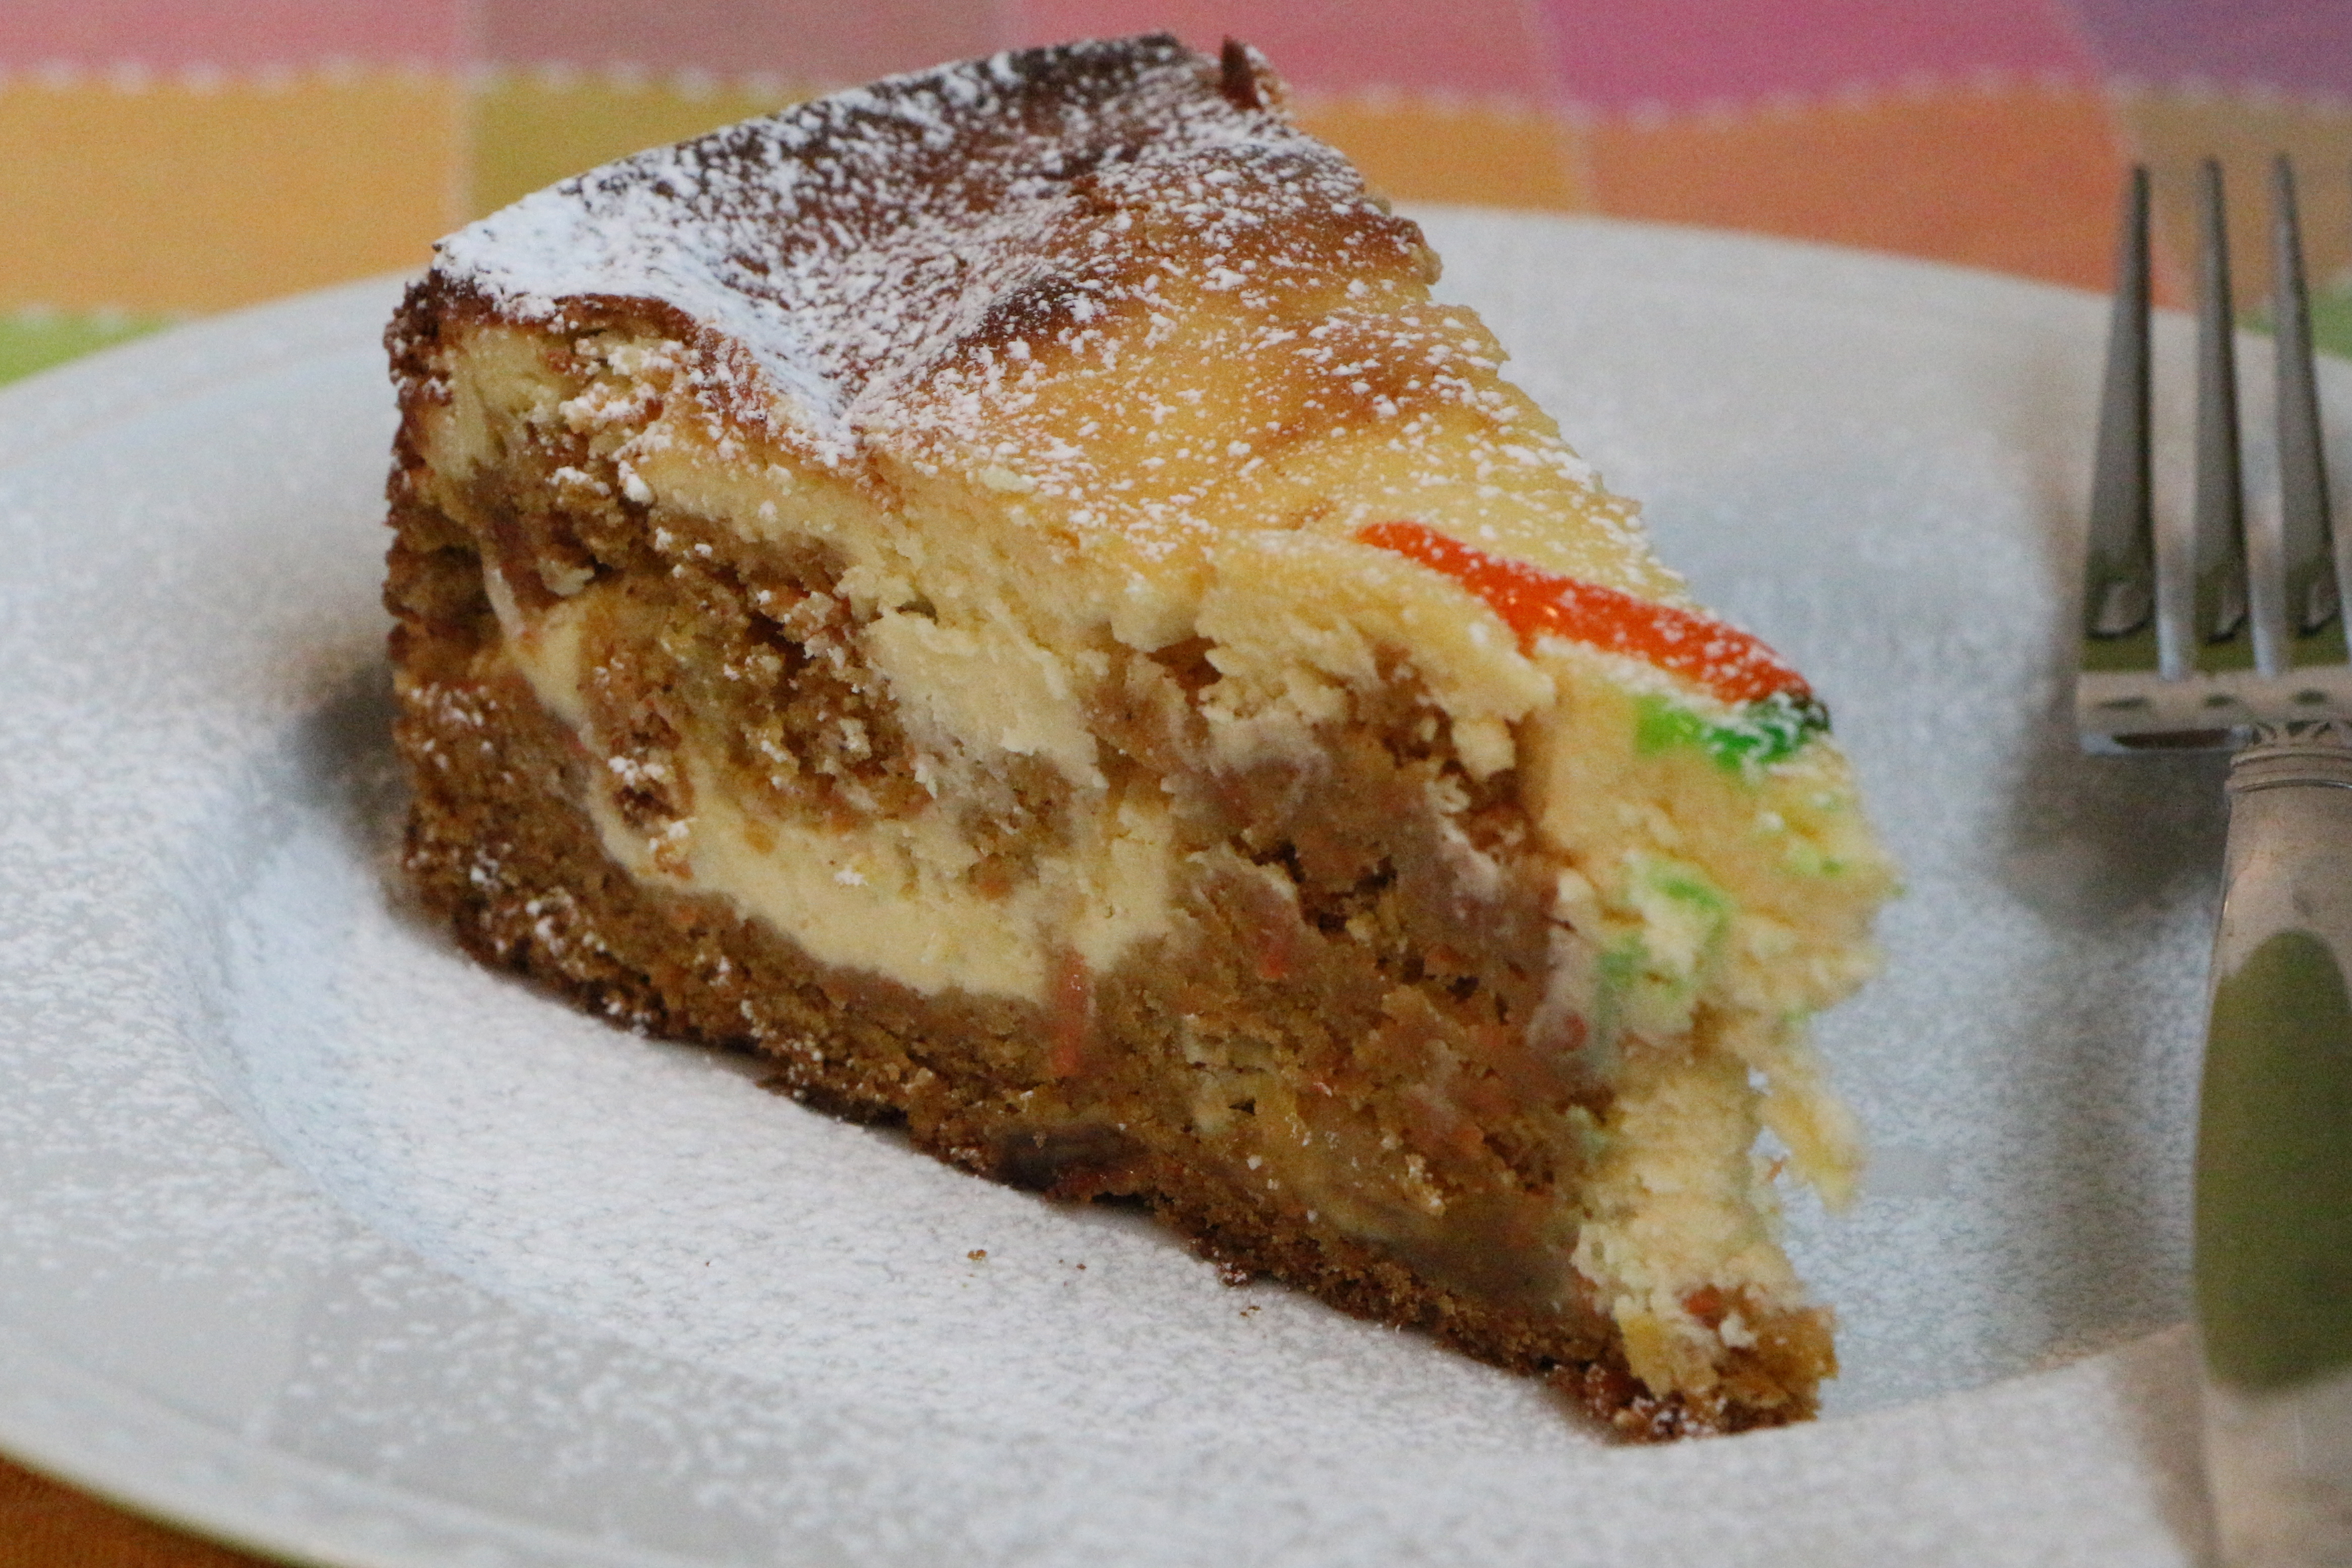
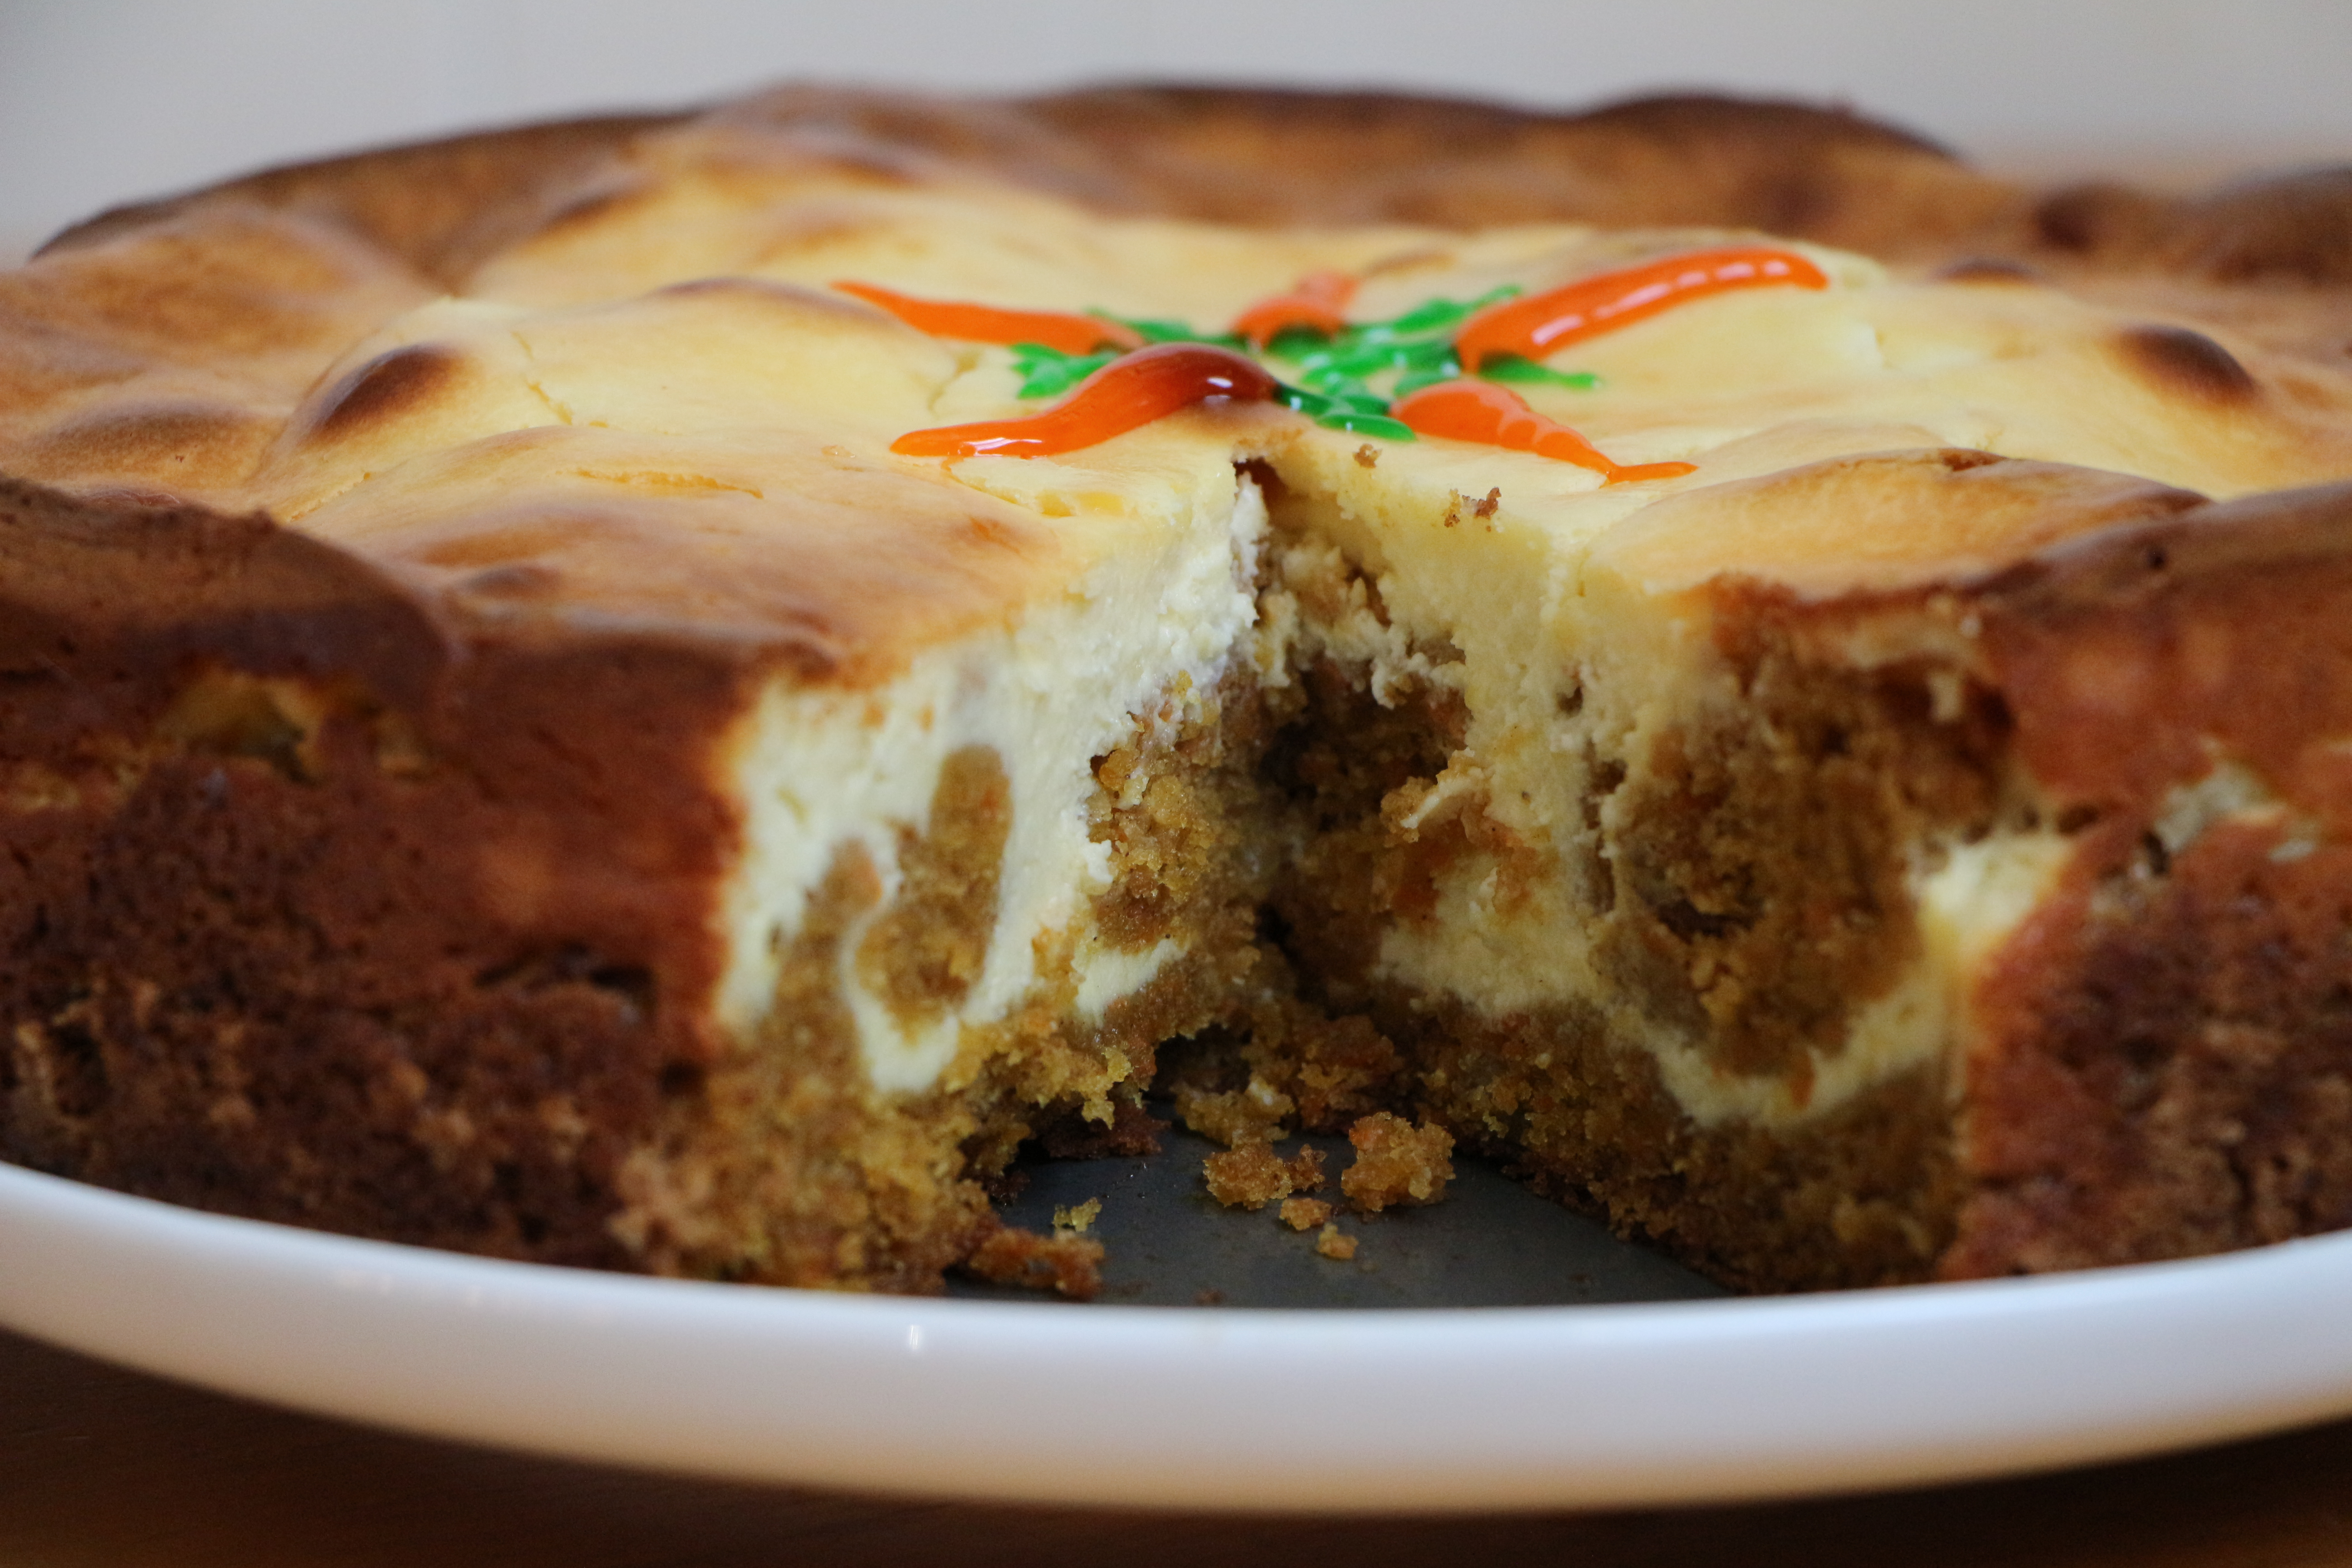
The end result is delicious and show-stoppingly gorgeous. The cake is rich and dense, almost like a brownie. The flan is as decadent and satisfying as that aged wine; a perfect complement to the chocolatey cake. Though perfect as is, I toyed around with the recipe on my second attempt, substituting creamy melted peanut butter and warm fudge sauce for the dulce de leche in the original recipe. A handful of peanut butter chips, added to the cake batter, spreads peanut buttery flavor throughout the rich dessert.

This cake doesn’t really fall in line with my desire to lose a few pounds, but man is it worth the splurge! Just cut yourself a really, really skinny slice!

Chocolate Peanut Butter Chocoflan

Adapted from Marcela Valladolid’s Chocoflan

 Ingredients

For the Cake

  • 10 tablespoons butter, softened (plus additional butter for pan)
  • 1 cup sugar
  • 1 egg
  • 1 3/4 cups flour
  • 3/4 teaspoon baking powder
  • 3/4 teaspoon baking soda
  • 1/3 cup cocoa powder
  • 1 1/4 cups buttermilk
  • 1/3 cup peanut butter chips

For the Flan

  • 1 (12-ounce) can evaporated milk
  • 1 (14-ounce) can sweetened condensed milk
  • 4 ounces cream cheese, softened to room temperature
  • 3 eggs
  • 1 tablespoon vanilla extract

Garnish

  • 1/3 cup peanut butter, melted
  • 1/3 cup prepared fudge sauce, warmed
  • 1/4 cup chopped peanuts

Directions

Preheat oven to 350 degrees.

Rub the inside of a 12-cup bundt pan with butter to prevent sticking.

To prepare the cake: Using an electric mixer, beat the butter and sugar together until light and fluffy. Add the egg and beat for another minute. In a separate bowl, combine the flour, baking powder, baking soda and cocoa powder. Beat a third of the flour mixture into the butter mixture, followed by half of the buttermilk, followed by another third of the flour mixture, then the remaining buttermilk, and ending with the remaining flour mixture. Stir in the peanut butter chips. Spread the cake mixture in an even layer on the bottom of the prepared bundt pan.

To prepare the flan: Combine all flan ingredients in a blender and blend until well-combined. Pour the flan mixture over the cake batter. (Don’t worry if the cake batter mixes a bit with the flan. They will separate during baking.)

Cover the bundt pan with foil. Place the bundt pan inside a larger roasting pan or large skillet. Carefully fill the roasting pan or skillet with about an inch or so of hot water. (The hot water bath will help the flan custard to cook gently.)

Place the pan on the middle oven rack and bake for about 90 minutes*, until the top of the cake is firm and a toothpick inserted comes out clean. Carefully remove the pan from the oven, remove the bundt pan from the water bath, and cool for at least an hour at room temperature. Then, give the bundt pan a little jiggle to ensure the cake and flan are loosened. Place a large serving plate over the top and invert the cake onto the serving plate. Refrigerate for several hours before serving.

To garnish, drizzle the top of the cake with the melted fudge sauce and peanut butter. Sprinkle with the chopped peanuts.

*The original recipe calls for a cooking length of one hour, but it actually takes a good 90 minutes, as I’ve noted in my adaptation of the recipe.

Water bath set-up

Pina Colada Pound Cake

Posted on
My husband to the baby: Goobs (our nickname for the baby), tonight we begin Operation Go the ‘Fudge’ to Sleep.

The baby responded with a happy leg shake and wide eyes which clearly seemed to communicate, Oooh…sounds important!

Then he shook his hands excitedly above his head, I love secret missions! I’ve been working on Operation Stay the H.E.Double Hockey Sticks Awake for almost a year now. It’s been remarkably successful.

We know, Goobs. We know. But your mission ends tonight.

*
Our littlest man’s sleep habits have been a challenge, to say the least. We’d established a routine where he’d spend the first half of the night in his crib and the second half snuggled in bed next to me. It wasn’t our ideal plan, but it enabled everyone to get some sleep, so we went with it. (And to be perfectly honest, I frickin’ love those snuggles.) But lately, this routine isn’t working and no one is sleeping. We’re being forced to confront his sleep routine head on. Parenting, much like being the president, is hard work.
 *
 *
I could really use a vacation, preferably someplace sunny and tropical. Someplace where I can drift off into an uninterrupted sleep to the sound of gently crashing waves on a beach. Someplace with an endless supply of fruity beverages, garnished with bright red cherries and fresh orange slices. And pink paper umbrellas.
 *
Perhaps once the baby learns to sleep through the night, we’ll plan a weekend getaway. In the mean time, I’ve got this piña colada cake. I started with a buttery lemon pound cake and upped the ante with a touch of rum and a hefty dose of tropical fruits. Then, I drizzled the sweet cake with a tart lemon glaze and shredded coconut. It’s no drink on a tropical beach, but it’s pretty darn good!
 *
 *
Piña Colada Cake 
Ingredients
  • 1 2/3 cups flour
  • 3/4 teaspoon salt
  • 1 teaspoon baking powder
  • 1 cup (2 sticks) unsalted butter, softened
  • 1 cup sugar
  • 4 large eggs
  • 1 lemon, finely zested and juiced
  • 1 tablespoon rum (optional)
  • 1/2 cup sweetened, shredded coconut
  • 1/3 cup crushed pineapple, well drained
  • 1/3 cup mandarin orange slices, well drained and chopped
For the garnish
  • 1 cup confectioner’s sugar
  • 2 tablespoons lemon juice
  • 1/3 cup shredded, sweetened coconut

Directions

Preheat oven to 350 degrees. Lightly butter and flour a large loaf pan.

In a medium bowl, combine the flour, salt, and baking powder. With an electric mixer, beat together the butter and sugar until light and fluffy. Add the eggs, one at a time, until well blended. Add the lemon juice, zest, and rum. Gradually add the flour mixture, about a third at a time. Beat just until blended. Stir in the coconut, pineapple, and mandarin oranges. Pour the mixture into the prepared pan. Bake for about 75 minutes, until a toothpick inserted in the center comes out mostly clean. Cool 15 minutes in pan, then transfer to a cooling rack and cool completely.

To make the glaze: Combine the confectioner’s sugar with lemon juice, a little at a time, until it reaches a thick, but fluid consistency. Use a spoon to drizzle the glaze over the cake. Sprinkle with shredded coconut.

References: Martha Stewart’s Glazed Lemon Pound Cake and Gale Gand’s Lemon Pound Cake

Spooky Eyeball Cake Pops

My dog is regressing in his old age. Only his behavior is becoming so much worse than when he was a puppy. And it’s a lot less cute.

Amongst an assortment of other undesirable hobbies, which he has taken up in his senior retirement days, my dog has become a garbage-picker. He first taught himself how to nudge open the lid of the can in order to drag out each item, tear it into shreds and scatter it throughout the house. And let me tell you, the last thing you want to find when you walk into the house with 15 bags of perishable groceries and three cranky children, is a house covered in shredded bits of garbage.

So, we bought a garbage can with a lever-controlled lid, which he taught himself how knock over in order to complete his garbage scavenging mission.

We then decided to abandon the garbage can completely, in lieu of a plastic bag hanging on the doorknob, which we could easily throw into the garage before leaving the house. (He never fails to notice if we forget to throw the bag in the garage.)

In the absence of garbage to go through, he jumps up and pulls items out of the sink to lick clean; glasses, storage containers, cookware. You name it. I had to see it to believe it. This massive dog, with bad hips, jumping upright to pick through the sink. The force of motivation is strong within this one.

So, we learned to become diligent about making sure the sink is empty before leaving the house. But, as you may have guessed, he finds other mischief to get into, namely wrapped packages of food on the countertops. Say, an entire package of hamburger buns or a string-tied box of bakery cookies. Or perhaps a clean wooden spoon from my cookware canister. Are you beginning to understand how time-consuming it’s become to leave the house for even the simplest errand?? And this is on top of preparing three young children!

And now, his acts of mischief have become so brazen, or perhaps his brain is just slowly melting into a state of pure self-satisfaction. For lately, he runs straight to the garbage or jumps up to sink the very moment a door in the house closes. It doesn’t even matter if the house is still full of other people. A door closes and he heads straight to the kitchen to engage in his mischief. Seriously, buddy? I’m standing right here! At least show me the respect of waiting until I leave.

My fuzzy, senile friend is lucky he’s so good with the kids.

Speaking of the kids, I made them these cake pops. Cause the boys are totally into anything gross and spooky these days. Aren’t they cute? Cute and a bit time consuming to make. But, totally worth it for the perfectly creepy final product. They’re made with bright red velvet cake and have a fruit gusher candy nestled into the center to make them extra gross. I couldn’t wait to pack these disturbingly delicious treats into my sons’ lunch boxes for a surprise treat which would evoke shrieks from their tables of little friends at school.

Except, my dog; my darling, elderly dog; ate the cake pops, which I’d falsely believed were safe in the very center of the dining room table, surrounded by a barricade of heavy chairs. He ate every hand-crafted cake pop. Leaving a trail of chewed lollipop sticks scattered throughout the house as evidence of his misdeed.

Want to know the kicker?

He ate the cake pops while I was dragging the three kids out in the rain to pick up the dog food we needed for his dinner.

I wonder if he shrieked as he bit into the gushy center…

Learn from my mistake, dear friends. Make these cake pops, but be sure to store them in a place where your fuzzy friends are unable to help themselves.

Spooky Eyeball Cake Pops

Ingredients

  • 1 13×9 inch red velvet cake
  • 1 16-ounce container of cream cheese frosting (you won’t use it all)
  • Approximately 48 Gushers candies (available near the fruit roll-ups and fruit snacks)
  • About 4 dozen lollipop sticks
  • Approximately 4 cups white candy melts
  • Approximately 1/2 cup red candy melts
  • Approximately 48 gummi Lifesavers candies
  • Approximately 48 mini M&M candies

Directions

Prepare the cake pops according to the step by step directions found HERE. Insert a Gusher candy into the center of each ball as you roll.

Dip each frozen cake pop into melted white candy melts. Adhere a gummi Lifesaver to the pop while the white candy is still soft. Stand the pops upright in a piece of styrofoam until the candy has hardened. Place a small amount of the melted white candy into a small baggie. Cut off the tip of one of the corners of the baggie. Use the baggie to squeeze a bit of candy “glue” into the center of each gummi lifesaver. Place a mini M&M into the candy glue. Allow to dry. Melt the red candy melts according to package directions. Use a toothpick or fine-tip paint brush to give the eyeballs a bloodshot appearance. Store at room temperature for a few days.

Gusher center and candy decorations inspired by Confessions of a Cookbook Queen.

A few more cake pop hints and tips:

  • You can prepare the cake pops up to adhering the balls to the lollipop sticks and freeze them until you’re ready to dip and decorate. You can then dip and decorate a small batch at a time and leave the other pops in the freezer for later (or for when you dog eats all of the other cake pops).
  • If your candy melts are too thick for dipping, try stirring in a small amount of solid vegetable shortening.
  • Make sure not to introduce any liquid while melting the candies, which can ruin the candy’s meltability. Keep bowls and spoons dry throughout the melting process.
  • Dip the cake pops right up the the stick. The hardened candy will help the cake balls to remain adhered to the sticks.
  • Cake pops can be stored at room temperature for a few days.

How to Make Cake Pops

Cake pops are all the rage these days…or am I thinking of cupcakes? Or is it macarons?? I can’t keep up. But, you can find cake pop recipes and ideas all over the internet and magazine covers these days. Starbucks even carries these sweet treats right next to the muffins and dessert bars. They’re insanely cute and super fun to eat. The best part is that there are a million possible flavor and design combinations.

Once you’ve got the basic idea, you can have a lot of fun customizing these little goodies with different flavors of cake, frosting, and candy coating! Then, get creative with the decorating! I’m already planning on making bloody eyeball cake pops for Halloween, turkeys for Thanksgiving, and snowmen and trees for Christmas!

For my little guy’s third birthday (and my first attempt at cake-popping), I made a batch of decadent triple chocolate cake pops. It’s a simple, but somewhat time-consuming process, so plan ahead. Here’s how it’s done.

You will need:

  • 1 13×9 inch cake
  • Cake frosting (approximately 1 1/2 cups)
  • Lollipop sticks
  • Candy Melts (approximately 4 cups)*
  • Sprinkles or other decorating candies (optional)

*If your grocery store doesn’t carry the candy melts, check your local craft store. They come in all sorts of colors and flavors!

Bake a 13 x 9 inch cake. Use your favorite homemade recipe or one box of any flavor cake mix. (You can bake the cake a day ahead of time, if desired.)

Once cool, crumble the cake into fine crumbs. This is a perfect job for little helpers.

You’ll end up with a big bowl of fine cake crumbs.

Combine the cake crumbs with any flavor frosting. A container of prepared frosting works fine or use your favorite homemade. Depending on how moist the cake is, you probably will not need the whole container of frosting. About 3/4 of a 16-ounce container should do the trick. You want the mixture to be moist enough to mold, but not too mushy. Mushy cakes will have a harder time staying on the sticks…lesson learned the hard way.

Refrigerate for about 30-45 minutes (or longer) to help firm up the mixture.

Roll the mixture into balls, just over an inch in diameter.

Melt a small quantity of the candy melts according to package directions. Dip the end of each lollipop stick into the melted candy, then insert the stick a little more than halfway through each cake ball. Place each pop upside down on a baking sheet and refrigerate until quite firm.

Once firm, warm the candy melts according to package directions. Use a container that is tall and narrow enough to fully submerge each cake pop into. A 2-cup pyrex measuring cup worked well.

Dip each pop into the melted candy. Gently swirl the pop to remove excess candy. (Skipping the swirl step will result in a candy coated stick. Trust me on that one.)

Decorate with sprinkles or candies, if desired. Then, place each pop into a piece of styrofoam to dry upright at room temperature. (Refrigeration will cause condensation on the surface of your pops. Another lesson learned the hard way.) The candy exterior will harden at room temperature.

Top Ten Gourmand Mom Recipes

As I’ve mentioned before, I’m greatly entertained by reading through the search terms which lead people to this little blog. It often leaves me puzzling over how the terms “Christmas money wreath” or “dog with running shoes” brought people here. What in the world have I been writing about? Of course, most of the time, people are just looking for recipes and, as it turns out, some of those recipes are quite popular!

Here, I’ve compiled a list of the top ten most viewed Gourmand Mom recipes. Then, if you scroll down a bit further, you’ll see ten of my personal favorites. (Clicking on the recipe titles will bring you straight to the recipe.)

What’s your favorite recipe? Tell me about it!

Top Ten Gourmand Mom Recipes

(according to page views)

Crab Stuffed Jalapeno Poppers  – Coming in at #10, these spicy little appetizers are a fresh and flavorful alternative to the kind you’ll find in the frozen food section of your grocery store!

A Better Caramel Apple Cake – Yum! This recipe is the result of experimenting with a delicious recipe I found in the Food Network magazine! Who knew that a bit of boiling water would make such a big difference?? With apple season reaching its peak, now’s a great time to give this one a try!

Almost Perfect Fontina Chops – This recipe is inspired by a Bonefish Grill dish, which is apparently a big favorite, since I get a few search hits every day from people looking for this recipe. This version is not intended to be a copycat recipe; it’s just a delicious dinner inspired by the popular Bonefish dish.

 Independence Day Berries and Cream – Mixed Berry Mousse and Vanilla Bean Panna Cotta – My love for panna cotta began with this sweet treat. Mmmm….fresh berry mousse with sweetened cream! Mmmm…

Strawberry Spinach Salad with Goat Cheese and Almonds – The fresh ingredients do all of the hard work in this simple and delicious salad!

Hawaiian Garlic Shrimp – This is another recipe that gets a ton of search hits. The people want Hawaiian garlic shrimp…and with good reason! It’s delicious! Next time, I’d veer away from the traditional preparation and cook these babies with the shells removed to get more of the buttery garlic in my mouth and less on my fingers.

Chicken Wing Dip – Coming in at #4 is Chicken Wing Dip. It’s practically a classic and totally crave-worthy. Oh dear, just thinking about it makes me want to throw batch in the oven. Must. Have. Chicken Wing Dip.

Pumpkin Gingersnap Parfait – Perfect season for these tasty treats. Some may prefer to sweeten the pumpkin a touch more in these easy treats. For me, they’re just right!

Sweet Honey Cornbread – This one scored most of its hits when it landed on WordPress’ Freshly Pressed section for a day. It’s a great cornbread recipe; sweet, tender, and super easy to make!

And the #1 Most Viewed Gourmand Mom recipe is (drumroll, please)…

Chocolate Peanut Butter Cream Pie  – This luscious pie wins the top spot by a landslide. Somehow it’s found itself within the StumbleUpon community. I’m really not quite sure how StumbleUpon works, but it sure drives a ton of traffic to this delicious recipe!

Ten of My Personal Favorite Recipes

Greek Lamb Burgers with Tzatziki Sauce – This burger takes the cake as far as my husband is concerned! It’s become his meal of choice for birthdays, anniversaries, and any other excuse he can come up with!

The World’s Greatest Penne ala Vodka – I can’t claim credit for the creation of this recipe, but it’s definitely on my list of all-time favorites!! Seriously the best vodka sauce I’ve ever tasted!

Sausage, Bean, and Rapini Soup – This incredibly satisfying dish is in our regular dinner rotation. It freezes well, so make it in a huge batch to keep on hand for an easy dinner. Make it as brothy as you prefer and serve with a nice piece of French bread!

Chicken Salad Sandwich – Waldorf Style – There’s something incredibly satisfying about the combination of sweet, savory, and crunch in this chicken salad. It’s on my go-to list of easy weeknight dinners!

Grilled Honey Garlic Baby Lamb Chops – I want to slather this honey garlic sauce on everything. I think I could live on this honey garlic sauce.

Cheddar and Garlic Biscuits – I first made these biscuits during a major craving for Red Lobster’s Cheddar Bay Biscuits. I searched online for a copycat recipe and found a ton of Bisquick-based recipes. Wanting to make fresh biscuits from scratch, I combined the elements from a basic, buttery drop biscuit with the seasoning of the Red Lobster biscuit. They’re perfect. Everyone cheers when these are on the menu!

Salmon, Cucumber, and Orzo Salad in Lemon-Dijon Vinaigrette – This was initially intended as a pantry meal, if you will; something quick and easy using a few leftover ingredients I had on hand. It became an instant favorite. There’s something incredibly satisfying about the combination of flavors and textures in this simple dish!

BBQ Beef Chili – This hybrid chili/bbq beef dish makes my mouth water. Serve it with the cornbread from the Top 10 list!

Corn and Bacon Fritter Cakes – I just posted about these recently. I want to eat them for breakfast, lunch, and dinner everyday, topped with smoked salmon and creme fraiche. The best part is that they reheat really well. In fact, they may even be better reheated than straight out of the pan. Pop them in the oven for about 10 minutes at 400 degrees and they’re perfect! (P.S. A dollop of sour cream would make a fine substitute for the creme fraiche!)

Pizza Dragon and Chairs of Stock (Steak Bordelaise Pizza) – My brother in law goes nuts for this pizza! He’s still trying to figure out how to package it and sell it, since he’s convinced it will make me millions. This pizza is a steak dinner on a pizza crust. It takes a little time to get all of the components together, but everything can be prepared ahead of time and it’s worth the trouble!

Do you have a favorite Gourmand Mom recipe? Any other recipe you’d like to see here? Tell me about it!

The Gourmand Mom

Good food, seasoned with a dash of life