RSS Feed

Tag Archives: breakfast

Pumpkin Pancakes with Butter Pecan Syrup

After an extended period of unusually warm temperatures, autumn has taken its inevitable hold on our weather. There’s a definite chill in the air, which requires down jackets, more so than fleecy hoodies. As usual, the kids will trick-or-treat with winter coats stuffed under their costumes this year. It won’t be long before we see our first snow.

IMG_1382

Despite the chilly temps, this weekend was positively beautiful. The leaves are at their peak of vibrant color and the grass is still (mostly) green. And on this gorgeous weekend, I celebrated my birthday. We began our festivities on Saturday morning with these pumpkin pancakes, drizzled in warm butter pecan syrup. Then, we ended the weekend with a full turkey dinner at a crowded table of family and friends. I gave thanks a month early, for another year of good food, good family, and good friends.

IMG_1356

Warm butter pecan syrup seemed like the ideal accompaniment for these seasonally perfect pumpkin pancakes. My love for butter pecan syrup is so intense, that I have made trips to IHOP for the sole reason of dipping stuff in their famous syrup. A quick search for ‘copycat’ recipes for my fave IHOP syrup revealed numerous blends of sugar with water and a variety of artificial extracts. My version takes a more natural approach, using pure maple syrup, melted butter, and non-imitation vanilla extract. Toasting chopped pecans in a bit of butter brings out the buttery-nutty flavor in this crave-worthy pancake topper.

IMG_1373

Pumpkin Pancakes

Slightly modified from Martha Stewart’s Pumpkin Pancakes

Ingredients

  • 2 1/2 cup all-purpose flour
  • 1/3 cup sugar
  • 4 teaspoons baking powder
  • 1 1/2 teaspoon cinnamon
  • 1 teaspoon ginger
  • 1 teaspoon salt
  • 1/4 teaspoon nutmeg
  • Pinch of ground cloves
  • 2 cups milk
  • 3/4 cup pumpkin puree, fresh or canned
  • 4 tablespoons melted butter
  • 2 eggs

Directions

Combine the flour, sugar, baking powder, cinnamon, ginger, salt, nutmeg, and cloves in a large bowl.  In a separate bowl, whisk together the milk, pumpkin puree, melted butter, and eggs. Gradually pour the wet ingredients into the dry ingredients, whisking until well blended. Melt a little butter in a skillet over medium heat. Pour about 1/3 cup batter for each pancake. Cook pancakes approximately 3 minutes per side.

Makes about 12-15 pancakes

Butter Pecan Syrup

Ingredients

  • 1/2 cup pecans, chopped
  • 1 1/2 cups real maple syrup
  • 4 tablespoons butter
  • 1 teaspoon vanilla extract
  • Pinch of salt

Directions

Melt 1 tablespoon of the butter in a saucepan, over medium heat. Add the chopped pecans. Cook for about 3 minutes, until fragrant. Add the maple syrup, butter, and vanilla extract. Continue to heat over medium-low/medium heat until the butter has melted and blended with the syrup. Season with a pinch of salt. Serve warm.

Advertisement

Triple Ginger Apple Muffins

If an apple a day keeps the doctor away, then my little James is going to have the doctors bolting in the other direction. The kid eats, oh, anywhere from 5 – 10 apples a day. No joke.

IMG_0933

At one point, I would dole out his daily allotment of apples, spending a ridiculous percentage of my days washing, peeling, and slicing his favorite food. After eating 3 in a day, I’d determine he’d reached his daily apple limit and try to persuade him to eat some nice, delicious cookies or perhaps some potato chips instead.

This never ended well. In fact, our worst fights pretty much all came down to a disagreement over how many apples a two-year-old should reasonably eat in a day.

IMG_1028

But, you know, as parents, you have to pick your battles, and eventually, I simply decided that if the kid wants to eat apples from dawn to dusk, then so be it.

We now buy multiple sacks of apples each week, which I wash and leave in a giant mountain on the counter, for my little guy to snack on at will. My only remaining problem is finding half-eaten apples hidden within my slippers. True story.

IMG_0951

Naturally, being peak apple season up here in Central New York, we recently spent an afternoon at our favorite apple orchard, Beak and Skiff, where we rode a flatbed tractor up to the rows of ripe Cortland apples and picked until the bags were too heavy to carry.

James filled his bag, then refused to let anyone touch his precious, precious fruit. He walked row by row, dragging that bulging bag of apples behind his little apple-nourished body, shrieking if I even attempted to lighten his load.

IMG_1039

After riding the tractor back to the front of the orchard, we placed our loot on the scales and handed over $26 for our sweet bounty. (Note to self: It costs 16 cents more per pound to pick the apples yourself than to buy the same apples, from the same orchard at the local grocery store.)

I went through the bags of apples once we’d arrived home. To my utter lack of surprise, James’ bag contained at least 10 bucks worth of half-eaten apples.

IMG_0966

Some of what I found in James’ bag of apples…

Thankfully, most of Liam and Lucas’ apples were not already eaten, leaving plenty of freshly-picked apples for snacking and for making these outrageous muffins. Based on a basic not-too-sweet molasses muffin, accented with a triple dose of ground, fresh, and crystallized ginger, these spicy muffins barely made it to the next morning.

I recommend making a double batch.

IMG_1052

Triple Ginger Apple Muffins

Ingredients

  • 2 cups flour
  • 1/3 cup sugar
  • 1 teaspoon baking soda
  • 1/2 teaspoon salt
  • 1 teaspoon ground ginger
  • 1/2 teaspoon ground cinnamon
  • 1 6-ounce container vanilla or apple-cinnamon greek yogurt
  • 2 eggs
  • 1/3 cup vegetable oil
  • 1/3 cup molasses
  • 1 tablespoon fresh ginger, grated
  • 1/4 cup crystallized ginger, chopped
  • 1 1/2 cups apple, peeled and diced

Directions

Preheat oven to 325ºF. Prepare muffin tins with liners or by spraying with a nonstick baking spray.

Combine the flour, sugar, baking soda, salt, ground ginger, and cinnamon in a large bowl.  In a separate bowl, whisk together the yogurt, eggs, oil, and molasses. Stir in the fresh ginger.

Combine the wet ingredients with the dry ingredients until well blended. Stir in the crystallized ginger and the apple. The batter will be pretty thick.

Spoon the batter into the muffin tins, so that each tin is about 2/3 – 3/4 full.

Bake for 20-25 minutes.

Makes 12-15 muffins

IMG_1034

Strawberry Banana Bread

Posted on

Back in what feels like another lifetime, I was a second grade teacher. One portion of our daily routine included an activity we called Writers’ Workshop. It was a time of the day devoted towards writing, where my students could work independently or collaboratively on various forms of written expression. While they worked, I’d meet with individual students to help walk them through the editing process, while weaving lessons about writing technique, language, and grammar into our little discussions. Some students worked on personal narratives, others on poetry, and others on persuasive writing.

Strawberry Banana Bread Attempt #1 – with freeze-dried strawberries

And then there was the group of boys who’d formed a rock band and spent their time during writers’ workshop writing song lyrics. Now, this rock band was no casual arrangement. Though not a one of them played a musical instrument, they took the idea of their band quite seriously. These boys waited all day to work on their writing. They put careful thought into their choice of words and worked cooperatively to fine tune their performance. I was feeling like a pretty awesome teacher for being able to get my students so actively engaged in the writing process and so motivated to develop their writing skills. And that’s right about went things went sour with the band.

Strawberry Banana Bread Attempt #2 – with strawberry glaze swirl on the top

You see, ‘Diego’ kicked ‘Joshua’ out of the band. It had something to do with not fully committing to his dance moves. Seriously. Joshua was crushed. ‘Willis’ tried to remain neutral, but it was clear that he was also  unimpressed by Joshua’s moves. I intervened and brought peace back to the band long enough for them to perform the song they’d been working so hard at.

It went something like this…

Oh, when am I gonna be a man?

I wanna be a man!

I’m gonna get a wallet.

I’m gonna go to the gym.

Ooo, when am I gonna be a man?

It was sort of a rap song. And clearly very revealing about a second grader’s perspective on what makes a man…gym memberships and wallets. Of course.

Strawberry Banana Bread Attempt #3 – invisible strawberry glaze swirl throughout the bread

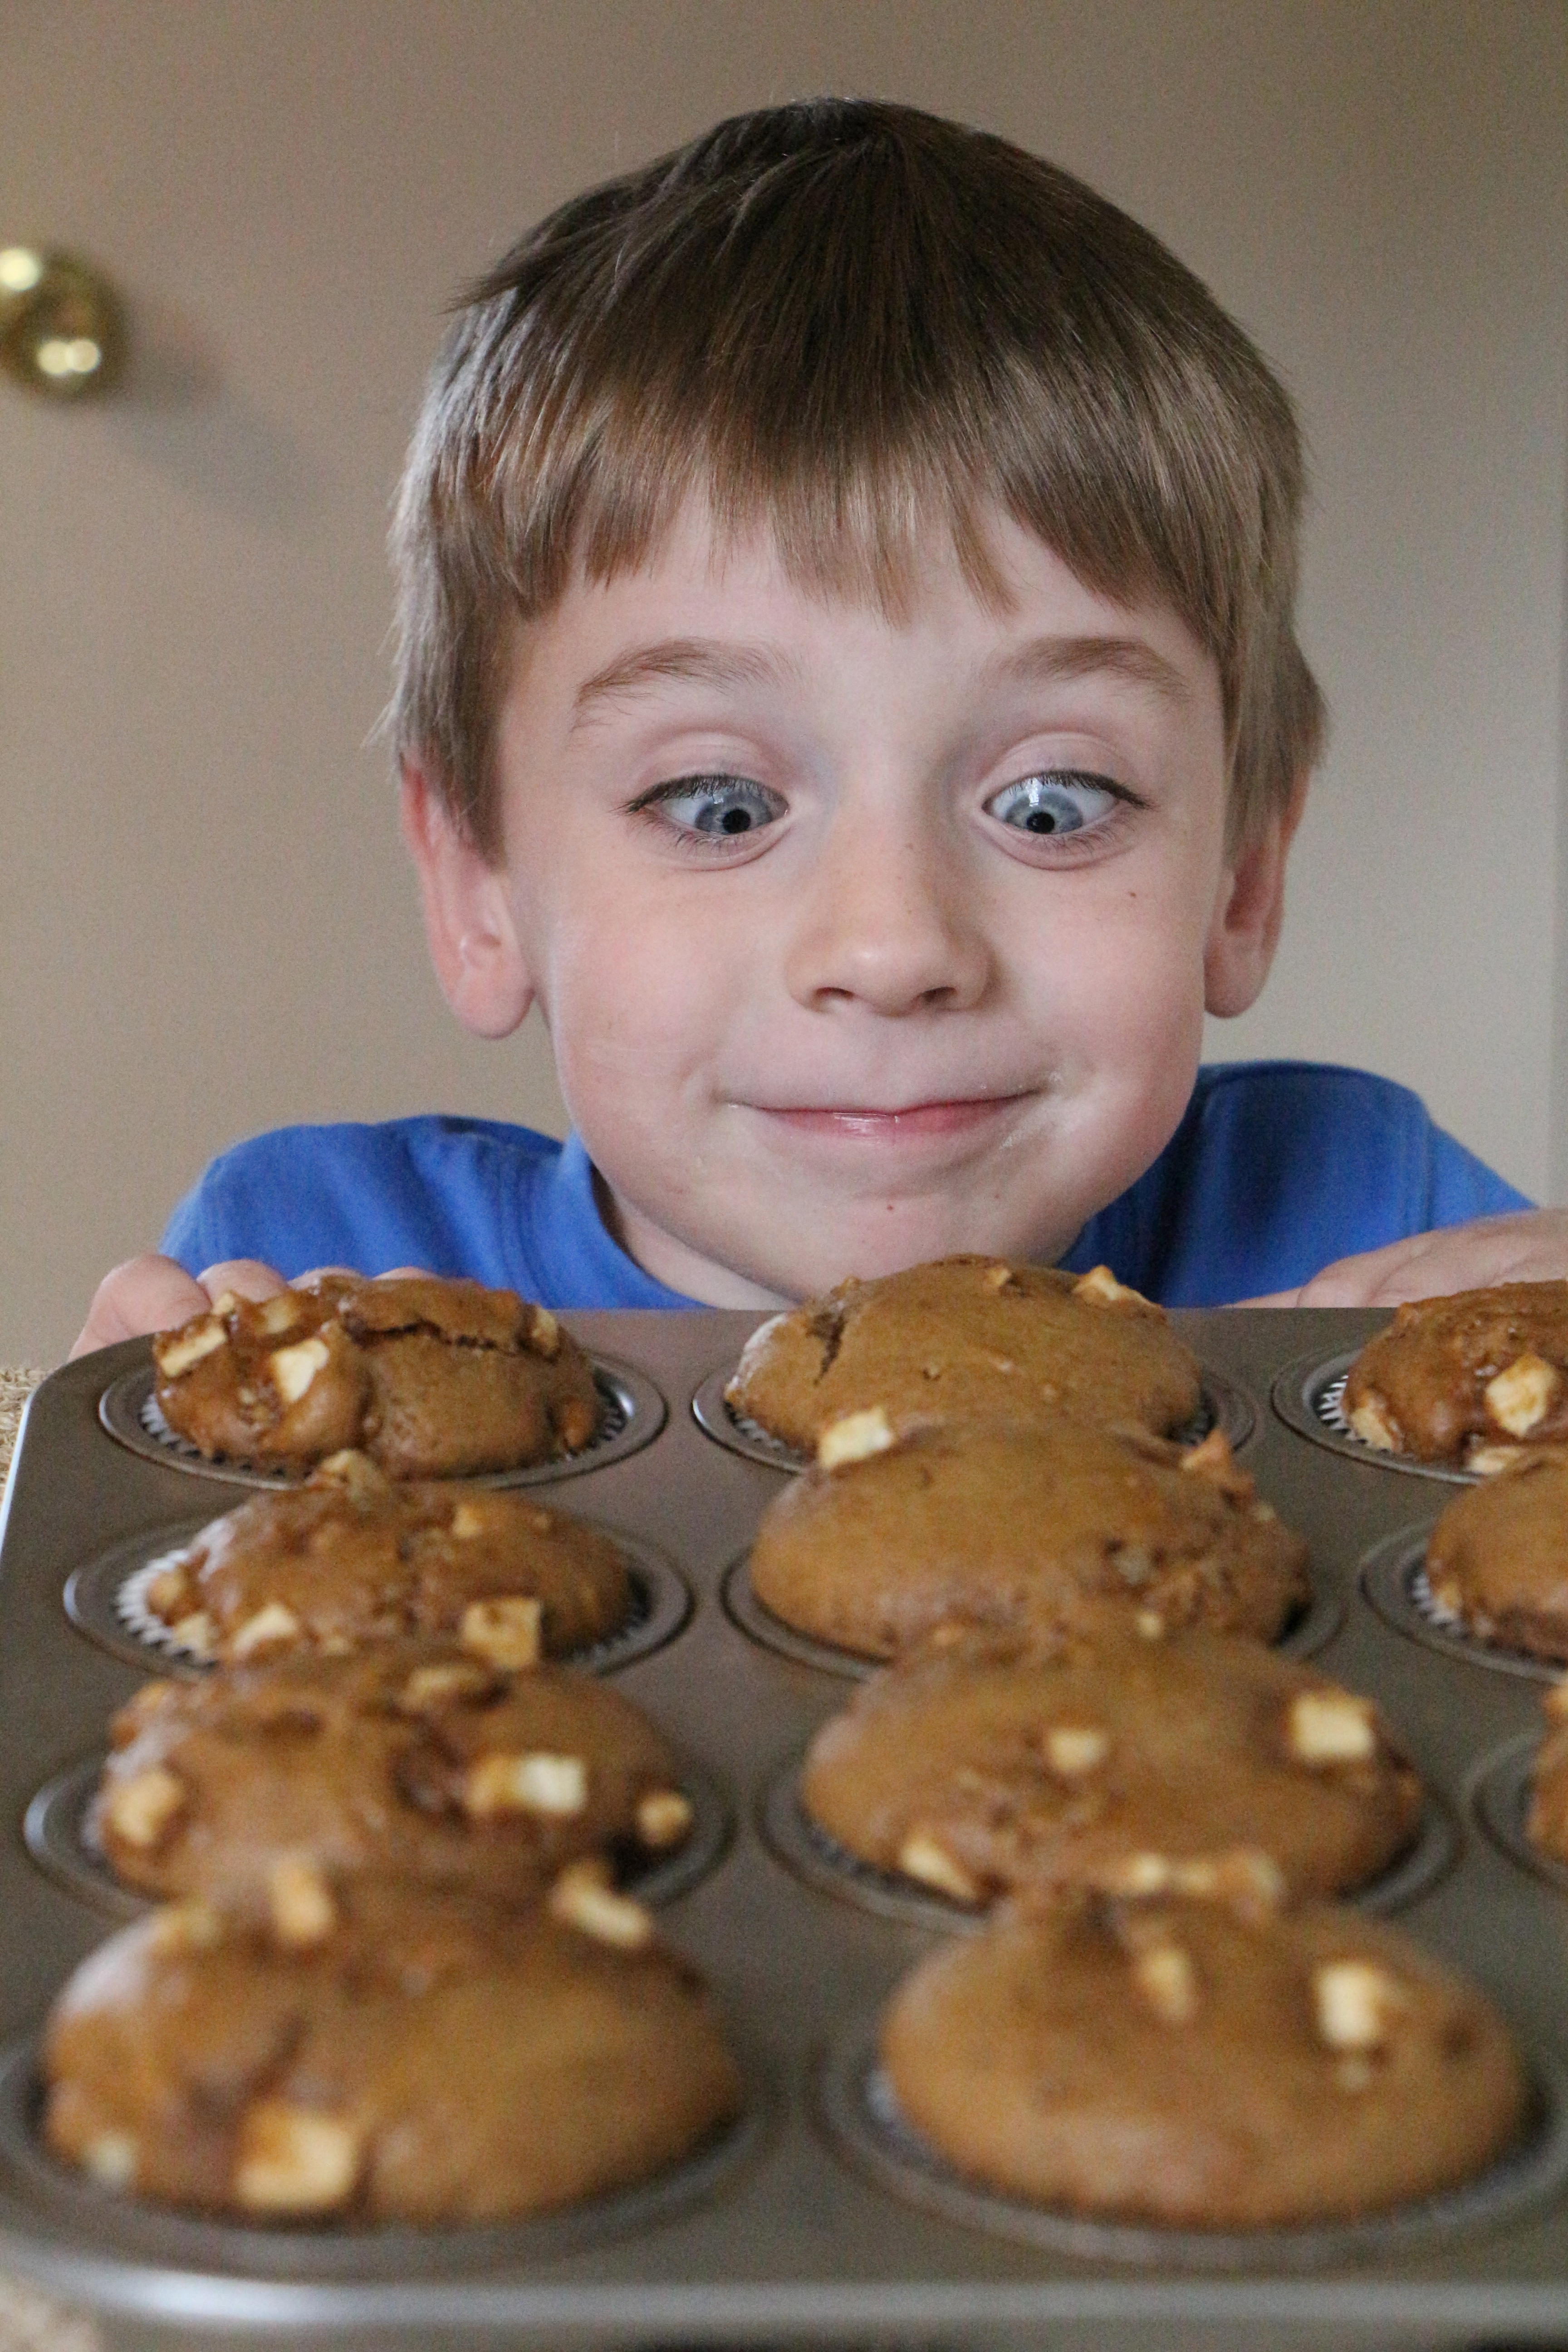
I was reminded of this memory when I walked into my living room to find my 5 year old giving my 3 year old lessons on how to be a man. They were as serious about these lessons as my former students were about their rock band. The lessons involved such behaviors as hopping on one foot, not crying, and toasting blueberry waffles. All very important man behaviors, for sure.

Kids are funny. They’re constantly trying to make sense of their little worlds and every so often, they give us a peak into the carnival of their little brains. Like this morning, on our walk back from the grocery store, when we passed an empty bottle on the side of the road.

That’s weird, commented my 5 year old.

I bet it was a man sitting by the road singing a song who left it there, replied my 3 year old. (A hobo with a handkerchief on a stick, perhaps?)

What was he singing, I asked.

Yankee Doodle, replied my 5 year old confidently.

No, my 3 year old adamantly intervened. I think he was singing Nowhere Man. 

I will bake five dozen cookies for any hobo with a bindle, singing Nowhere Man, on Blueberry Lane.

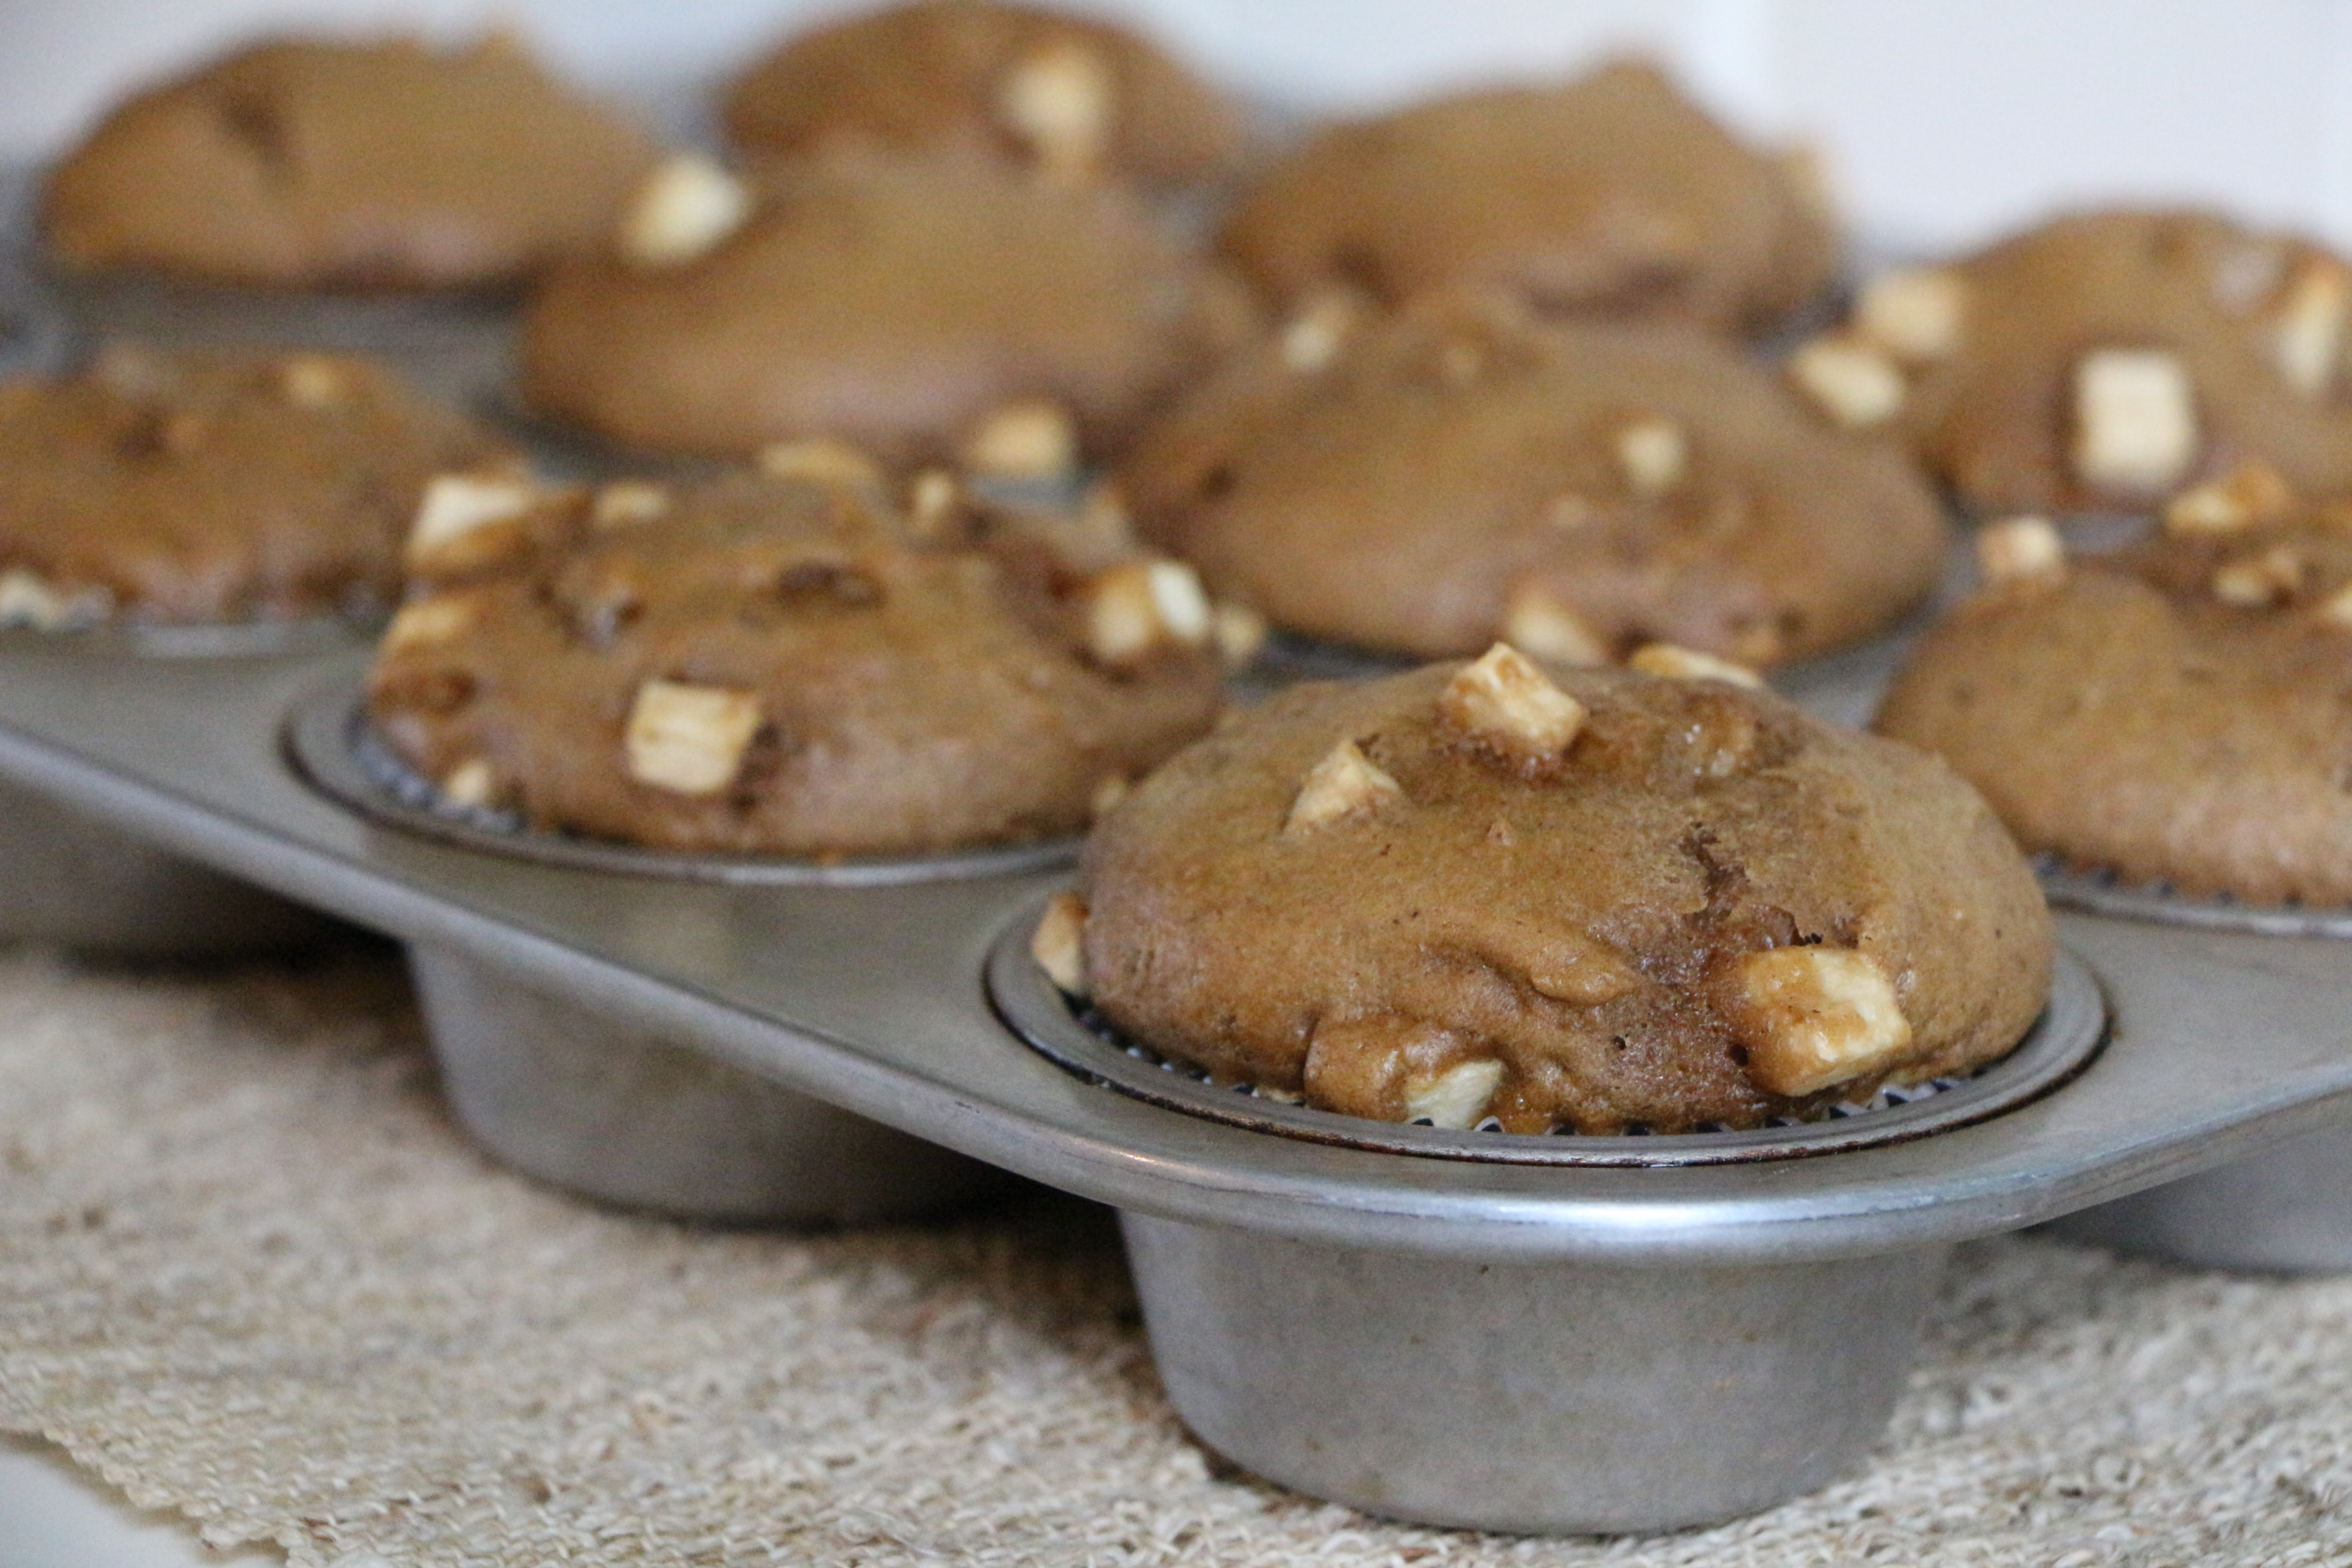
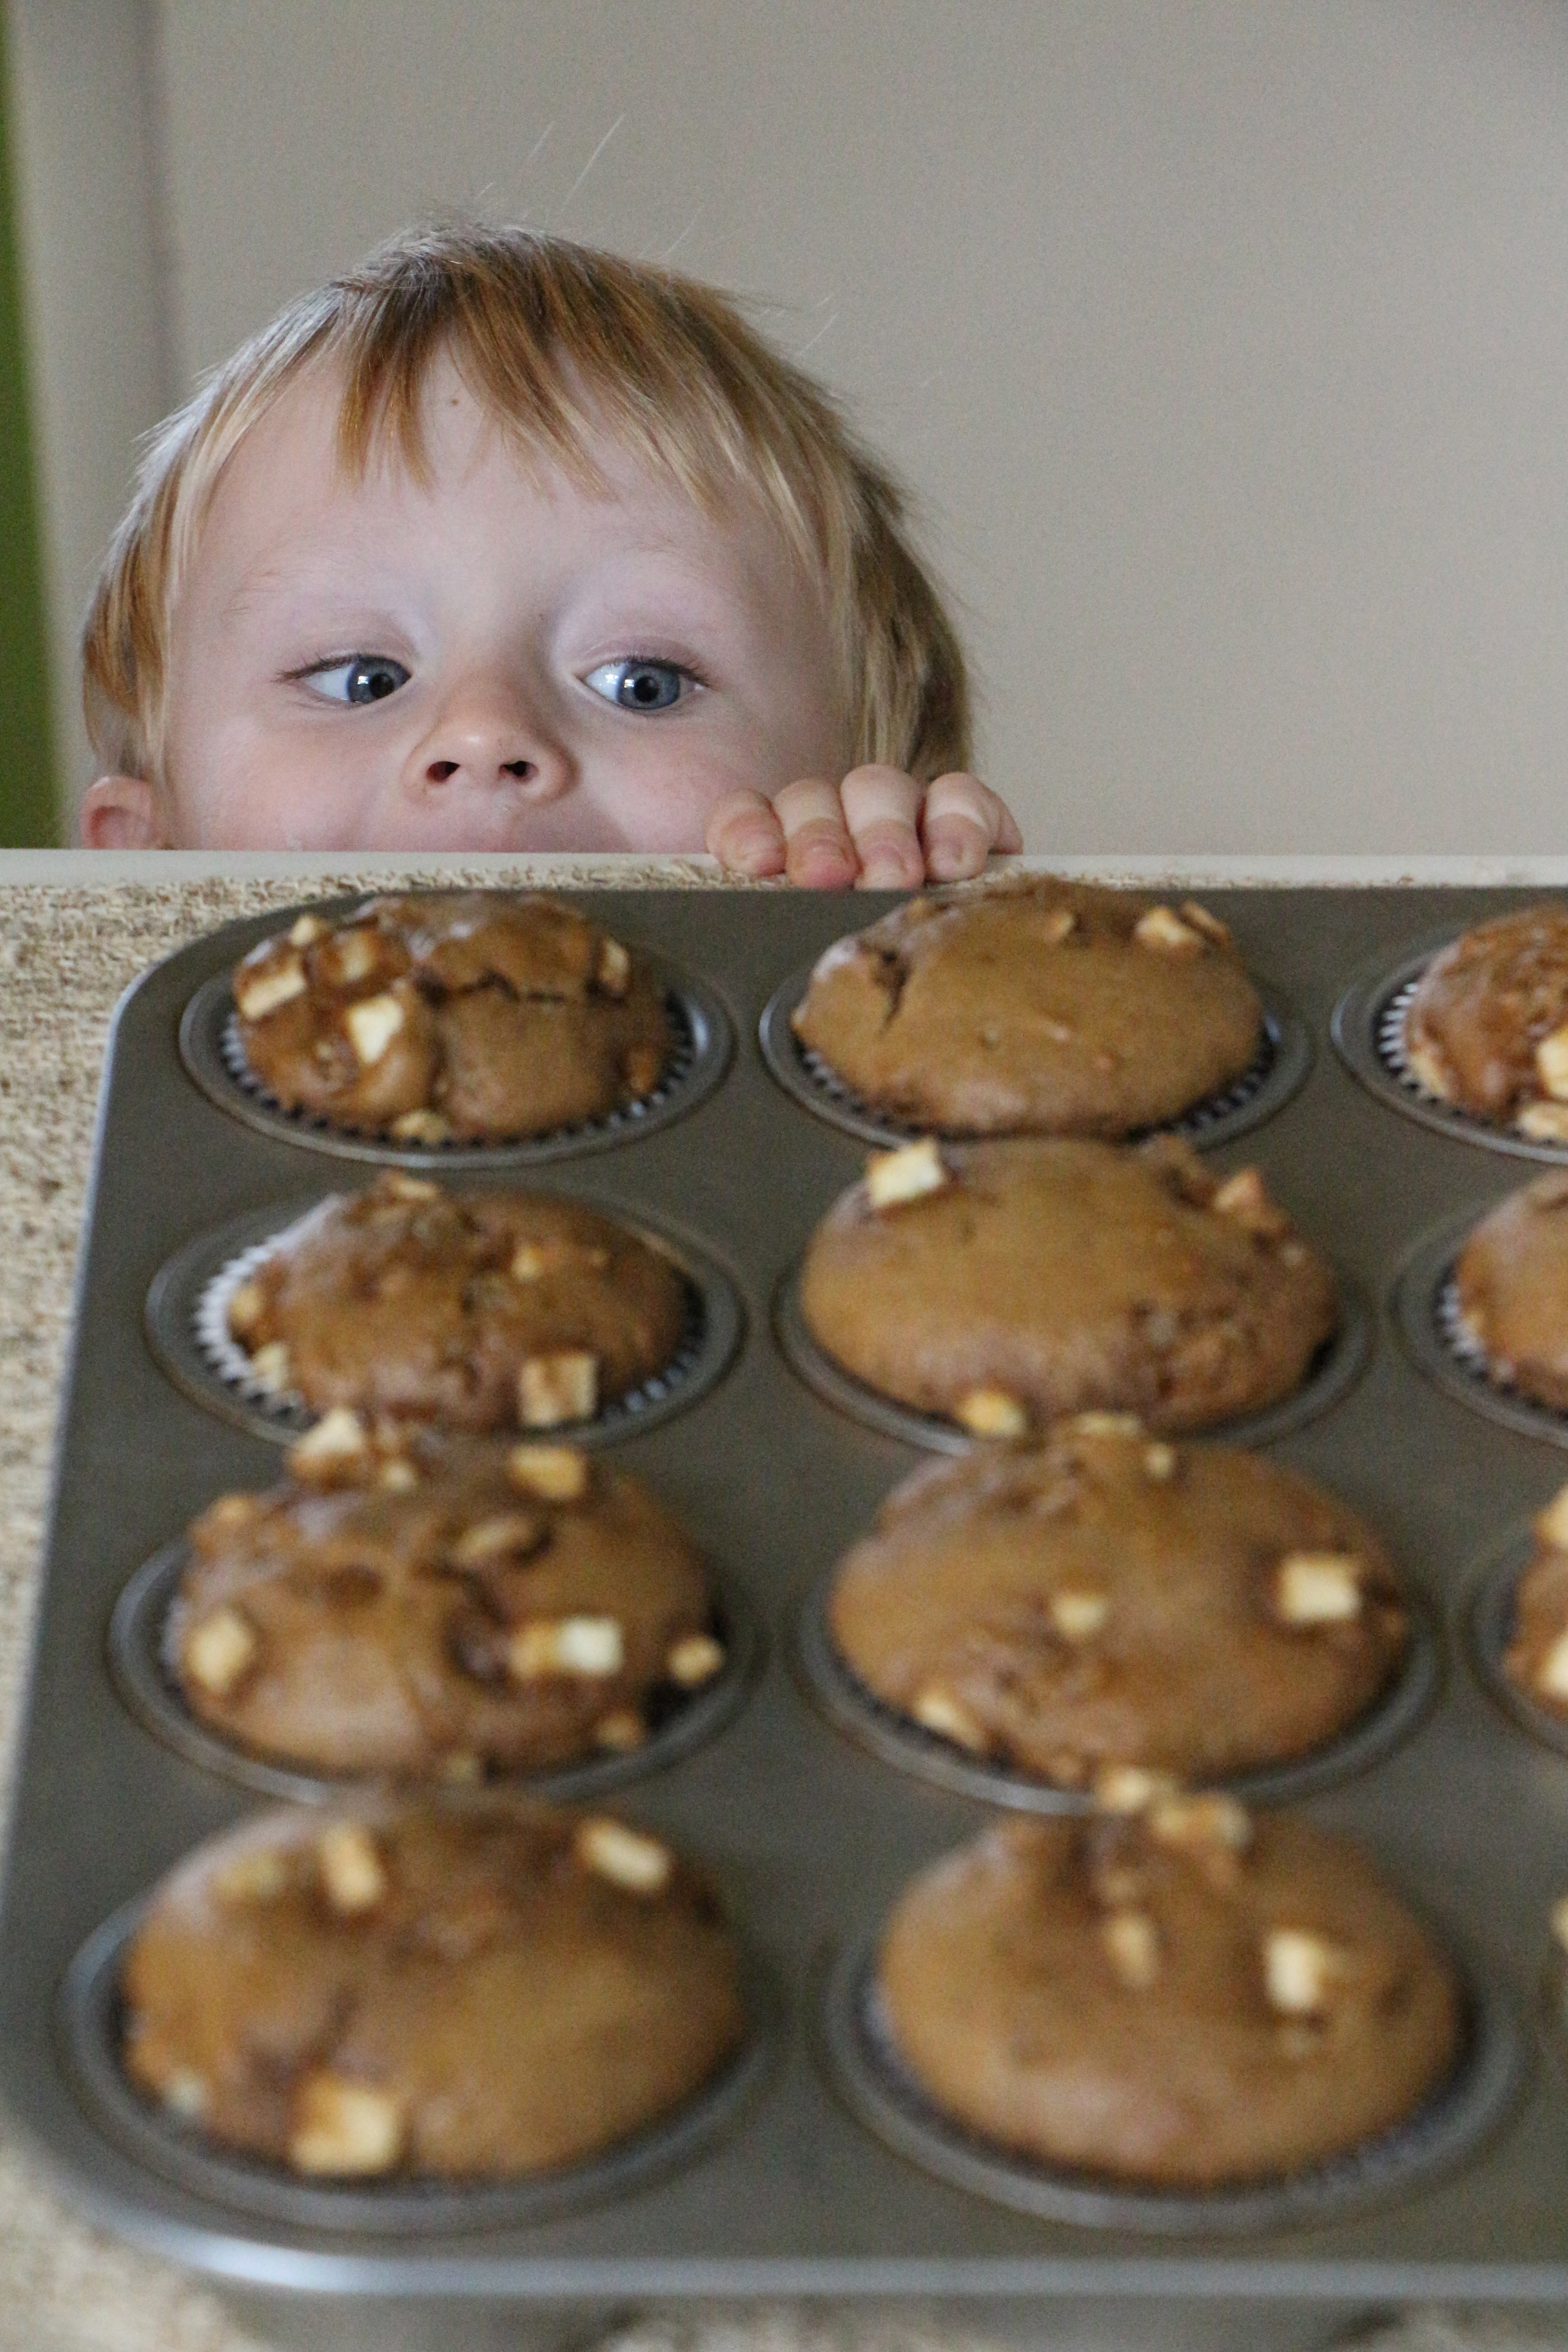
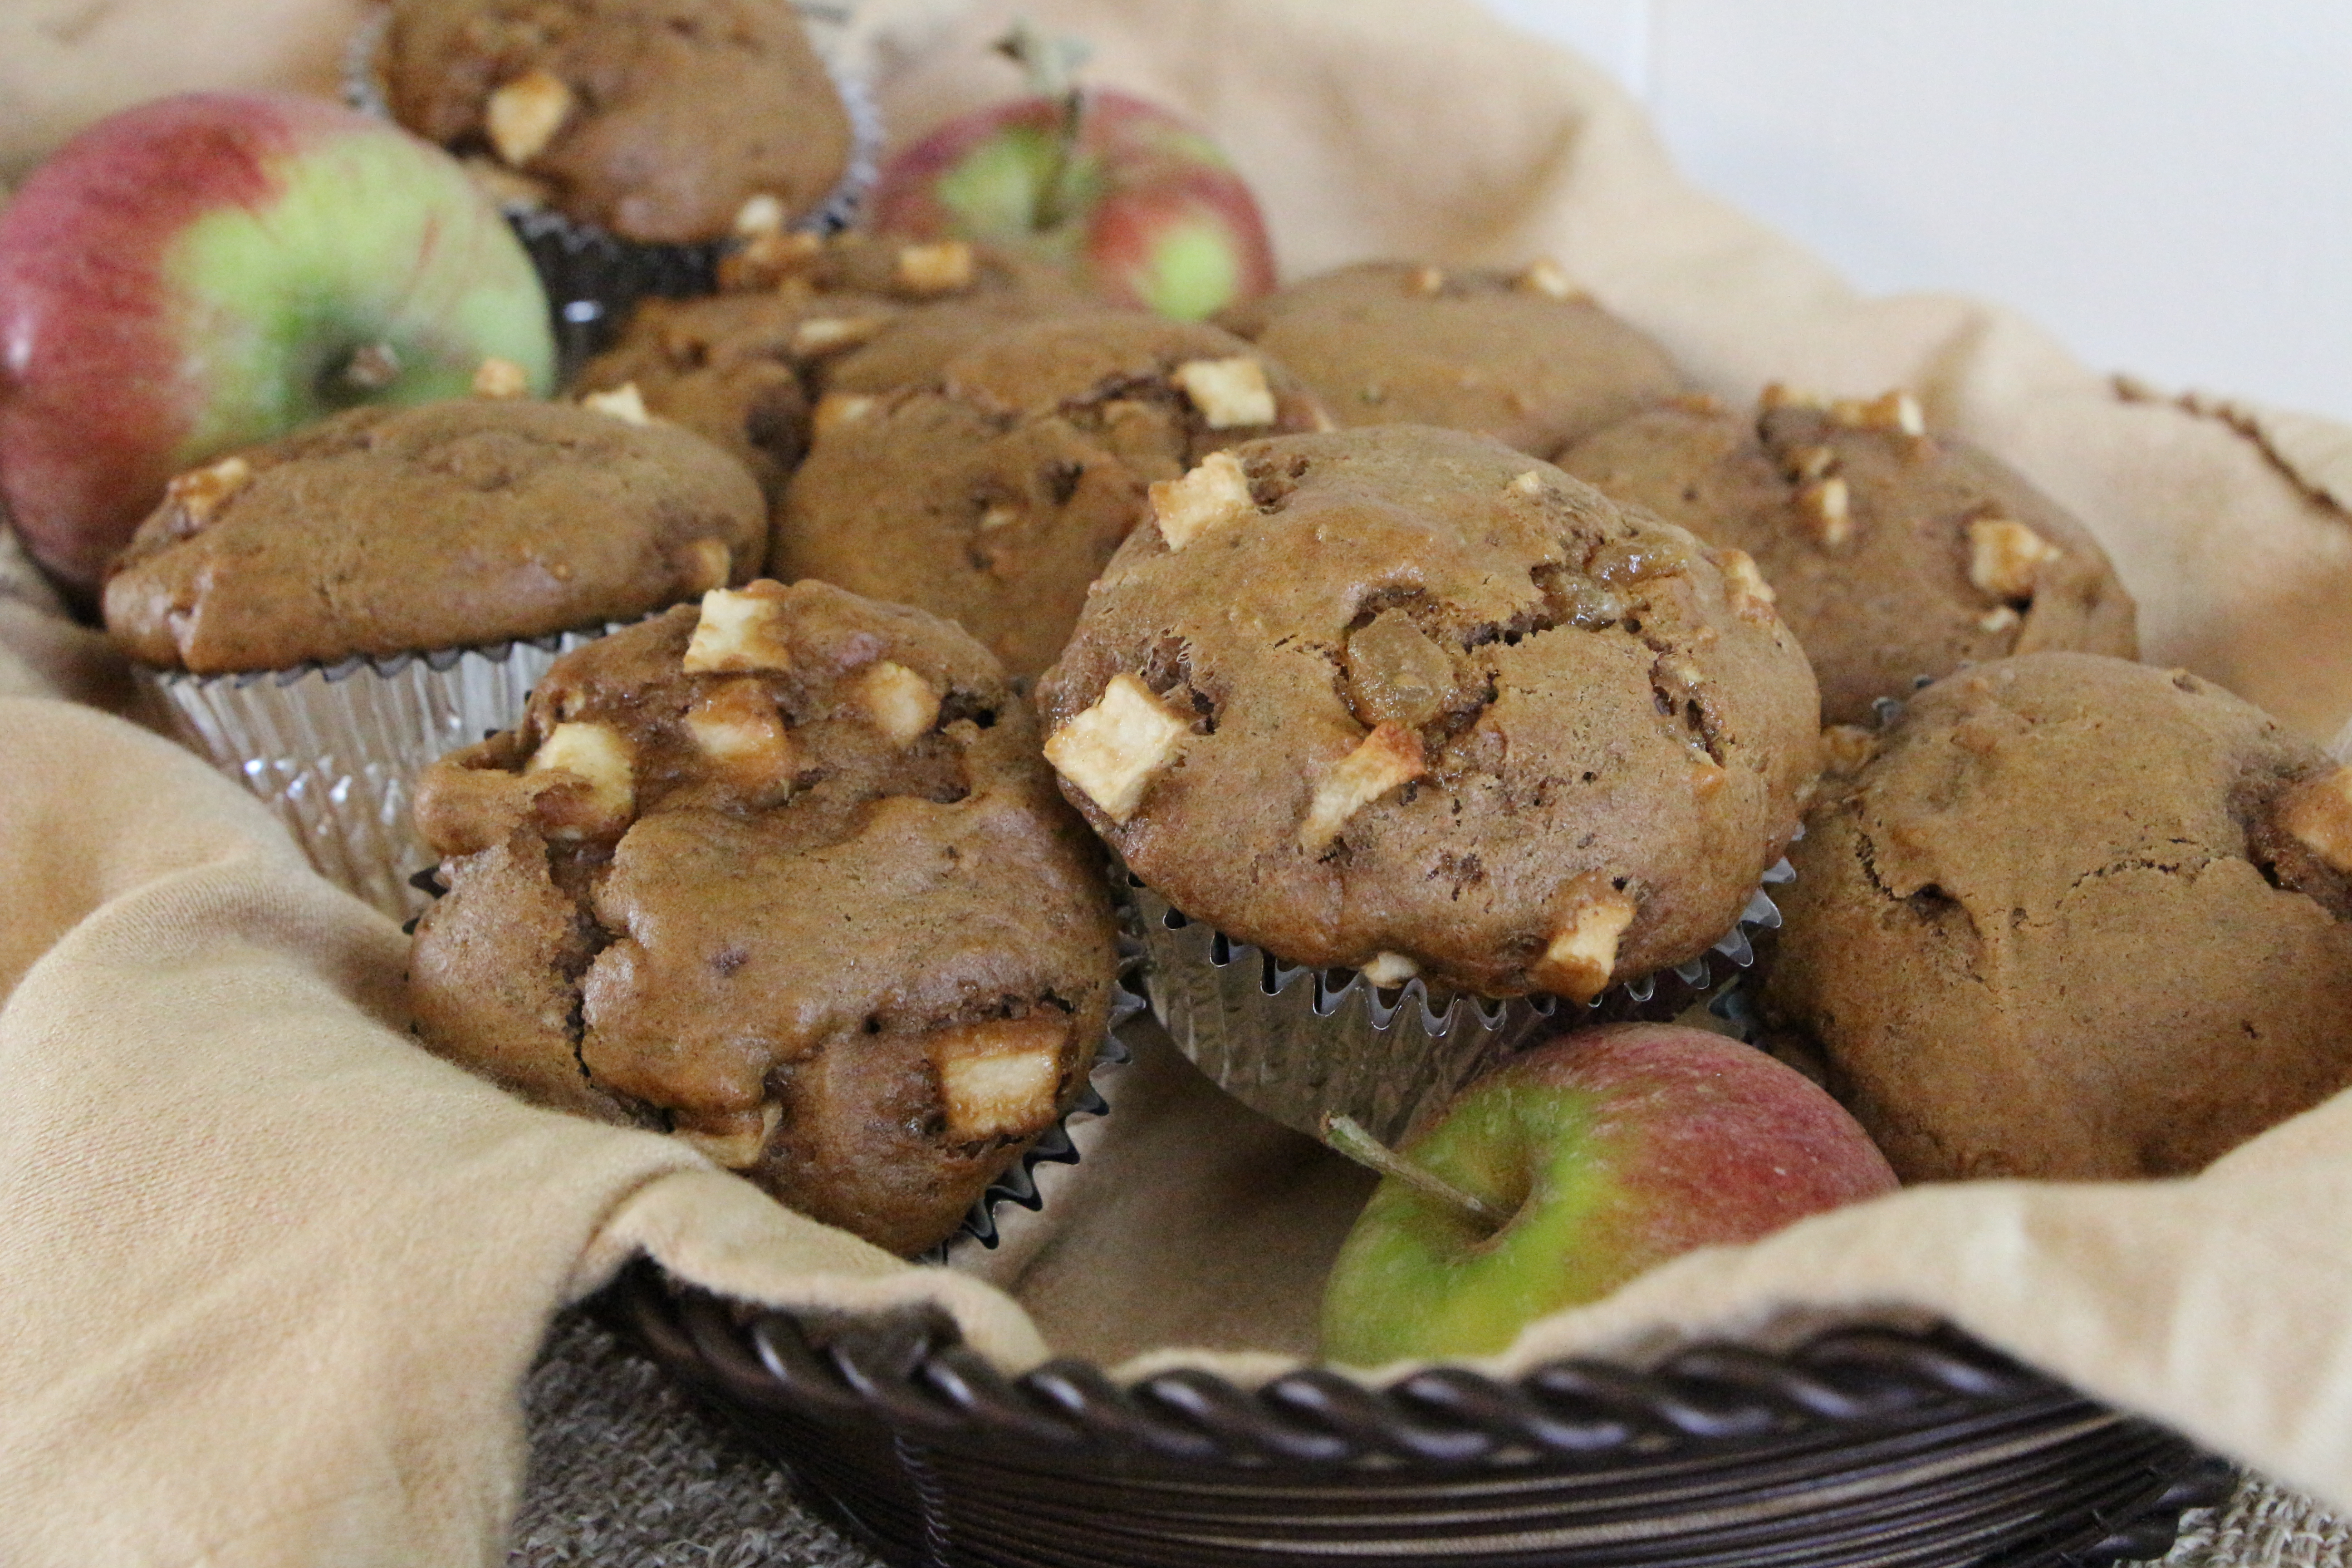
Strawberry Banana Bread Attempt #4 – with fresh strawberry puree and dried strawberries

But we hadn’t gone to the grocery store to buy cookie ingredients. We were picking up fresh strawberries and bananas for this Strawberry Banana Bread. This recipe is the result of not one, not two, not three, but four attempts. (We’ve been eating a lot of banana bread around here.) Every batch was delicious in its own right. But, it wasn’t until the fourth batch that I nailed what I’d been trying to accomplish.

Doesn’t seem like making a loaf of strawberry banana bread should be such an issue, right? But here’s the problem…when baked, strawberries become undesirably mushy. So, in my first attempt, I tried incorporating freeze-dried strawberries to conquer the mushy dilemma. The result was acceptable. The freeze-dried strawberries rehydrated during baking, but there wasn’t enough strawberry flavor throughout the loaf. So, on attempts two and three, I made a strawberry glaze, which I attempted to swirl throughout the loaf using two different techniques. But, the banana bread was too dense to produce my intended result. Both of those loaves came out fantastically sweet and moist with a lovely caramelized crust, but I still wasn’t satisfied. On my final attempt, I had the epiphany that I could puree fresh strawberries to replace all of the water and part of the vegetable oil in my normal banana bread recipe. This had the double effect of dispersing the sweet strawberry flavor throughout the bread as well as slightly lightening the recipe. Chopped dried strawberries lend additional strawberry flavor and a nice variety of texture to the loaf.

Strawberries and bananas are a classic flavor combination. And they’ve never been better combined than in this twist on banana bread. This is more than just a banana bread with a few strawberries mixed in. This bread pays equal homage to both the strawberries and the bananas. Definitely worth the four attempts it took to come around to this recipe!

Strawberry Banana Bread

Ingredients

  • 1 3/4 cup flour
  • 1 cup sugar
  • 3/4 teaspoon baking soda
  • 1/2 teaspoon salt
  • 1/2 teaspoon baking powder
  • 1/2 teaspoon cinnamon
  • 1/8 teaspoon ground nutmeg
  • 1 teaspoon vanilla extract
  • 2 eggs
  • 1/2 cup pureed strawberries
  • 1/3 cup vegetable oil
  • 1 cup mashed ripe bananas
  • 3/4 cup dried strawberries, chopped

Directions

Preheat oven to 350 degrees. Spray a loaf pan with baking spray.

In a large bowl, combine the flour, sugar, baking soda, baking powder, salt, cinnamon, and nutmeg. Add the vegetable oil, pureed strawberries, vanilla, and eggs. Stir until well combined. Add the mashed banana and dried strawberries. Stir until well blended. Pour the banana bread mixture into the prepared pan.

Bake for 60-70 minutes.

Breakfast and Brunch Recipe Round-Up

Posted on

I recently shared a recipe for a Bacon, Egg, and Cheese Bagel Casserole, as an option for a special Father’s Day breakfast in bed. Just in case that idea doesn’t float your boat, here’s a round-up of previously posted breakfast ideas. Any of these would make a spectacular Father’s Day breakfast for the dad in your life or a great addition to your next brunch buffet!

Cinnamon-Raisin Donut Bread Pudding

Carrot Cake Pancakes with Cream Cheese Glaze

Potato and Chorizo Frittata

Fluffernutter Bread Pudding

Nutella and Strawberry Stuffed French Toast with Raspberry Coulis

Sausage, Biscuit, and Gravy Casserole

Eggs Benedict

Birthday Cake (Sprinkles) Pancakes

Cinnamon French Toast Bake

PB&J French Toast

Roasted Vegetable and Goat Cheese Quiche

Strawberry-Stuffed French Toast

Chocolate Chip Bacon Pancakes

Quiche Lorraine


Apple-Cinnamon Quinoa

Posted on

One of the many things I’ve learned as a parent is never to assume that your children actually understand what you’re talking about, even if they’re nodding their heads and smiling with comprehension. Children are masterful at making sense of this great, odd world we live in. But there are times when their natural ability to process new experiences falls a bit short.

Take, for example, a few weeks ago, when we decided we’d build a deck off of the back of the house. As we discussed the plans with our neighbor, visited the local code enforcer for a permit, and bounced between hardware stores examining railings, we’d been throwing around the word ‘deck’ for weeks. Deck, deck, deck, deck, deck. When the time came for building to begin, the boys and I gazed out the window as the men worked the auger to dig the post holes. The boys watched as the men cemented eight large posts into place. And I rambled on about the deck, deck, deck. The next day, the men began removing the temporary stairs we’d put in place by the door. Panic washed over the boys’ faces. They watched nervously as the stairs were removed, leaving only the mysterious eight posts scattered around the lawn. Finally, my five-year-old asked, But how will we get down? In a matter of fact manner, I explained that we’d walk across the deck to where the new stairs will be, of course. He paused for a long moment and continued watching the men tear our old stairs off of the house, before finally asking, What’s a deck?

Sometimes the misunderstanding is as simple as a new vocabulary word, easily corrected with an explanation. Other times, the confusion runs much deeper. Recently, we lost a loved one. Since our boys haven’t had much experience with calling hours or funeral services, we anticipated that the experience would be foreign to them and potentially a bit frightening. So, as the day of the services approached, we spent some time chatting about what they could expect to happen. We discussed life and death, heaven, and the difference between our bodies and our souls. My five year old took the entire conversation in stride. He asked questions and seemed satisfied with the responses. It was all going very smoothly for a conversation about such deep issues with a five year old. I was practically patting myself on the back for my expert skills at discussing such a difficult topic with my kids. And then I explained that we would be seeing the body during the calling hours. I mentioned it casually, hoping to communicate a sense of normalcy about it. My little guy’s response was full of casual ease when he knowledgeably responded, Oh, I know. We’re going to see his bones. (As if that would be totally alright with him.) No, sweetie, we will not be seeing any bones and no, you may not touch the body. 

Glad we got that little misunderstanding out of the way ahead of time.

When we arrived at the funeral home, we made our way to the front where our loved one lay peacefully resting, glasses perched on his nose. The boys confidently strode to the front of the room, stood on the kneeler, and peered into the casket, which was open at the head end and closed over the leg end. They stared silently for awhile. I reminded the boys that his soul was already in heaven but that if they wanted to say something, I was certain he would hear it. My five year old quietly spoke a sweet message of love which brought tears to my eyes. And then he turned to his younger brother and said, “I know why they kept the bottom closed…so we can’t see his underpants.” The boys giggled about underpants for the rest of the afternoon. They went to bed talking about underpants.  (Somehow, it always comes back around to underpants.) And I’m again reminded not to assume that kids understand everything they appear to.

In between clearing up misunderstandings about decks, skeletons, and underpants, we’re still cooking away here at Chez Gourmand Mom. Recently, I made this sweet and satisfying apple-cinnamon quinoa, which makes a fantastic alternative for your morning oatmeal. It is wheat-free, dairy-free, gluten-free, protein rich, and tasty as can be. Best yet, you can make a big batch ahead of time and reheat for a few seconds in the morning, making it a perfect option for busy weekdays. And if all of that wasn’t good enough, quinoa is a low-glycemic index food, meaning that it takes your body a long time to process all of that good nutrition, which will leaving your body feeling nicely satisfied until lunch rolls around. It’s simple, delicious, and nutritious…no room for misunderstanding here!

Apple-Cinnamon Quinoa

Ingredients

  • 1 cup quinoa
  • 2 cups coconut milk*
  • 2 tablespoons honey or pure maple syrup
  • 3/4 cup dried apples, chopped
  • 1 teaspoon cinnamon
  • Pinch of salt
*A standard sized 15-ounce can of coconut milk contains just short of 2 cups. You can make up the difference with a bit of water.

Directions

Combine all ingredients in a saucepan. Stir to combine. Bring the mixture to a simmer over medium/medium-high heat. Then, turn the heat down to low, cover, and allow it to gently simmer for 15 minutes. Turn off the heat and allow the quinoa mixture to rest for 5 minutes covered. Remove the cover and toss the quinoa with a fork. Enjoy warm.

Makes about 4 servings

Nutella and Strawberry Stuffed French Toast with Raspberry Coulis

I’m going to become an Irish step-dancer. Stop laughing… I’m serious. Well, that’s assuming I can find a dance teacher to take on this 35-year-old mess of incoordination, with zero dance experience, but a whole lot of passion.

It’s just always been one of those things for me. I regret never having done it as a child. Years ago, I told my husband that if we ever had a girl, I’d be signing her up for lessons as soon as she could walk, so I could live vicariously through her. He was smart enough not to argue with me on that plan. But since it seems we’re destined to create a big brood of boys (and they’re much more interested in busting ghosts than dancing), it looks like I’m gonna need to live this dream for myself. Probably best that I fulfill my own dreams anyway, rather than pushing them on my kids, huh?

I’ve contacted a few local Irish dance schools and have yet to find anyone offering adult beginners classes at a time and location I can get to, but I’ve not given up hope yet. This middle age mom is ready to show Michael Flatley who the real lord (rather, lady) of the dance is. Stay tuned…

We had a lovely Valentine’s Day around here, filled with enough delicious goodies to throw me off my diet for at least the rest of this week. Oh, but it was worth it. So worth it. I surprised my loves with this special breakfast, which had everyone oohing and ahhing with each bite. For a weekday breakfast, it’s surprisingly easy to pull off. Simply prepare the ‘sandwiches’ the night before, wrap them in plastic wrap, and refrigerate. This will actually help firm up the Nutella, which will make the sandwiches easier to dip in the morn. You can cut the sandwiches into any shape or not cut them at all…though the scraps make a really nice snack with a glass of red wine…just sayin’.

Nutella and Strawberry Stuffed French Toast with Raspberry Coulis

Ingredients

For the French Toast:

  • 8 slices white bread
  • 1/2 cup Nutella
  • 4-6 large strawberries, sliced
  • 2 eggs
  • 1/8 cup milk
  • Pinch of salt
  • 1 tablespoon butter
For the Raspberry Coulis:
  • 3/4 cup raspberries
  • 1 tablespoon sugar

Directions

Spread each slice of bread with a thin layer of nutella. (Fight the urge to spread it too thick.) Place the sliced strawberries on four slices of the bread, then place each of the remaining four bread slices on top to make four nutella-strawberry sandwiches. If desired, use a cookie cutter to cut the sandwiches into creative shapes. If preparing ahead of time, wrap the sandwiches in plastic wrap and refrigerate. Eat the scraps.

Lightly beat the eggs with the milk and salt. Melt a bit of the butter in a nonstick pan over medium heat. Dip both sides of each sandwich into the egg mixture. Place the dipped sandwiches in the hot pan and cook for a few minutes on each side, until golden brown. The nutella will become warm and melty. (It’s easier to carefully flip the sandwiches using a fork and your hands, rather than a spatula.) Sprinkle with powdered sugar, if desired.

For the raspberry coulis, puree the raspberries with the sugar. If desired, pass the mixture through a fine sieve to remove the seeds.

Diet  Update: Avoiding the scale like the plague this week and enjoying my valentine’s day chocolates. Will be back on track next week…promise!

Mini Crustless Quiche Lorraines

Some days, I wish I could go back in time to my fifteen year old self and shake myself silly. The fifteen year old self who thought her chest was too small and her hips too wide for her too thin waist and flat as a washboard stomach. Oh you silly, silly girl. Why in the world are teenage girls programmed to despise themselves so?? What I would give to go back in time to appreciate the beautiful body I never knew I had.

And now I sit here, in my mid-thirties, after having had three kids over the course of four years, wishing my hips were only as wide as they were twenty years ago or that my chest were nearly as small or my stomach as flat. Oh, the lessons we learn too late.

And while I may never be as small as I was then, I am confident that I will regain a healthy and strong figure; a body I am proud of as much for the way it looks and feels as I am for how it has grown, birthed, and nourished my three beautiful babies. It’ll just take a little effort to get there.

I’m 17 days into my New Year’s diet; a diet which I intend to stick with, long past the one month expiration date which many people’s New Year’s resolutions seem to have. Because it’s more than a diet. It’s a shift to healthier living and a healthier, more confident me. I’m feeling motivated and optimistic. Over the past few weeks, we’ve eaten so many delicious meals; cut out the junk we shouldn’t be eating anyway and replaced it with tons of fresh veggies, lean proteins, and healthy fats. We’re eating like kings around here and our extra pounds are falling off.

I’ve got a growing list of new healthy recipes to share with you, but for now, here’s a quick recipe for a delicious, protein-rich, low-carb breakfast or snack.  These mini quiches hold well for a few days in the fridge and take only a few seconds in the microwave to reheat. You can even freeze half the batch for later use! I added swiss cheese, tender, sweet onions, and crumbled bacon for a tasty play on quiche Lorraine, but the options are endless. Try different combinations of cheese, veggies, and meats to create your personal favorite mini quiches!

Mini Crustless Quiche Lorraines

Ingredients

  • 1 small onion, chopped
  • 1/2 tablespoon butter
  • 8 eggs
  • 1/2 cup milk
  • 1/2 teaspoon salt
  • Black pepper
  • 1 tablespoon fresh parsley, chopped
  • 1/2 cup swiss cheese, shredded
  • 4 slices bacon, cooked until crispy and chopped

Directions

Preheat oven to 375 degrees. Spray two mini muffin tins with non-stick cooking spray.

In a small pan, heat the butter over medium heat. Add the chopped onion and cook for 7-10 minutes, until tender and golden.

In a large measuring cup or bowl, whisk together the eggs, milk, salt, pepper, and parsley. Set aside.

Place a pinch of the cheese, onions, and bacon in the bottom of each muffin tin. Then, carefully pour the egg mixture into each tin, just to the top.

Place the trays on the middle oven rack and bake for about 15 minutes. They will look puffed and golden when done.

Makes 24 mini quiches

*Quiches can be served immediately or refrigerated or frozen for later use. A few seconds in the microwave will do the trick for reheating.

Diet Day: 17    Weight Loss: 11    Motivation: Let’s do this!

Sausage, Biscuit, and Gravy Casserole

Posted on
Don’t you just love a good breakfast casserole? Something savory, made with eggs and cheese or maybe something sweet, like a French toast casserole, oozing with cinnamon and syrup? There’s just something so satisfying in its completeness.
For some incomprehensible reason, I’d never even heard of breakfast casseroles until well into my adulthood. It just wasn’t something my family ever made. My first experience with a breakfast casserole was at a monthly workplace breakfast. An unknown casserole sat on the table alongside the tray of bagels and bowl of fruit salad. One scoop of this casserole contained bread, eggs, sausage, peppers, and cheese. I thought, What brilliant genius created this complete breakfast in a baking dish? The following month, someone different made something nearly identical. My workplace was clearly dripping with geniuses. And the month after that, someone else made it again. Seriously, Mensa should send an evaluation team to this place.
Over the years since, I’ve enjoyed numerous breakfast casseroles from various coworkers, friends, and family members. It seems that everyone, except for me, was privy to this genius breakfast casserole idea. And I’m pretty sure that everyone is using the same secret recipe, for every one of these casseroles has been nearly identical (and equally delicious).
Recently, I fell upon a different version of a breakfast casserole that sounded too good to resist; a casserole of eggs with sausage, biscuits, and gravy. Ummm…can you say comfort food?? I’ve made this casserole twice now and it does not disappoint. In fact, my brother-in-law’s response to his first bite was something to the effect of, If I wasn’t already married to your sister, I’d marry this casserole. I’d venture to say that he enjoyed it.
I can not take credit for this recipe, nor can I cite the original creator. It’s one of those recipes which is all over the internet in a hundred variations. Perhaps you’ve already enjoyed something like this, but just in case you haven’t, I needed to share it with you. Make it for breakfast, brunch, or breakfast for dinner. Share it with your coworkers, friends, and family. You’ll be happy you did!
***
Sausage, Biscuit, and Gravy Casserole
***
Ingredients
  • 8 large buttermilk biscuits, frozen or refrigerated
  • 1 pound bulk breakfast sausage (without casings)
  • 8 eggs
  • 1 envelope country gravy mix
  • 2 cups milk
  • 2 cups cheddar cheese, shredded
Directions

Bake the biscuits according to package directions, using the lower end of the recommended cooking time so they do not overcook. When cool enough to handle, cut the biscuits in half to create a top and a bottom. Set aside.

Brown the sausage in a skillet over medium heat, until fully cooked. Use the edge of a spoon to break the sausage into small pieces as it cooks.

Spray a 13×9 inch baking dish with cooking spray. Line the bottom of the baking dish with the bottom halves of the biscuits. Scatter the cooked sausage on top of the biscuits. Sprinkle about 1 1/2 cups of the cheese over the sausage.

In a large bowl, whisk together the gravy mix, milk, and eggs, until well combined. Pour the mixture into the baking dish.

Arrange the top halves of the biscuits over the eggs. Lightly press the biscuits into the egg mixture.

If desired, cover and refrigerate the mixture for a few hours or overnight.

Bake in a 350 degrees oven for 50-55 minutes. Sprinkle the remaining cheese on top of the biscuits during the last 5 minutes of cooking time. Allow to rest for 5 minutes before serving.

Cinnamon French Toast Bake

Posted on

I love brunch; that meal which is so perfectly placed between breakfast and lunch; a perfect excuse to eat breakfast foods at lunch time and spike your orange juice with leftover champagne from your New Year’s celebrations.

A few years ago, I awoke on the morning of a planned brunch with my sisters, set upon making some sort of French toast casserole. Much to my dismay, I quickly discovered that nearly every French toast casserole recipe called for resting the casserole overnight. Clearly, I was not prepared for this French toast casserole idea. But, not to be dissuaded by the small obstacle of time, I continued searching until I landed upon a French toast bake, which could be prepared and baked instantly, using prepared cinnamon rolls.

I made this Cinnamon French Toast Bake the morning of that brunch and a few times since, including this New Year’s Day. I’ve slightly modified the original recipe, which I found to be overly sweet and in need of a few additional minutes in the oven. This decadently sweet dish makes a delicious, special breakfast for Christmas morning, New Year’s Day, or a brunch any time of year!

Cinnamon French Toast Bake

Adapted from Pillsbury’s Cinnamon French Toast Bake

Ingredients

  • 1/4 cup Butter, melted
  • 2 cans Refrigerated Cinnamon Rolls (with icing)
  • 6 Eggs
  • 1/2 cup Light Cream
  • 2 teaspoons Vanilla
  • 2 teaspoons Cinnamon
  • 1/8 teaspoon Salt
  • 3/4 cup Pecans, chopped
  • 1/2 cup Maple Syrup

Directions

Preheat oven to 375 degrees. Pour the melted butter into a 13×9 baking dish. Tilt the dish so the butter covers the bottom. Cut each uncooked cinnamon roll into 8 pieces. (Set the containers of icing aside to garnish the finished French toast bake.) Scatter the cinnamon roll pieces over the melted butter. Lightly beat the eggs in a medium-sized bowl. Whisk in the cream, vanilla, cinnamon and salt until well blended. Pour the mixture over the cinnamon roll pieces. Scatter the chopped pecans on top. Drizzle with the maple syrup. Bake for 30-32 minutes. Remove from the oven and cool for 10-15 minutes. Slightly warm the cinnamon roll icing in the microwave for a few seconds. Drizzle the icing over the French toast bake before serving. (You may only need one of the icing containers.)

Serve with additional maple syrup, if desired.

In the mood for a good brunch? Here are a few other previously posted Gourmand Mom brunch ideas:

Traditional Eggs Benedict and Smoked Salmon Eggs Benedict (with links to photo guides on poaching eggs and making Hollandaise Sauce)

Breakfast Pizza

Homemade Cream Cheese with Bagels

Brunchy Beverages

PB&J French Toast

Strawberry Stuffed French Toast

Chocolate Chip Bacon Pancakes

PB&J French Toast

Posted on

In the three years and some odd months that we’ve been parents, we’ve been fortunate that our children have been mostly happy and mostly healthy. But during these past few weeks, our littlest guy has been sick. What started as a typical ear infection, treated with amoxicillin, led to an allergic reaction and two weeks worth of running back and forth between our doctor’s office, multiple emergency rooms, and specialists. As this week progressed, we thought we were through it. No more swelling. Very mild, occasional hives. No fever. No pain. Happy baby. Happy parents.

Until yesterday, when my momentarily healthy baby woke up from his nap with a scalding fever and complaining of pain in his leg; the opposite leg from the one which led us to last week’s all-nighter at the ER. Another visit to the doc revealed an angry red throat, seemingly unrelated to everything else. The poor little guy can’t seem to catch a break. A call to the orthopedist reassured us that the additional leg pain was a normal part of the reaction, if anything about these past few weeks can be called normal.

As I’ve learned during these past few weeks, there is nothing more nerve wracking for a parent than having a sick child. Watching our baby deal with all of the symptoms and the resulting medical tests and treatments has been so heartbreaking. The weight of trying to stay informed and make the best decisions for our baby has been emotionally draining. I wish I could just take the sickness away from him; put it on me instead. I’d do it in a heartbeat if I could.

With everything that’s been going on, I have to admit that I’ve been spoiling both of the kids a bit; a couple extra treats after dinner, little presents from the store, endless hours of snuggles. They need a little extra spoiling and I’m equally compelled to give it.

So, when it came time to make dinner this evening, I wanted to make something a little special for the kids;  a little treat at the end of a long week.  My first thought was breakfast for dinner, which is always a treat in my book. Perhaps some banana-nut pancakes or maybe chocolate chip waffles. Then, I started thinking about my comment yesterday, about my picky eater’s love for peanut butter and jelly sandwiches. And that is how we ended up eating Peanut Butter and Jelly French Toast for dinner.

PB&J French Toast

Ingredients

  • 8 Slice of Thick-Cut Bread (like Texas Toast)
  • 6-8 Tbsp Peanut Butter
  • 4-6 Tbsp Jelly or Preserves
  • 3 Eggs
  • 1/4 cup Milk
  • 1 tsp Vanilla
  • 1/8 tsp Salt
  • 2-3 Tbsp Butter, for the pan
  • Syrup and/or Powdered Sugar, if desired

Directions

Spread a thin layer of peanut butter on 4 slices of bread. Spread jelly on the other 4 slices. Put the slices together into 4 peanut butter and jelly sandwiches. In a small baking dish, whisk together the eggs, milk, vanilla, and salt. In a pan, melt some of the butter. Dip both sides of each sandwich in the egg mixture. Cook for a few minutes on each side until lightly browned and the eggs are fully cooked.

*If you’re making a large quantity and want to serve them all at once, heat your oven to about 250 degrees. As you finish cooking each batch, place them on a piece of foil or a baking sheet in the oven to keep warm until you’re ready to serve.

If desired, sprinkle with a bit of powdered sugar. You can serve the French Toast with syrup on the side, though it’s honestly sweet enough as is!

The Gourmand Mom

Good food, seasoned with a dash of life

%d bloggers like this: