It’s been pointed out to me, that my own enthusiasm for holiday celebrations, may explain the intense energy my 5-year-old, Liam, puts into planning how we’ll honor each special day. We are two peas in a pod when it comes to festive occasions. Heck, we’re already co-planning the Temple Run themed birthday party we’ll throw in May, complete with a costumed gorilla to chase the party guests through the obstacle course we will assemble in the backyard. My husband is skeptical about the logistics involved in carrying out this event, but Liam and I have got it covered.
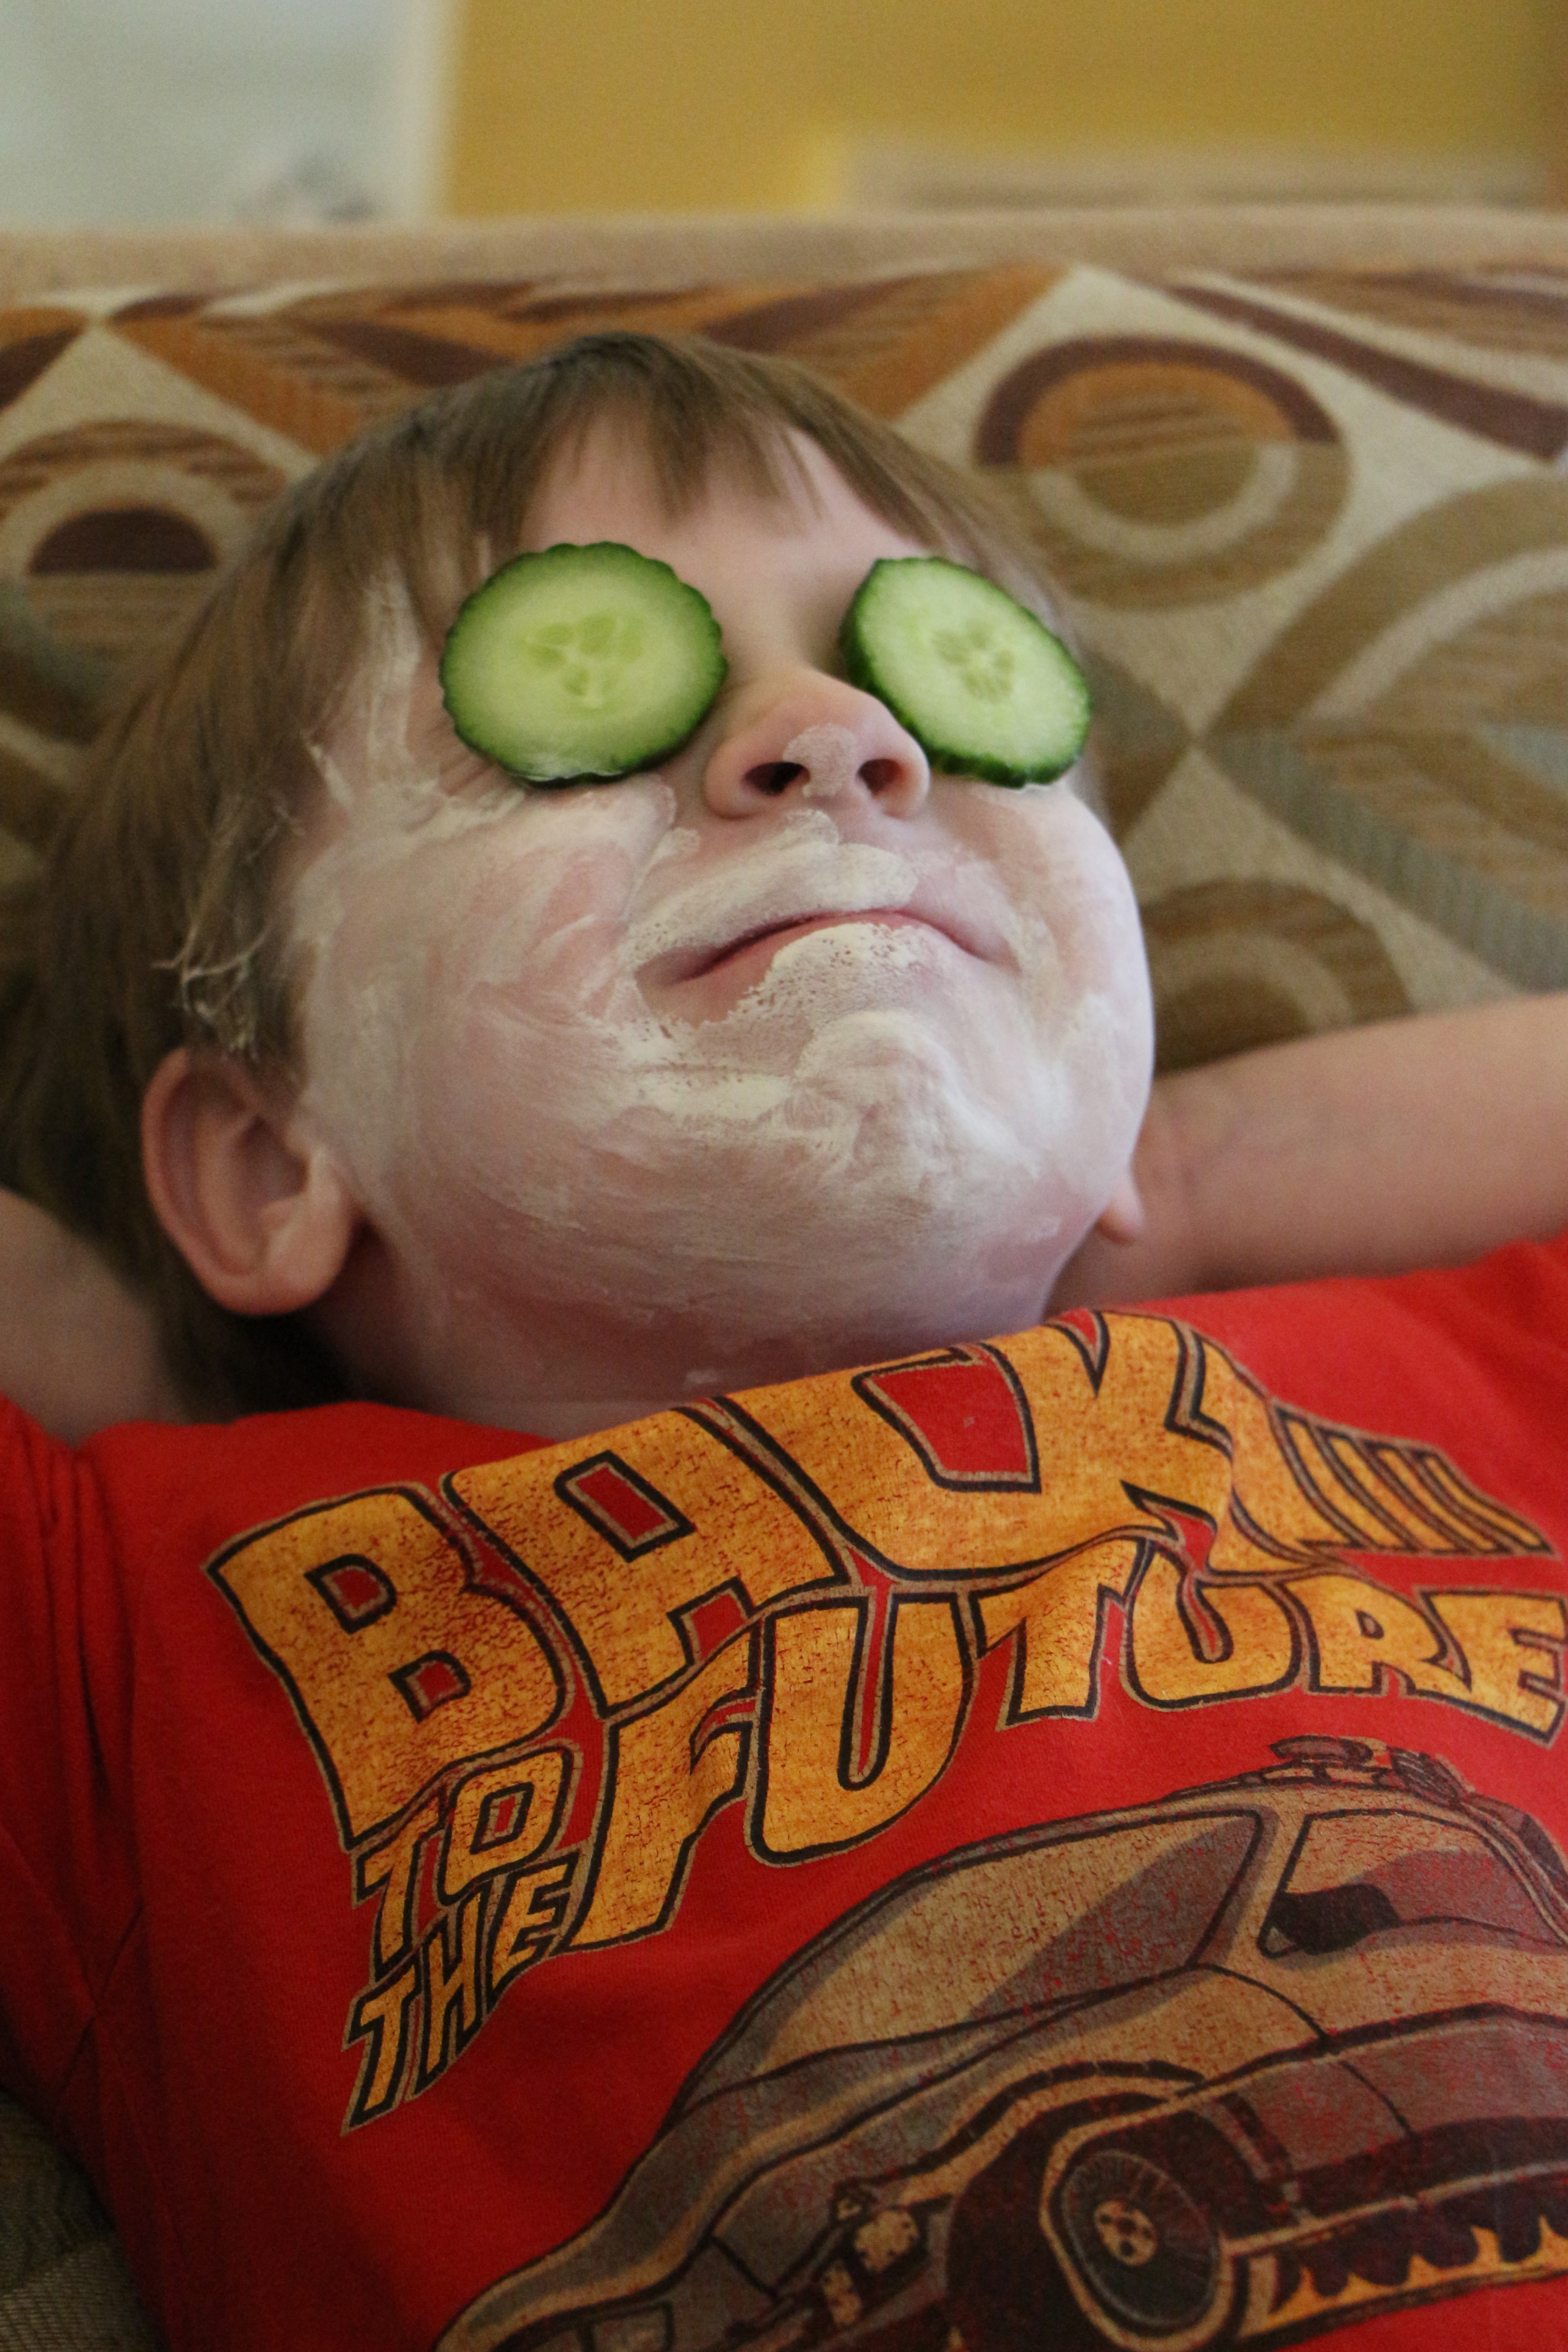
As Valentine’s Day approached, Liam easily slipped into holiday planning mode. For weeks, I heard about the special Valentine’s Day he was planning for me. It was to be a spa day, as imagined by a 5-year-old, pieced together with ideas he’d gleaned from watching episodes of Phineas and Ferb or Spongebob. I was given a list of the supplies to acquire for this special day: bubblegum scented bubble bath, ‘some kind of soap’ for my face (a face mask), cucumber slices, candy, and bubbly water. Then I eagerly waited for Valentine’s Day and the one hundred arm massages I’d been promised as part of this luxurious spa package.
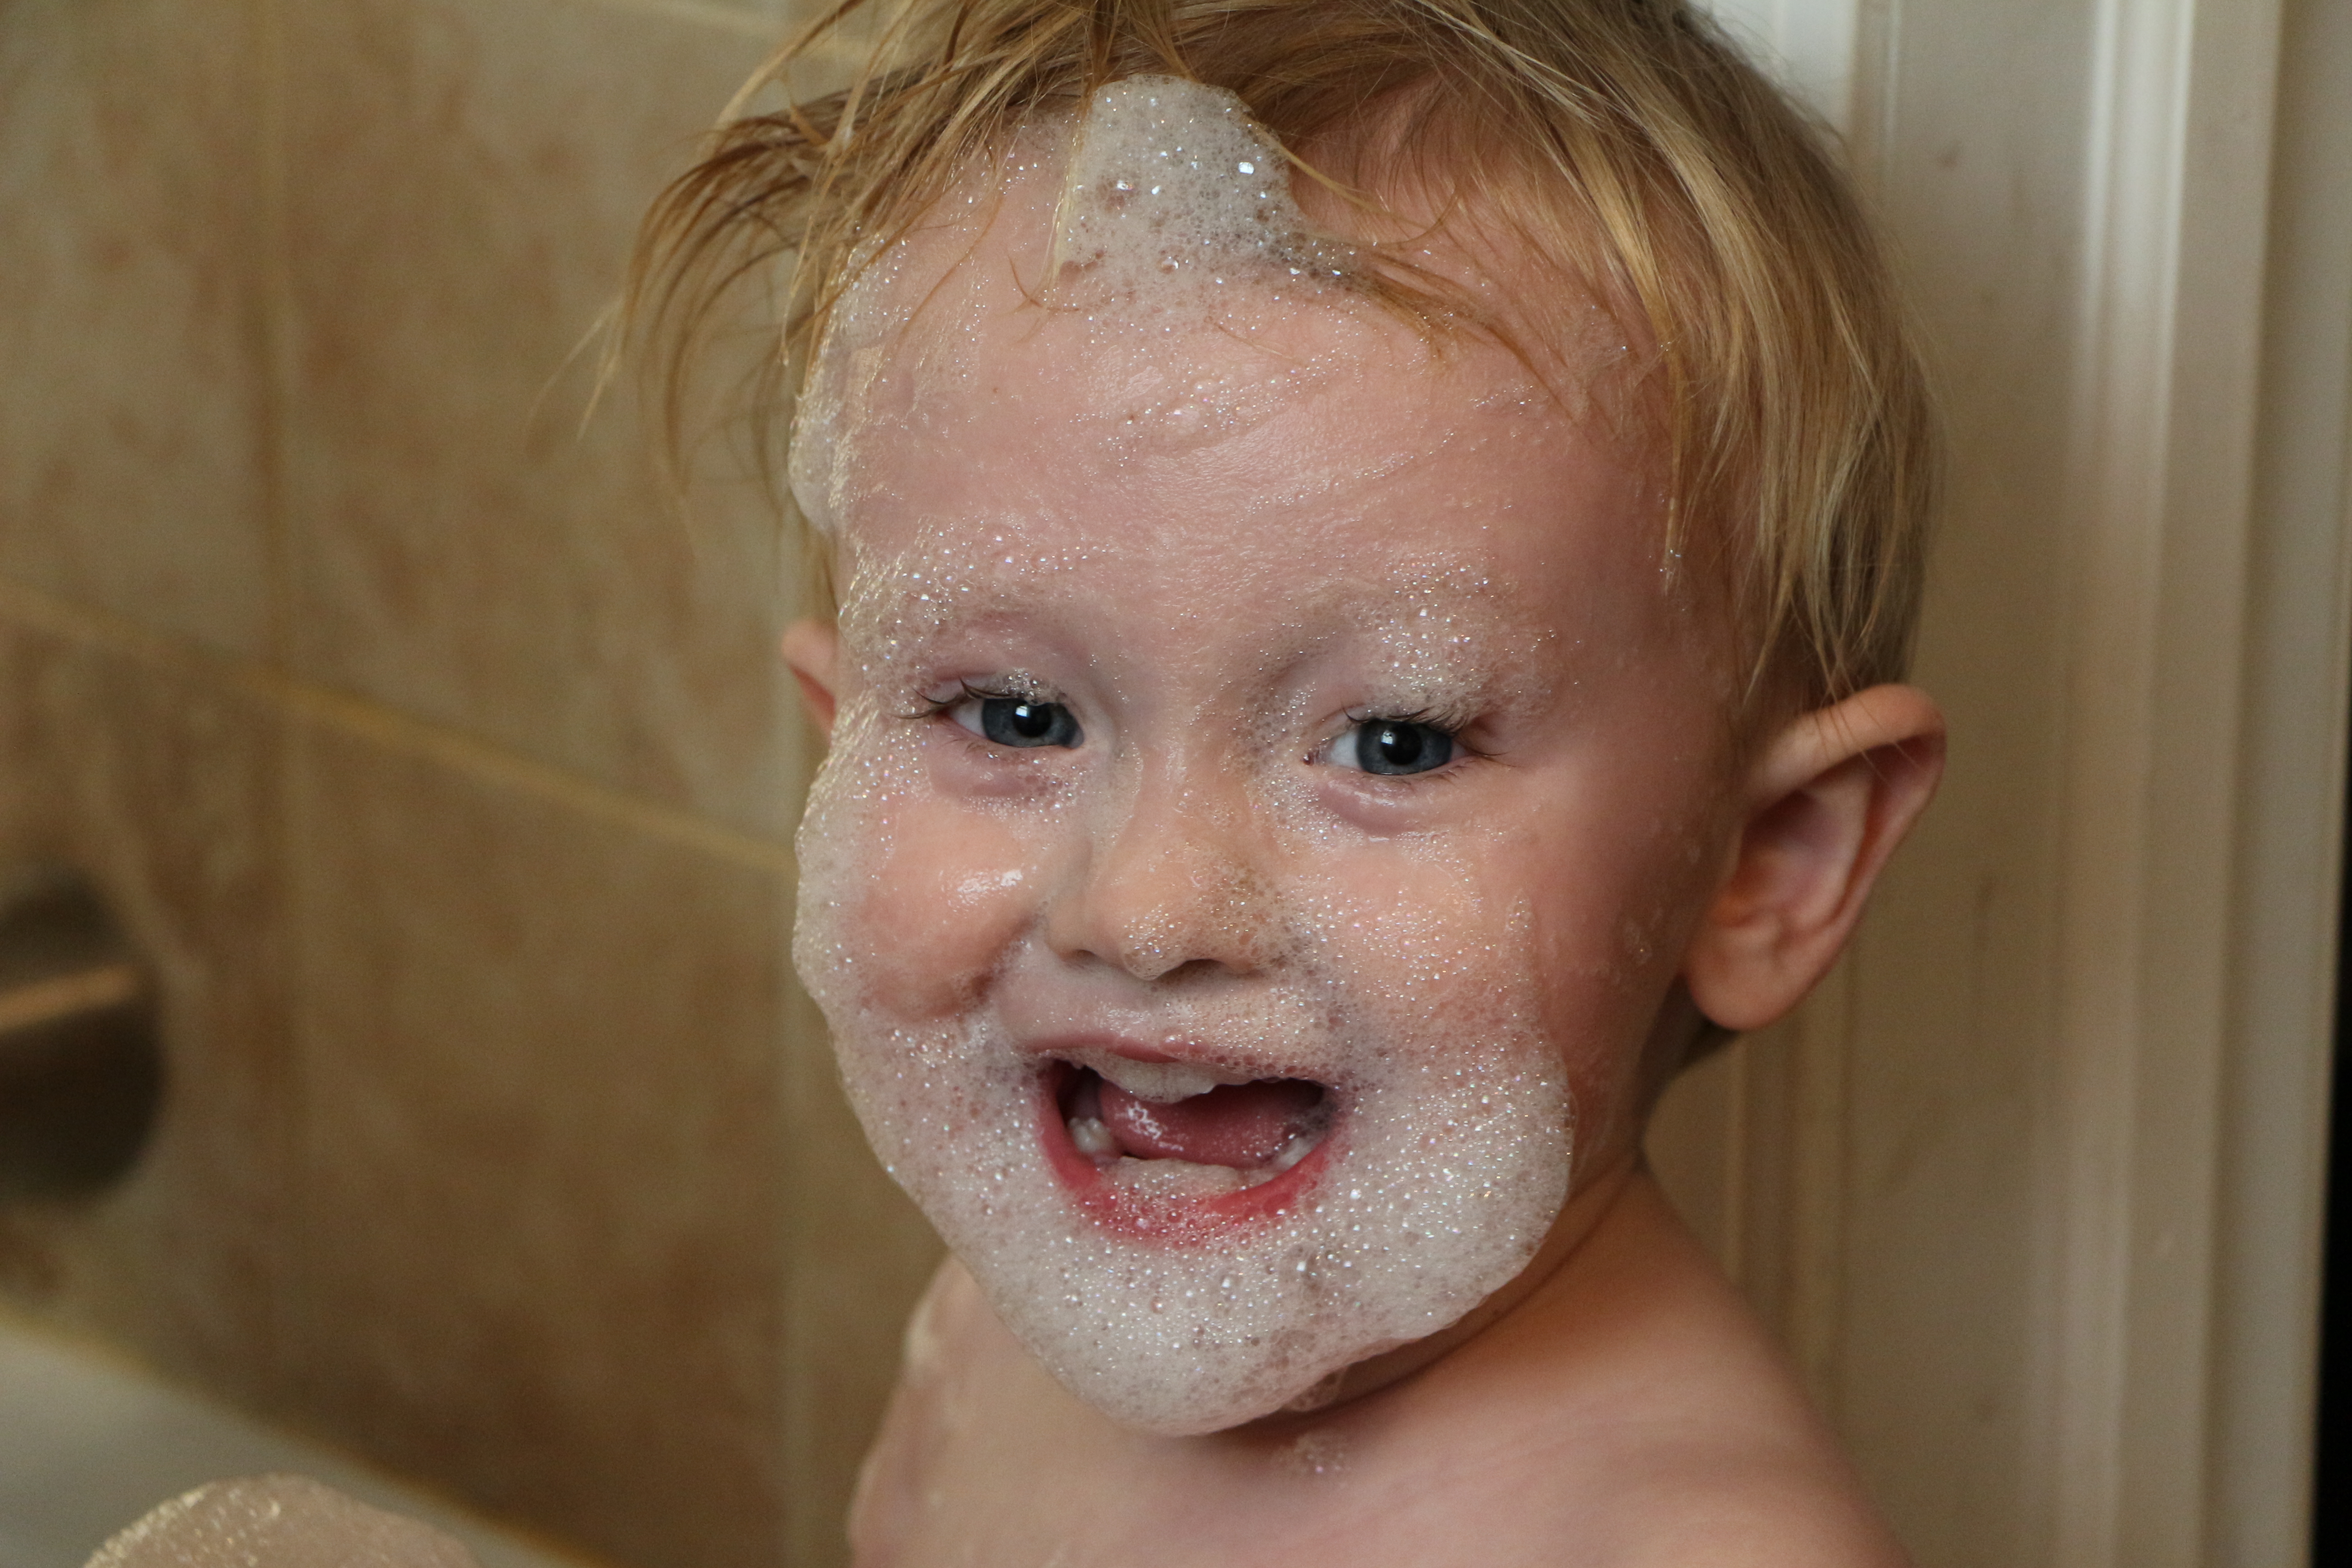
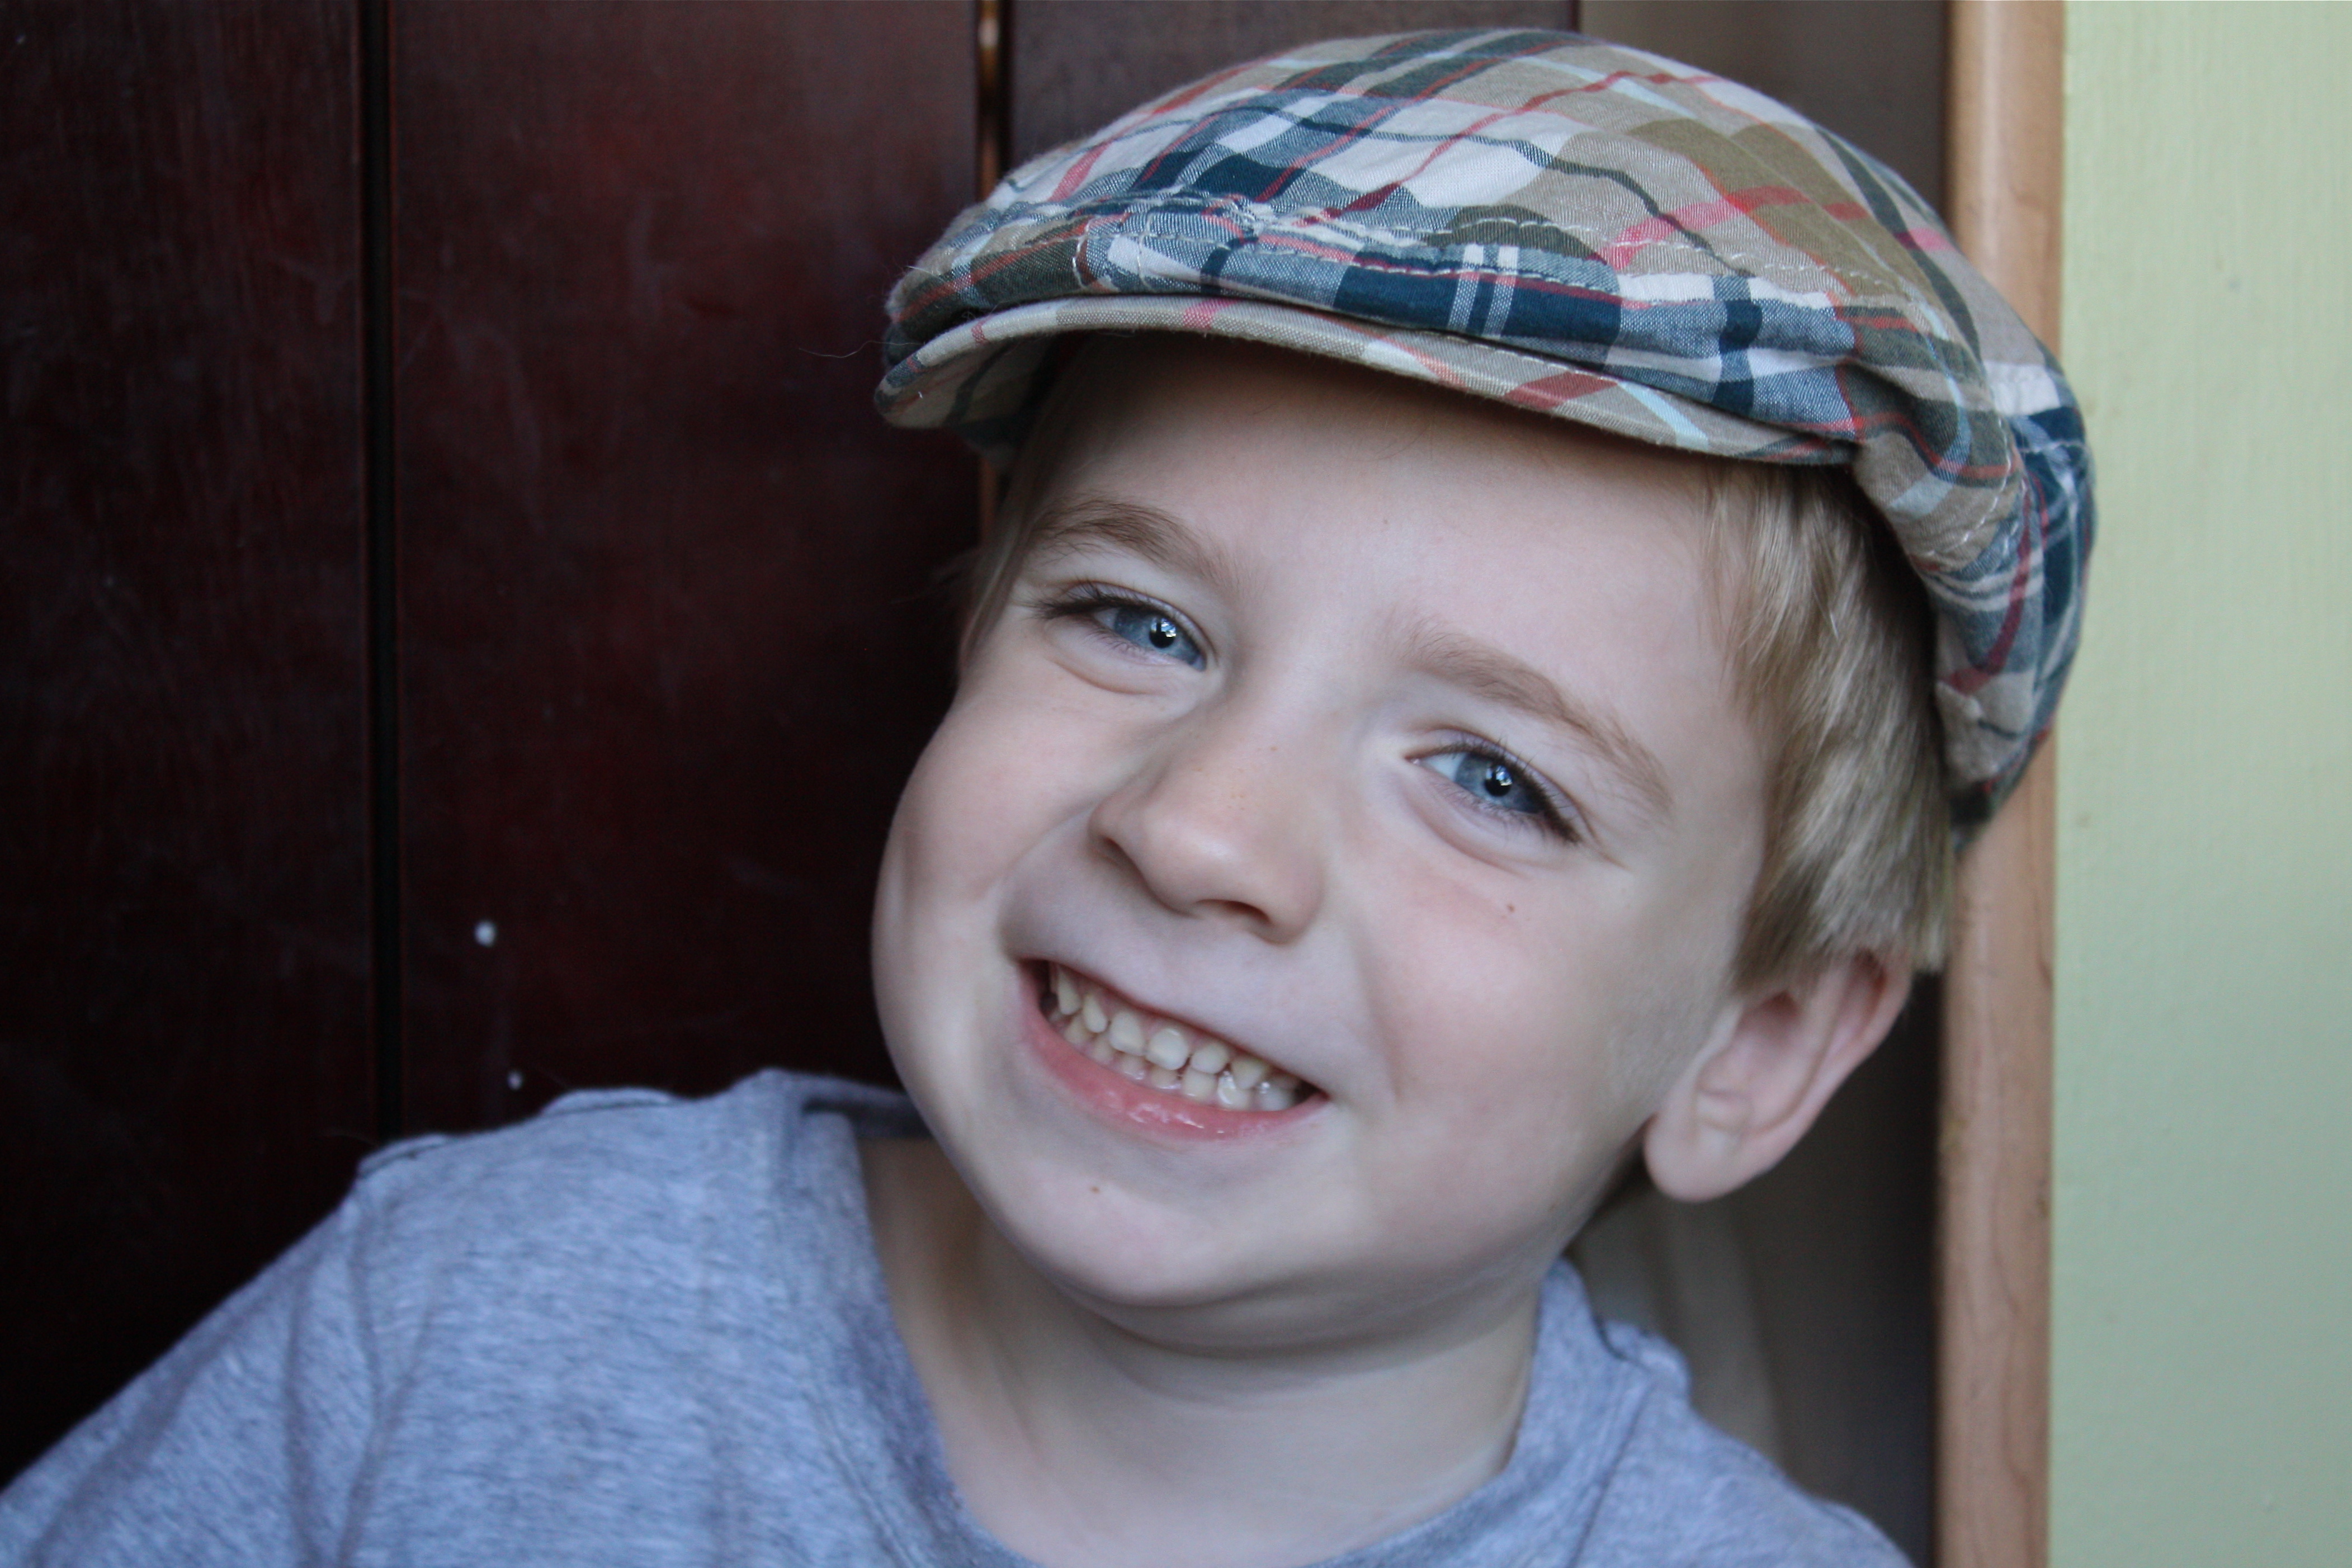
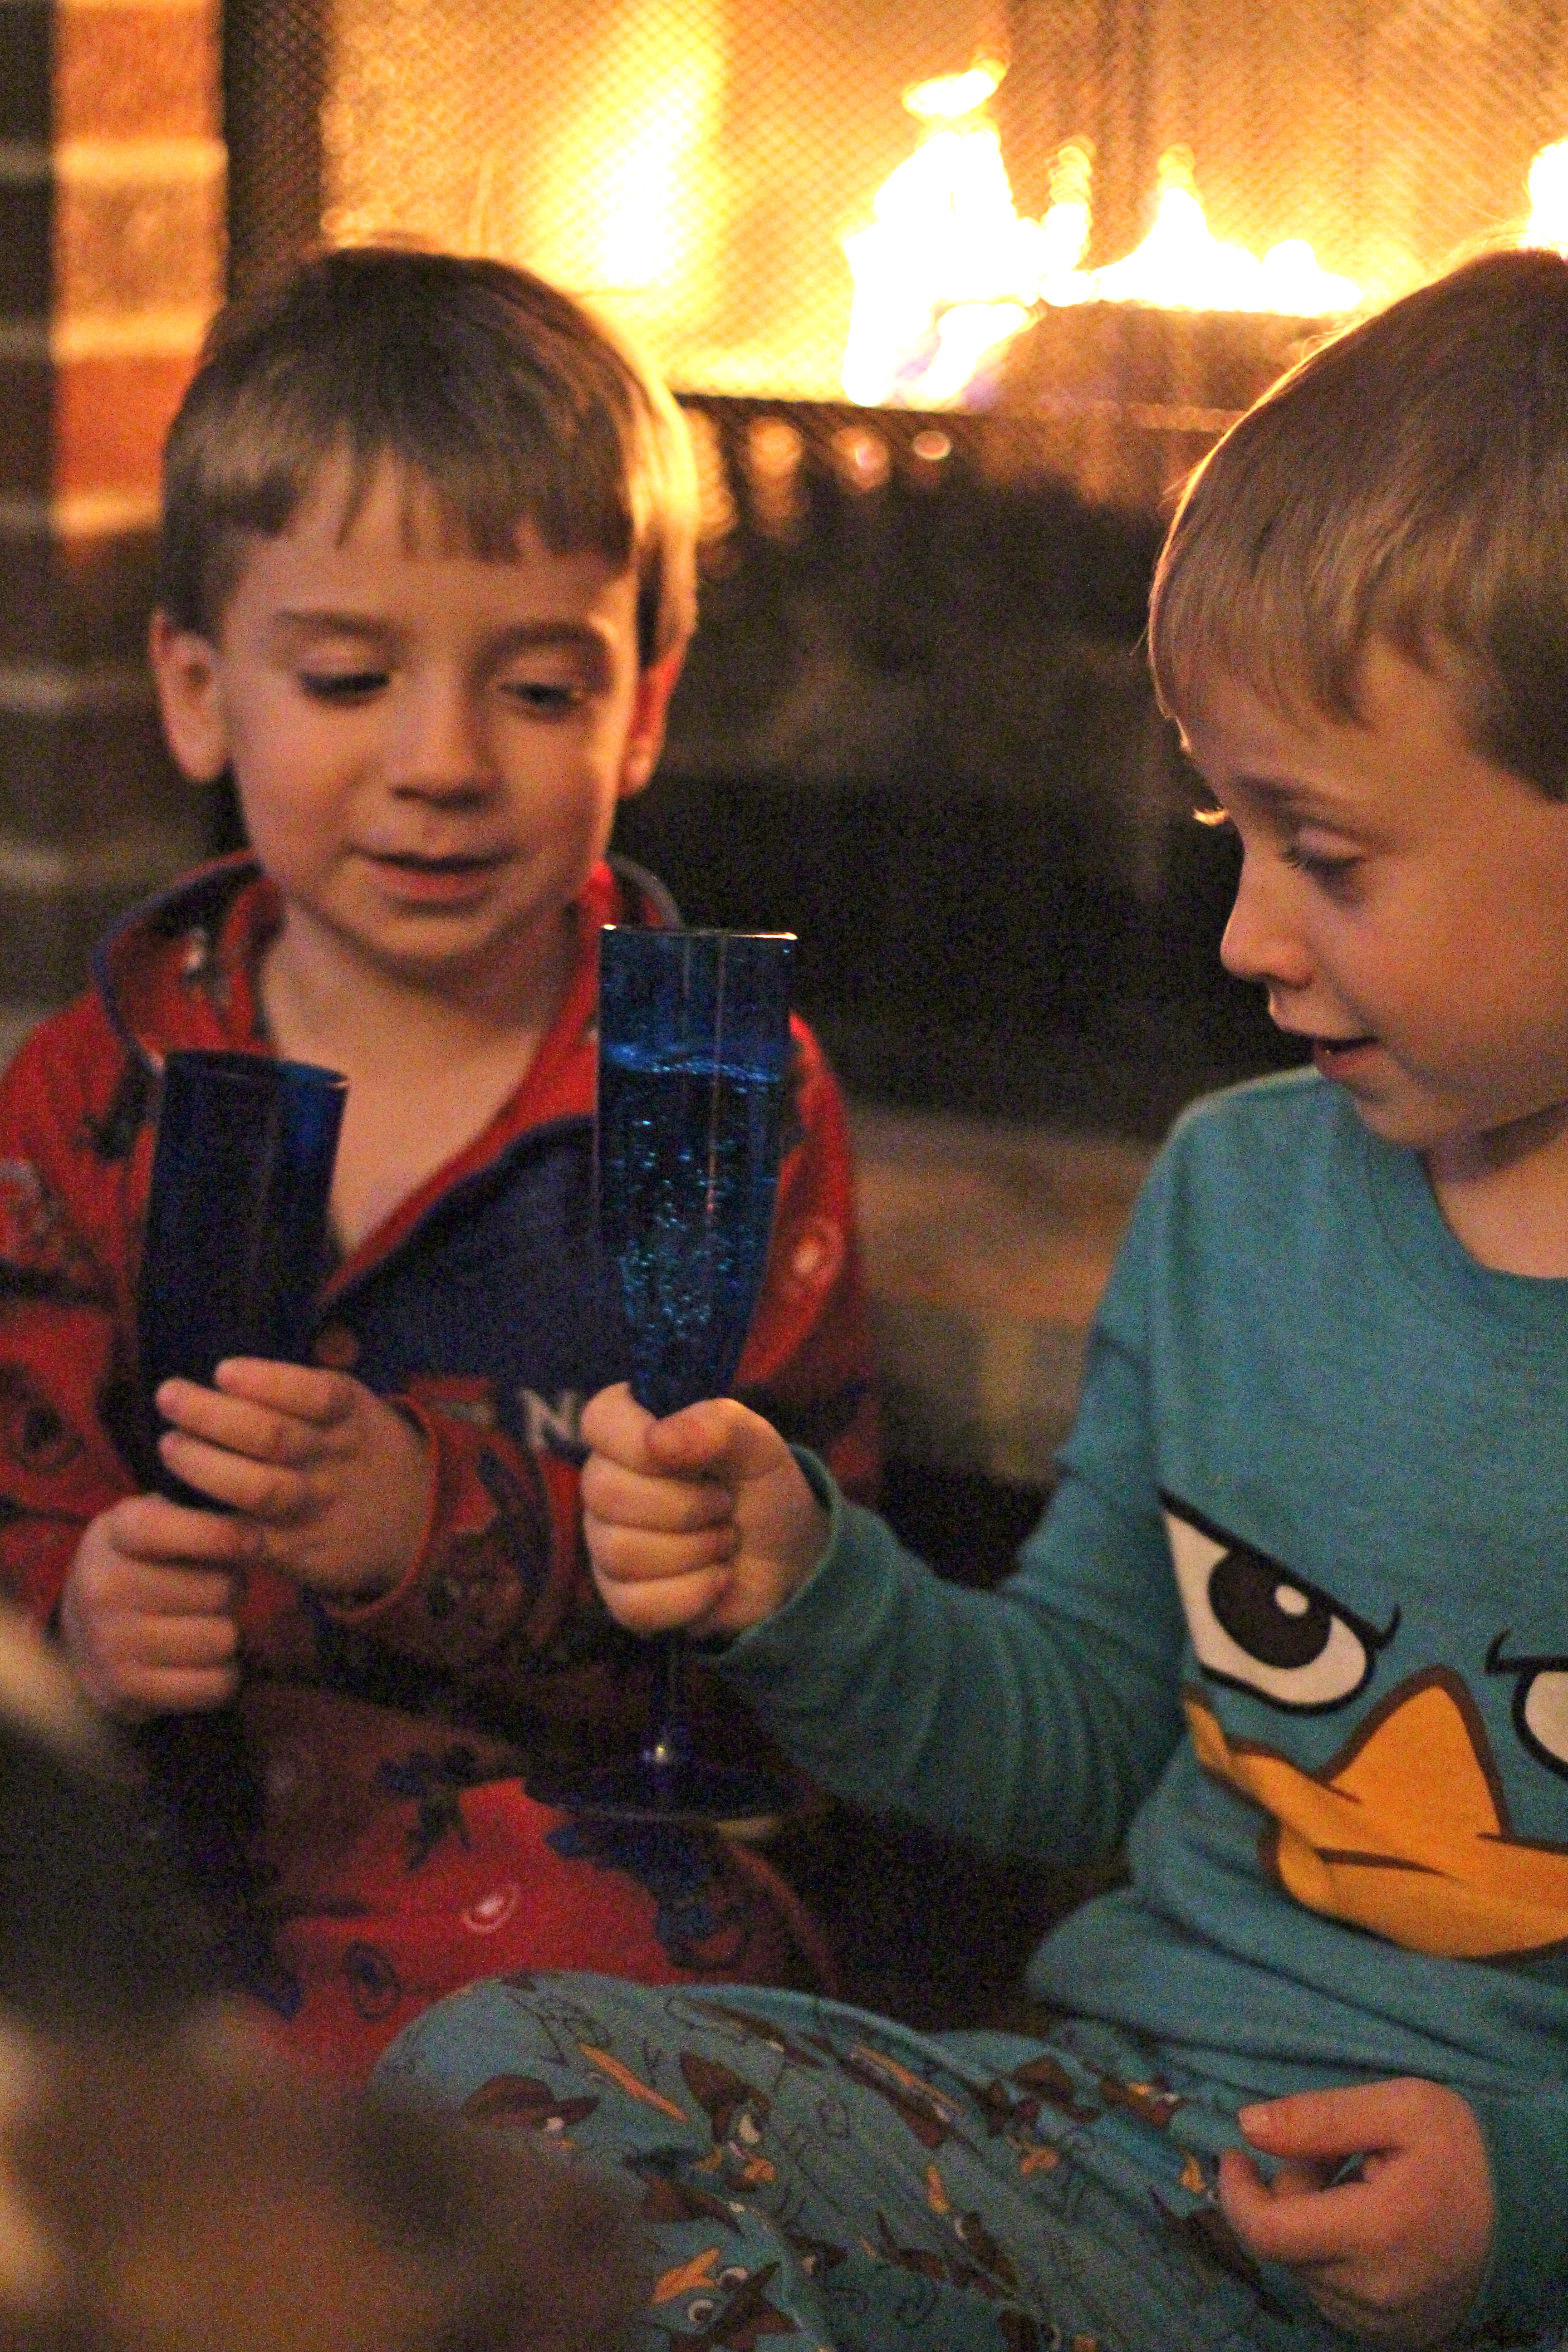
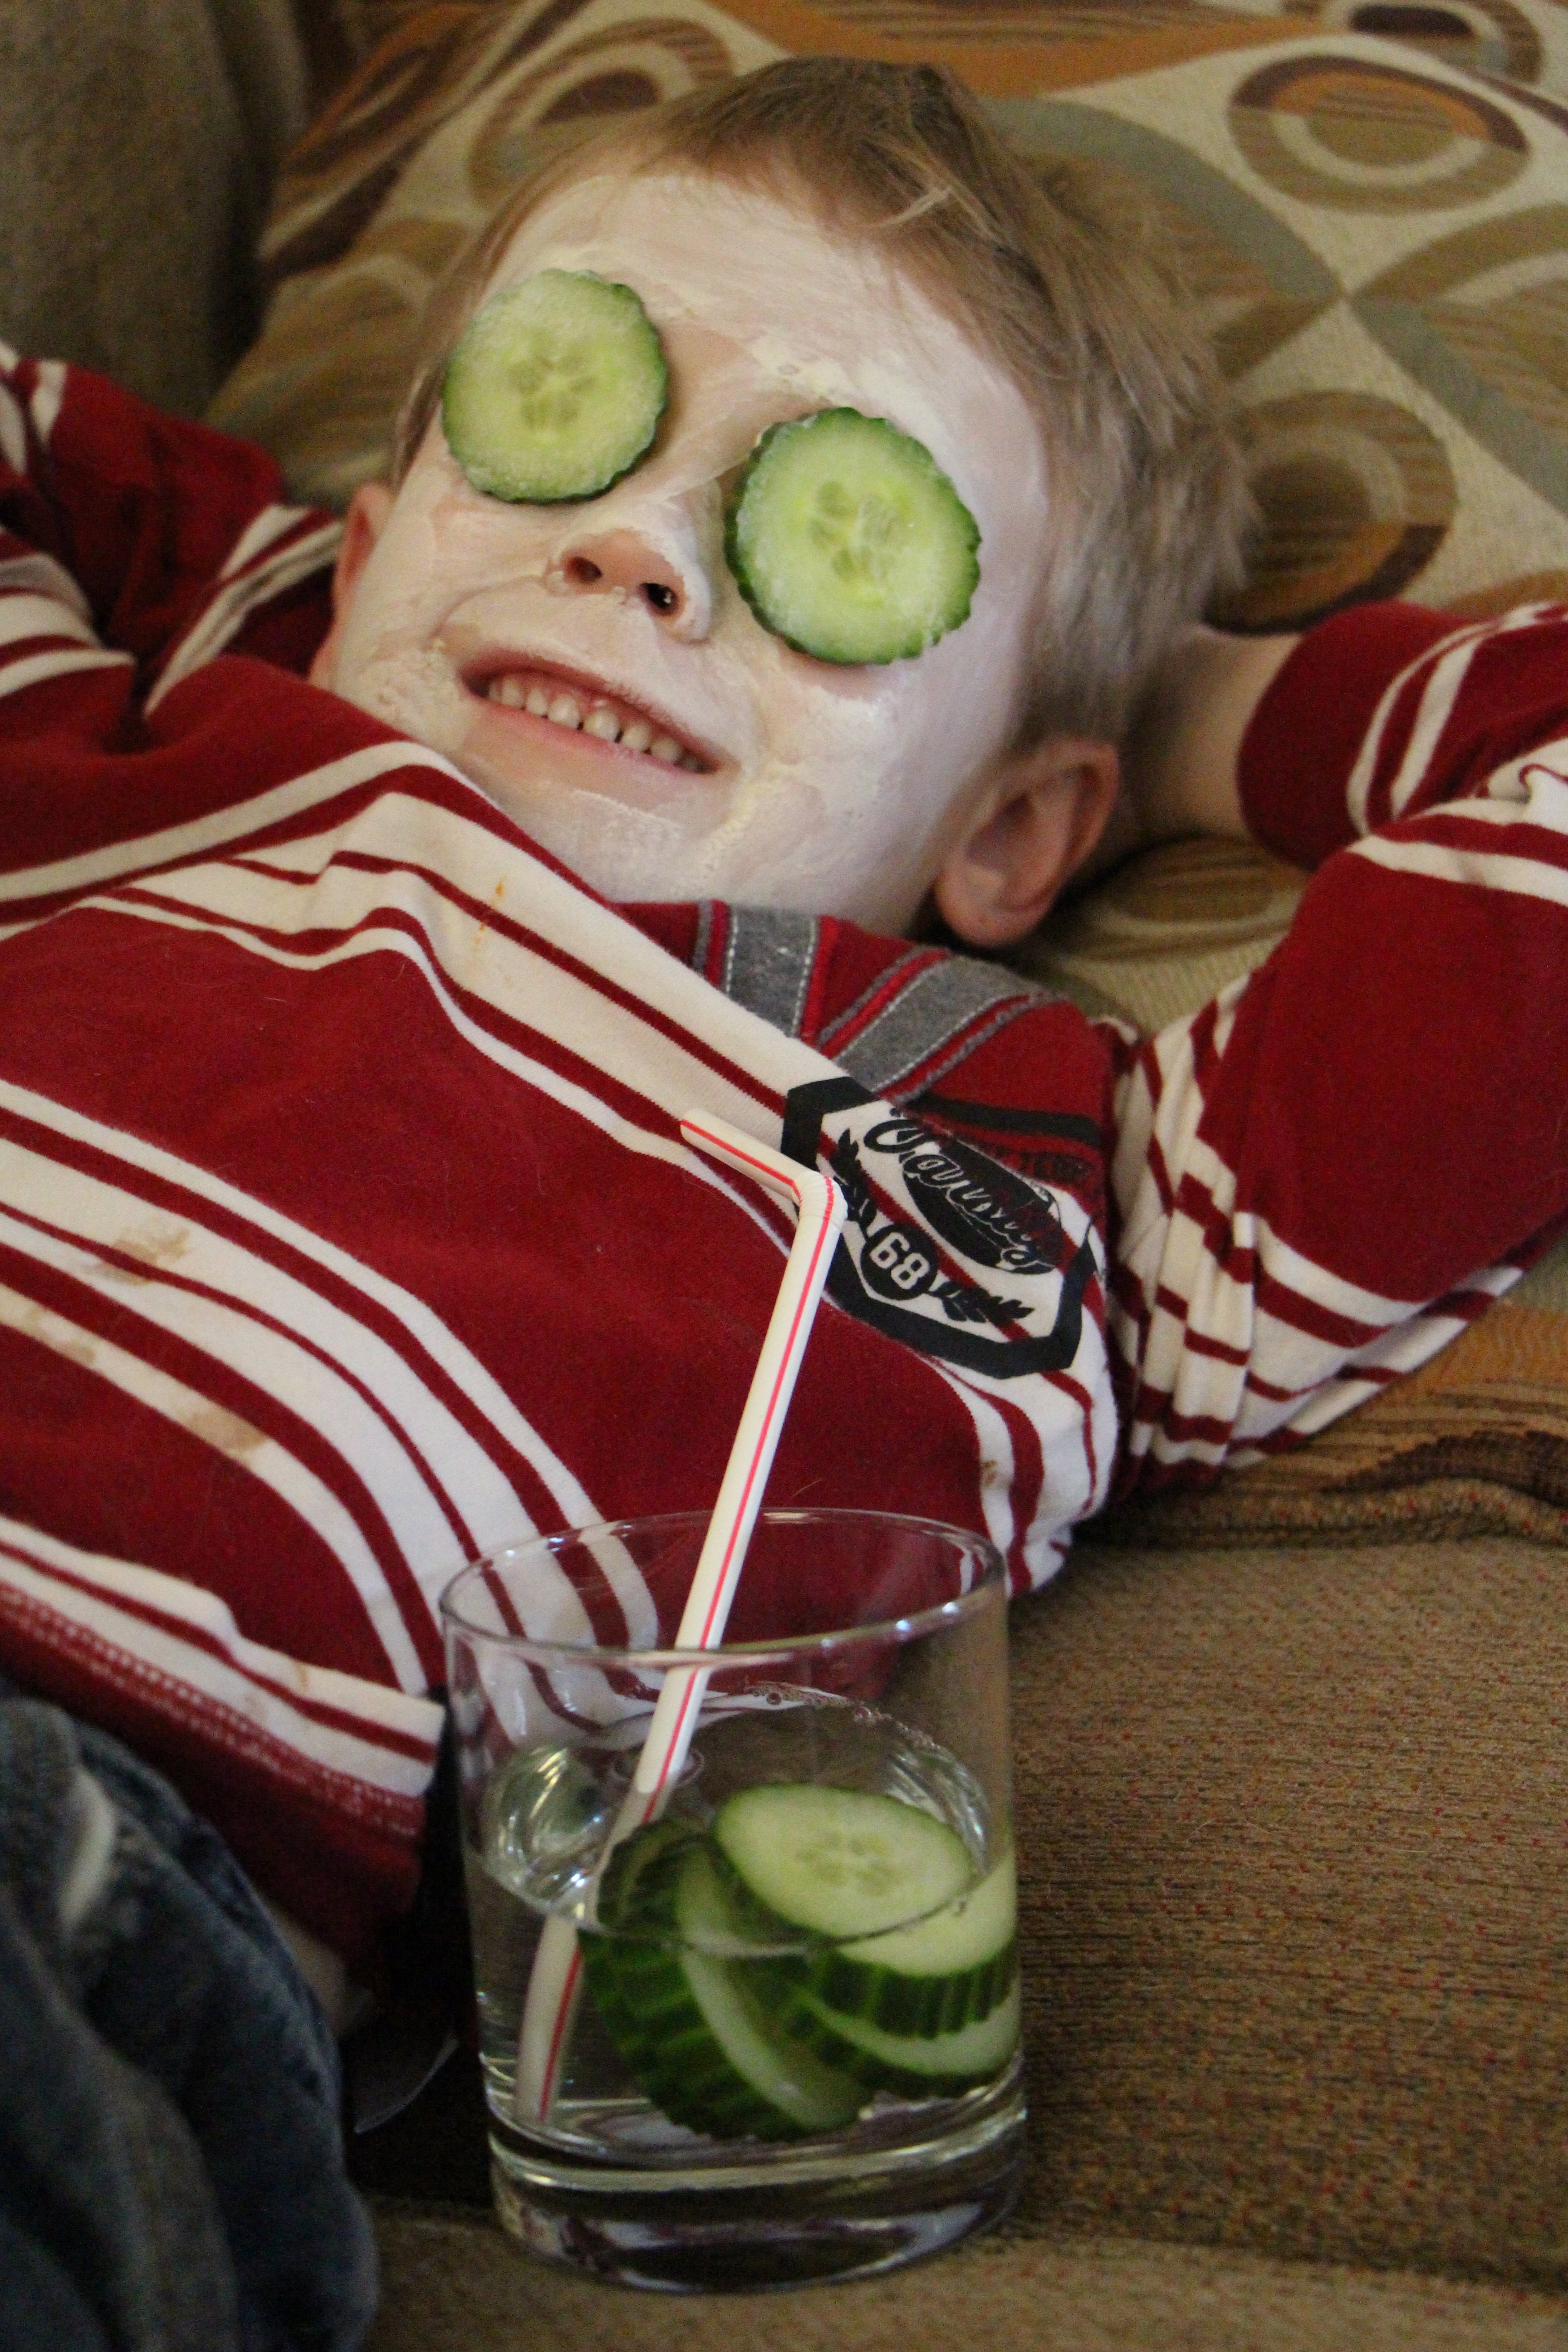
But then I received the phone call from the school nurse. My sweet, little valentine was running a fever and needed to be picked up from school. After a bit of rest at home, I decided to turn his little spa idea around on him. It just seemed like he needed the extra attention more than I did. The boys enjoyed the funny face masks and cool cucumber eyes and they laughed their bubble-bearded faces to near tears in the over-filled bathtub. I poured cool glasses of cucumber water for the boys to sip while they enjoyed the soothing effects of the face masks, but none of the boys would drink what they perceived to be ‘pickle water’.
After soothing face masks, ‘pickle water’, and bubble baths, we enjoyed some delicious tropical green smoothies. Inspiration for these smoothies came to me while watching a food documentary I ran across on Netflix, Hungry for Change. For the most part, the film spoke to what most of us already know; whole foods are good for you, processed foods are not. Eat lots of fresh, unprocessed fruits and vegetables and you’ll feel better, look younger, and have glowing skin. (They talked a lot about skin.) At one point, the filmed focused so heavily on juicing that I started to suspect I’d been tricked into watching an 89-minute long informercial for a juicing machine. But all-in-all, it was a decent film which drove home some important points about healthy eating.
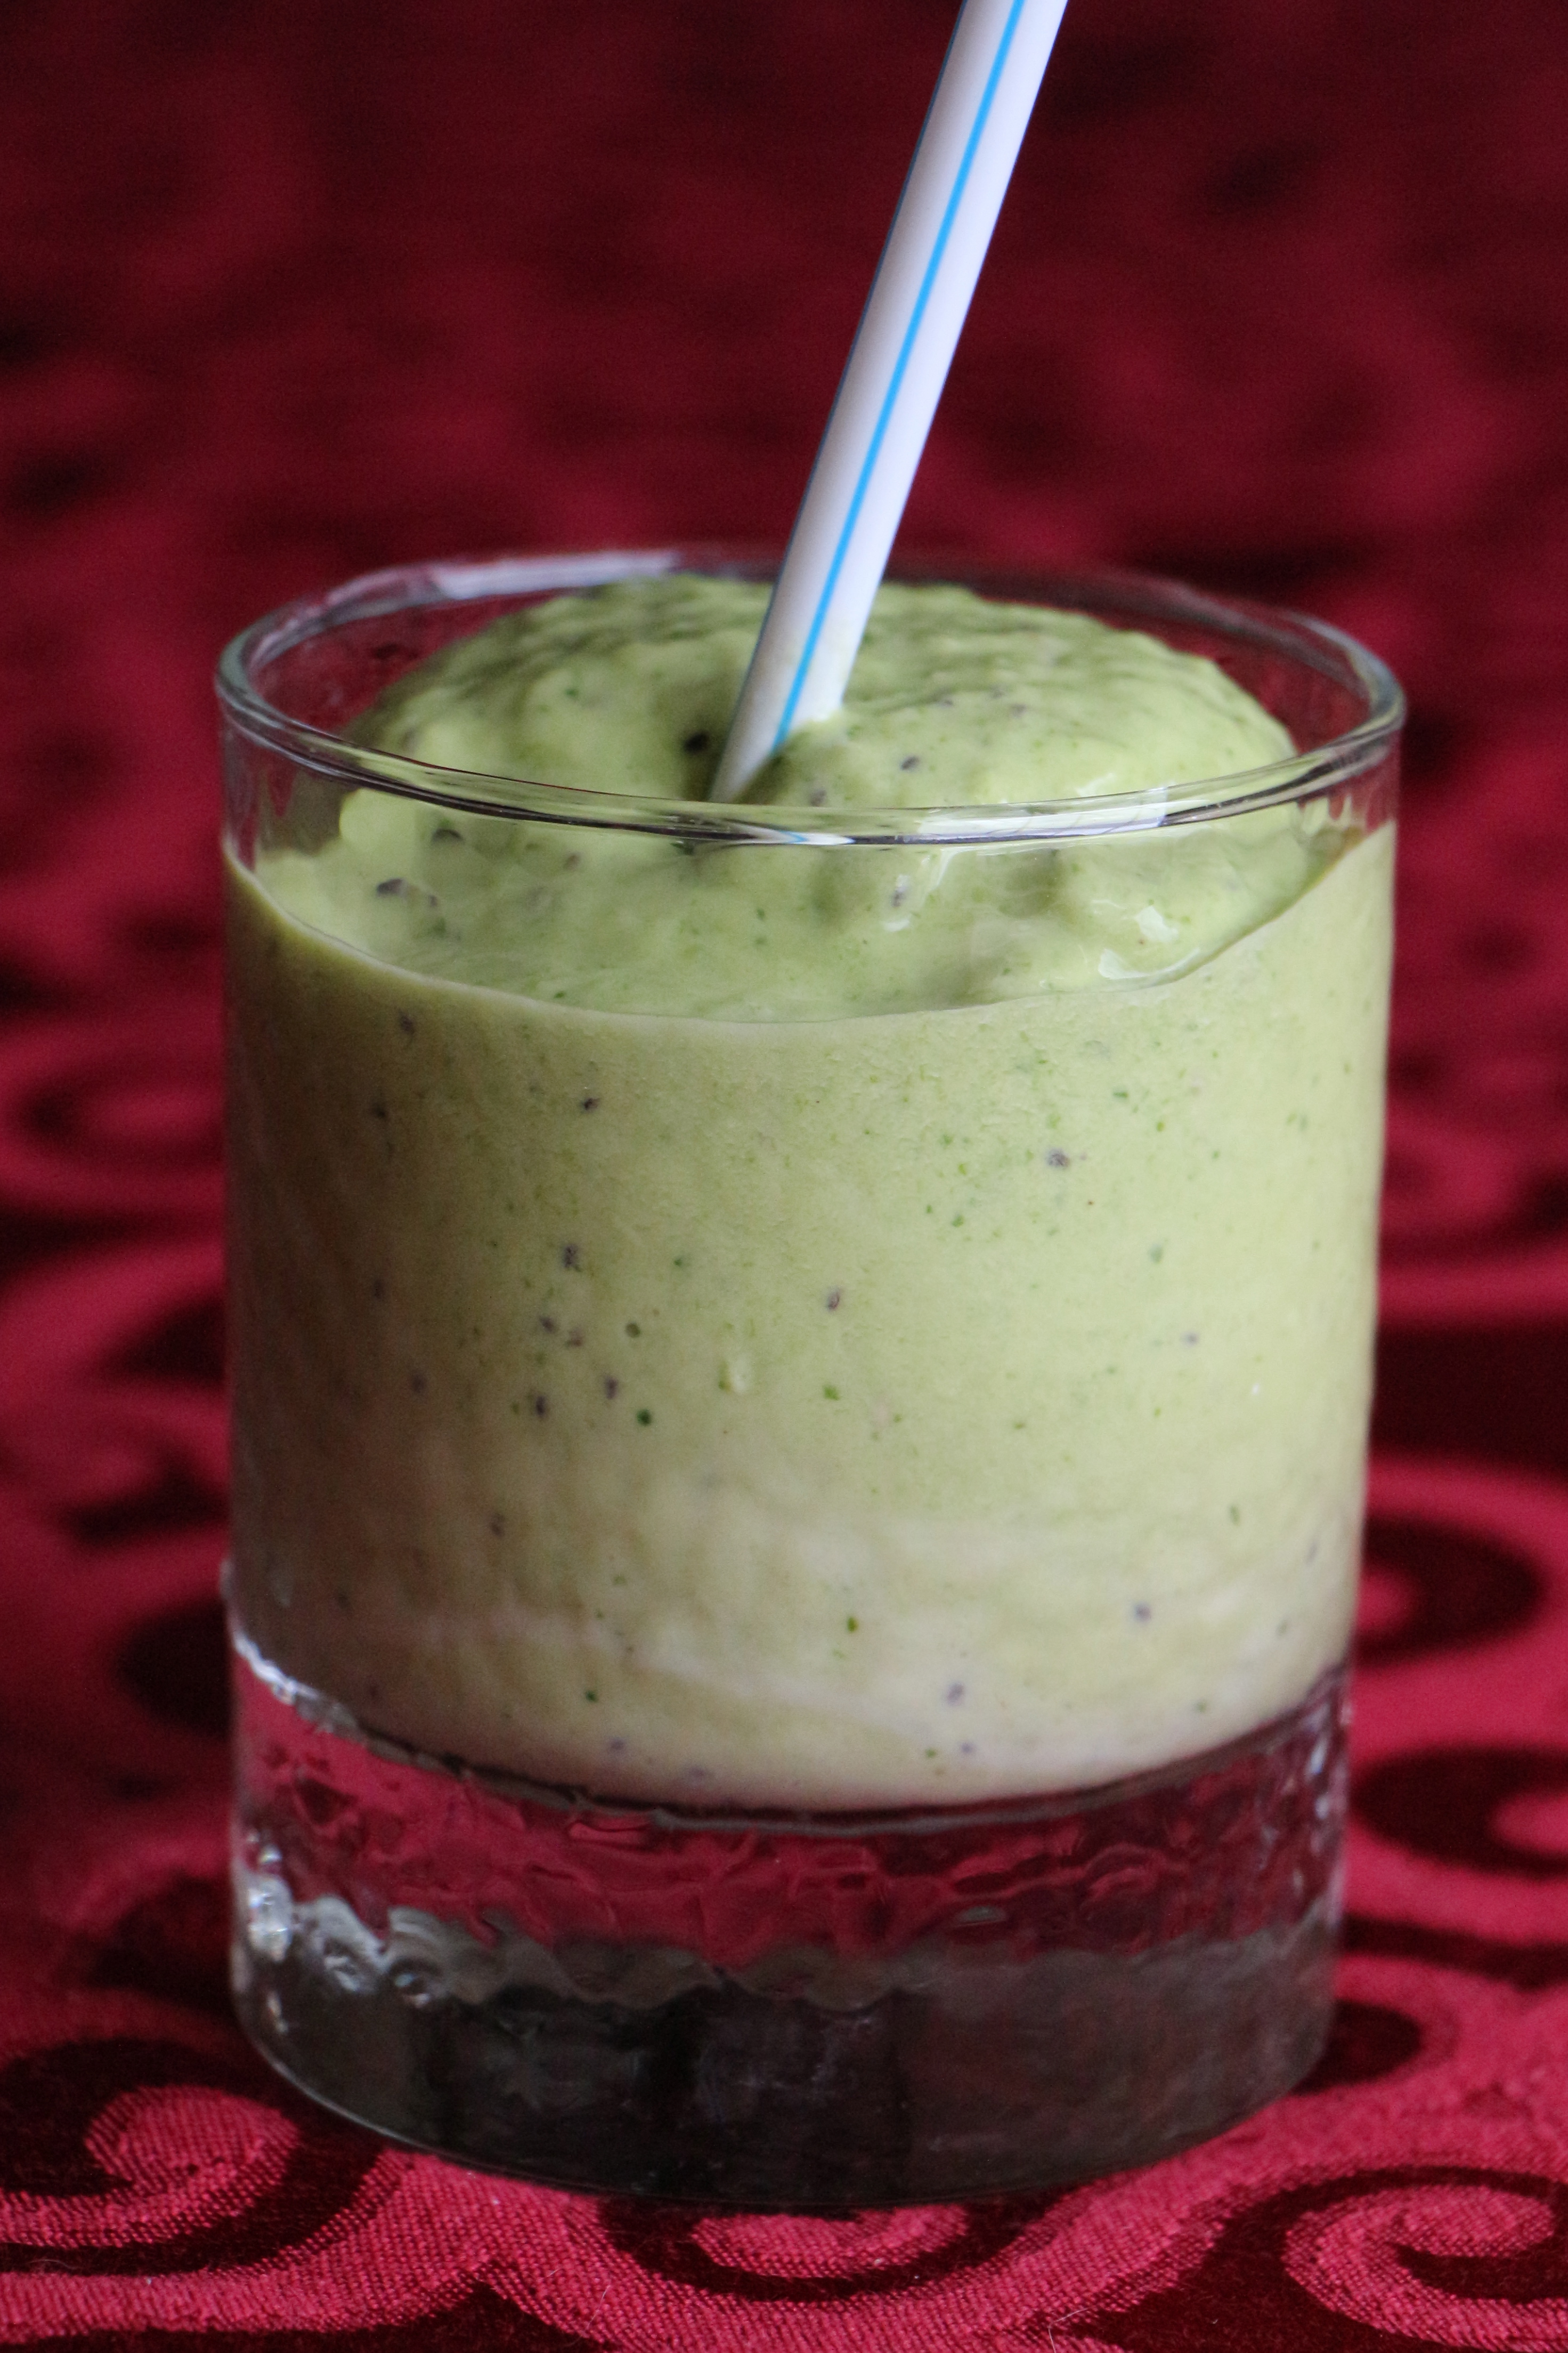
Above all, to me, the most interesting segment had to do with foods that have the ability to reset and detoxify our bodies, so that they function more efficiently and effectively. Leafy green vegetables and gelatinous plant foods, such as chia seeds, were given the biggest focus. After doing a bit of research into chia seeds and discovering their many potential health benefits, I made the decision to incorporate them into my diet, starting with these delicious and nutrient dense smoothies. These vibrant smoothies start with fresh tropical fruit and a big handful of baby spinach. Protein-rich greek yogurt, omega-3 and fiber-rich chia seeds, and natural, sweet honey complete the mix to form a nutritional powerhouse smoothie you can feel great about enjoying.
Today’s Focus on Technique – Making Smoothies with Frozen Fruit
Keeping a stash of fresh fruit pieces in your freezer makes smoothie-making a breeze. Most fruit contains enough water content to give your smoothies that icy texture, without actually adding any ice. (Banana smoothies usually require some ice.) Clean, peel, and chop your favorite fruits, then freeze them in large ziploc bags or airtight containers. For extra convenience, consider buying the bags of pre-cut, no-sugar-added frozen fruit, which can be found in the freezer section of your grocery store.
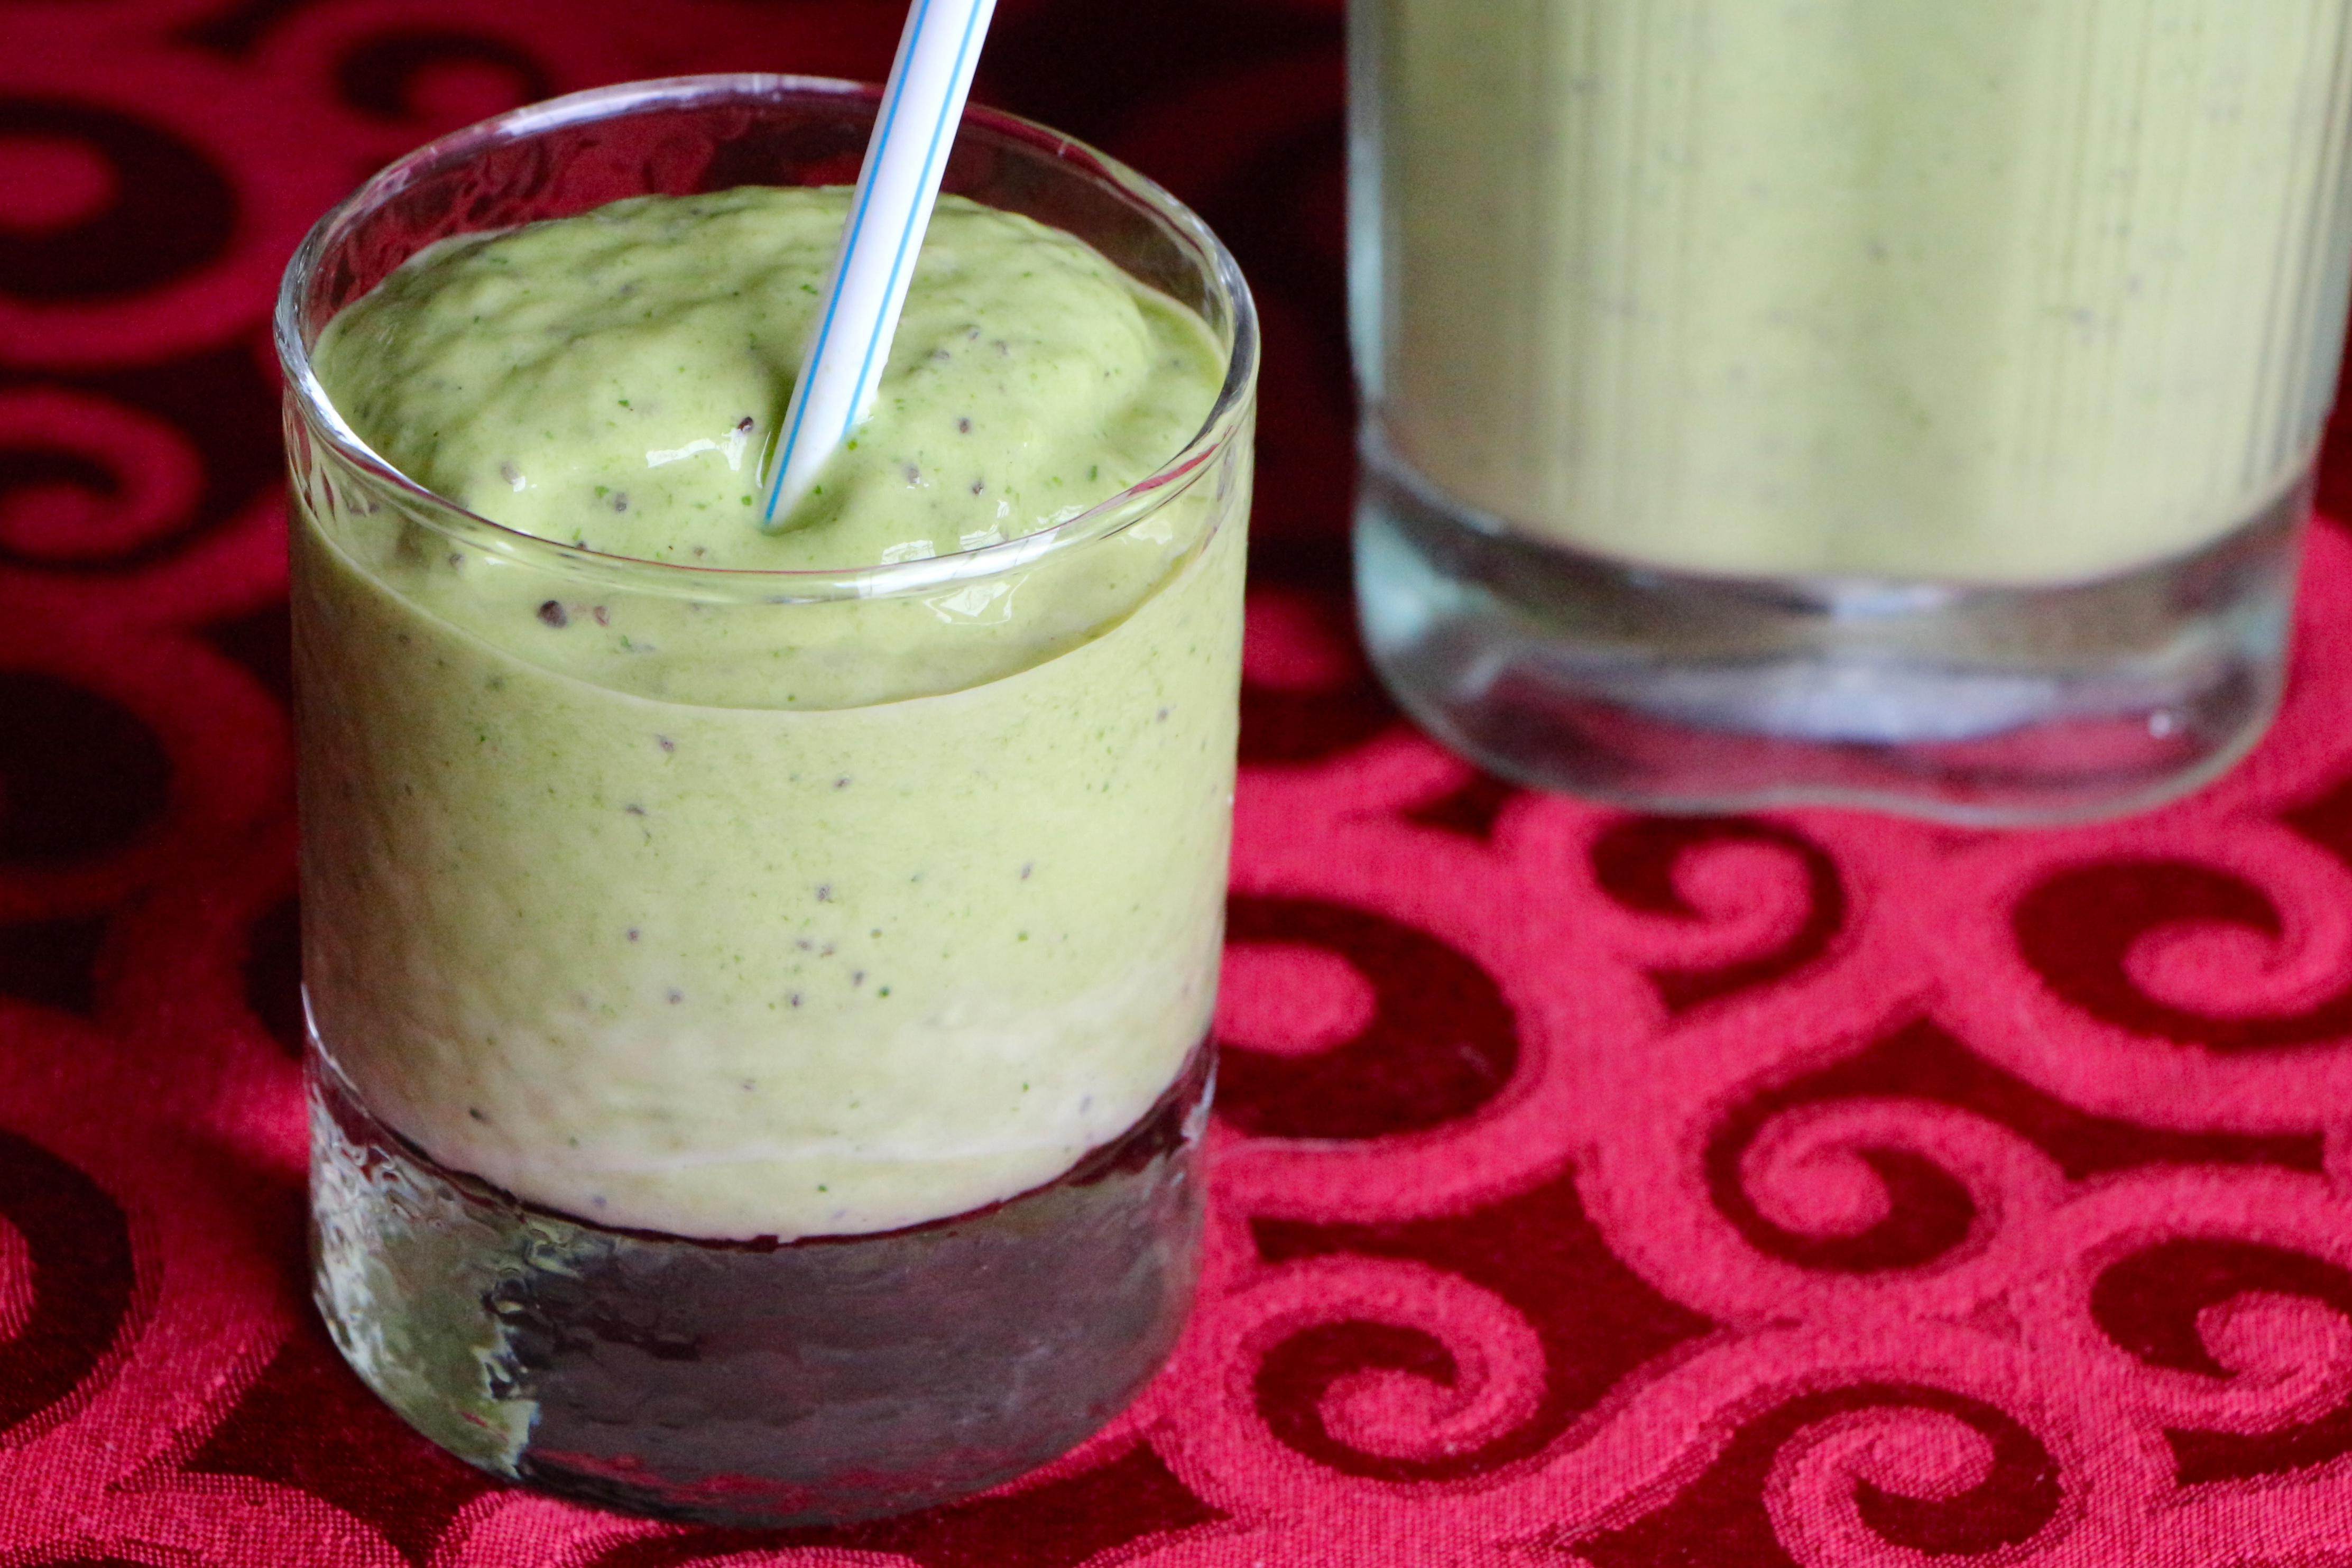
Tropical Chia Green Smoothie
Ingredients*
- 1 6-ounce container plain Greek yogurt
- 1 cup pineapple, cut into cubes and frozen
- 1 cup mango, cut into cubes and frozen
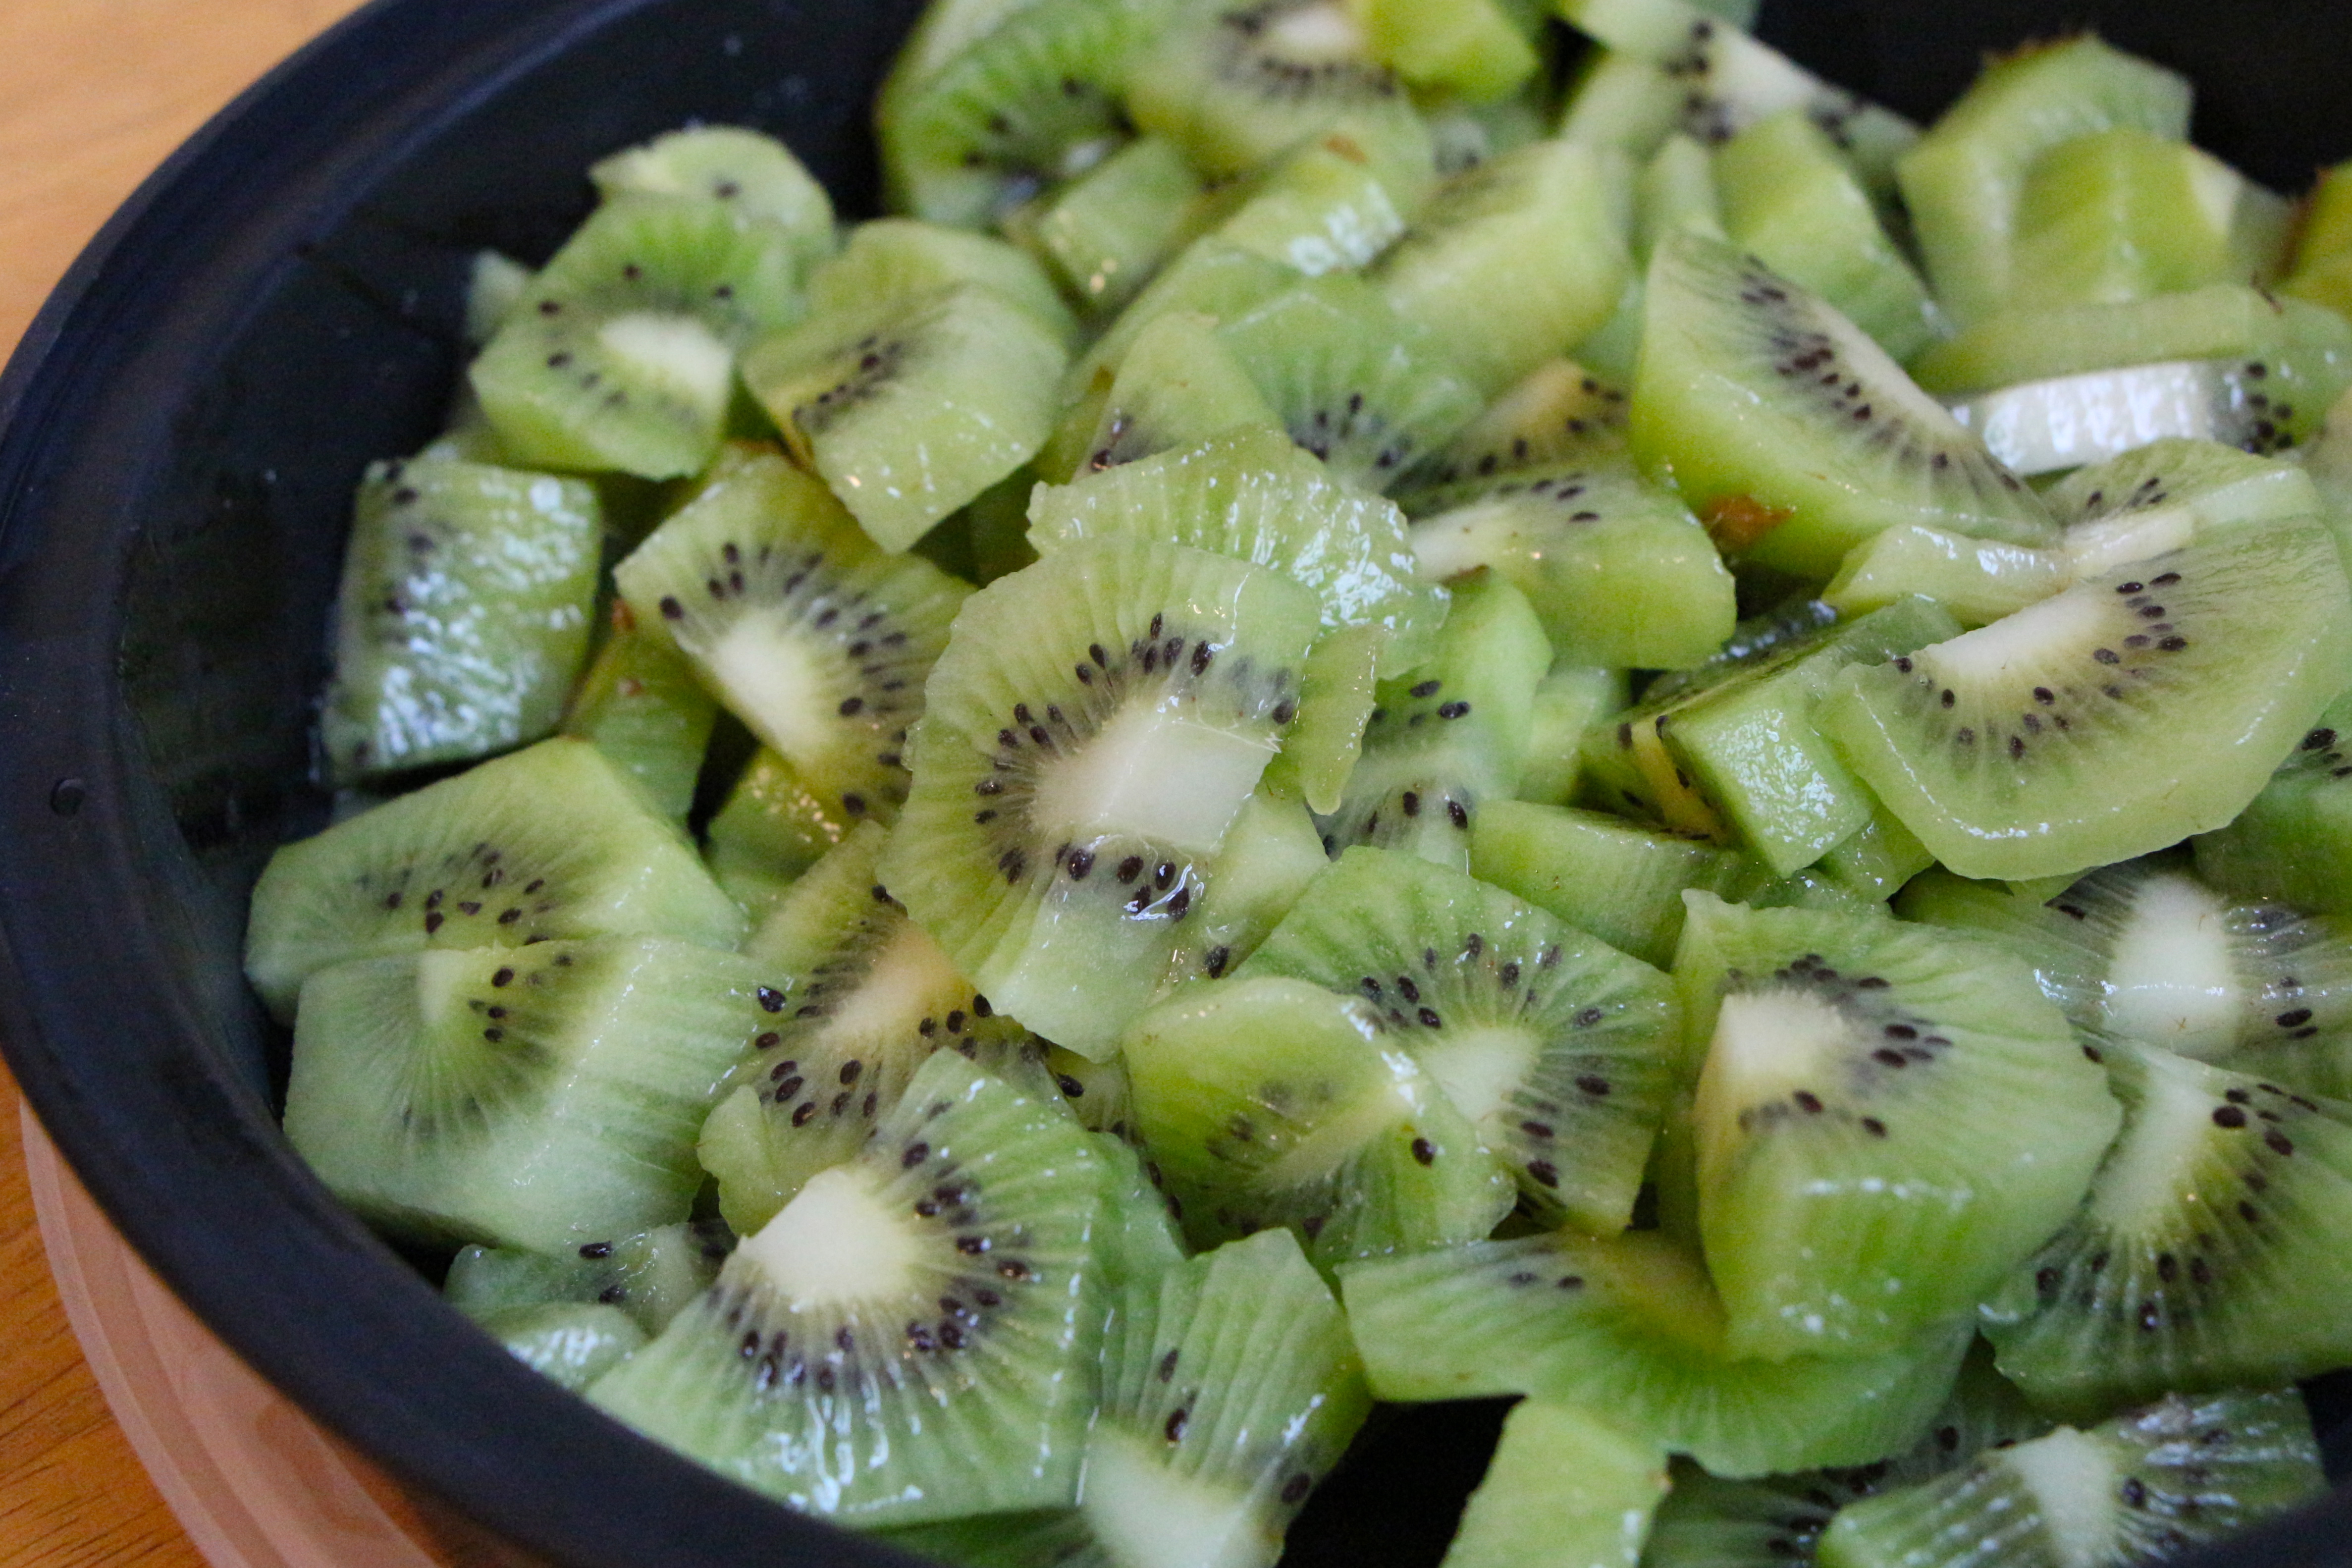
- 1 cup kiwi, cut and frozen
- 1 1/2 cups baby spinach leaves
- 1/4 cup orange juice (or milk)
- 3 tablespoons chia seeds
- 1-2 tablespoons honey
*All ingredient measurements are approximate.
Directions
Add all ingredients to a blender. Blend until well combined. Taste and adjust sweetness with additional honey, if desired.
Makes 2 generous smoothies