RSS Feed

Tag Archives: Thanksgiving

Thanksgiving Menu Ideas

Hey, folks…

Reposting last year’s round-up of Thanksgiving ideas for a little menu-planning inspiration!

~Amy

APPETIZERS

Cranberry Chipotle Meatballs

Corn and Bacon Fritters with Smoked Salmon

Bacon-Wrapped Dates stuffed with Bleu Cheese

THE MAIN EVENT

Herb-Roasted Turkey Breast with Pan Gravy (and tips for roasting a whole turkey)

Bacon and Cider Braised Turkey Drumsticks (and garlicky creamed spinach)

Spiced Sweet Potato Puree with Pecan Streusel

Sausage, Apple, and Leek Stuffing

Cranberry-Orange Sauce

Green Beans Almondine

Roasted Brussels Sprouts with Bacon and Walnuts

Hot Doughy Buns

DESSERTS

Chocolate Pecan Pie

Pumpkin Coconut Pie

A Few Variations on Apple Pie (in an all butter pie crust)

Caramel Apple Cake

Turkey-Shaped Sugar Cookies

Caramel Apple Tartlets

Spiced Mango Upside Down Cake

Cannoli Cheesecake

Advertisement

How to Carve Your Thanksgiving Turkey – Photo Guide

In charge of carving the bird this Thanksgiving?

Most of us carve a turkey once a year, if that, which means that just about all of us could use a little refresher on how to tackle that big golden bird.

With that in mind, here’s a little photo guide to help you get the job done.

1. Allow your guests to see that gloriously golden, fragrant, tender roasted turkey. Then, bring it back into the kitchen to carve. It’s a hands-on and somewhat messy job. There’s no need to be dealing with it at the carefully set Thanksgiving table.

IMG_1396

2. Start by removing the legs. To do this, use a sharp carving knife to cut the skin connecting the leg to the body. Use your hands to pull the leg away from the body until you hear the joint pop.

IMG_1397

Then wiggle the knife through the joint and pull the leg off of the turkey carcass.

IMG_1402

3. Repeat on the other side. Then, separate the thighs from the drumsticks by inserting a knife between the joint. If desired, slice the meat from the thigh and drumsticks.

IMG_1446

4. Remove the wings in a similar manner, by gently pulling the wing from the body, then using a knife to cut through the skin and joint.

IMG_1419

5. Finally, remove the turkey breasts from the carcass. To do this, make a long, deep cut into the center of the turkey on one side of the breast bone. Carefully glide your knife down along the breast bone to remove the entire breast from one side of the turkey.

IMG_1425

6. Repeat on the other side, then lay the breasts skin side up on your carving board and cut across the breast into slices.

IMG_1434

Save the carcass from turkey soup!!

Antipasto Chicken (and the yarn wreath giveaway winner!)

This recipe is born of my Thanksgiving leftovers, though not in the typical turkey soup, casserole, or sandwich sense you may expect. Thanksgiving at my Grammy’s always began with a giant platter of antipasto; all varieties of meat, cheese, and marinated yummies, drizzled with a dressing made from the oils and vinegars which preserved and flavored the veggies. And though I now host my own Thanksgiving feast, a smaller version of that antipasto platter still belongs at my table.

IMG_4153

So, after our Thanksgiving feast, we were left with the expected turkey leftovers, as well as a tasty assortment of salami, provolone, sun-dried tomatoes, and olives. In search of an easy dinner which would put those leftovers to use, I threw them all together in a baking dish with a bit of tomato sauce and a few chicken breasts. It wasn’t a planned blog post. No photos were taken or measurements made. It was just a lazy night’s meal made with leftovers. But the result was so delicious, I had to make it again just to share with you.

The savory antipasto ingredients flavor the tomato base as the dish cooks, creating a rich full-flavored tomato sauce. Nestled in the sauce as it bakes, the chicken remains moist and tender. Super simple for the busy holiday season, yet incredibly flavorful and satisfying!

IMG_4348

Today’s Focus on Technique – Using an Instant Read Meat Thermometer

When cooking meat, it’s important not to rely too heavily on the stated cooking times in any given recipe. Normal variations in actual oven temperatures, along with differences in the weight and dimensions of individual cuts of meat, mean that your meat may cook slower or faster than the stated time in a recipe. To avoid under- or over-cooking meat, your best bet is to use an instant read meat thermometer. It’s one of the most useful kitchen tools you can have on hand. If you don’t already have one, put an instant read meat thermometer on your Christmas list immediately! I use mine almost every day.

Here are a few tips for properly using an instant read meat thermometer:

  • Begin checking the temperature as you approach the expected finish time for your meat (typically a few minutes before the recipe’s stated time for smaller cuts; farther ahead for larger roasts).
  • Remove the meat from the heat before measuring the temperature. Do not measure the temperature while the meat is still in the oven, as the oven heat may skew the results.
  • Insert the thermometer into the center of the thickest part of the meat.
  • Make sure that the thermometer is not poking out the other end or touching bone.
  • Wait for the thermometer to register the temperature. Some thermometers will register the temperature immediately, while some will take a few seconds.
  • According to the USDA, the following are the recommended minimum safe temperatures for various foods:
    • Beef, Pork, Veal, and Lamb (steaks, roasts, and chops) – 145°F
    • Ground meats (this includes hamburger) – 160°F
    • Poultry – 165°F
    • Fish and Shellfish – 145°F
  • Keep your instant read meat thermometer pristinely clean and close at hand!

Antipasto Chicken

Ingredients

  • 1 8-ounce can tomato sauce
  • 1/4 cup tomato paste
  • 1/8 cup parmesan cheese, grated
  • 4 slices salami, chopped
  • 1/2 small onion, finely diced
  • 1 teaspoon garlic, minced
  • 1/4 cup sun-dried tomatoes
  • 1/4 cup olives (any kind), sliced
  • 3-4 boneless, skinless chicken breasts
  • Salt and pepper
  • 3-4 slices provolone cheese, chopped

*Marinated mushrooms, spicy peppers, or marinated artichokes would all make delicious additions.

Directions

Preheat oven to 375 degrees.

In a baking dish, combine the tomato sauce, tomato paste, parmesan cheese, salami, onion, garlic, sun-dried tomatoes, and olives. Sprinkle the chicken with salt and pepper, then press the chicken breasts into the tomato mixture. Turn once to coat on both sides. Bake for approximately 25-35 minutes*, until cooked through. Turn once, halfway through cooking. Once the chicken is cooked, sprinkle the provolone cheese over the top. Leave in the oven for just a few seconds to melt. *Cooking time will vary depending on the weight and dimensions of your chicken breasts. Use an instant read meat thermometer to determine doneness. Chicken is safely done at 165°F.

Slice and serve over pasta.

IMG_4333

GIVEAWAY WINNER!! We have a winner! Using http://www.random.org to select a number at random, out of the 15 entries received for the yarn wreath gift bag giveaway, the winner is #2 , Jennifer. Congratulations, Jennifer!! I’m going to send you an email at the address provided with your comment to get the information necessary to send you out your prize!! Thank you to everyone who shared their holiday tips and traditions.

Thanksgiving Takes Two, Three, and Four

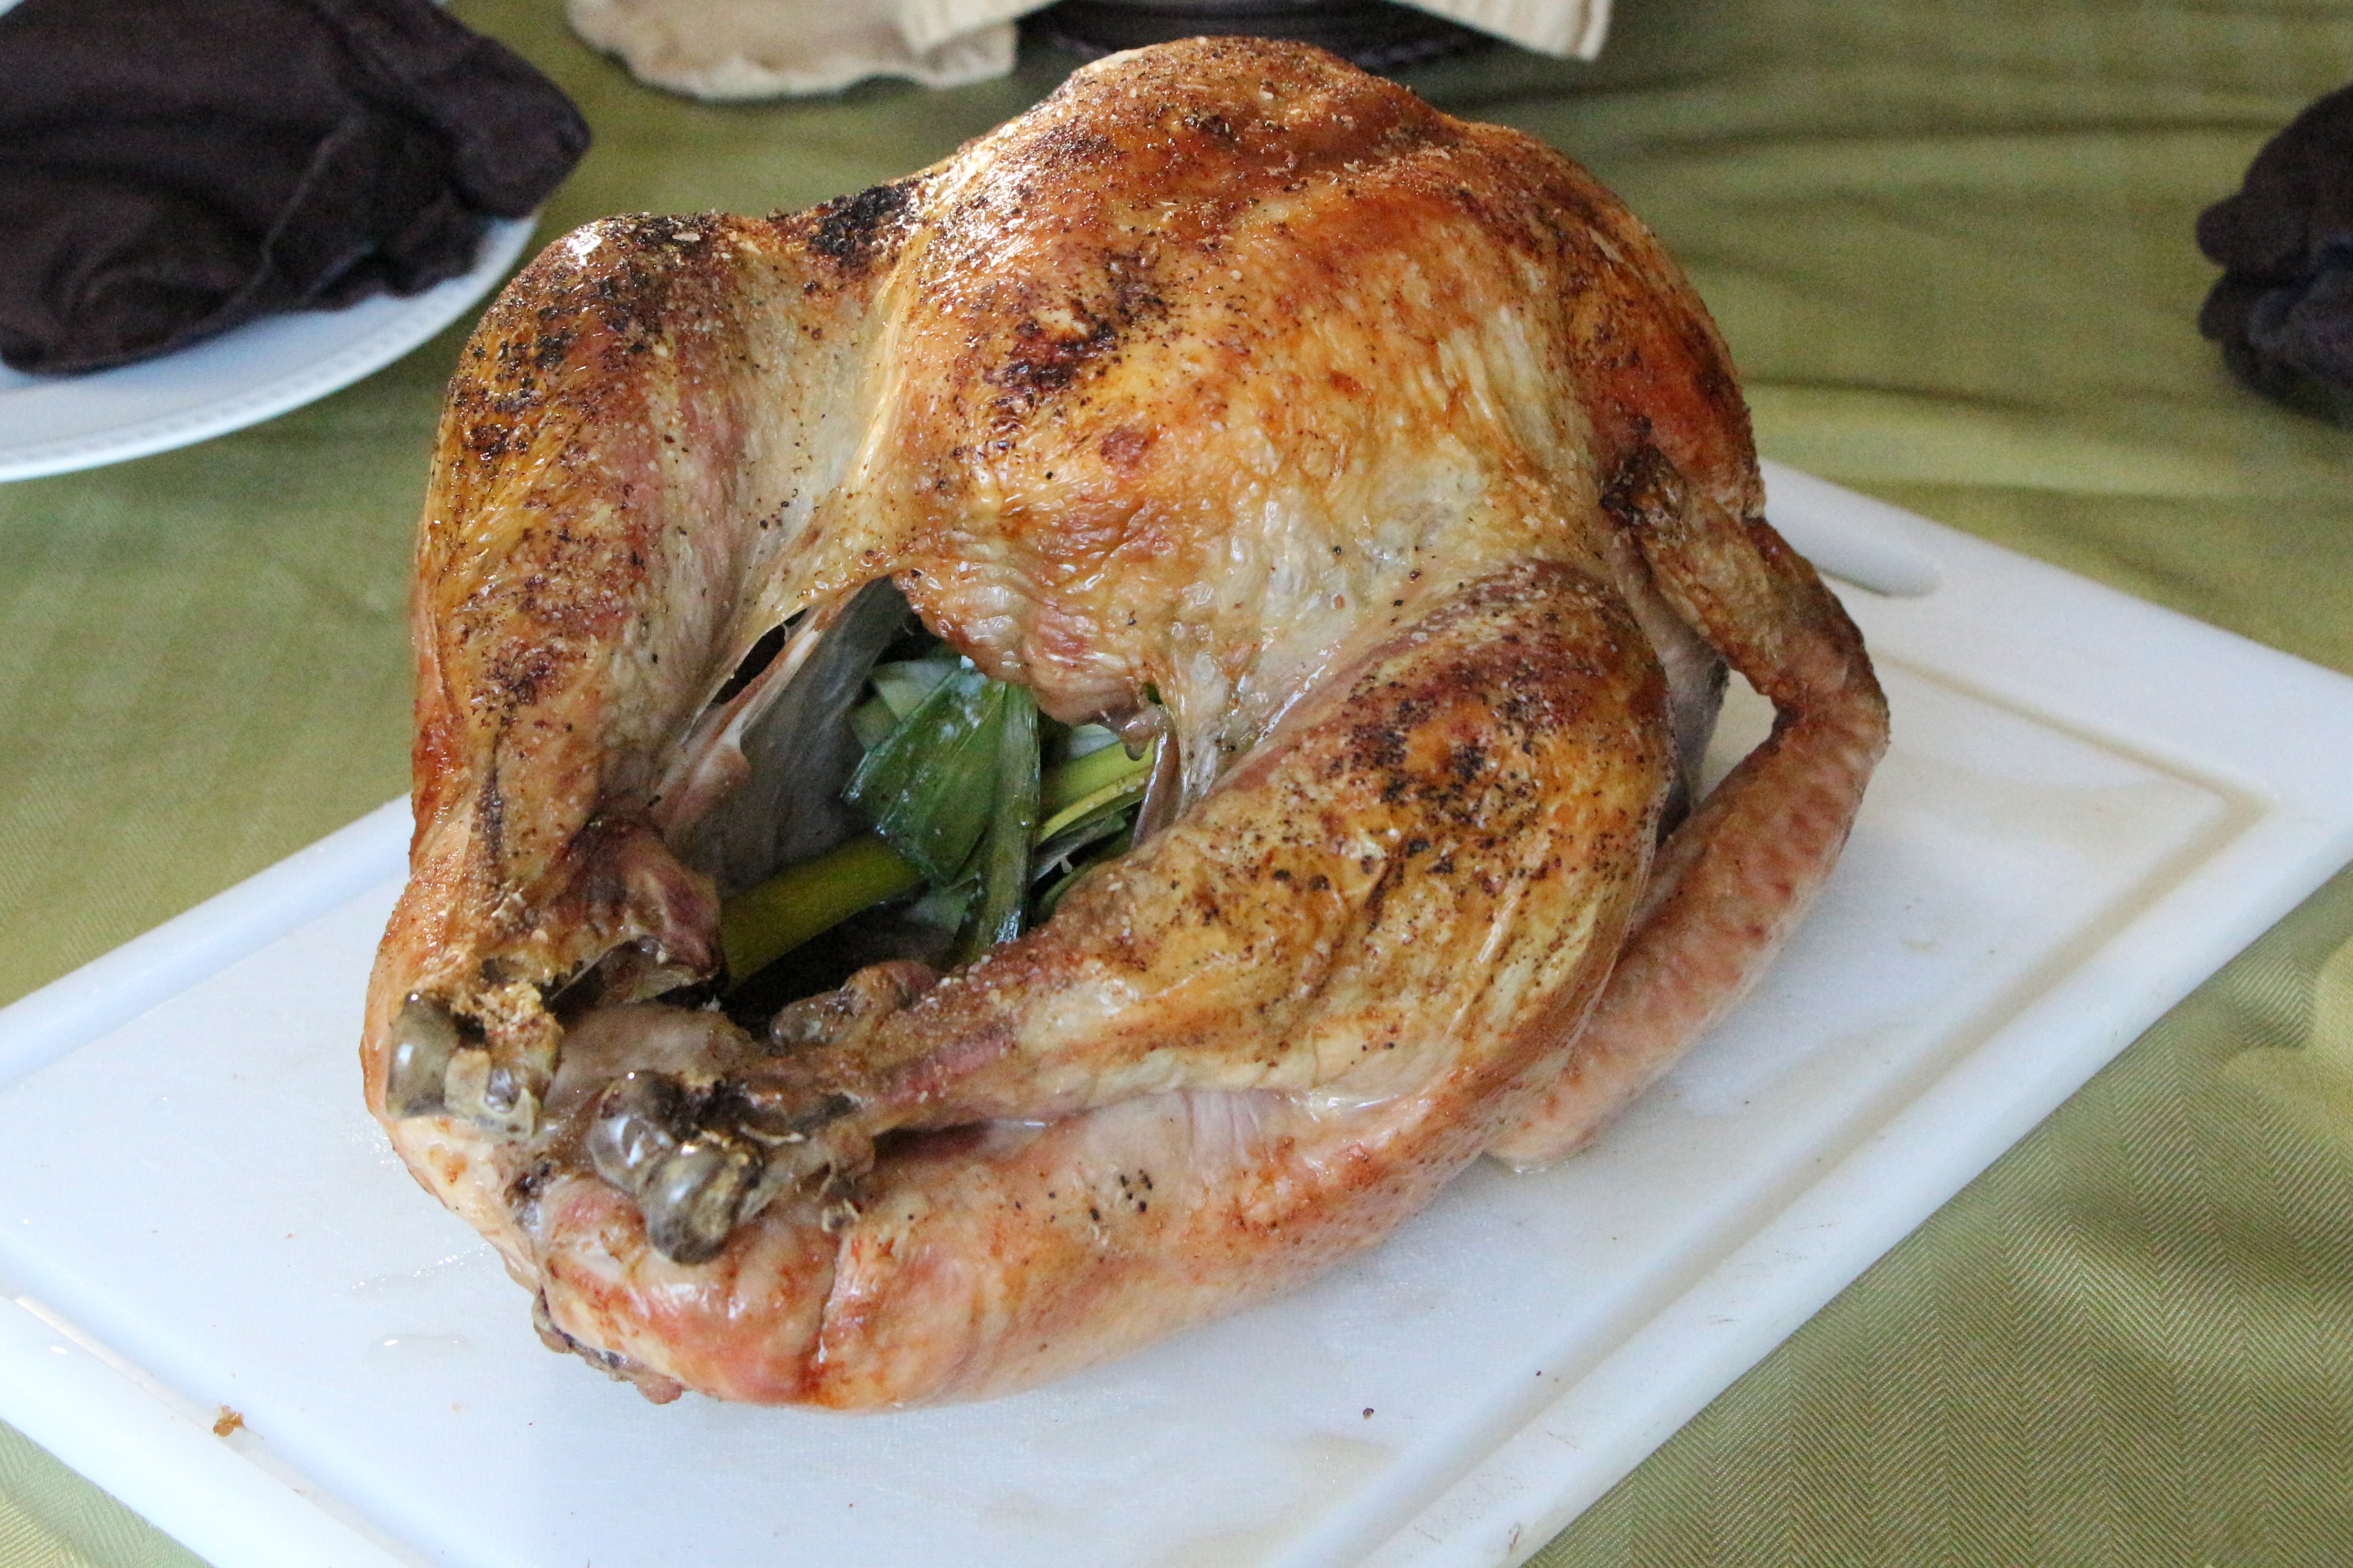
Happy Thanksgiving, friends!

I’ve got a bird to throw in the oven and a parade to watch. Just wanted to pop in to share these previously posted ideas for your Thanksgiving leftovers.

I’ll be starting my holiday cookie baking soon with a few new recipes to share (including a chewy chocolate orange cookie, laced with grand marnier and bits of candied orange peel), but I’ll also be posting a few of my old favorite cookie recipes over on The Gourmand Mom facebook page during the next few weeks. If you don’t already follow The Gourmand Mom on facebook, click on over using the link on the right side of the page. See you there!

Bursting with thankfulness,

~Amy

Thanksgiving Leftover Variation #1 – Turkey Soup

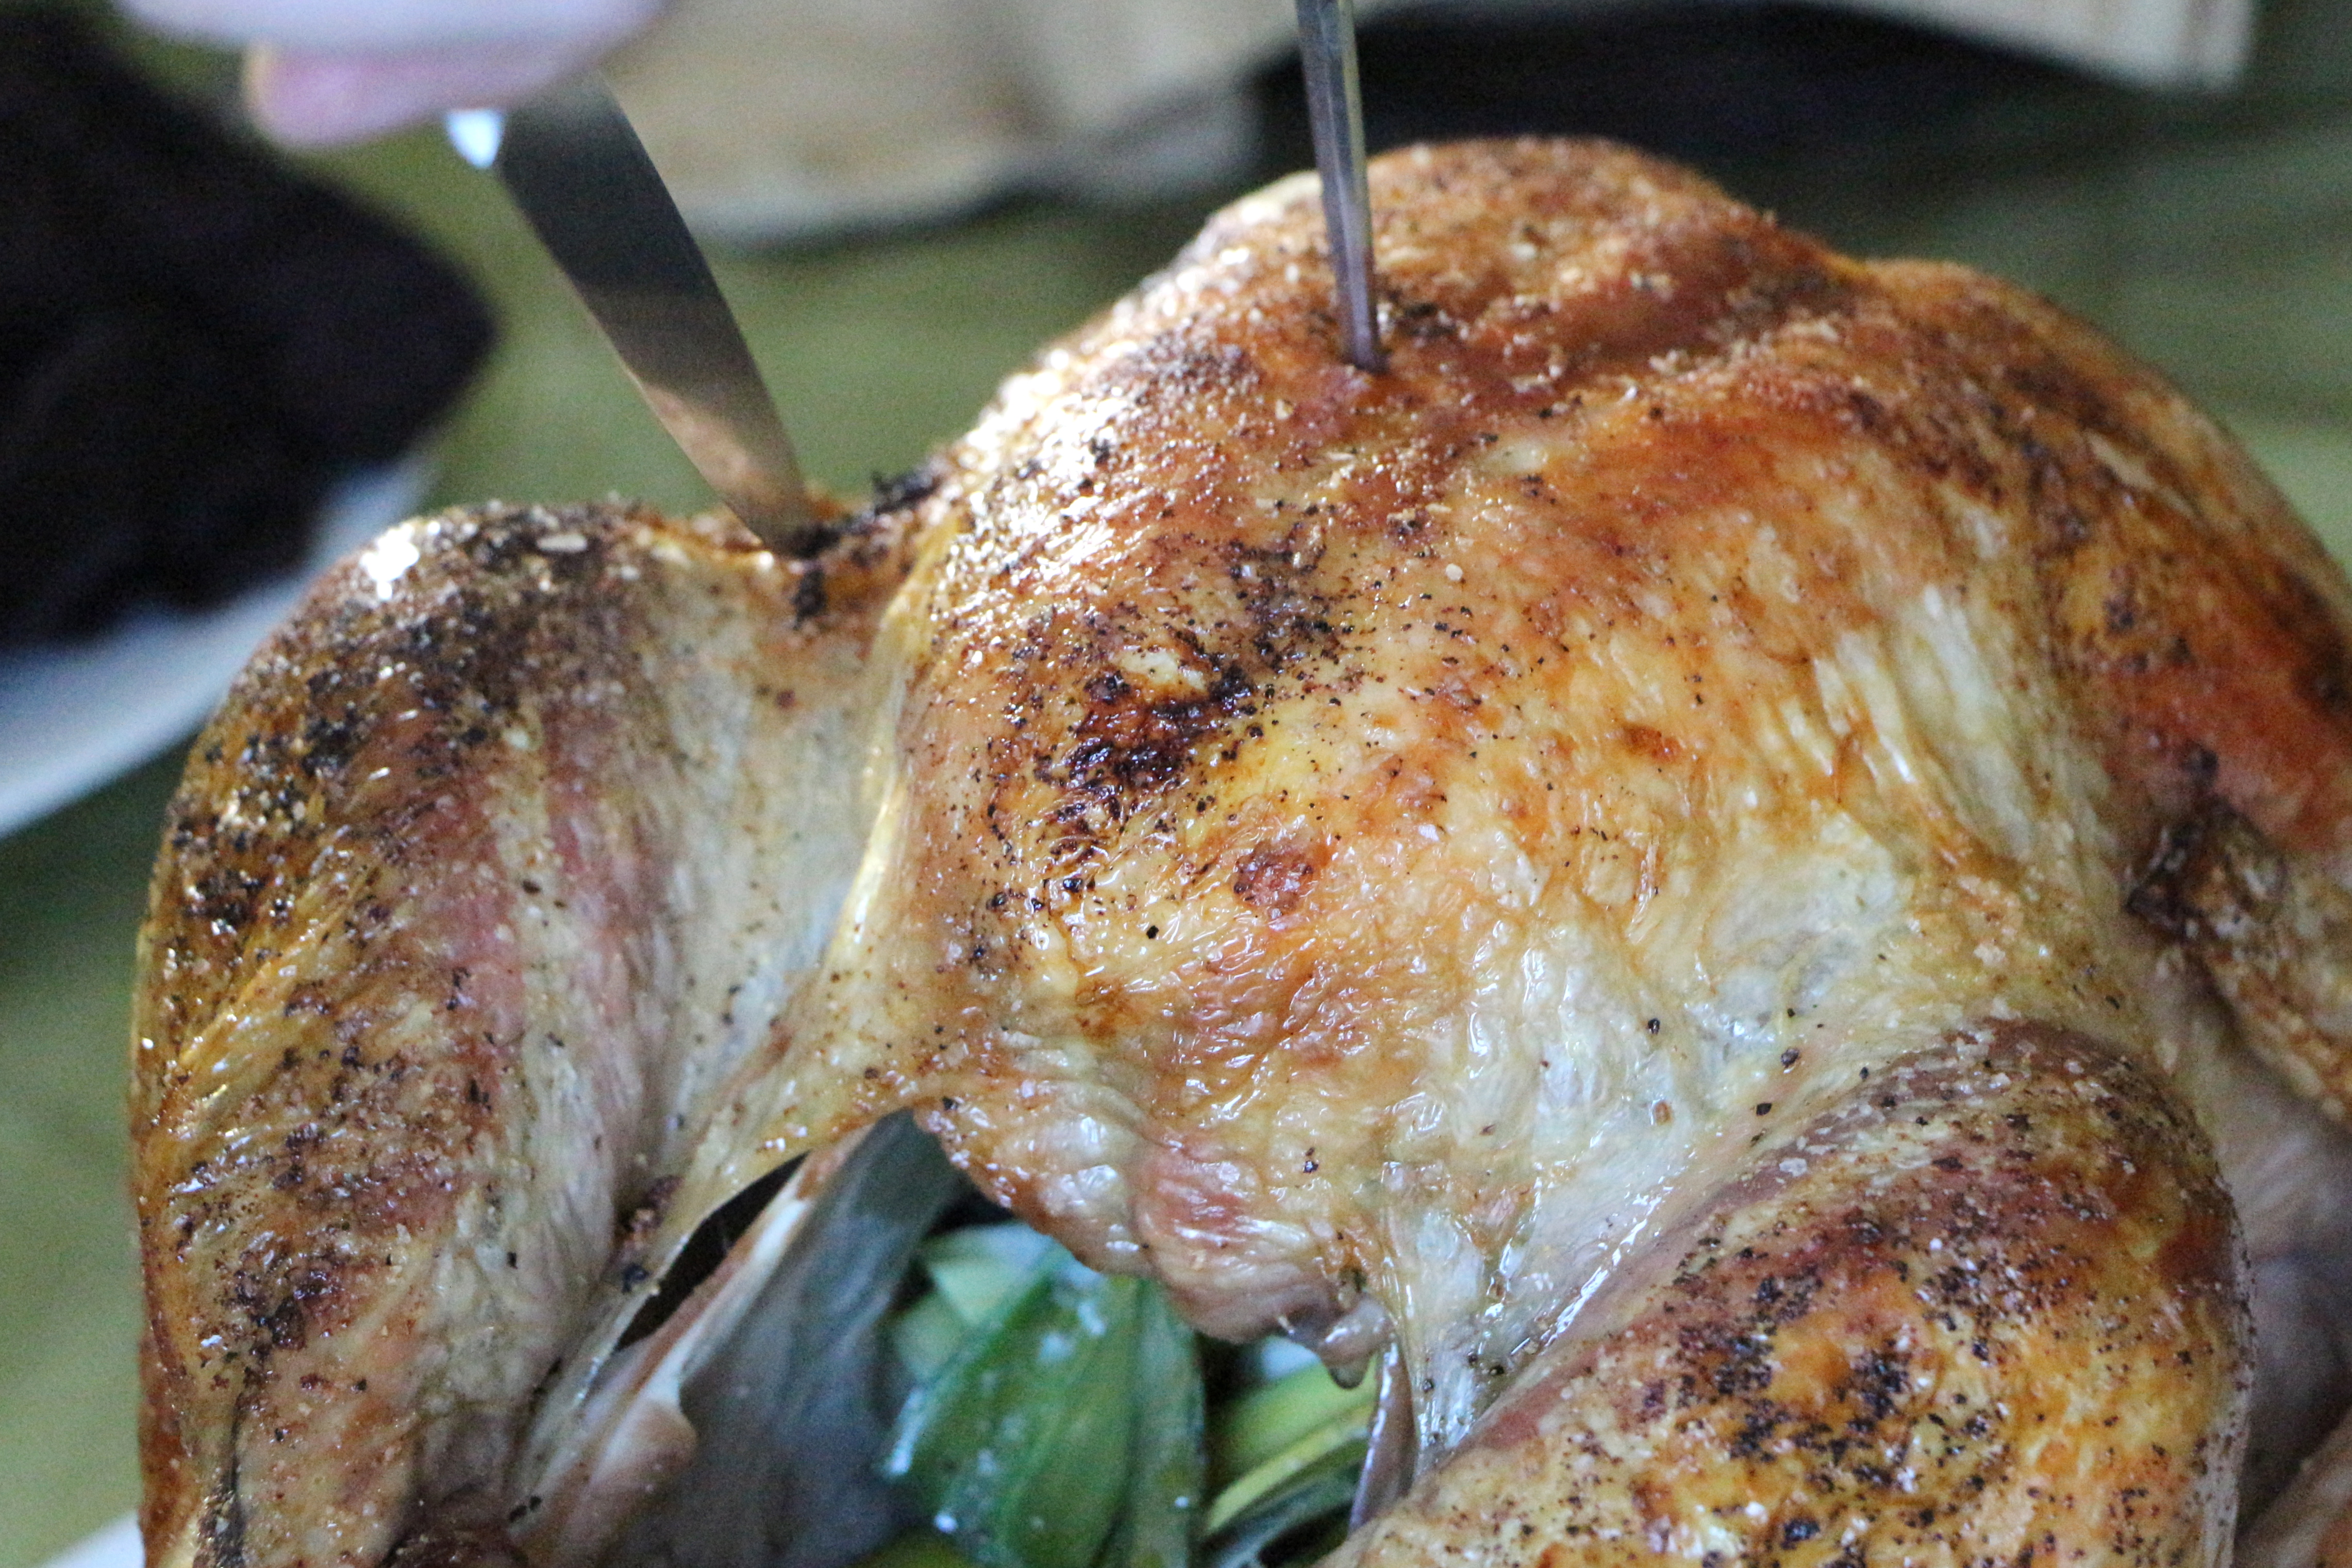
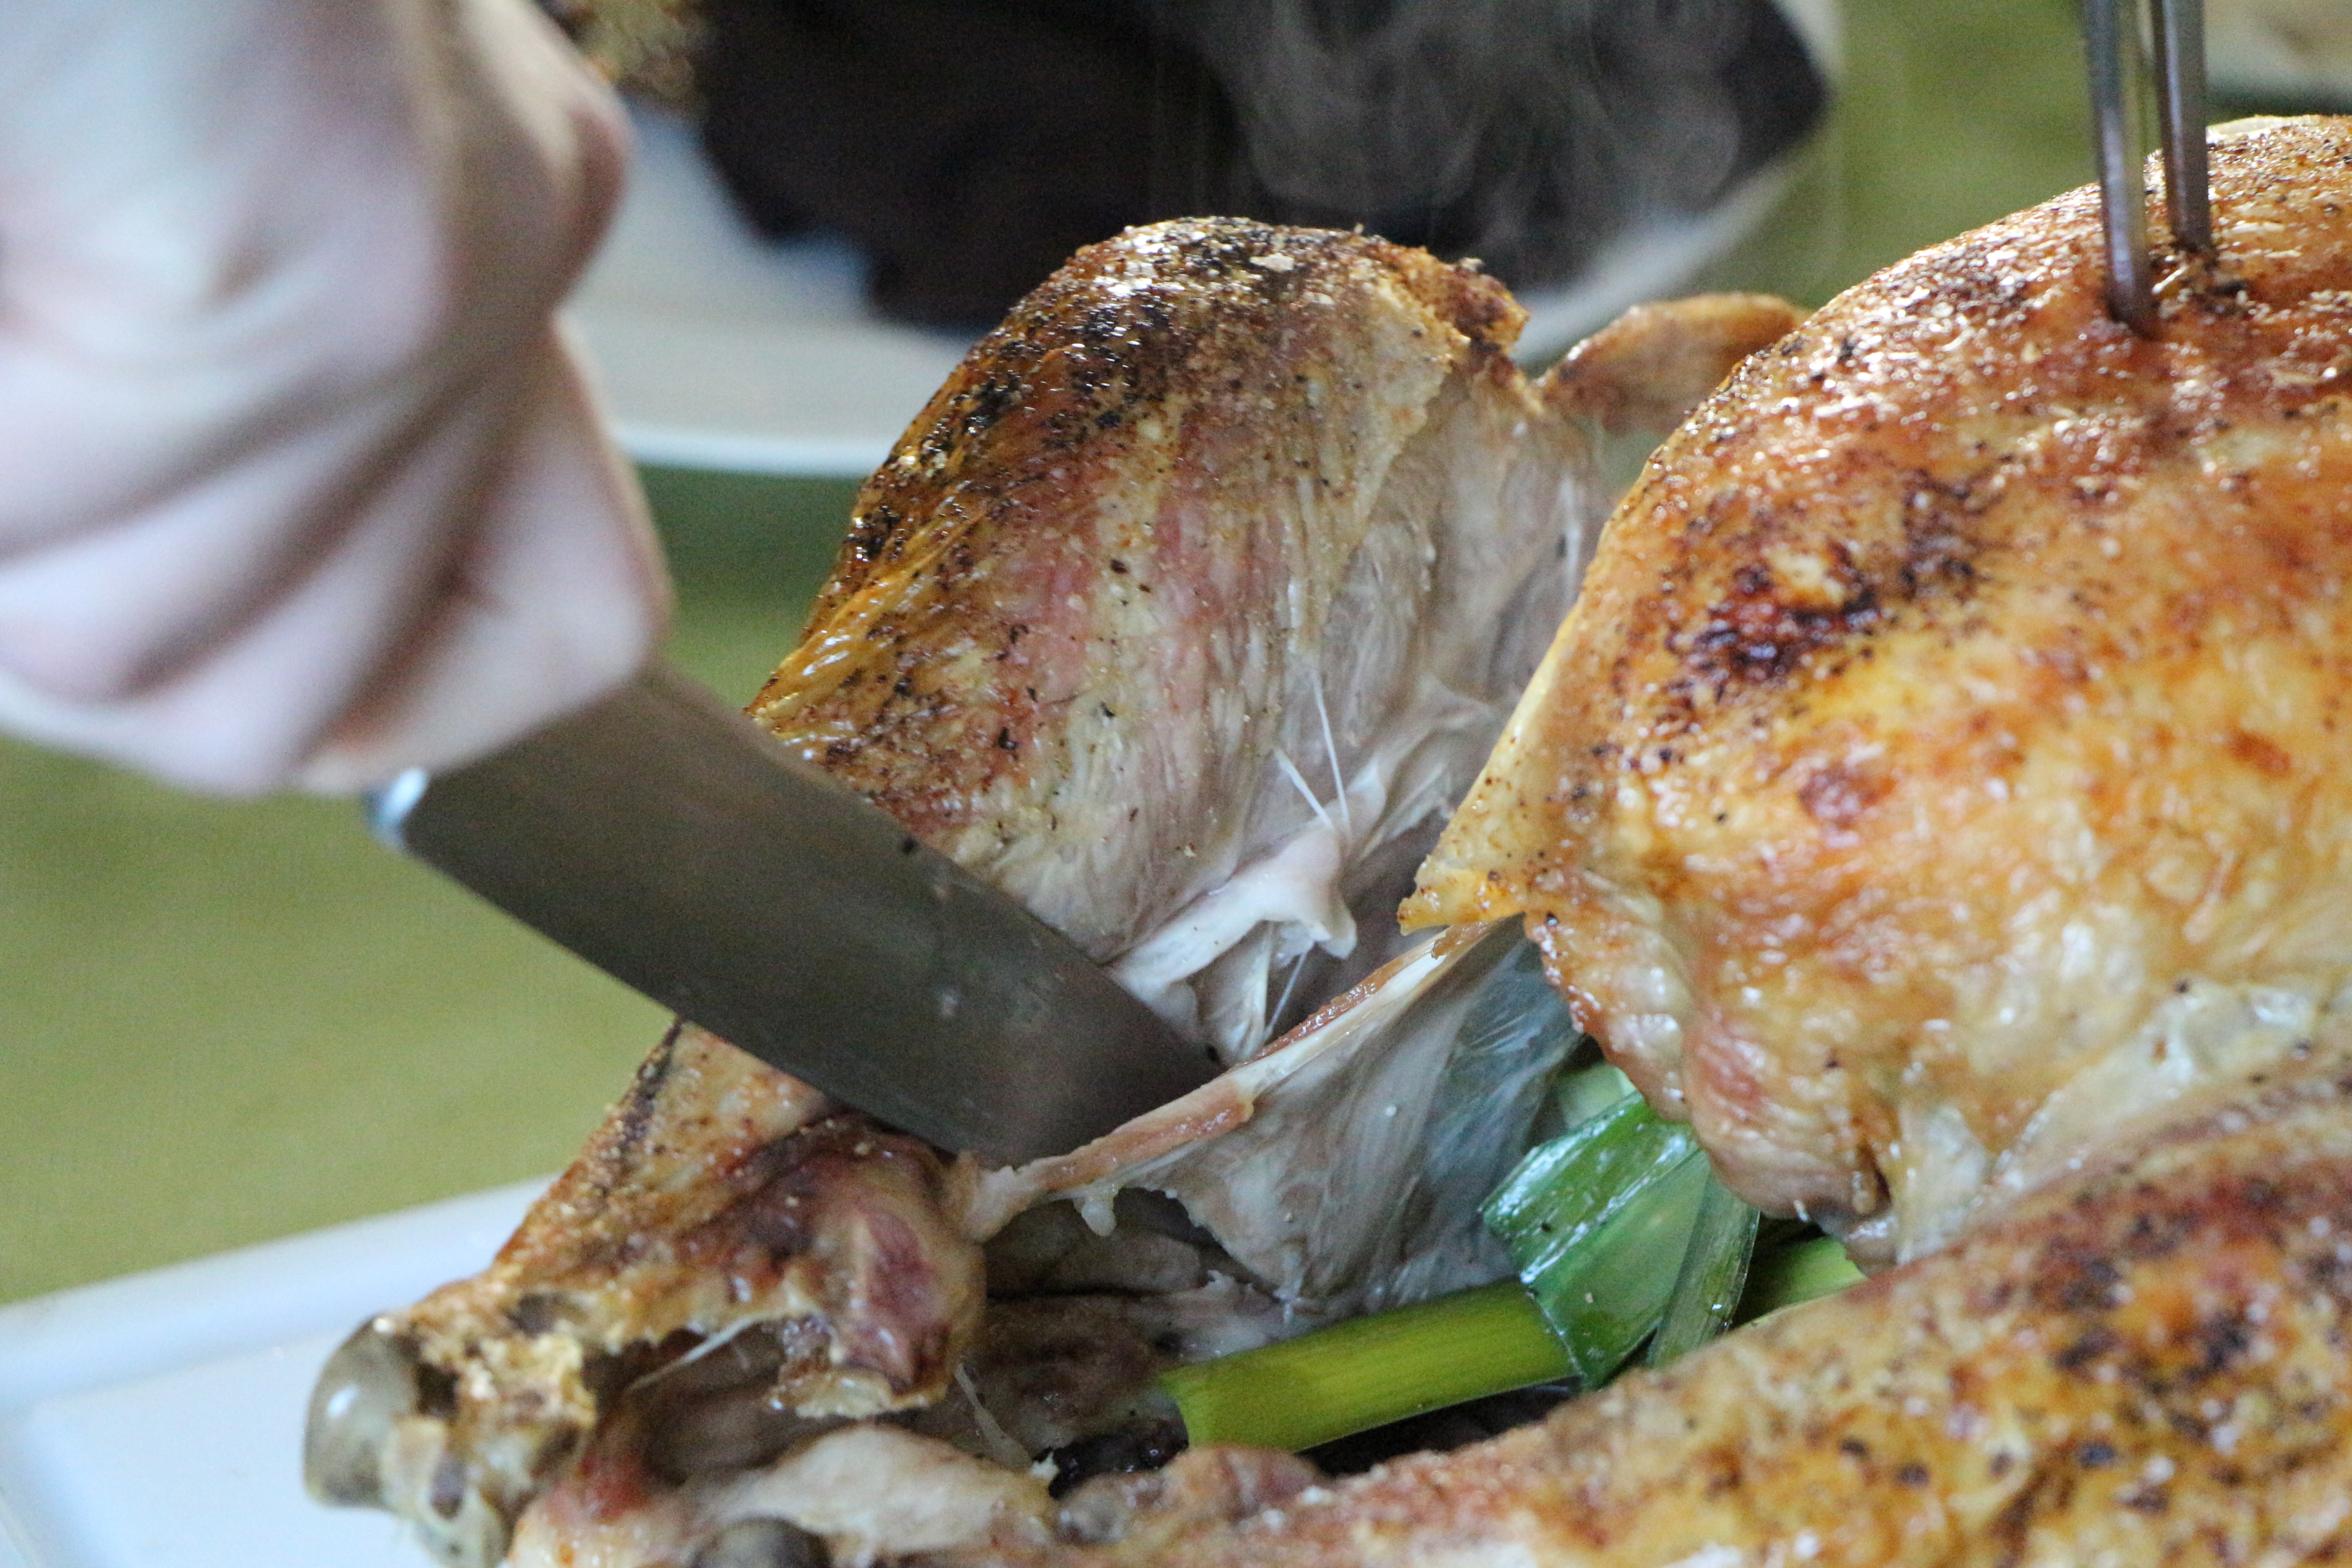
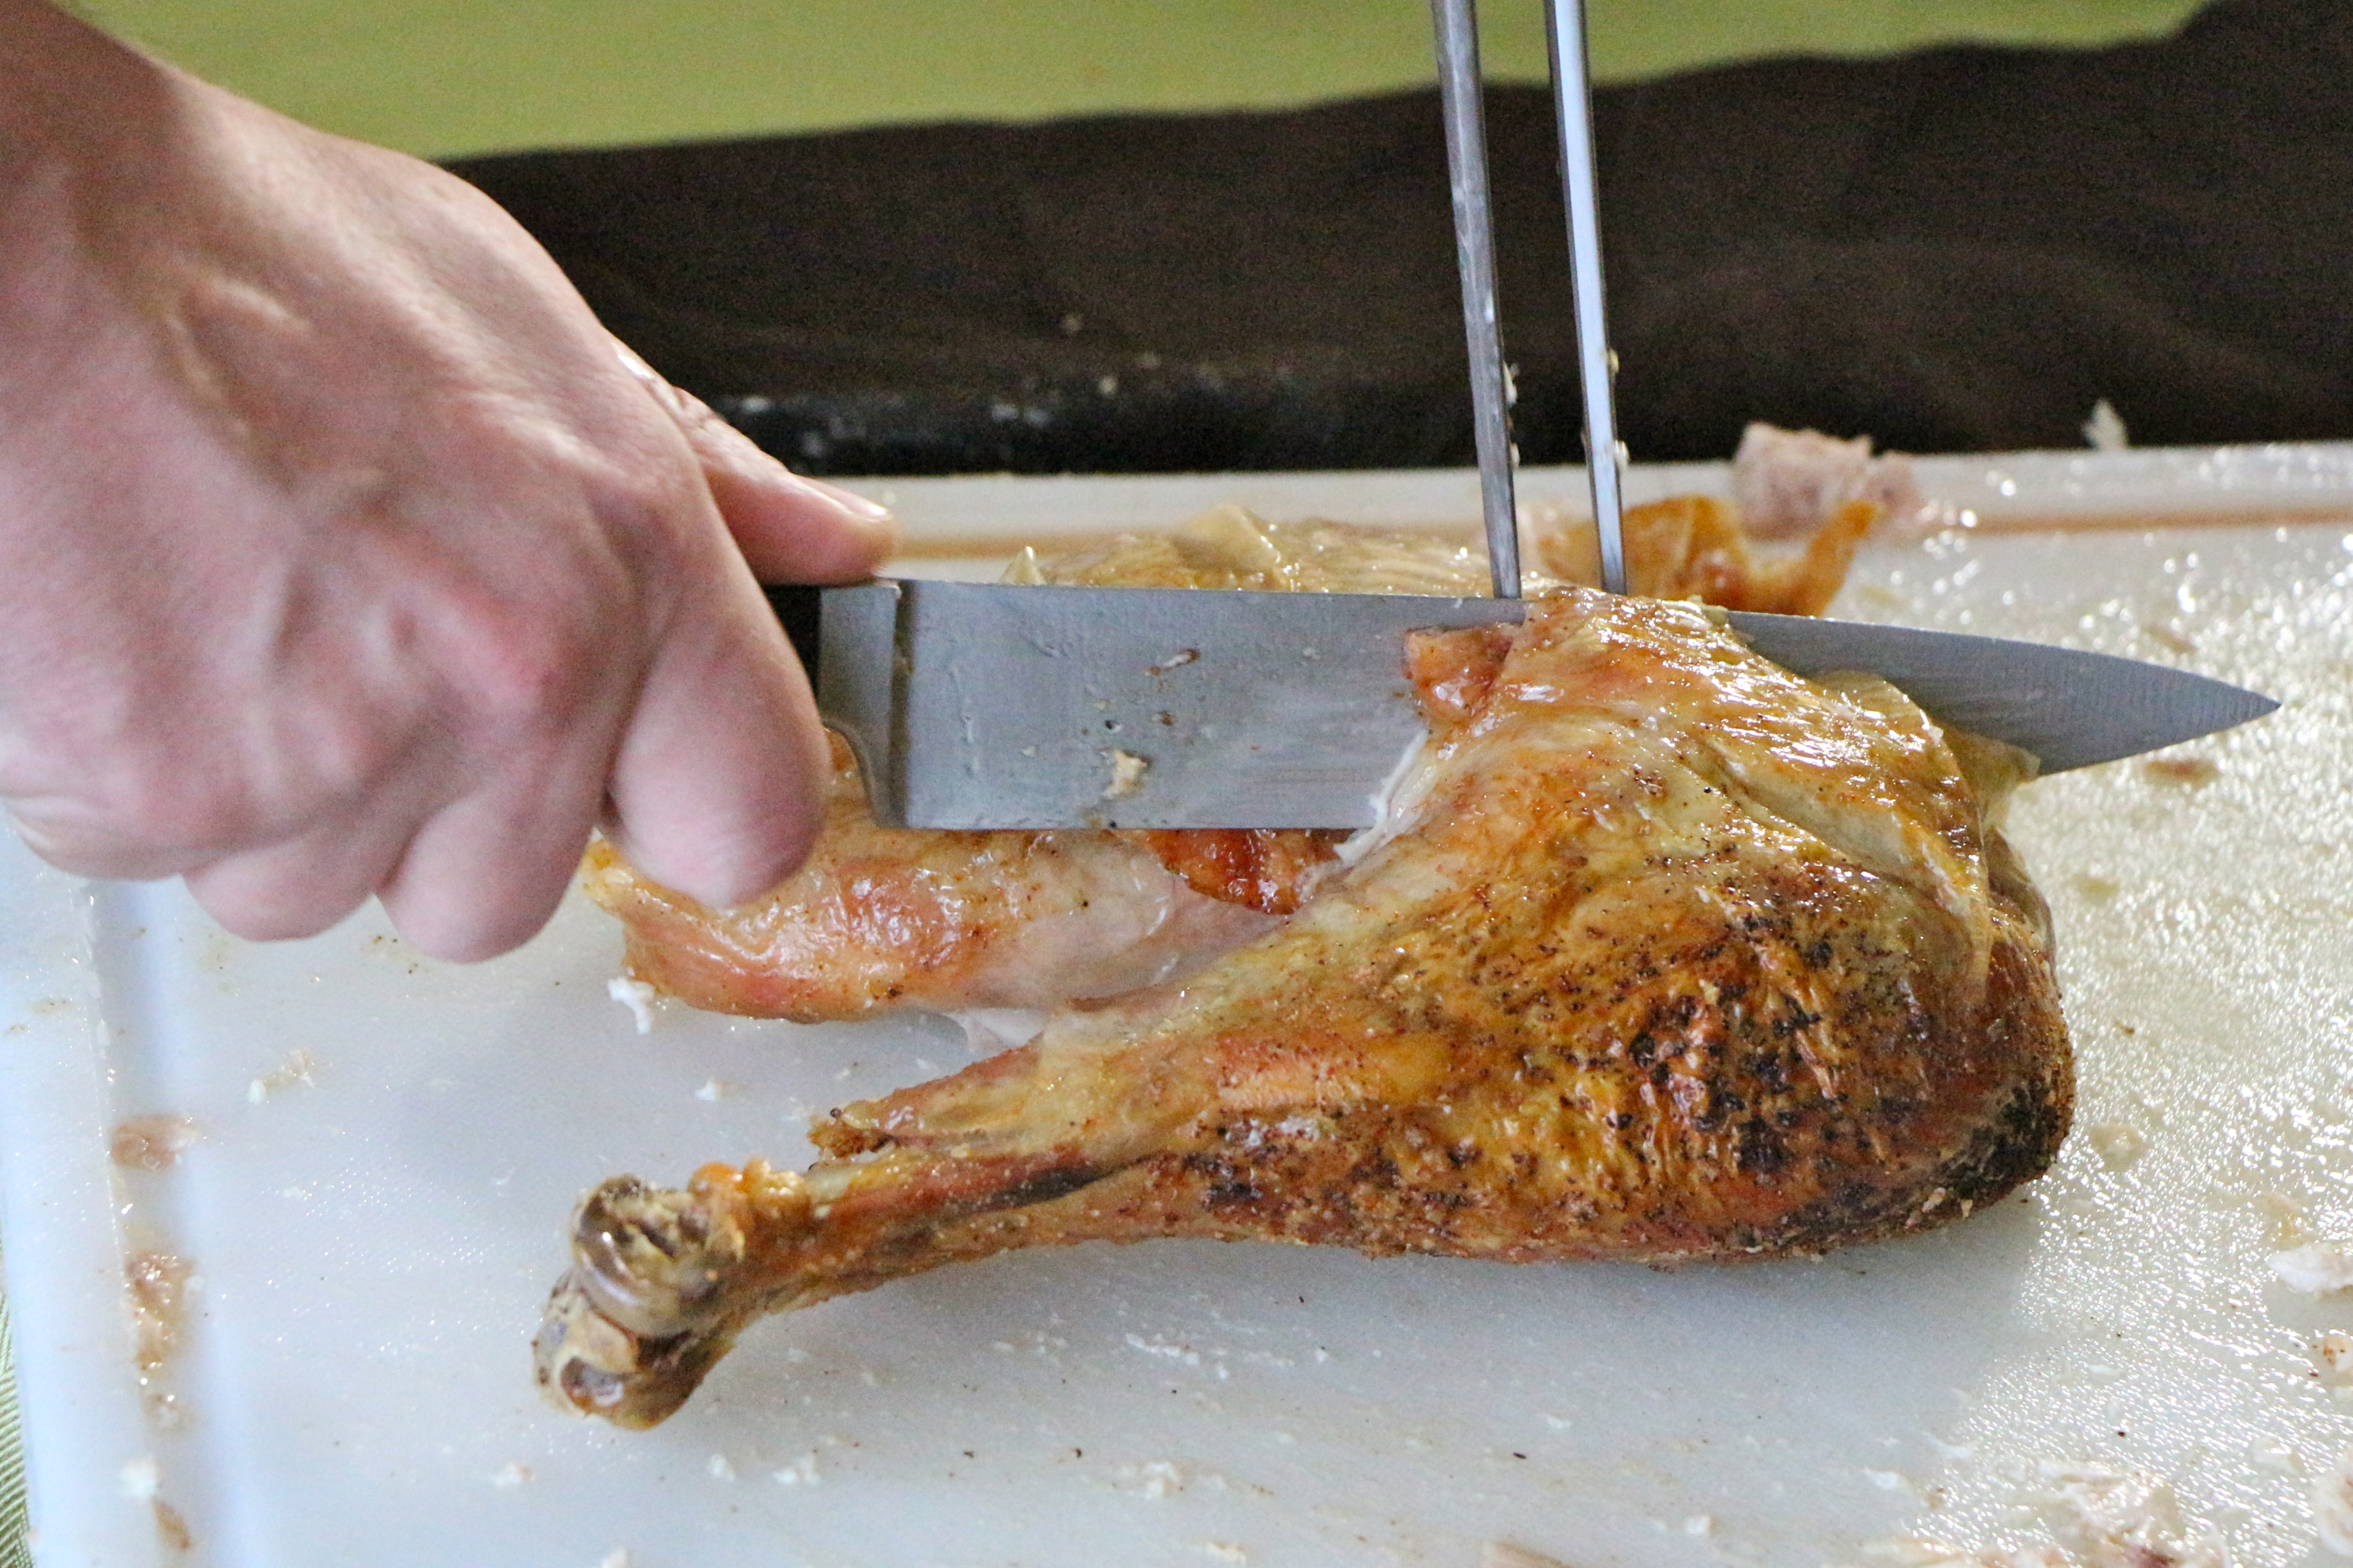
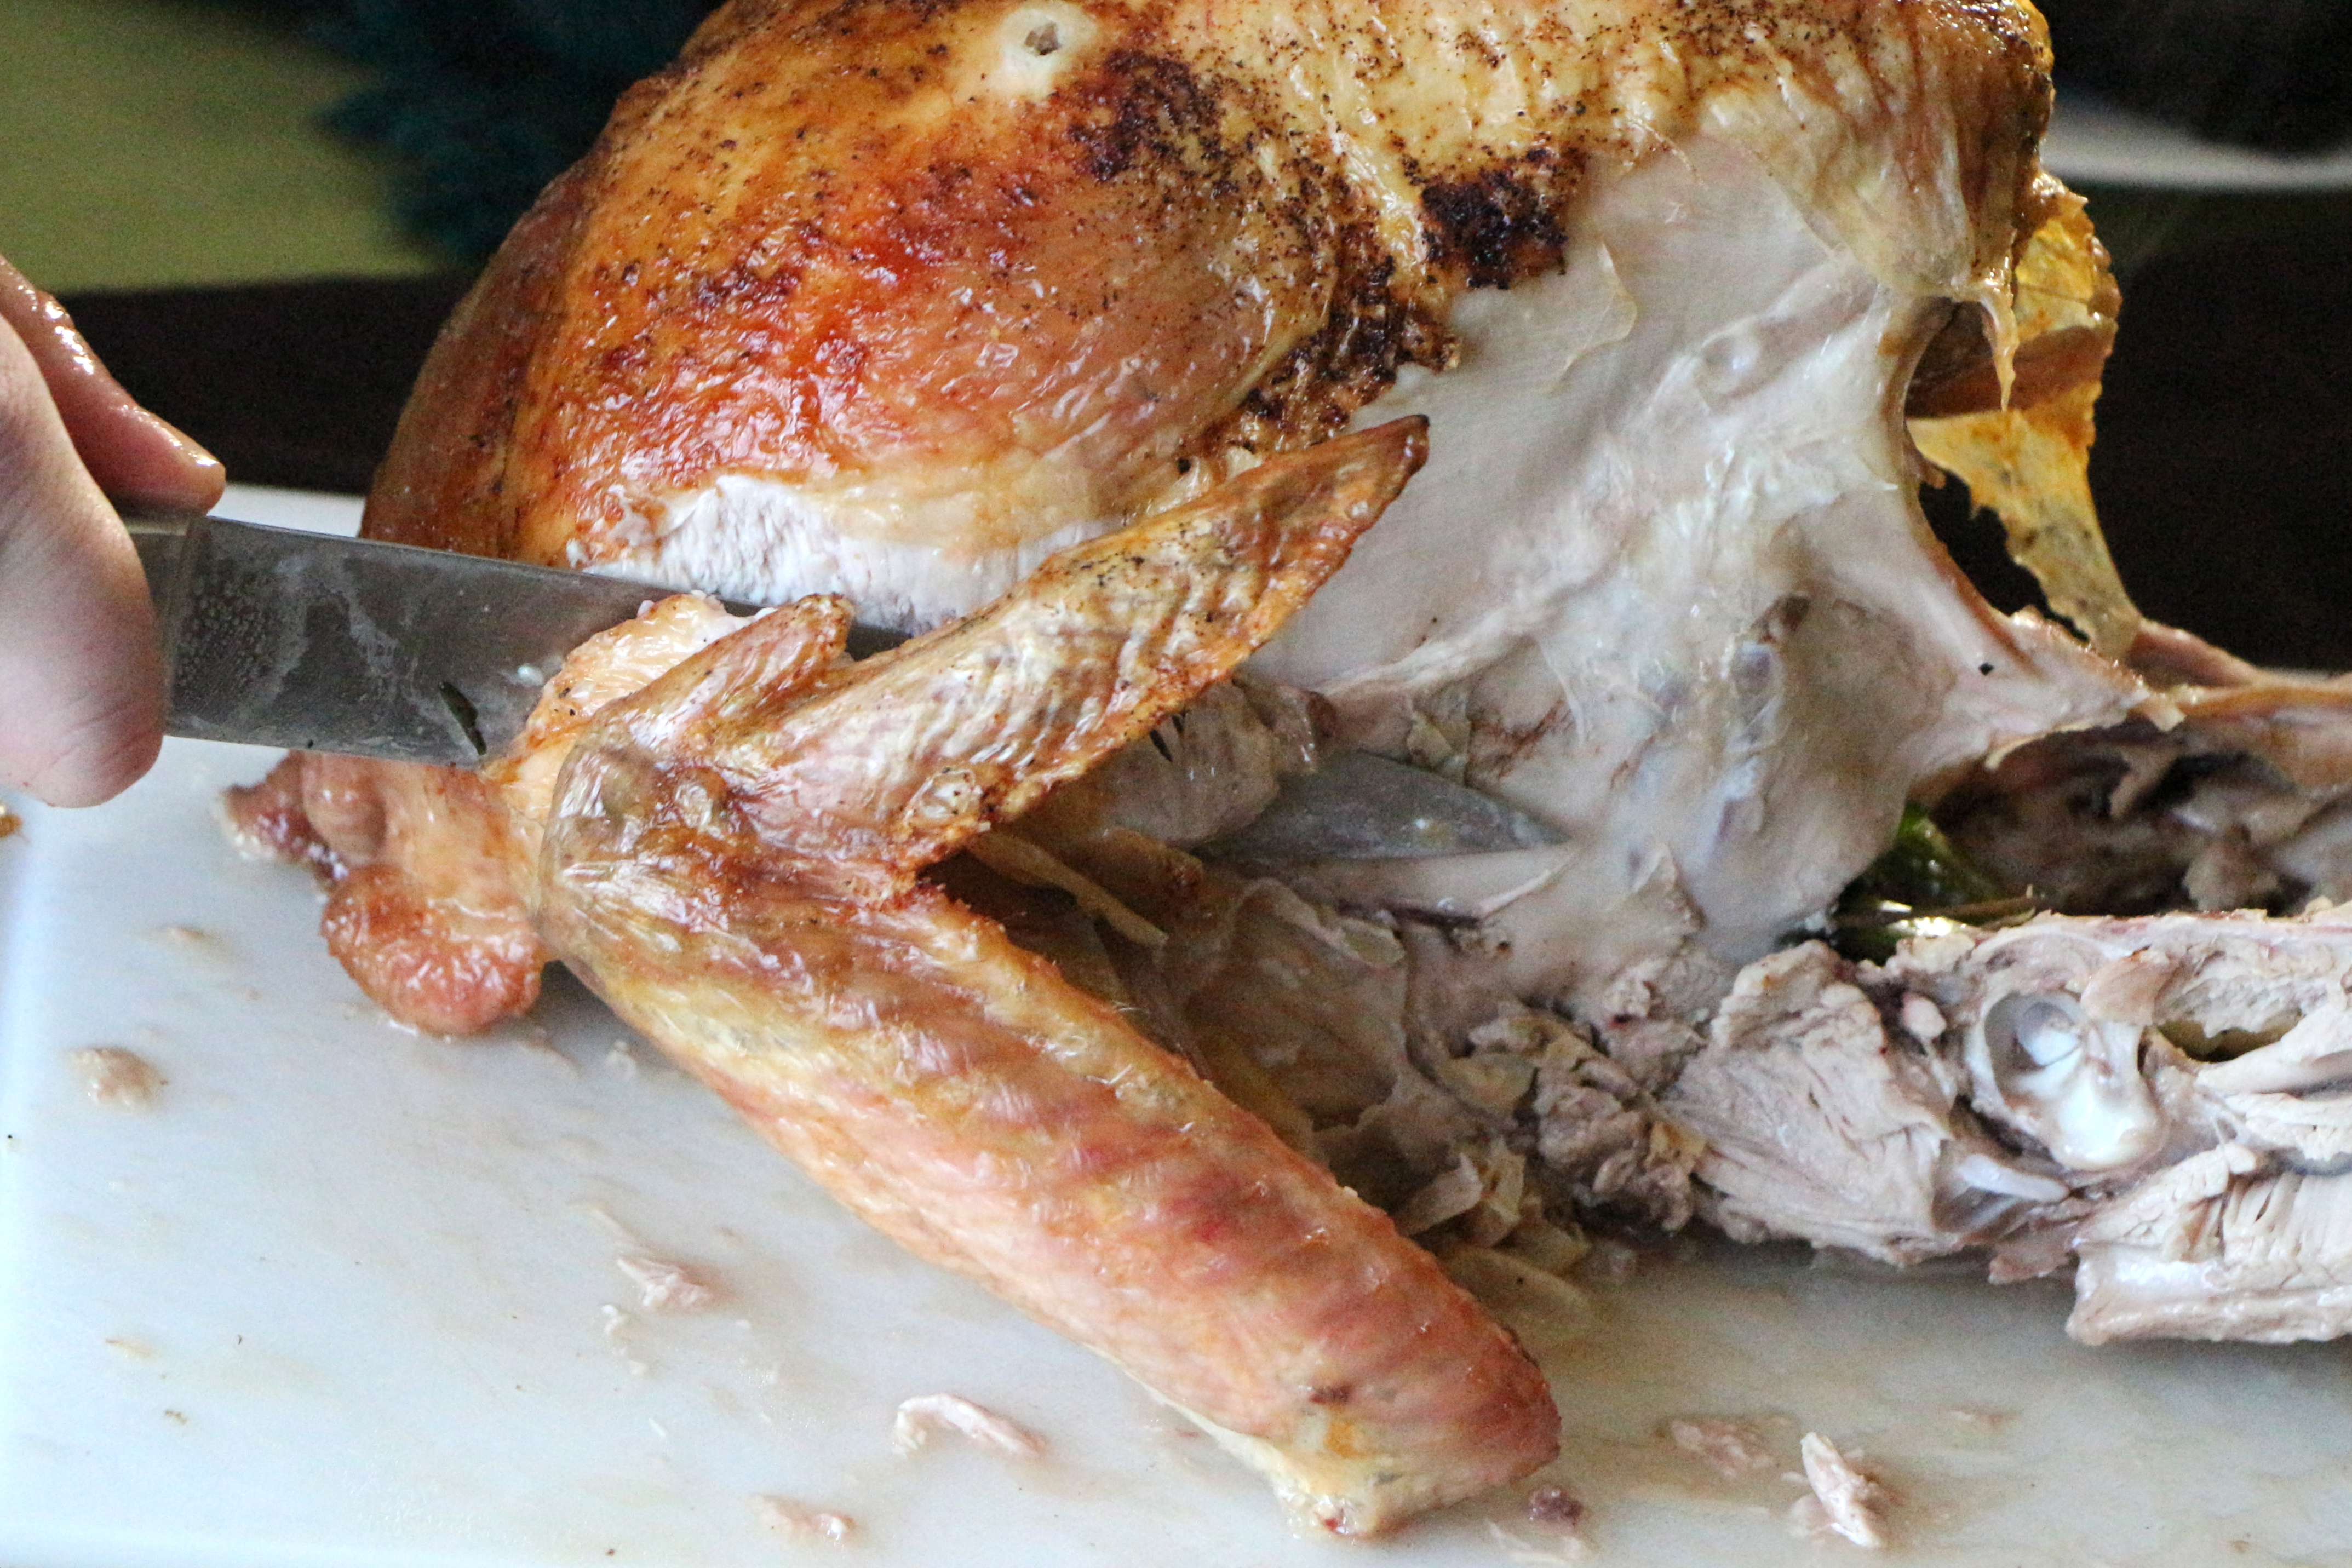
Don’t let that turkey carcass go to waste! There’s so much flavor waiting to be extracted from those bones. Get the broth started right after dinner. Simply throw the whole turkey carcass into a large pot, cover with water, and simmer (partly covered) for 3-4 hours. Don’t worry if there’s still some meat or turkey skin hanging on the turkey! Just throw the whole thing in the pot and let it start working while you sit down to enjoy some pumpkin pie. Once it’s simmered, strain the broth and refrigerate overnight. The next day, you can finish making the soup. Click here for my step-by-step guide to making a basic chicken soup. You can follow the same process for turkey soup.

Thanksgiving Leftover Variation #2 – Open-faced Thanksgiving Sandwich

In my opinion, this is the best way to use leftovers on the day after Thanksgiving, when you’ve still got a bit of everything in the fridge. Simply reheat some leftover turkey, stuffing, and mashed potatoes. Spread some cranberry sauce on a lightly toasted slice of thick, doughy bread. Then, top the cranberry sauce with the hot turkey, stuffing and mashed potatoes. Drizzle hot gravy over the entire thing and enjoy. This is a knife and fork kind of sandwich; simple, hearty, and satisfying.

Click here for more details on making an open-faced turkey sandwich any time of year.

Thanksgiving Leftover Variation #3 – Roast Turkey, Brie, and Homemade Apple Butter Melts

This is my new personal favorite. Such a perfect combination of flavors. I happen to love apple butter; always have and probably always will. You can find it in most grocery stores, usually near the  jams and jellies. Look for one which doesn’t contain a lot of unnecessary added sugar or corn syrup. Apple butter really doesn’t need anything other than apples and a bit of apple cider or apple juice. Apple butter is a cinch to make at home. So, if you can’t find any at your store, follow my simple recipe to make your own. And, if apple butter just isn’t your thing, substitute some leftover cranberry sauce on these sandwiches. It will pair beautifully with the brie.

For the sandwiches, thinly slice brie and spread it onto a sturdy piece of bread. I prefer to use ciabatta or pain de campagne, but any doughy, crusty bread should work. Spread apple butter (or cranberry sauce) onto another piece of bread. Place a few slices of roasted turkey breast between the bread slices. Loosely wrap the sandwich in foil and bake for about 20-25 minutes in a 350 degrees oven, until the cheese has melted, the bread feels slightly toasted, and the turkey is warm.

Homemade Apple Butter

Ingredients

  • 5-6 apples, peeled, cores removed, and coarse chopped
  • 1 1/2 cups apple cider
  • Cinnamon stick (optional)

Directions

Preheat oven to 250 degrees. Simmer the apple pieces in the apple cider for about 20 minutes. If desired, add a cinnamon stick to simmer with the mixture. Then, puree the apples until smooth. Pour the puree into an oven-safe covered pan and place in the oven for about 5 hours. The apple butter will darken to a rich brown as it cooks.

Thanksgiving Leftover Variation #4 – Turkey Salad Sandwiches

Turkey salad is a simple and delicious way to breathe new life into the remainder of your turkey leftovers. I love it on a lightly toasted bagel with a slice of swiss cheese. To make a basic turkey salad, simply chop or tear your leftover turkey into small pieces. Add some finely diced onion and celery. Combine with just enough mayonnaise and mustard to bind the salad. Season with salt and pepper, as desired. Stir in some dried cranberries for an extra tasty touch!

Cranberry Mango Sauce

My five year old has discovered my kryptonite…

You see, when bedtime arrives, Liam will begin spewing an endless stream of stories and questions in an attempt to delay the inevitable lights out. It’s his routine. He speaks so fast you may imagine he’s in training for a career in auctioneering. Math facts, dinosaur facts, sight words, stories about school, menu planning, favorite mythical creatures… The only escape is fast and brutal, even as he’s mid-sentence talking about the cunning swiftness of the velociraptor.

Good night. I love you. Lights out. 

Reindeer Liam

But the clever bugger has picked up on something… I can’t leave if he’s talking about God. I’m physically incapable of it. What am I, some sort of monster?!? Stop talking about God. Mommy needs to go downstairs and drink my wine! No, I can’t turn the lights out and walk away when the kid starts talking about God or heaven or angels or prayer. And the little stinker has figured it out.

So, when he senses that I’m about to put a quick kibosh on the nighttime story telling, he doesn’t miss a beat. Without even pausing for a breath, he slides right into the God talk. Questions and stories and ideas. It’s endearing. And also manipulative. Amongst a million other things, I’m so thankful for that clever kid and the opportunity to talk about important things with him, like dinosaurs, three-headed dogs, and God.

The countdown to Thanksgiving is on. If you’re hosting, it’s likely you’ve already started the preparations. I beat the Thanksgiving mayhem at my grocery store, by completing most of my shopping early yesterday morning. Just a few fresh items to pick up tomorrow and we’ll be set for a grand feast.

And this morning I started the cooking with this cranberry mango sauce; a unique twist on the ubiquitous cranberry condiment which graces most dining tables come Thanksgiving. For years, I’ve been making a cranberry orange sauce, which we’ve always enjoyed. But this year, I had mangos on my mind. I’d imagined that the mellow sweetness of a mango would be the perfect match for the cranberries’ tart bitterness. I was correct. The smooth mango puree wraps itself around the sharp flavor of the cranberries and gives the dish a satisfying flavor which will pair perfectly with that golden turkey.

Today’s Focus on Technique – Thanksgiving Turkey Safety

Send your guests home on Thanksgiving with a full, satisfied belly. Don’t send them home with food poisoning. Here are a few tips for safely preparing, serving, and storing the star of the show.

  • The safest way to thaw a frozen turkey is in the refrigerator. This technique can take 1-3 days for a small turkey or 5-6 days for a large turkey, so plan ahead. Turkeys that are defrosted in the fridge can be held in the refrigerator for a couple days before roasting.
  • A faster way to safely defrost a turkey is in a large pot of cold water. Wrap the turkey securely, then submerge completely in cold water. Change the water every 30 minutes or so, so that it remains cold throughout the defrosting process. Cook the turkey soon after it is defrosted. This process can take a few hours for a small turkey or up to 10-12 hours for a large turkey.
  • The microwave is another option for safely defrosting a turkey, assuming you can fit your turkey in your microwave. To prevent bacteria from multiplying, turkey which has been defrosted in the microwave should be cooked immediately following. Do not refrigerate or freeze it once it has been defrosted.
  • Never, ever, never defrost a turkey sitting on a counter at room temperature. The outside will defrost much faster than the interior, creating a perfect breeding ground for bacteria. Yuck!
  • Cook your turkey at a minimum temperature of 325 degrees. Any lower could result in the center of the turkey sitting at an unsafe temperature for too long during the cooking process.
  • Consider not stuffing your turkey. To be safe, every part of the turkey, including the stuffing, needs to reach 165 degrees. It can take a very long time for the stuffing to reach this safe temperature, since airflow is restricted within the turkey cavity. This usually means that you will need to continue cooking the turkey beyond the point that the turkey has reached a safe temperature, meaning an overcooked turkey.
  • If you do decide to stuff your turkey, stuff it loosely and use a food thermometer to check that it has reached at least 165 degrees before serving.
  • Use a food thermometer, inserted into the meatiest part of the breast and the innermost part of the thigh and wing, to check for doneness. Turkey is safely cooked at 165 degrees.
  • Do not allow your cooked turkey to sit at room temperature for longer than 2 hours. Get those leftovers in the refrigerator promptly, so you can safely enjoy all of those turkey salad and open-faced turkey sandwiches smothered with gravy!
  • Enjoy your leftover turkey, hot or cold, within 3-4 days.

*Check out the USDA website for more information about turkey safety, including time estimates for safely defrosting and cooking that big bird!

Cranberry Mango Sauce

Ingredients

  • 1 12-ounce bag fresh cranberries
  • 2/3 cup sugar
  • 1 ripe mango, pureed*
  • 1/3 cup water
  • 1 teaspoon orange zest
  • 1/4 teaspoon cinnamon
  • 1/8 teaspoon ginger

*See my photo guide on how to chop a mango HERE.

Directions

Rinse cranberries and remove any stems or overly mushy berries. Combine all ingredients in a saucepan over medium heat. Bring to a simmer. Lower heat and continue simmering for 10-15 minutes, stirring occasionally, until all cranberries have popped and the mixture has thickened. Remove from the heat and cool completely before serving.

Thanksgiving Inspiration

I learned something interesting about myself this week – I do not like corn bread stuffing. I love corn, corn muffins, corn bread, and corn fritters. I eat a ridiculous amount of corn when it’s in season. I even once made a sweet corn ice cream. But I do not like corn bread stuffing.

I guess it comes down to what you’re raised with – sort of how some families are the Crest kind of people and some families are the Colgate kind. Some families are loyal to Miracle Whip, while others will only use mayonnaise. Some families have corn bread stuffing at Thanksgiving and some families have white bread stuffing. Our family was always a Crest, mayonnaise, and white bread stuffing sort of family.

The four things I am most thankful for.

I didn’t realize how ingrained this inclination towards white bread stuffing was until I set about preparing a corn bread stuffing earlier this week. It should’ve been delicious, with crispy bits of bacon, tender dates, shallots, and celery. It was supposed to be a new recipe to feature in this post about Thanksgiving ideas. But I didn’t like it. I can’t even tell you if it was good or not, as far as corn bread stuffings go. I am just a white bread stuffing girl through and through and I couldn’t wrap my taste buds or my heart around that corn bread stuffing. I’m not sharing the recipe.

But I am going to share this round-up of wonderful, tried and true Thanksgiving ideas, in plenty of time to add them to your Thanksgiving menu…

Give thanks for good food, friends.

APPETIZERS

Cranberry Chipotle Meatballs

Corn and Bacon Fritters with Smoked Salmon

Bacon-Wrapped Dates stuffed with Bleu Cheese

THE MAIN EVENT

Herb-Roasted Turkey Breast with Pan Gravy (and tips for roasting a whole turkey)

Bacon and Cider Braised Turkey Drumsticks (and garlicky creamed spinach)

Spiced Sweet Potato Puree with Pecan Streusel

Sausage, Apple, and Leek Stuffing

Cranberry-Orange Sauce

Green Beans Almondine

Roasted Brussels Sprouts with Bacon and Walnuts

Hot Doughy Buns

DESSERTS

Chocolate Pecan Pie

Pumpkin Coconut Pie

A Few Variations on Apple Pie (in an all butter pie crust)

Caramel Apple Cake

Turkey-Shaped Sugar Cookies

Caramel Apple Tartlets

Spiced Mango Upside Down Cake

Cannoli Cheesecake

Pumpkin Bread Pudding with Cream Cheese Icing

Bread pudding is sort of a strange love of mine. It’s not something I grew up eating. In fact, I don’t think I’d even heard of it until sometime in adulthood when I ran across it on the dessert table at one of my favorite restaurant’s brunch buffets. I was more than apprehensive at first. Soggy bread?? Yuck. And it certainly didn’t look like any ‘pudding’ I’ve ever seen before. No, thank you.

Then, one day (after a few breakfast mimosas) I felt brave. I took a small scoop of that bread pudding. And forevermore wondered why I hadn’t tasted it earlier.

I’ve made a few variations of bread pudding over the past few years, each time trying to determine what it is that makes me love it so darn much. And I finally figured it out… It tastes like french toast; a big scoop of warm, comforting french toast. But the thing which makes it even better than french toast, especially for serving a crowd, is that the whole mix gets thrown in a dish and baked with little mess or fuss.

Bread pudding also lends itself quite well towards getting creative – and I love a dish that likes to be played with. Make it with French bread or muffins or challah. I’ve even made it out of donuts! Add vanilla or dried fruits or chocolate chips.

Or seize the pumpkin spice mania and make this pumpkin bread pudding with cream cheese icing. This comforting bread pudding tastes like a cross between a spiced pumpkin pie and a slice of french toast. It’s best served warm, but after more than a few stolen spoonfuls from the leftovers in the fridge, I can tell you with confidence that it tastes pretty fantastic cold too!

For more variations on bread pudding, check out my Cinnamon Raisin Donut Bread Pudding, Fluffernutter Bread Pudding, and Spiced Fruit Bread Pudding

Today’s Focus on Technique – Easy Disposable Pastry Bag

It’s easy to make a pastry bag in a pinch by simply using a plastic baggy. This technique works best for fairly soft dressings, fillings, or icings. (Plastic baggies may not hold up well with very firm fillings.) Simply fill the plastic baggy with your dressing, filling, or icing. Squeeze it into one corner of the baggy. Twist the top of the baggy to hold the filling in place. Then, clip the corner with scissors, large or small, depending on your purpose. Now you’re all set to easily squeeze fillings into cupcakes or attractively drizzle dressings, sauces, or icings. The best part about plastic baggy pastry bags is that they’re disposable…no messy clean-up!!

Pumpkin Bread Pudding with Cream Cheese Icing

Ingredients

  • Approximately 10 cups day-old French bread, cut into chunks
  • 2 cups milk
  • 1 15-ounce can pumpkin puree
  • 1/2 cup white sugar
  • 1/4 cup brown sugar
  • 4 eggs
  • 1 teaspoon cinnamon
  • 1 teaspoon vanilla extract
  • 1/2 teaspoon ginger
  • 1/4 teaspoon salt
  • 1/4 teaspoon nutmeg
  • Pinch of ground cloves

For the icing

  • 4 ounces cream cheese, softened
  • 3 tablespoons powdered sugar

Directions

Preheat oven to 350 degrees.

Arrange the chunks of bread in a large baking dish. In a large bowl, whisk together the milk, pumpkin puree, sugars, eggs, cinnamon, vanilla, ginger, salt, nutmeg, and cloves until well-blended. Pour the mixture over the bread chunks. Press down on the mixture so the most of the bread is submerged. (I like to leave a thin layer of unsoaked bread at the top for a nice crust layer.) Allow the mixture to soak for at least 15 minutes. (You can leave it to soak overnight, in the fridge, if desired.)

Bake for 45-50 minutes.

For the icing, combine the cream cheese and powdered sugar until well blended. Spoon the mixture into a plastic baggy. Squeeze the baggy in your hands for a few seconds to soften the icing. Squeeze the mixture into one corner of the baggy, then twist the top of the baggy to hold the icing in place. Using scissors, clip a small bit of the corner, then drizzle the icing over the warm bread pudding. Serve warm.

October Pumpkin Round-Up

Posted on

It’s a chilly October morning here in Syracuse. And I’ve got pumpkin on my mind.

Our first pumpkin has been sitting on our front steps since our little ninja party last weekend. It has the face of a ninja painted on it. Ninja pumpkin will be joined by other pumpkins in the next few weeks and our kitchen will take on the sweet and fragrant aroma of some of our favorite pumpkin recipes…of that I am certain.

Focus on Technique –  Pumpkin Puree

Preparing fresh pumpkin is a manageable process, which can be done in a number of ways. Small ‘pie’ pumpkins tend to produce the sweetest pumpkin flavor. Many people prefer to remove the skin, chop the pumpkin into chunks, boil the pieces until tender, then puree. My preferred strategy is to simply cut the pumpkin open, remove the seeds, roast the pumpkins until tender, then scoop out the smooth pumpkin and puree. It involves less tedious chopping than with the boiling method and produces a better end result, in my opinion. You can see my complete step-by-step photo guide HERE .

If you’re not up for preparing your own puree, canned pumpkin provides a convenient alternative. Most canned pumpkin puree is prepared without additional salt, sweeteners, or preservatives, but check the cans just in case.

Check out this round-up of previously posted pumpkin recipes and keep an eye out for a few new pumpkin recipes, coming up soon!

Fresh Pumpkin Coconut Pie

Autumn Harvest Buns

Pumpkin Chocolate Chunk Bread

Pumpkin Gingersnap Parfaits

How to Roast Pumpkin Seeds

Roasted Pumpkin Caramel Bisque

Fried Pumpkin Wontons

Pumpkin Vanilla Custard

Fettucine with Pumpkin Alfredo Sauce  

Fresh Green Bean Casserole

Back in the day, we wrote actual letters to Santa. We’d drop our carefully crafted wish lists into the post box and hope for the best. Nowadays, Santa has e-mail and a facebook page. He checks Amazon.com to learn of each little girl and boy’s greatest wishes and he uses his webcam to compose personalized video messages for tech savvy toddlers. And if that weren’t enough, Santa now deploys an army of tiny felt-dressed elves to maintain constant creepy surveillance in our homes. My, how times have changed! But ultimately, all kids are just hoping to end up on the nice list and to receive that special item from their wish list.

As a kid, I repeatedly wished for the Barbie Dream House; the one like my cousins had. Heck, I would have settled for the Barbie Camper, ’cause that was also pretty sweet. I never actually received either of those items. Ahem, Santa! Like many young boys, my husband’s childhood wish was for a Craftmatic adjustable bed. And though he’s certain he was on the nice list (at least some of those years) he never received that Craftmatic bed. I’m sure Santa had his reasons.

Like most parents, I have every desire to make my children’s Christmas wishes come true. Their delight is my delight. But, I can not bring myself to purchase one of the items on my four-year-old’s wish list. The item whose features (squeamish, beware) are described as:

  • Create your own delicious treats!
  • Eat bubbling brains and zombie skins
  • Inject spiders into the eyeballs
  • Watch the Zombie’s jaw rip open as it pukes out a brain barf beverage
Seriously. Go ahead and read that last part again. I couldn’t make that up if I tried. Boys are gross. How about some nice Legos instead?
But enough disgusting zombie talk. Let’s talk Christmas dinner. For many families, green bean casserole is standard fare for Thanksgiving and Christmas feasts. My family was not one of those families. But it became part of my tradition once I started spending the holidays with my husband’s family. The crispy onion straws had me at hello.
***
My version of a classic green bean casserole tastes much like the canned cream of mushroom variety found on many holiday tables. Only my version is made from scratch with fresh, delicious ingredients. It’s hardly any more work and the result is noticeably fresher and more vibrant. The dish can be mostly prepared a day ahead of time, making it super easy to pop in the oven on Christmas day!
***

***

Fresh Green Bean Casserole

Ingredients

  • 1 1/2 pounds green beans, lightly steamed and cut into halves or thirds
  • 3 tablespoons butter
  • 1 shallot, finely diced
  • 2 cups baby bella mushrooms, sliced
  • 3 tablespoons flour
  • 2 cups milk
  • 1/3 cup parmesan cheese, grated
  • 1/4 -1/2 teaspoon salt
  • Pepper
  • Homemade crispy onions straws*

* Click HERE to see the Pioneer Woman’s step-by-step guide to making crispy onion straws. Her procedure calls for a candy thermometer. And while a candy thermometer would be useful, it is not necessary. Just give the oil several minutes to get really good and hot. Then, test a very small batch of onions. The oil is hot enough when the coated onions bubble frantically and quickly become golden brown and crispy. The onions can be made a few days ahead of time and stored in an airtight container. They will loose some of their crispiness in the container, but will re-crisp nicely when baked on the casserole!

Directions

Preheat oven to 375 degrees.

Place the steamed and chopped green beans in a large casserole dish. Set aside.

Heat butter in a saucepan over medium heat. Add the chopped shallot and mushrooms. Cook for about 5-7 minutes until they are tender and golden. Sprinkle the flour on top of the mushrooms. Stir and cook for an additional minute. Gradually whisk in the milk. Bring to a simmer and cook for 2-3 minutes, until the mixture begins to thicken. Reduce the heat. Add the parmesan cheese, salt, and pepper.

Pour the mushroom sauce over the green beans, then give the dish a little shake to help the sauce settle over the beans. Top the mixture with the crispy onion straws and bake for about 20-25 minutes until bubbly hot.

**You can prepare the dish ahead of time up to pouring the sauce over the green beans. Then, cover and refrigerate until preparing to serve. When reheating, allow the beans and sauce to bake for about 10-15 minutes before topping with the crispy onion straws. Once you’ve added the onions, give it another 15-20 minutes to finish baking.

A Few Variations on Apple Pie

Recently I had an idea which seemed so genius I could hardly believe the internet wasn’t overwhelmed with recipes for it. My idea: a traditional apple pie with bits of warm, melty brie nestled between the sweet apples in a homemade buttery pie crust. Doesn’t the thought of it make your mouth water with anticipation??

I had to make it. And I did. Only the result was not what I had hoped for. Rather than melting in creamy layers between the apples, the brie seemed to boil in the apples’ juices, becoming firm and a bit rubbery. Far from inedible, but definitely not the decadent twist on apple pie I was hoping to share with you.

So, I put a few other possible apple pie variations out there to my facebook followers. Perhaps a Chocolate Apple Pie or Apple Peanut Butter? Or maybe Apple Cinnamon? Someone even suggested adding raisins to the apple cinnamon pie. In the end, I just couldn’t decide which to make. So, I made four (yes, four) miniature apple pies and then enthusiastically taste-tested every pie, again and again…for the sake of accuracy, of course.

The apple peanut butter pie was my favorite of the bunch, though the apple cinnamon-raisin, made with cinnamon chips and golden raisins, was a close second. Anything with chocolate is better in my book, so I  ate more than a few bites of the chocolate apple pie. And while I was looking forward to the butterscotch apple pie, the addition of butterscotch chips was less than successful. They seemed to separate during the baking, becoming too liquid and then coagulating when cooled…not appealing. (A bit of butterscotch ice cream topping drizzled over the apples before baking may produce a better result.)

The following pie recipe is for a classic (full-sized) apple pie. You can make it as is or add in any of the optional ‘extras’ for  an interesting twist. I’m still undecided, but I think I’m going to stick with the perfectly plain, classic apple pie, served with a scoop of vanilla bean ice cream, for my Thanksgiving dessert!

Ok, friends…I’m out of here until after Thanksgiving. Time to put all of my energy into preparing our feast. But I’ll be around if you’re in need of Thanksgiving meal recommendations or advice. Just shoot me a message as a comment on this blog or on The Gourmand Mom facebook page.

Happy Thanksgiving to you and yours. I count you all amongst my many blessings to be thankful for!

Apple Pie

Ingredients

  • 2 portions pie crust dough (homemade or refrigerated store-bought)*
  • 3 pounds of apples, peeled, cored, and sliced**
  • 1/3 cup white sugar
  • 1/3 cup brown sugar
  • 1 teaspoon cinnamon
  • 1/8 teaspoon ginger
  • 1/8 teaspoon nutmeg
  • 3 tablespoons flour
  • 3/4 cup chocolate chips (optional)
  • 3/4 cup peanut butter chips (optional)
  • 3/4 cup golden raisins (optional)
  • 3/4 cup cinnamon chips (optional)
  • 3/4 cup dried cranberries (optional)
  • 3/4 cup dried cherries (optional)
  • 3/4 cup chopped walnuts

* I highly recommend a homemade all-butter crust. Click HERE to my my step-by-step photo guide.

**Use a combination of apples for an interesting flavor and texture. You’ll want to use mostly apples that hold there shape when baked, liked Granny Smith, Honey Crisp, Golden Delicious, or Northern Spy, but I also like to throw in a few apples that soften when baked, like Macintosh or Cortland. (I used about 1.5 pounds Granny Smith, 1 pound Honey Crisp, and 1/2 pound Macintosh in my pie.)

Directions

Preheat oven to 375 degrees. Press one of the pie crust doughs into your pie plate. Toss the sliced apples with the sugars, cinnamon, ginger, nutmeg, and flour. If desired, toss in one (or more) of the optional extras. Pour the mixture into the unbaked pie crust. Cover the apples with the second pie crust dough and use a fork or your fingers to seal the edges. Cut off any extra pie dough. Use a knife to cut an ‘X’ in the center of the pie to allow the steam to vent during cooking. Bake for about 55 minutes. Allow to cool for a few hours before serving.

The Gourmand Mom

Good food, seasoned with a dash of life

%d bloggers like this: