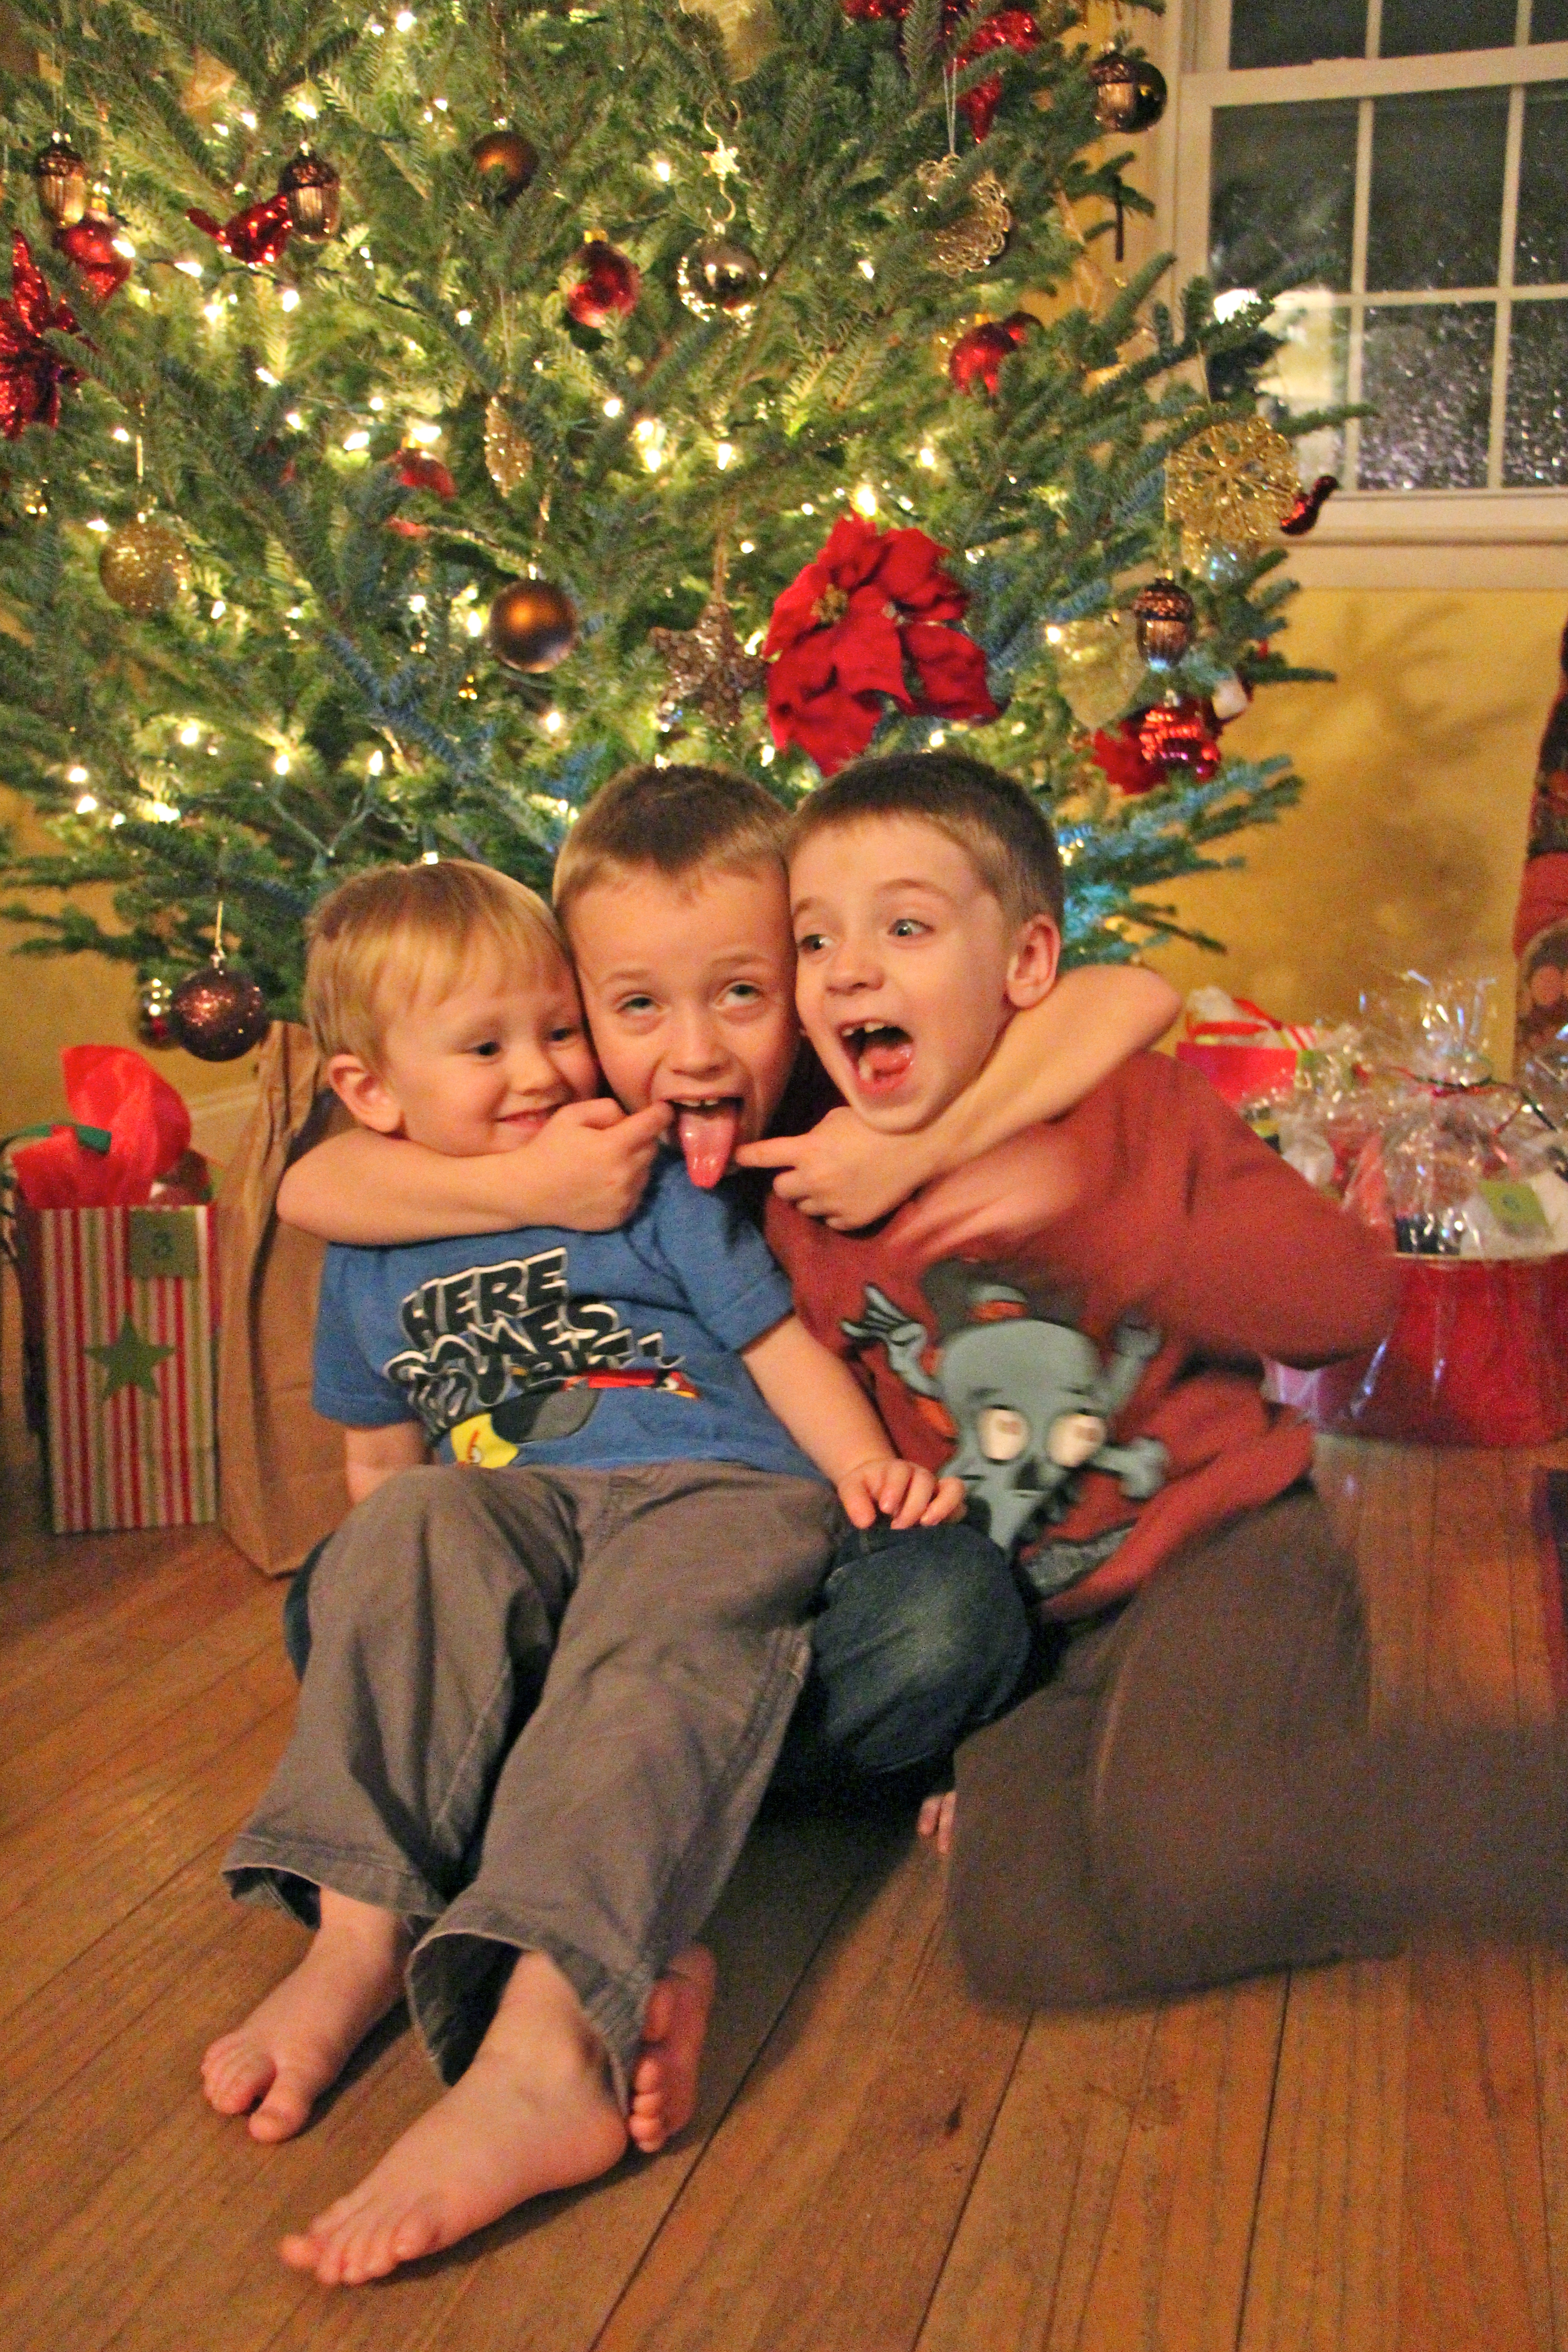
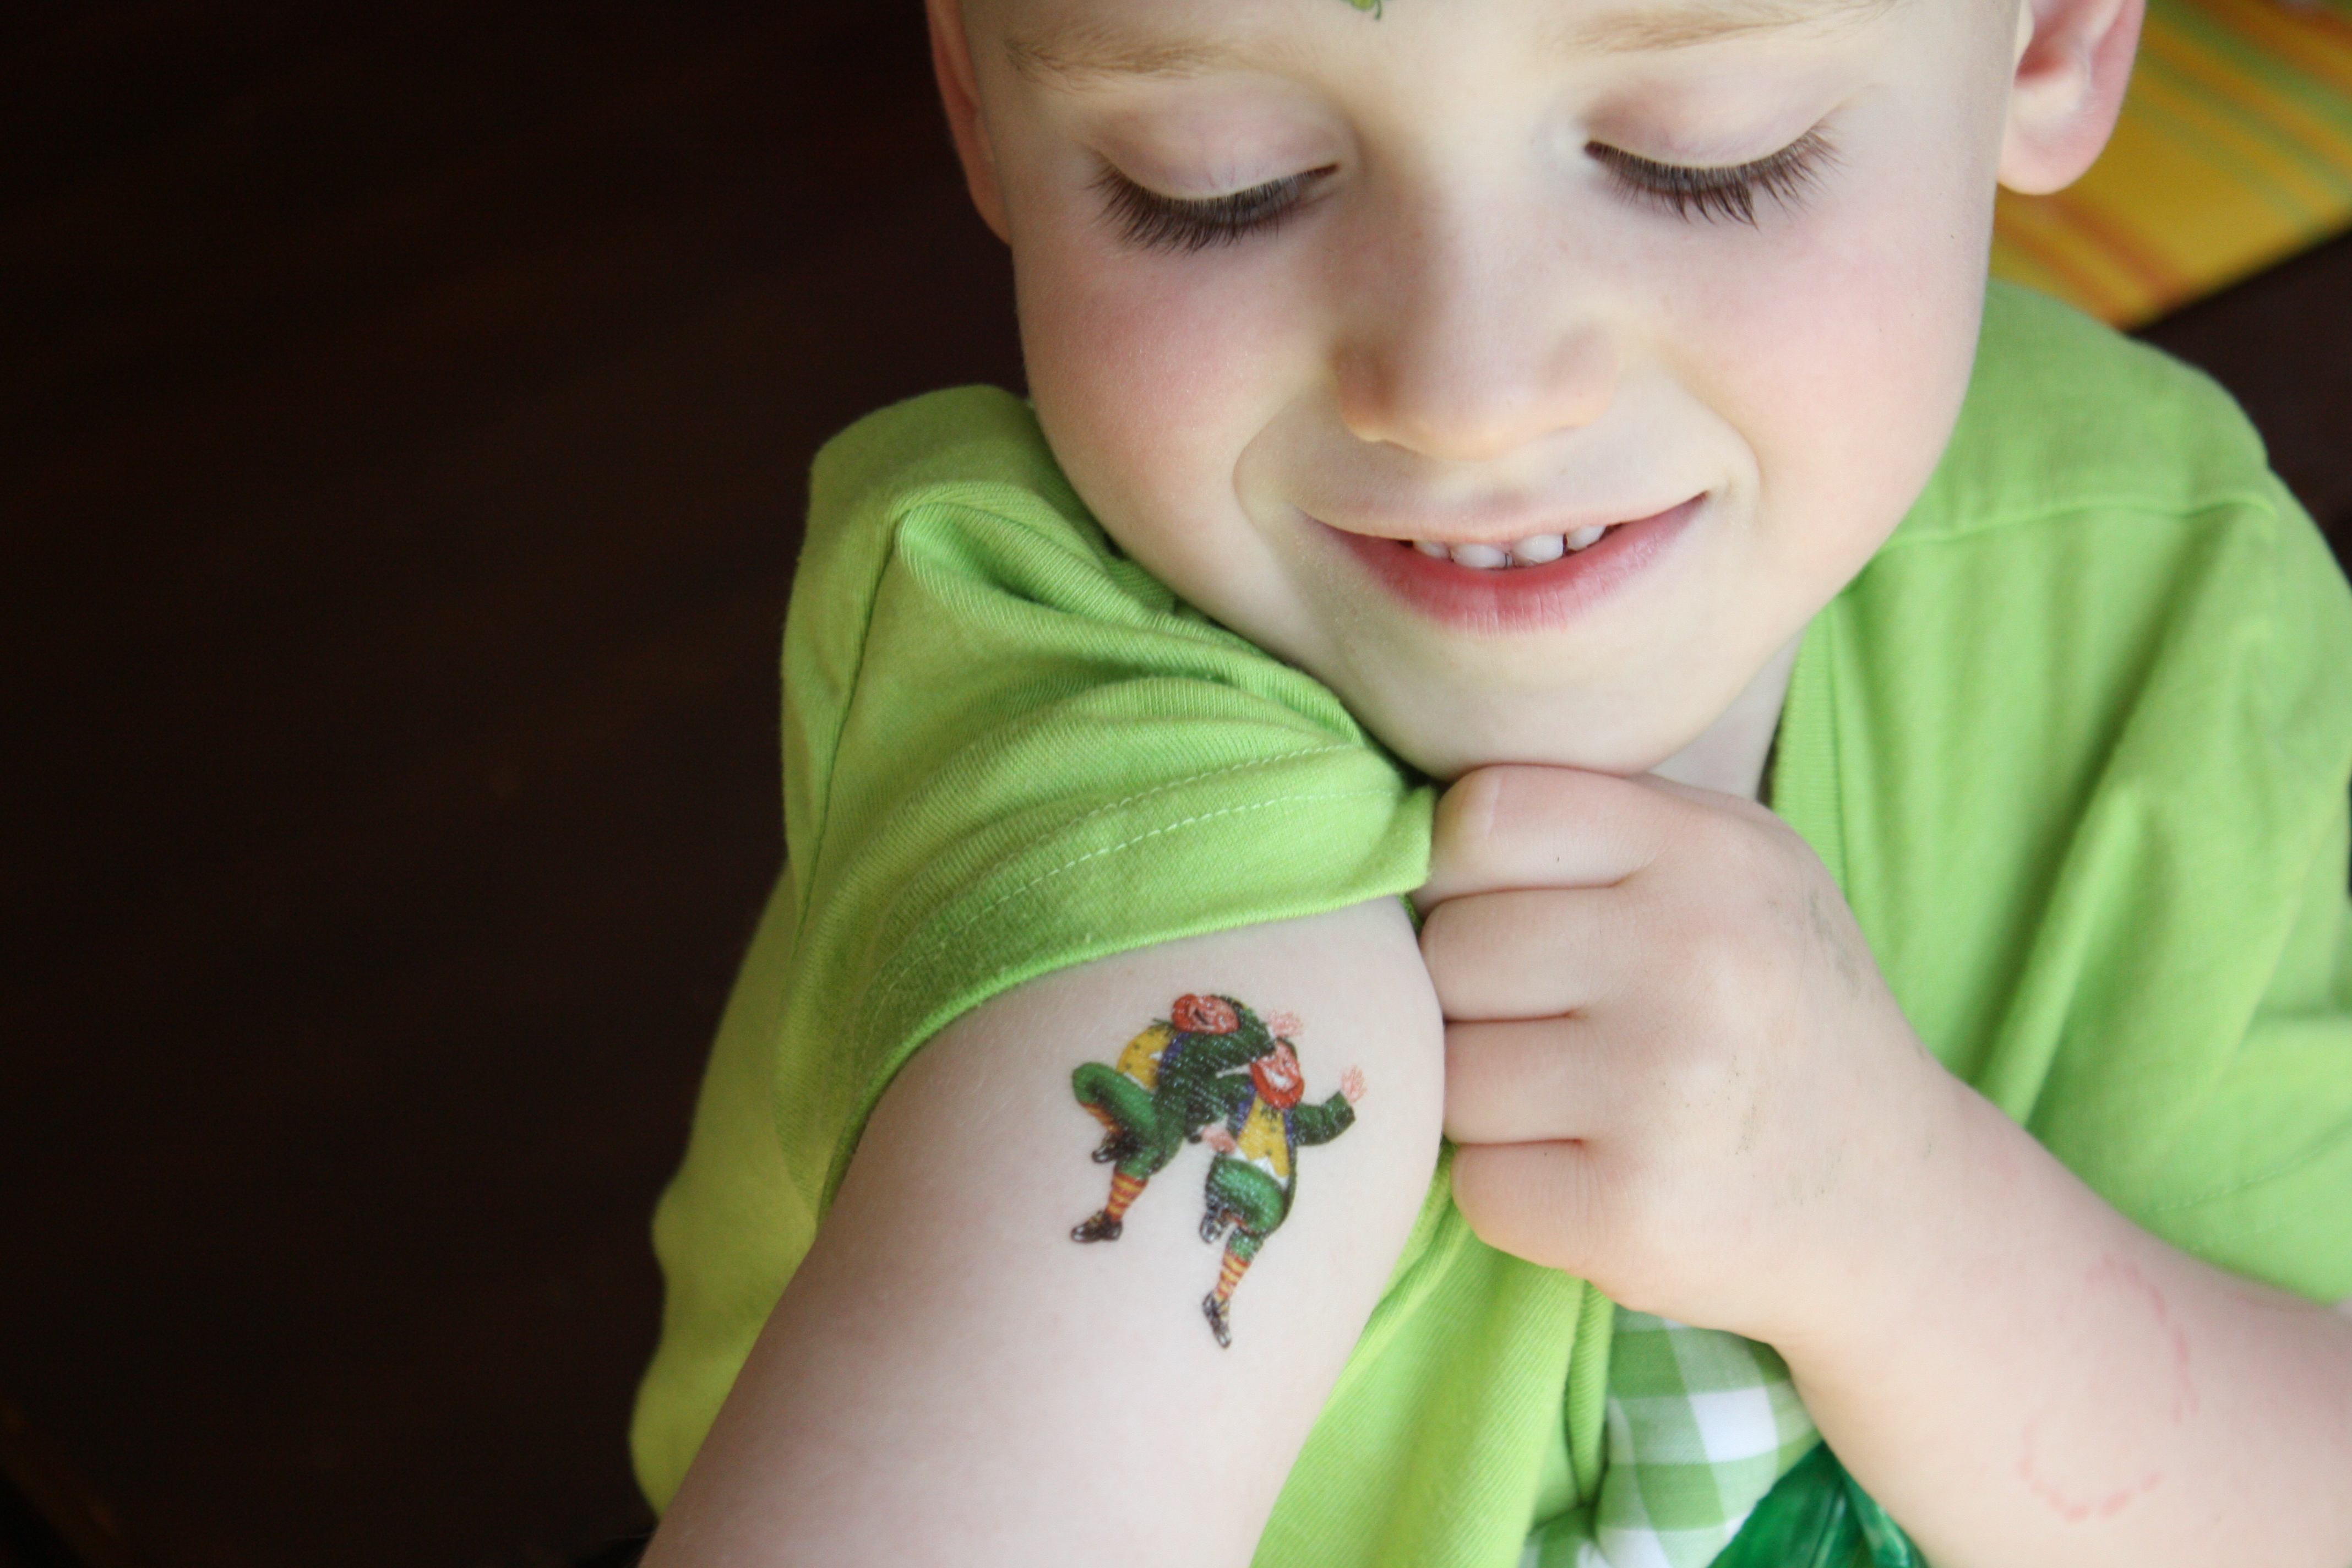
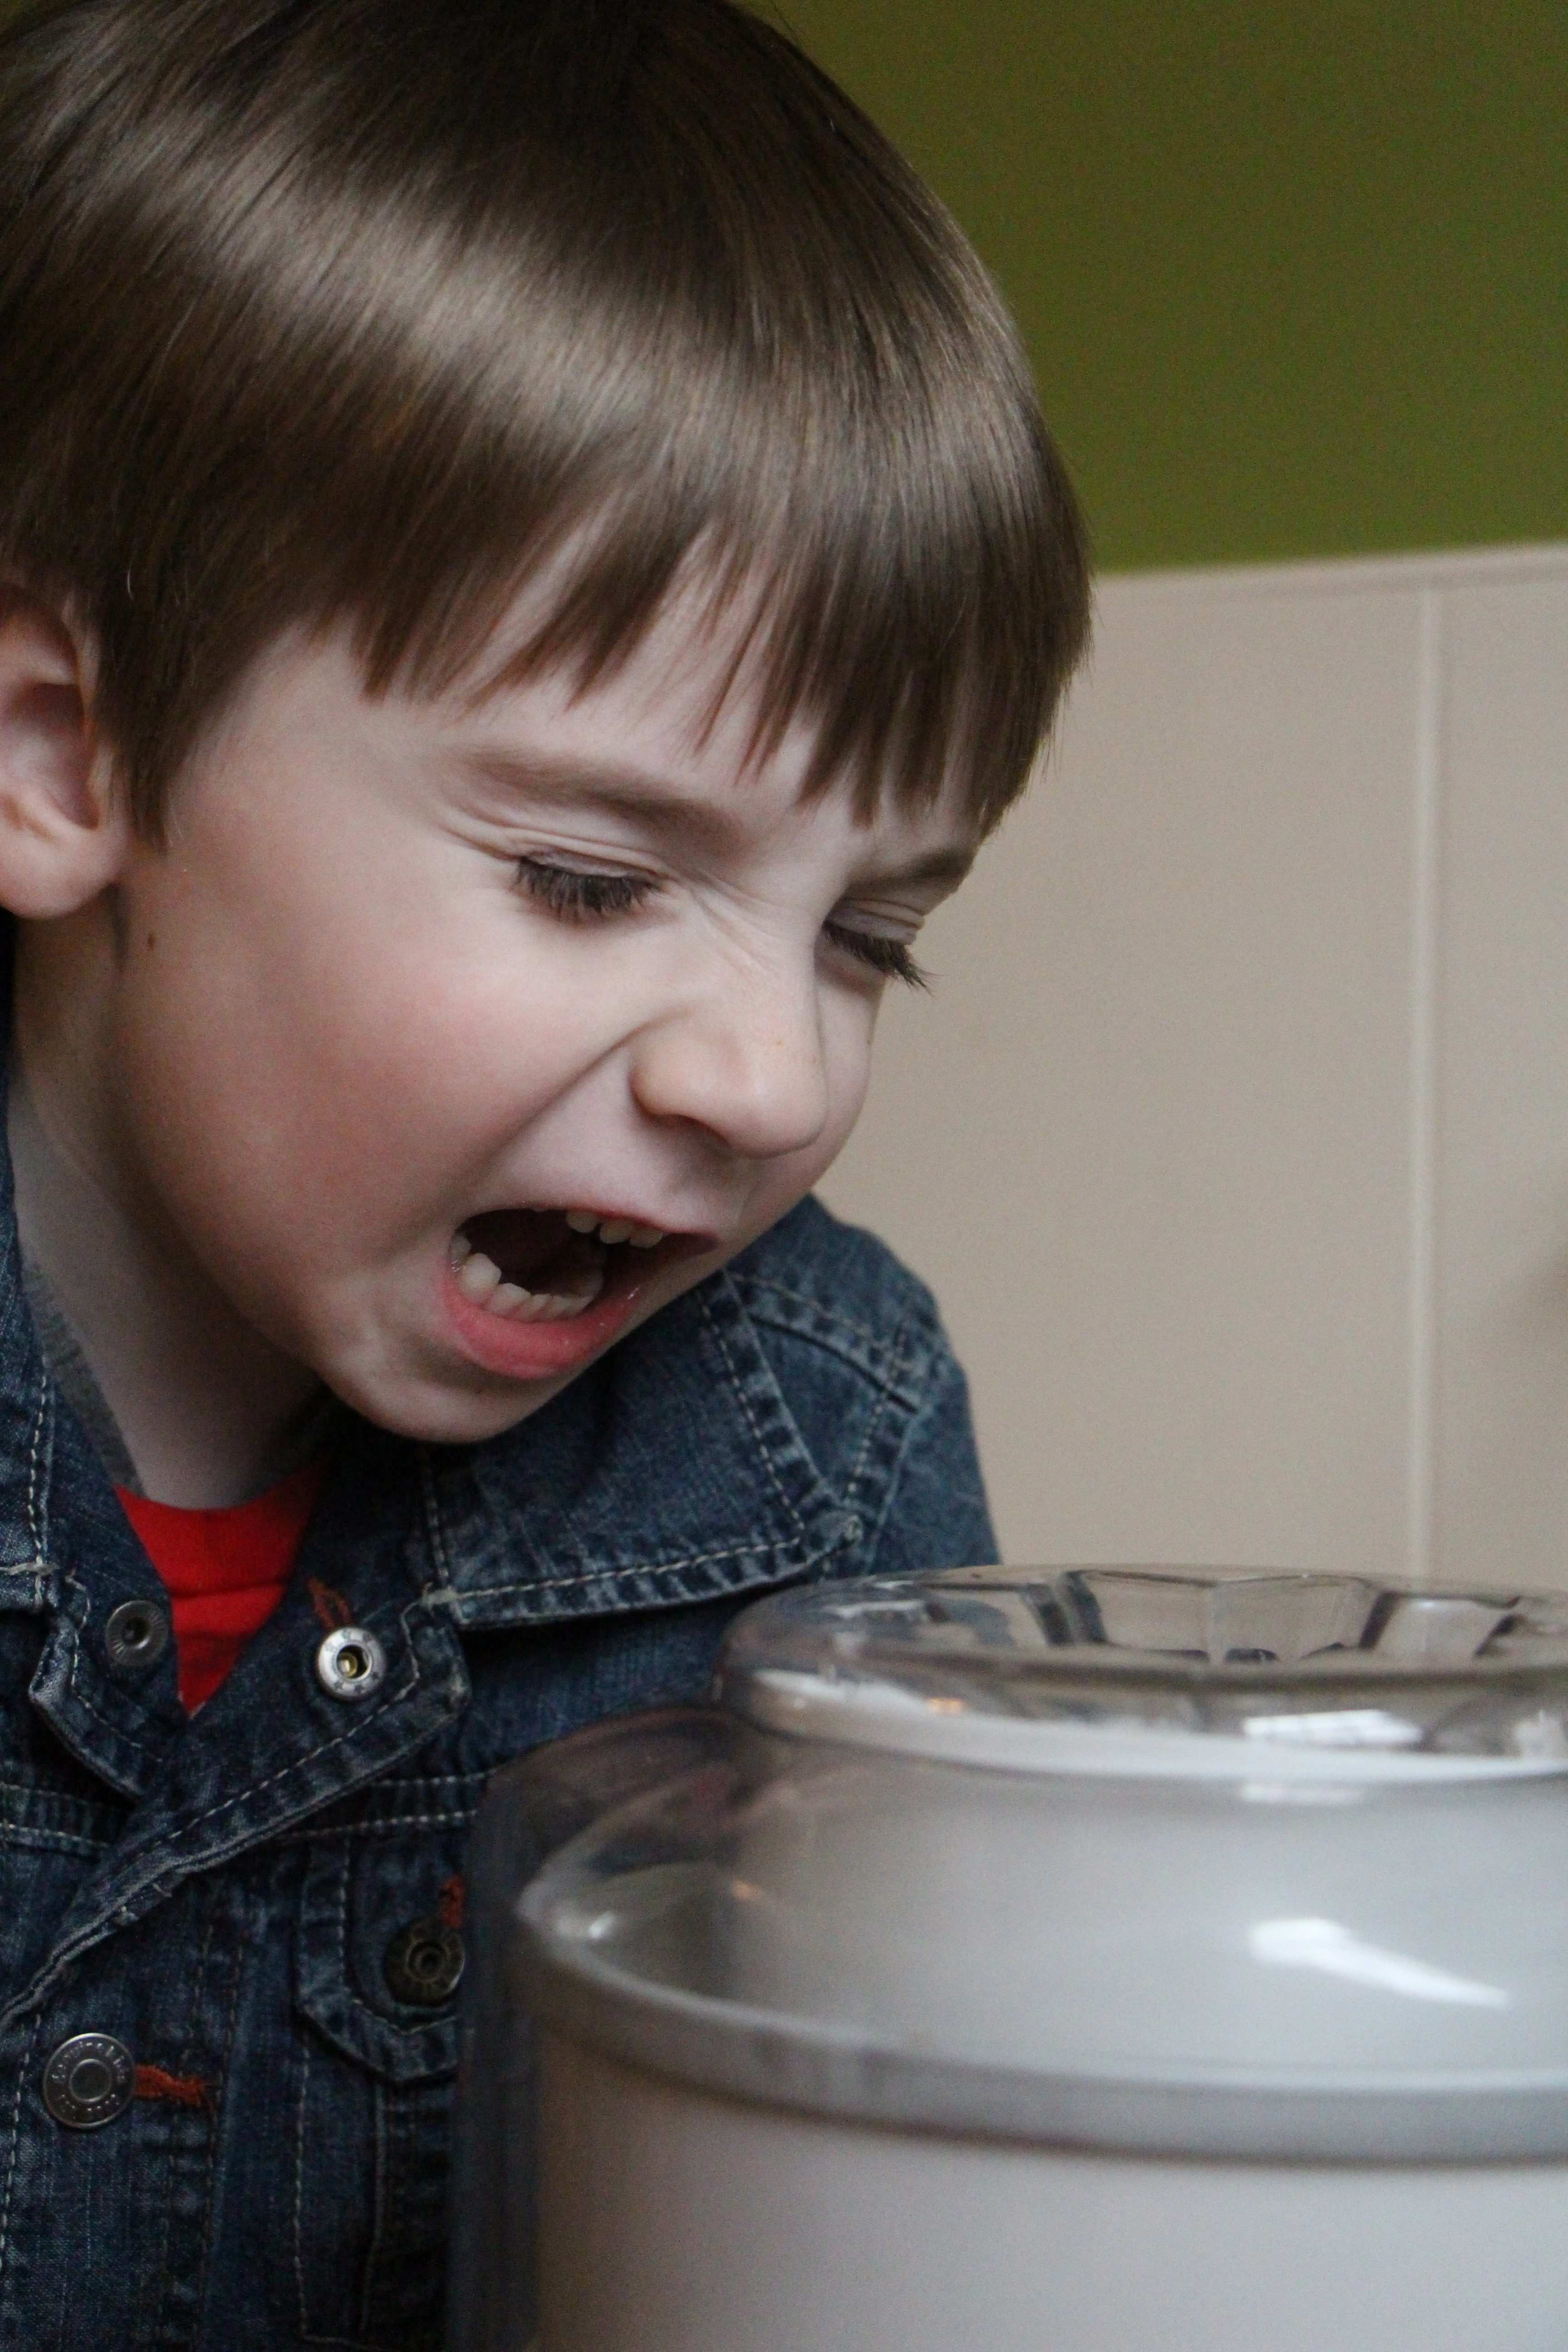
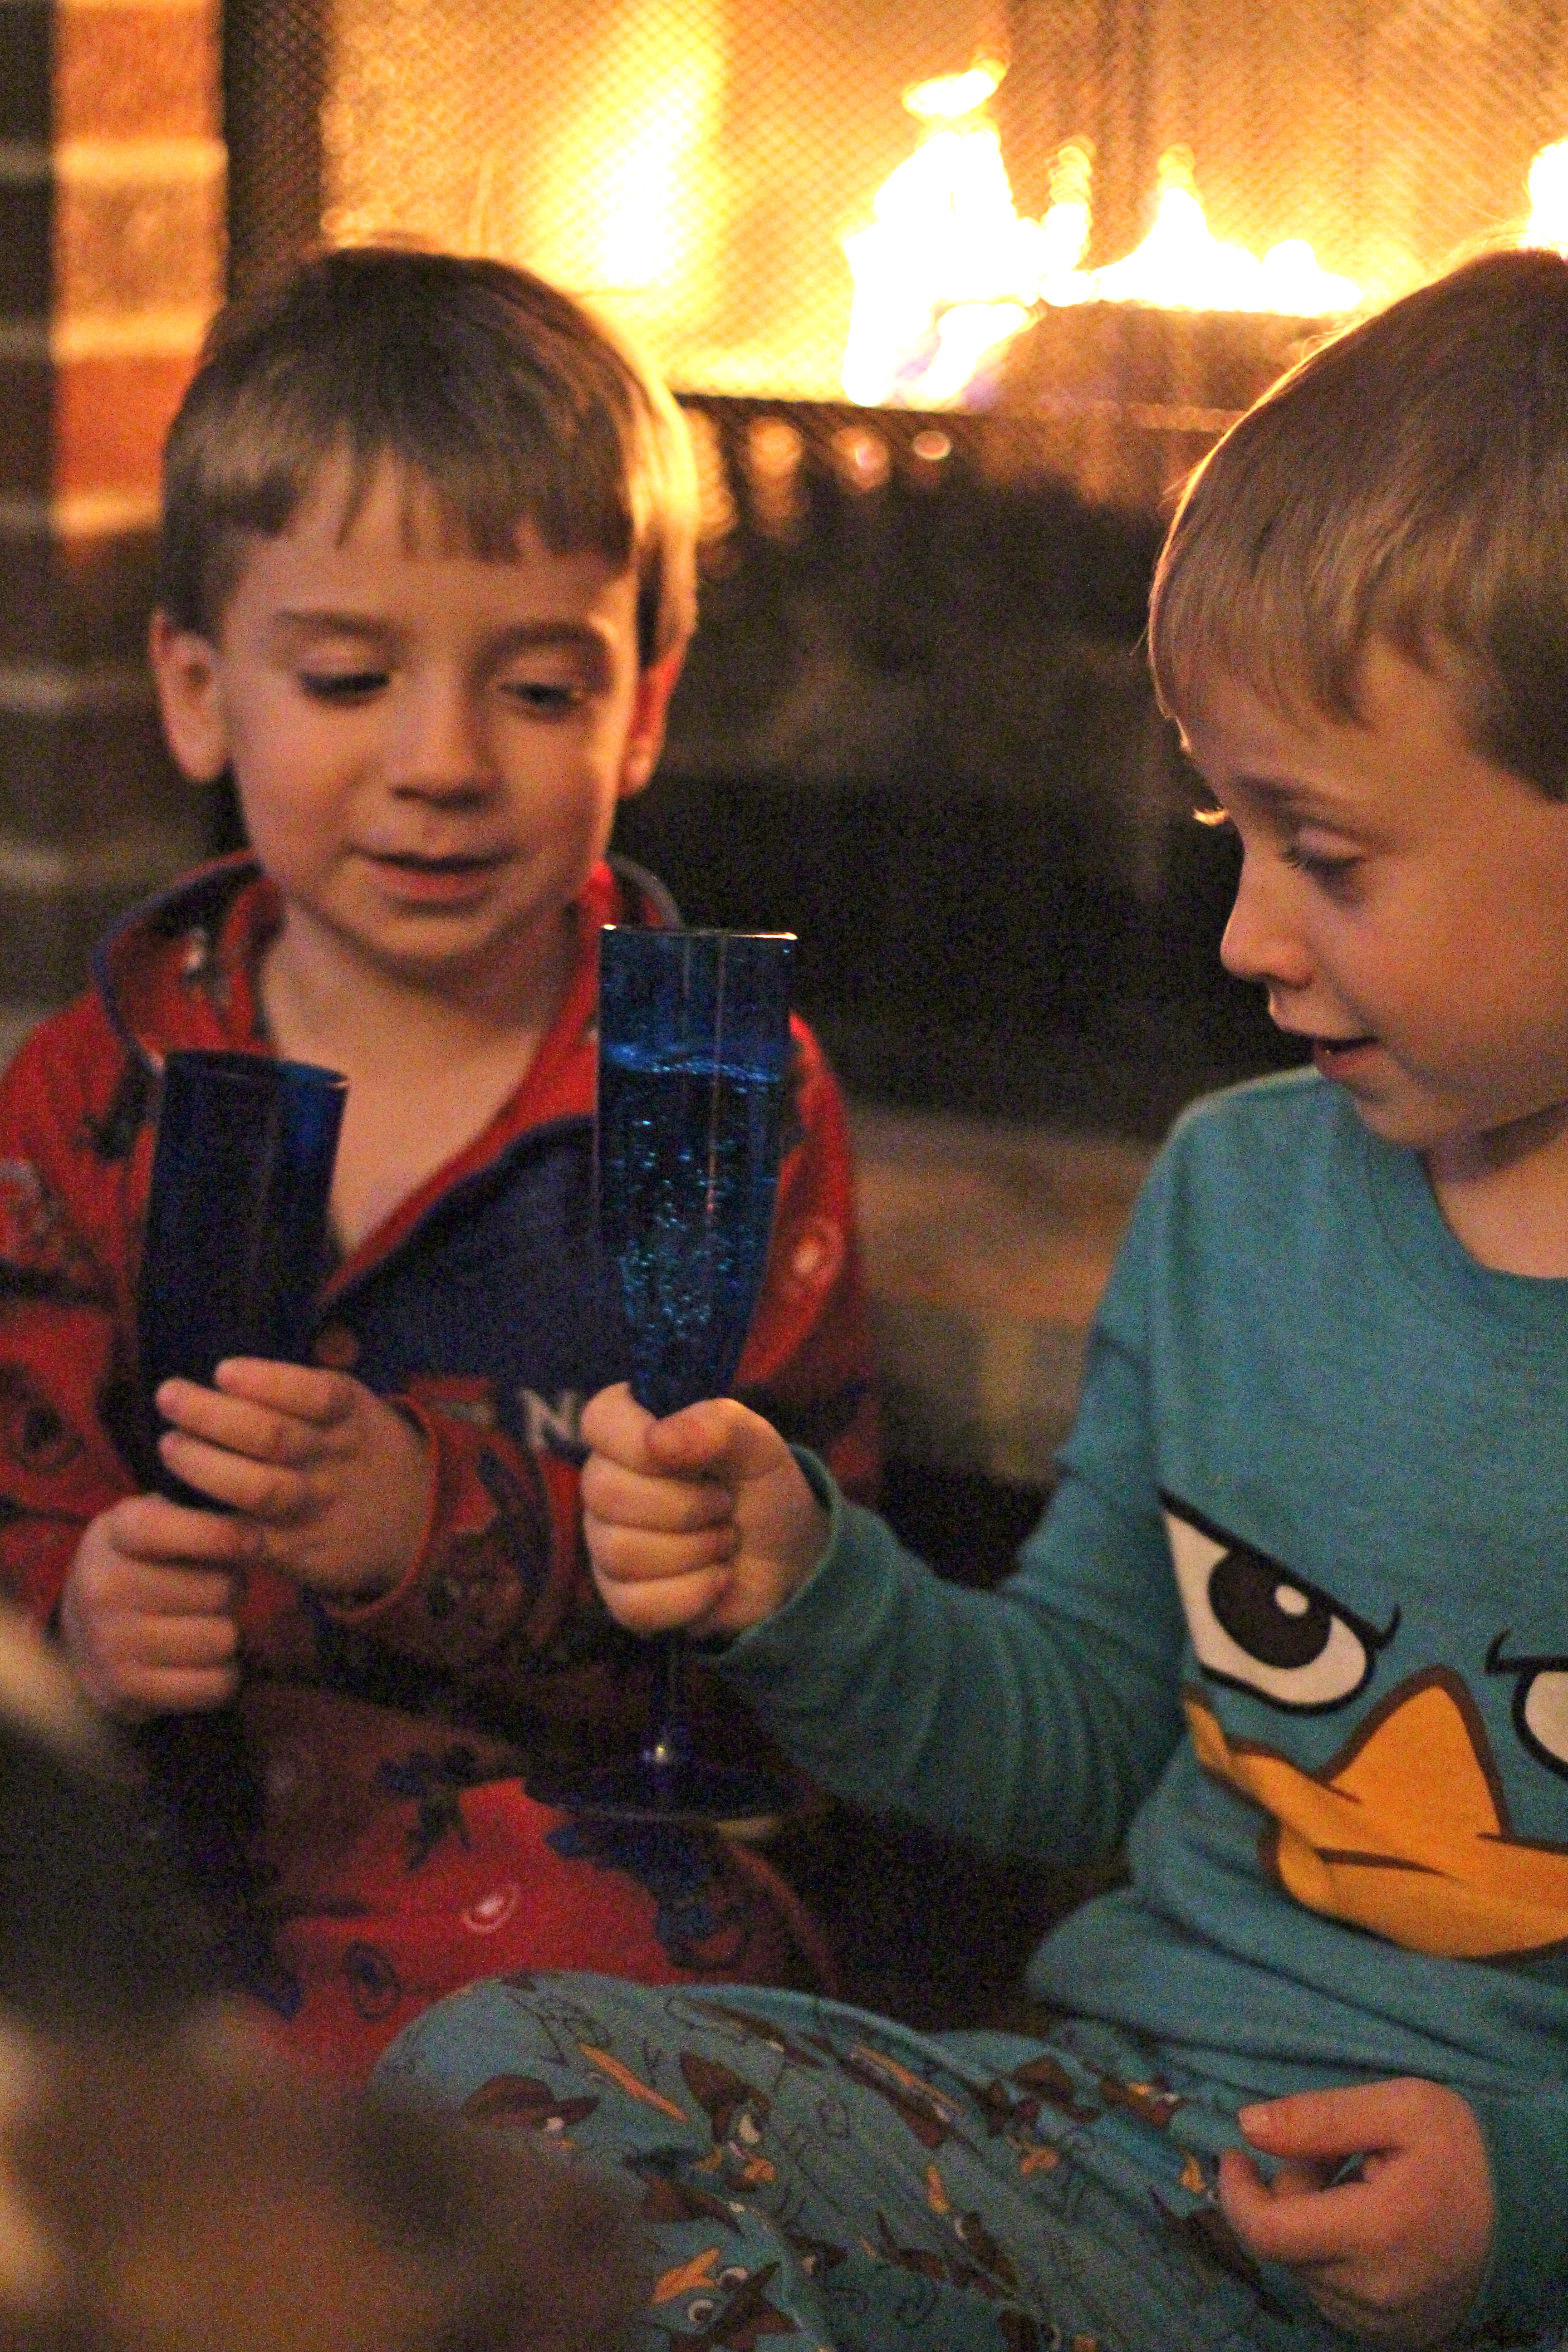
My Lucas is charismatic, enigmatic, and profusely loving. There’s just something insanely captivating about him. He’s a heart-melter for sure, with his big blue eyes, sweet dimples, and long, dark lashes. And he’s mine. More than anyone or anything in the whole world (except perhaps Ninjago legos), he loves me. Not sure how I got so lucky!

Just look at that face!
The kid says, “I love you sooooo much,” so many times each day that I’d begun to suspect it was just a filler statement; simply something to say when there was nothing else to be said. He even says it in his sleep, when I sneak in at night to kiss his little head before I tuck myself into bed. “Mommy, I love you so much.”
But I’ve come to realize that his words are so much more than sounds to fill the silence. He recently turned to my husband and began to say, “Daddy, I love…” I’d expected the statement to end with his predictable “…you soooo much.” But it didn’t. It was quite beautifully, “Daddy, I love Mommy soooo much.” He’s my precious little lovebug.

On a recent trip to the grocery store, as we walked hand in hand through the parking lot, he squeezed my hand and expressed his sweet statement of love. I returned the sentiment, then we continued into the store. An older woman, who’d been coming from her car, caught the exchange as we passed. I saw her pause and hold her heart for a moment. We ran into that woman as we made our way through the store and she stopped to comment on my sweet boys. I thanked her and she parted with a friendly, “God bless.” As we began to walk away, she shouted back, “What am I saying? Clearly, He already has.”
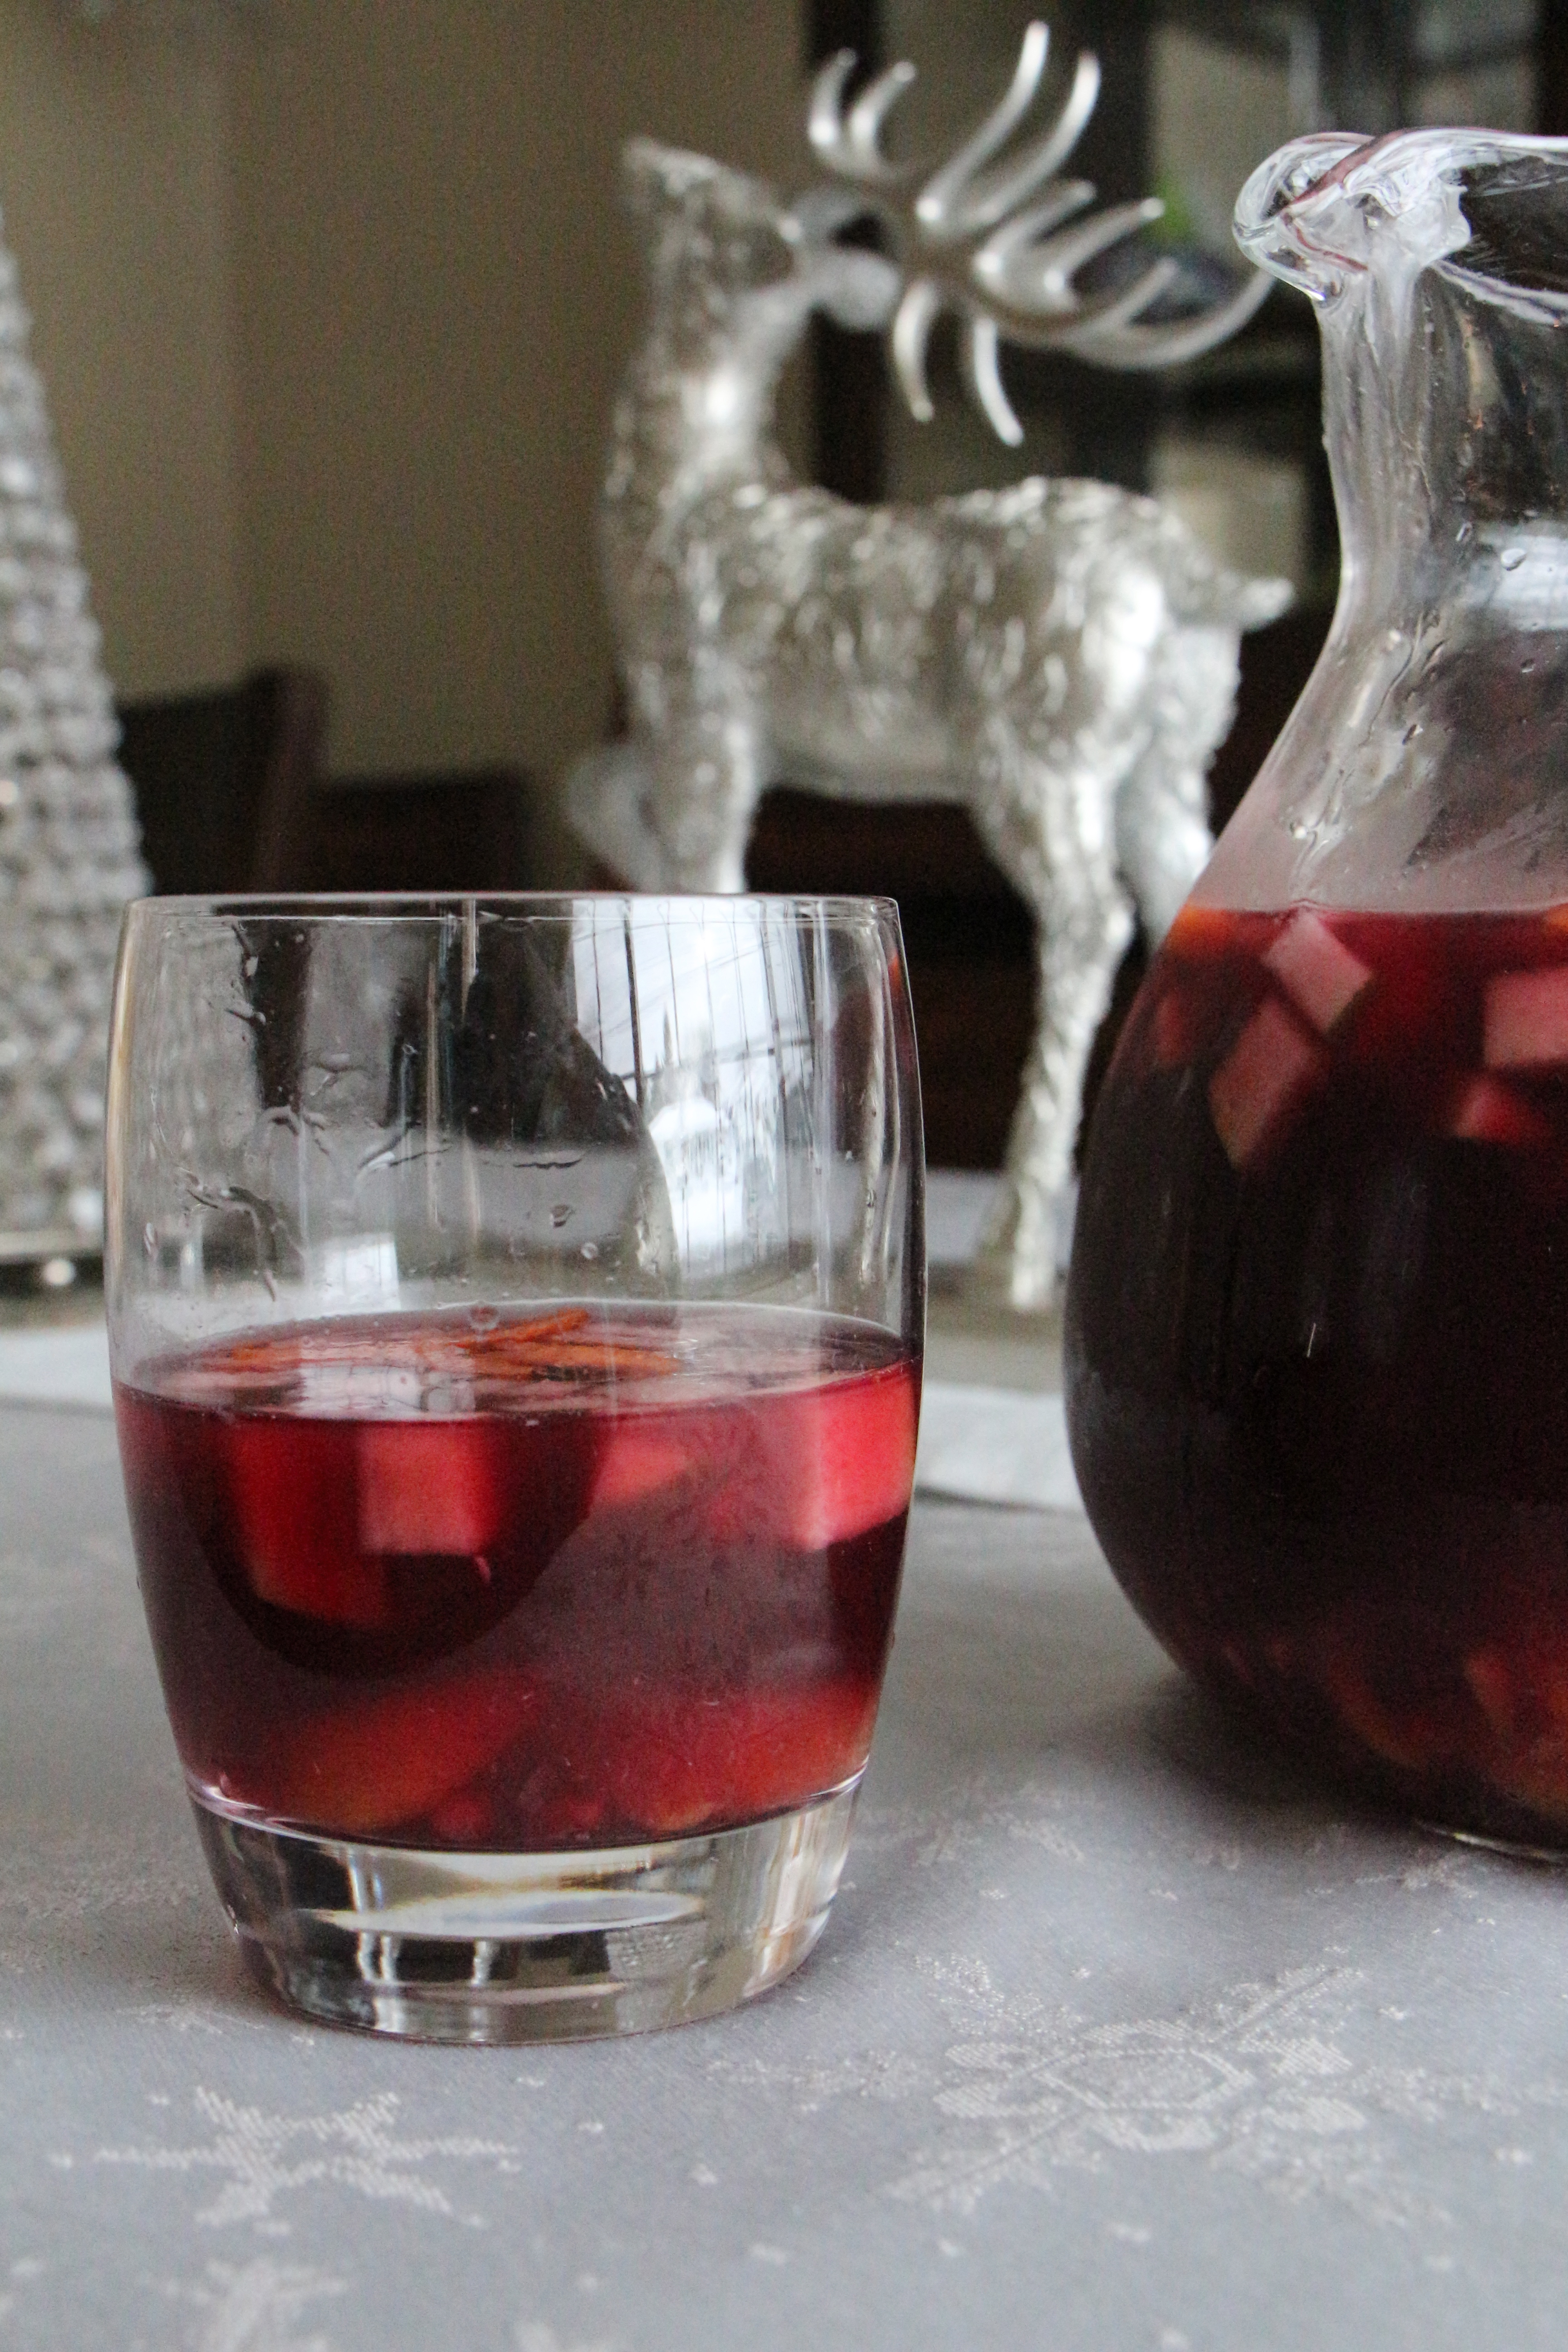
He certainly has. I have been so generously blessed in love; a family who cherishes and supports me, a husband I can laugh with, children whose love is more contagious than the flu, and the most beautiful friends, who persistently raise me up. This Valentine’s Day, I will celebrate every bit of that priceless, precious love.

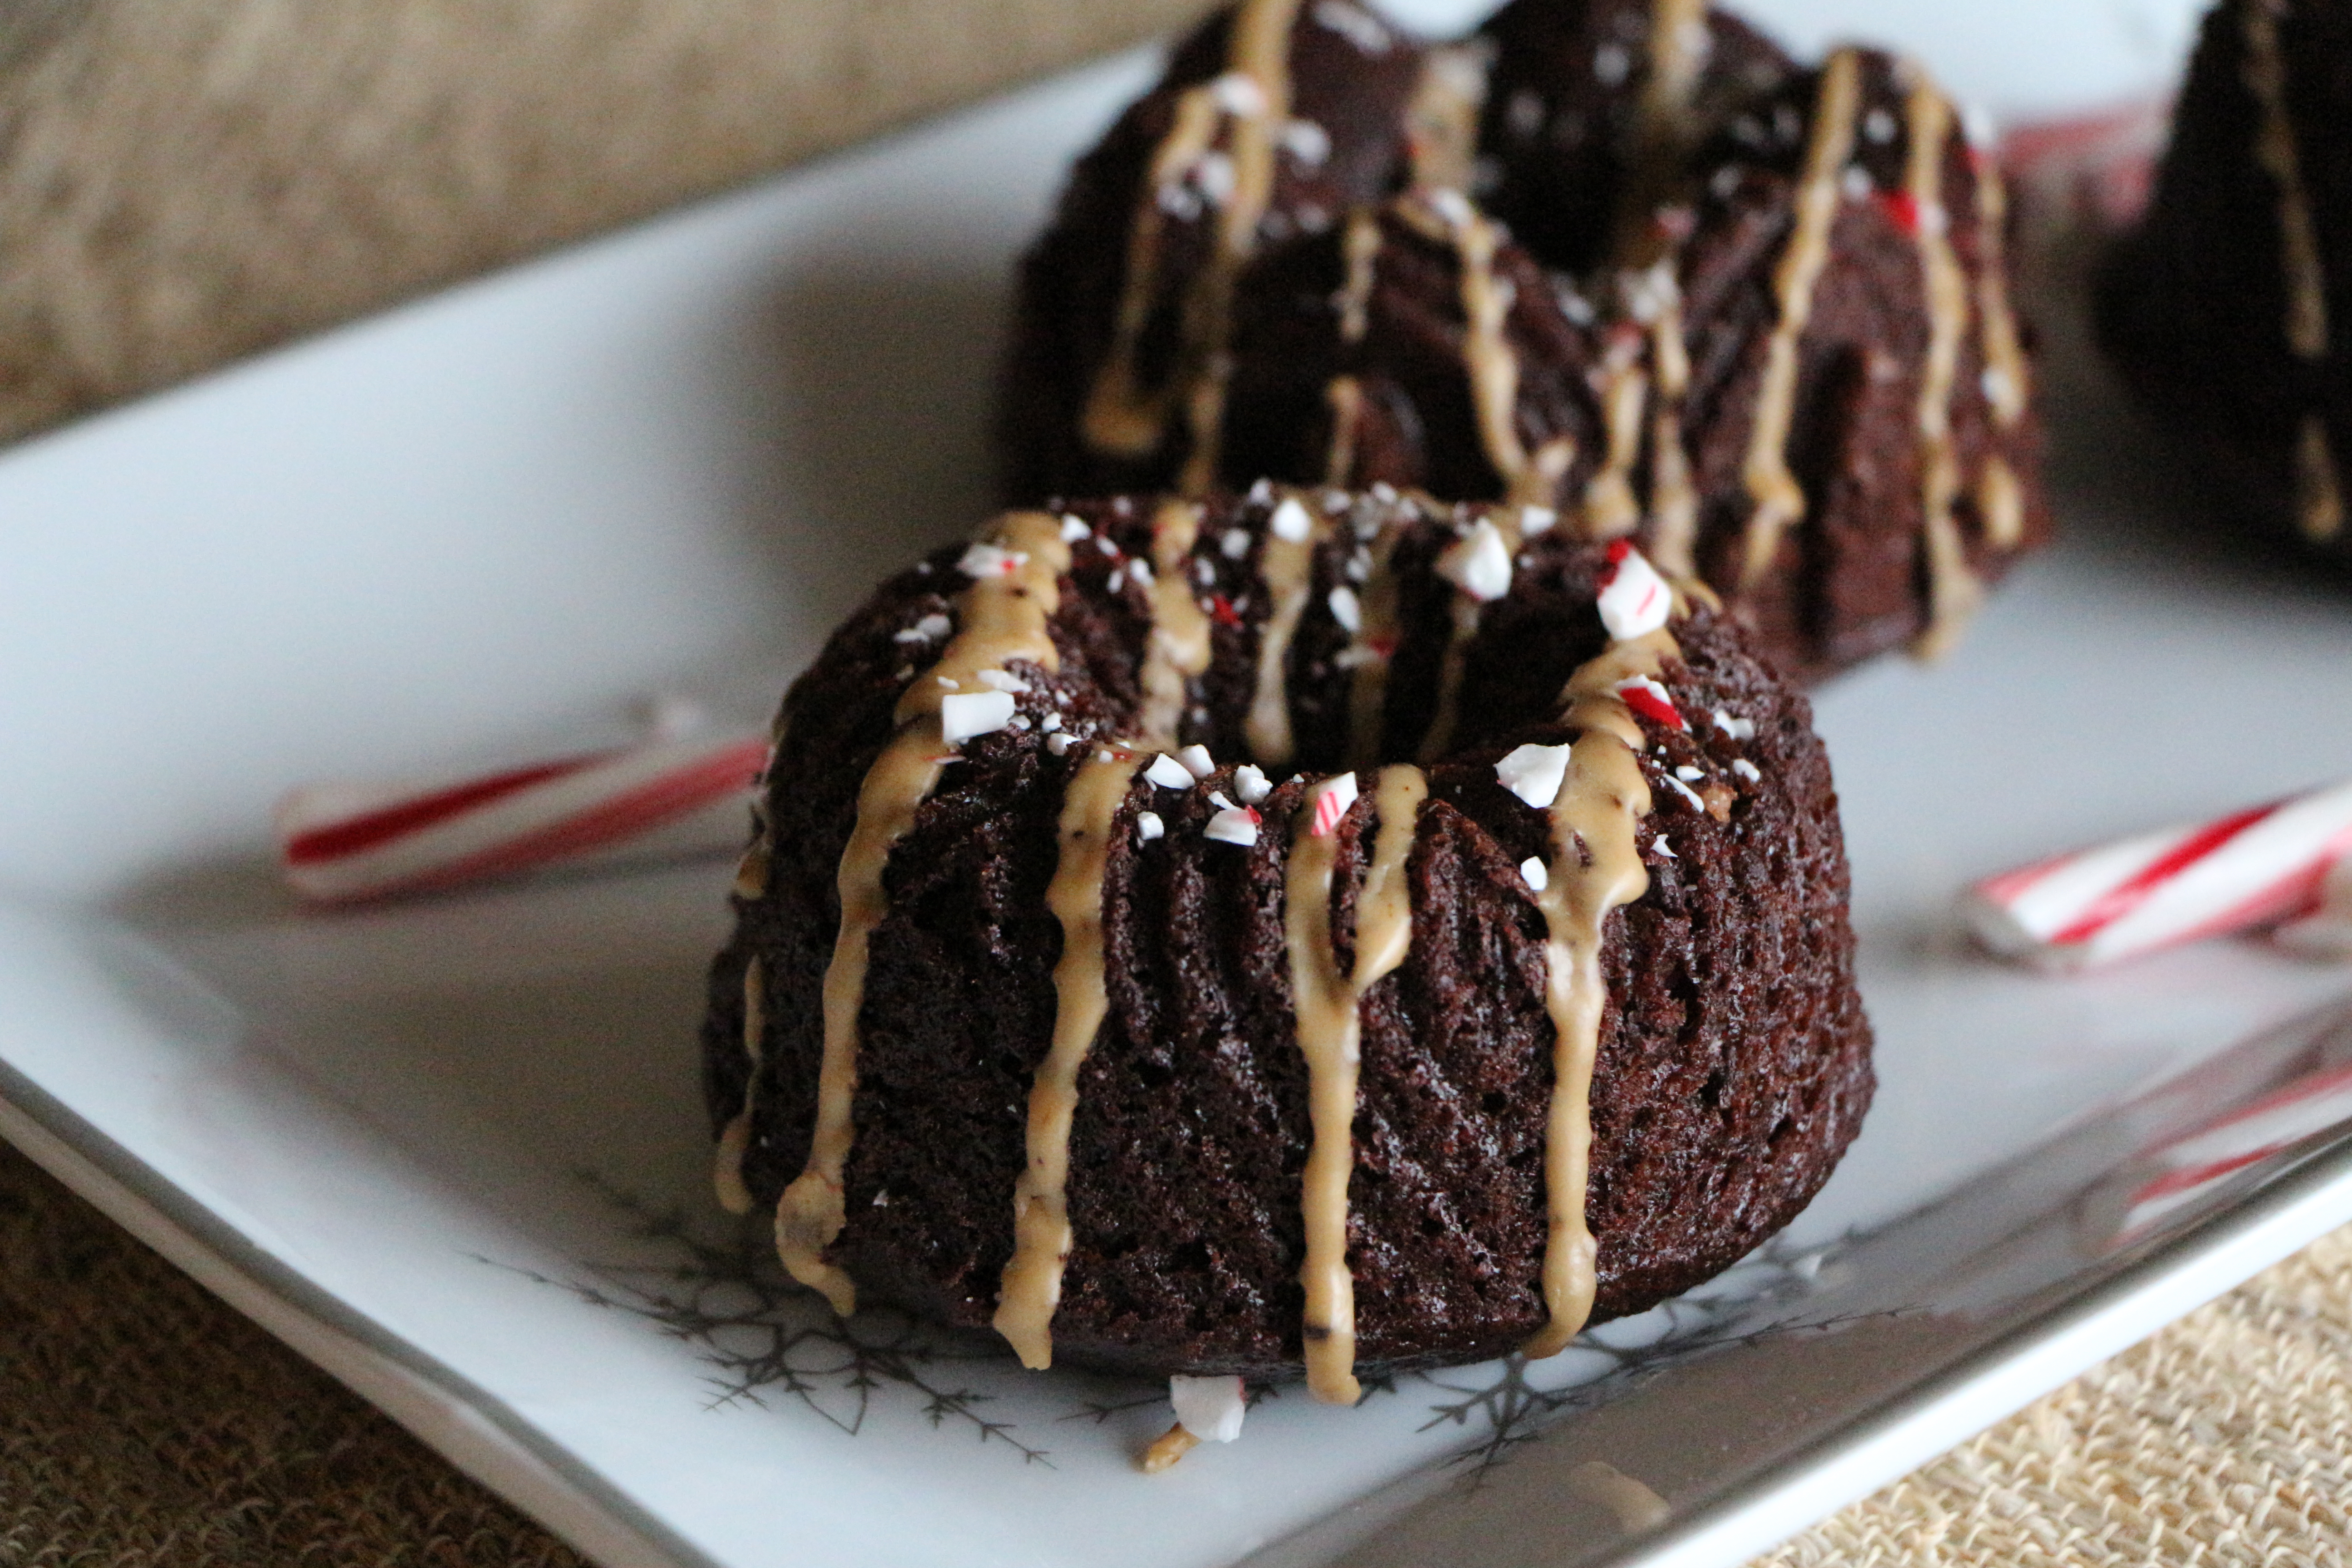
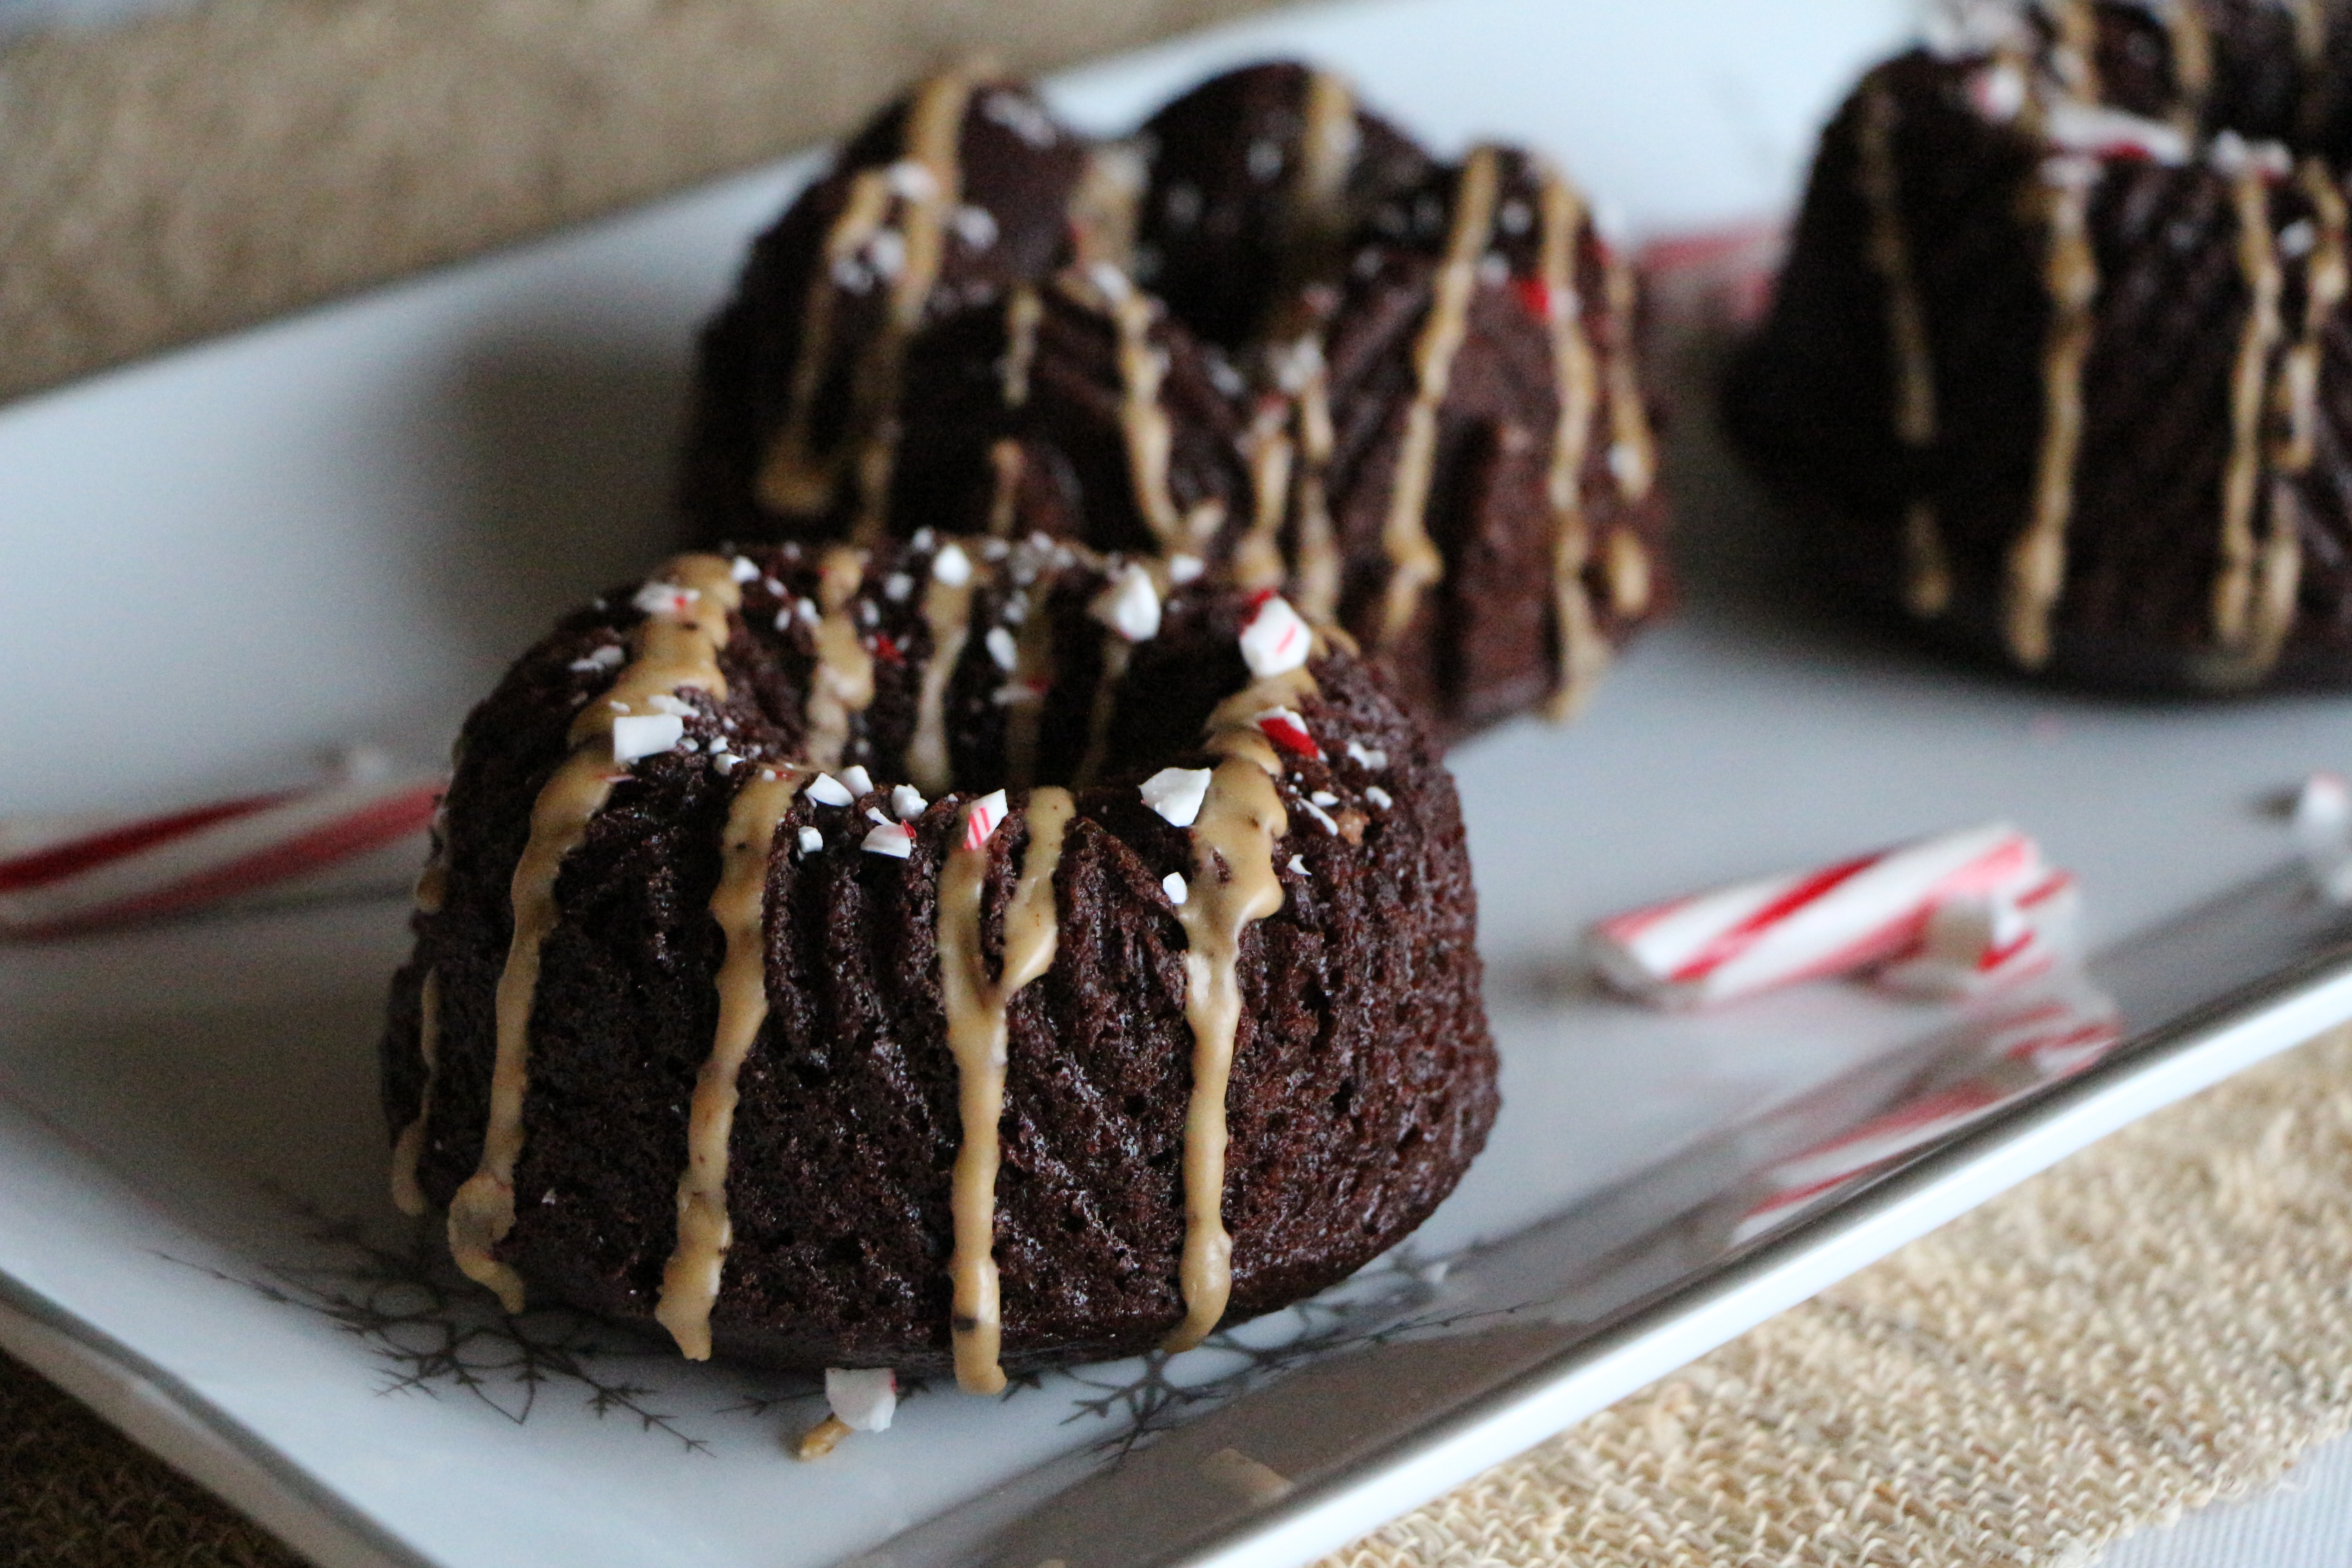
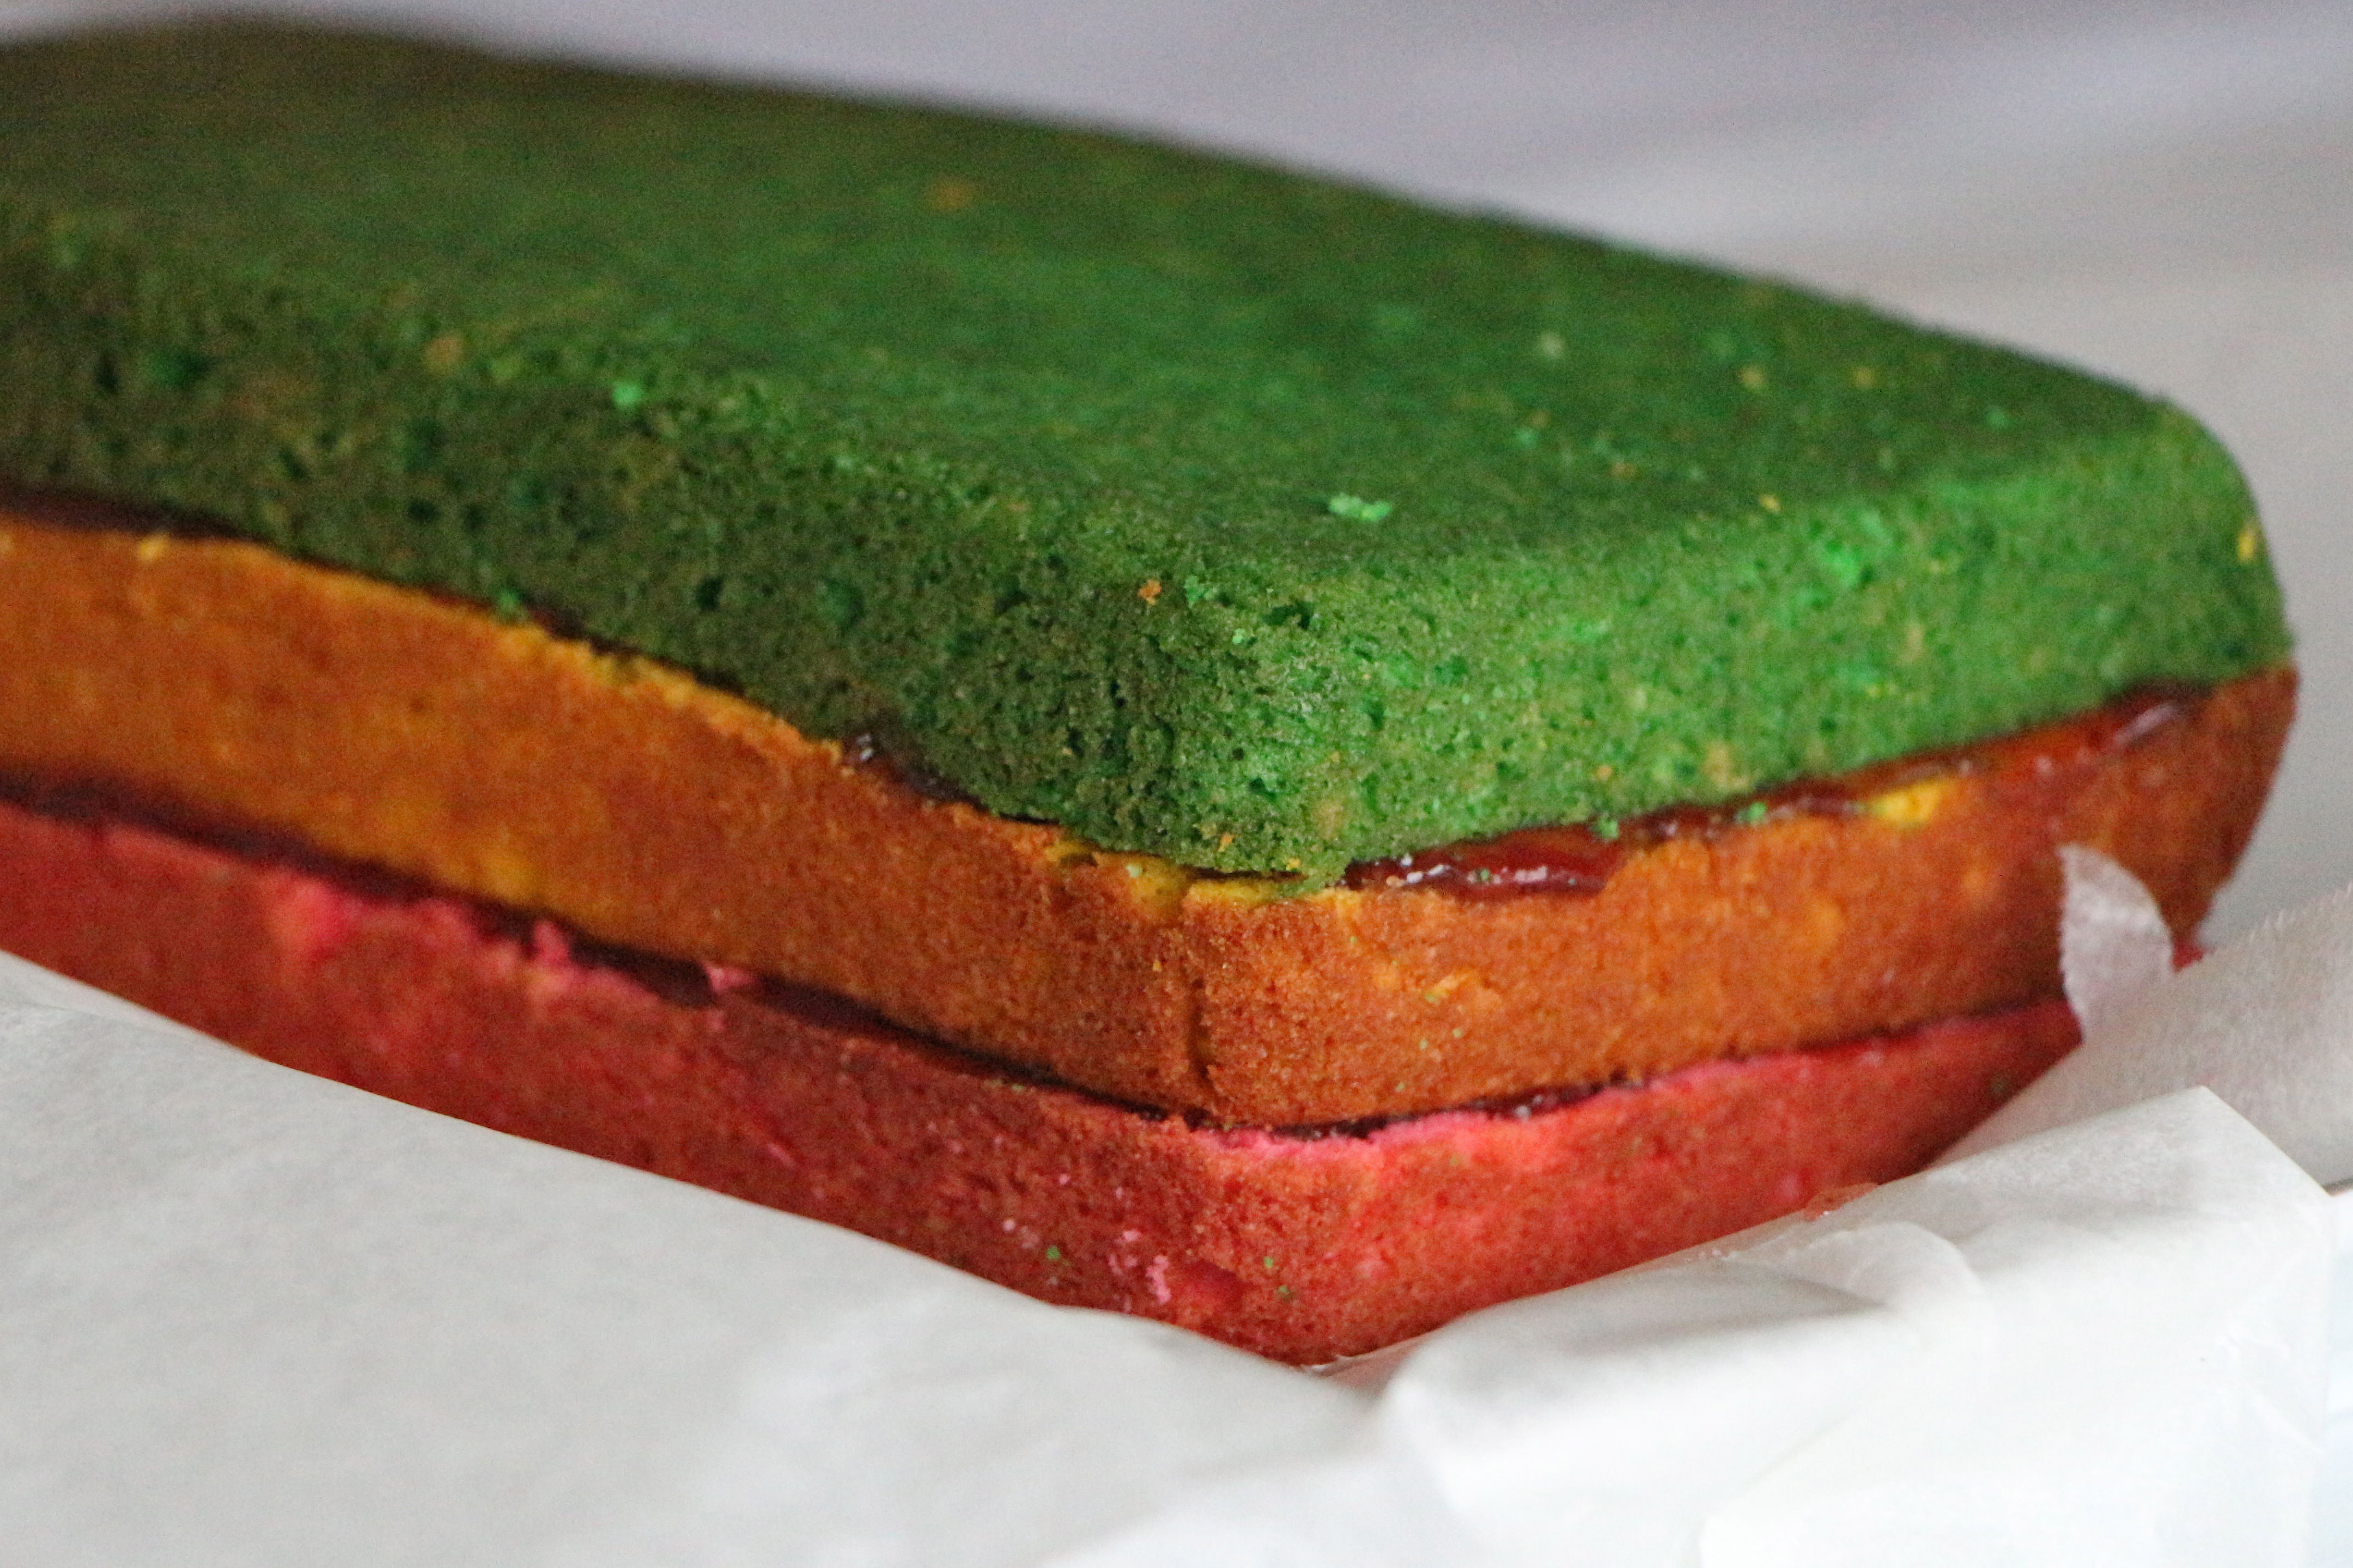
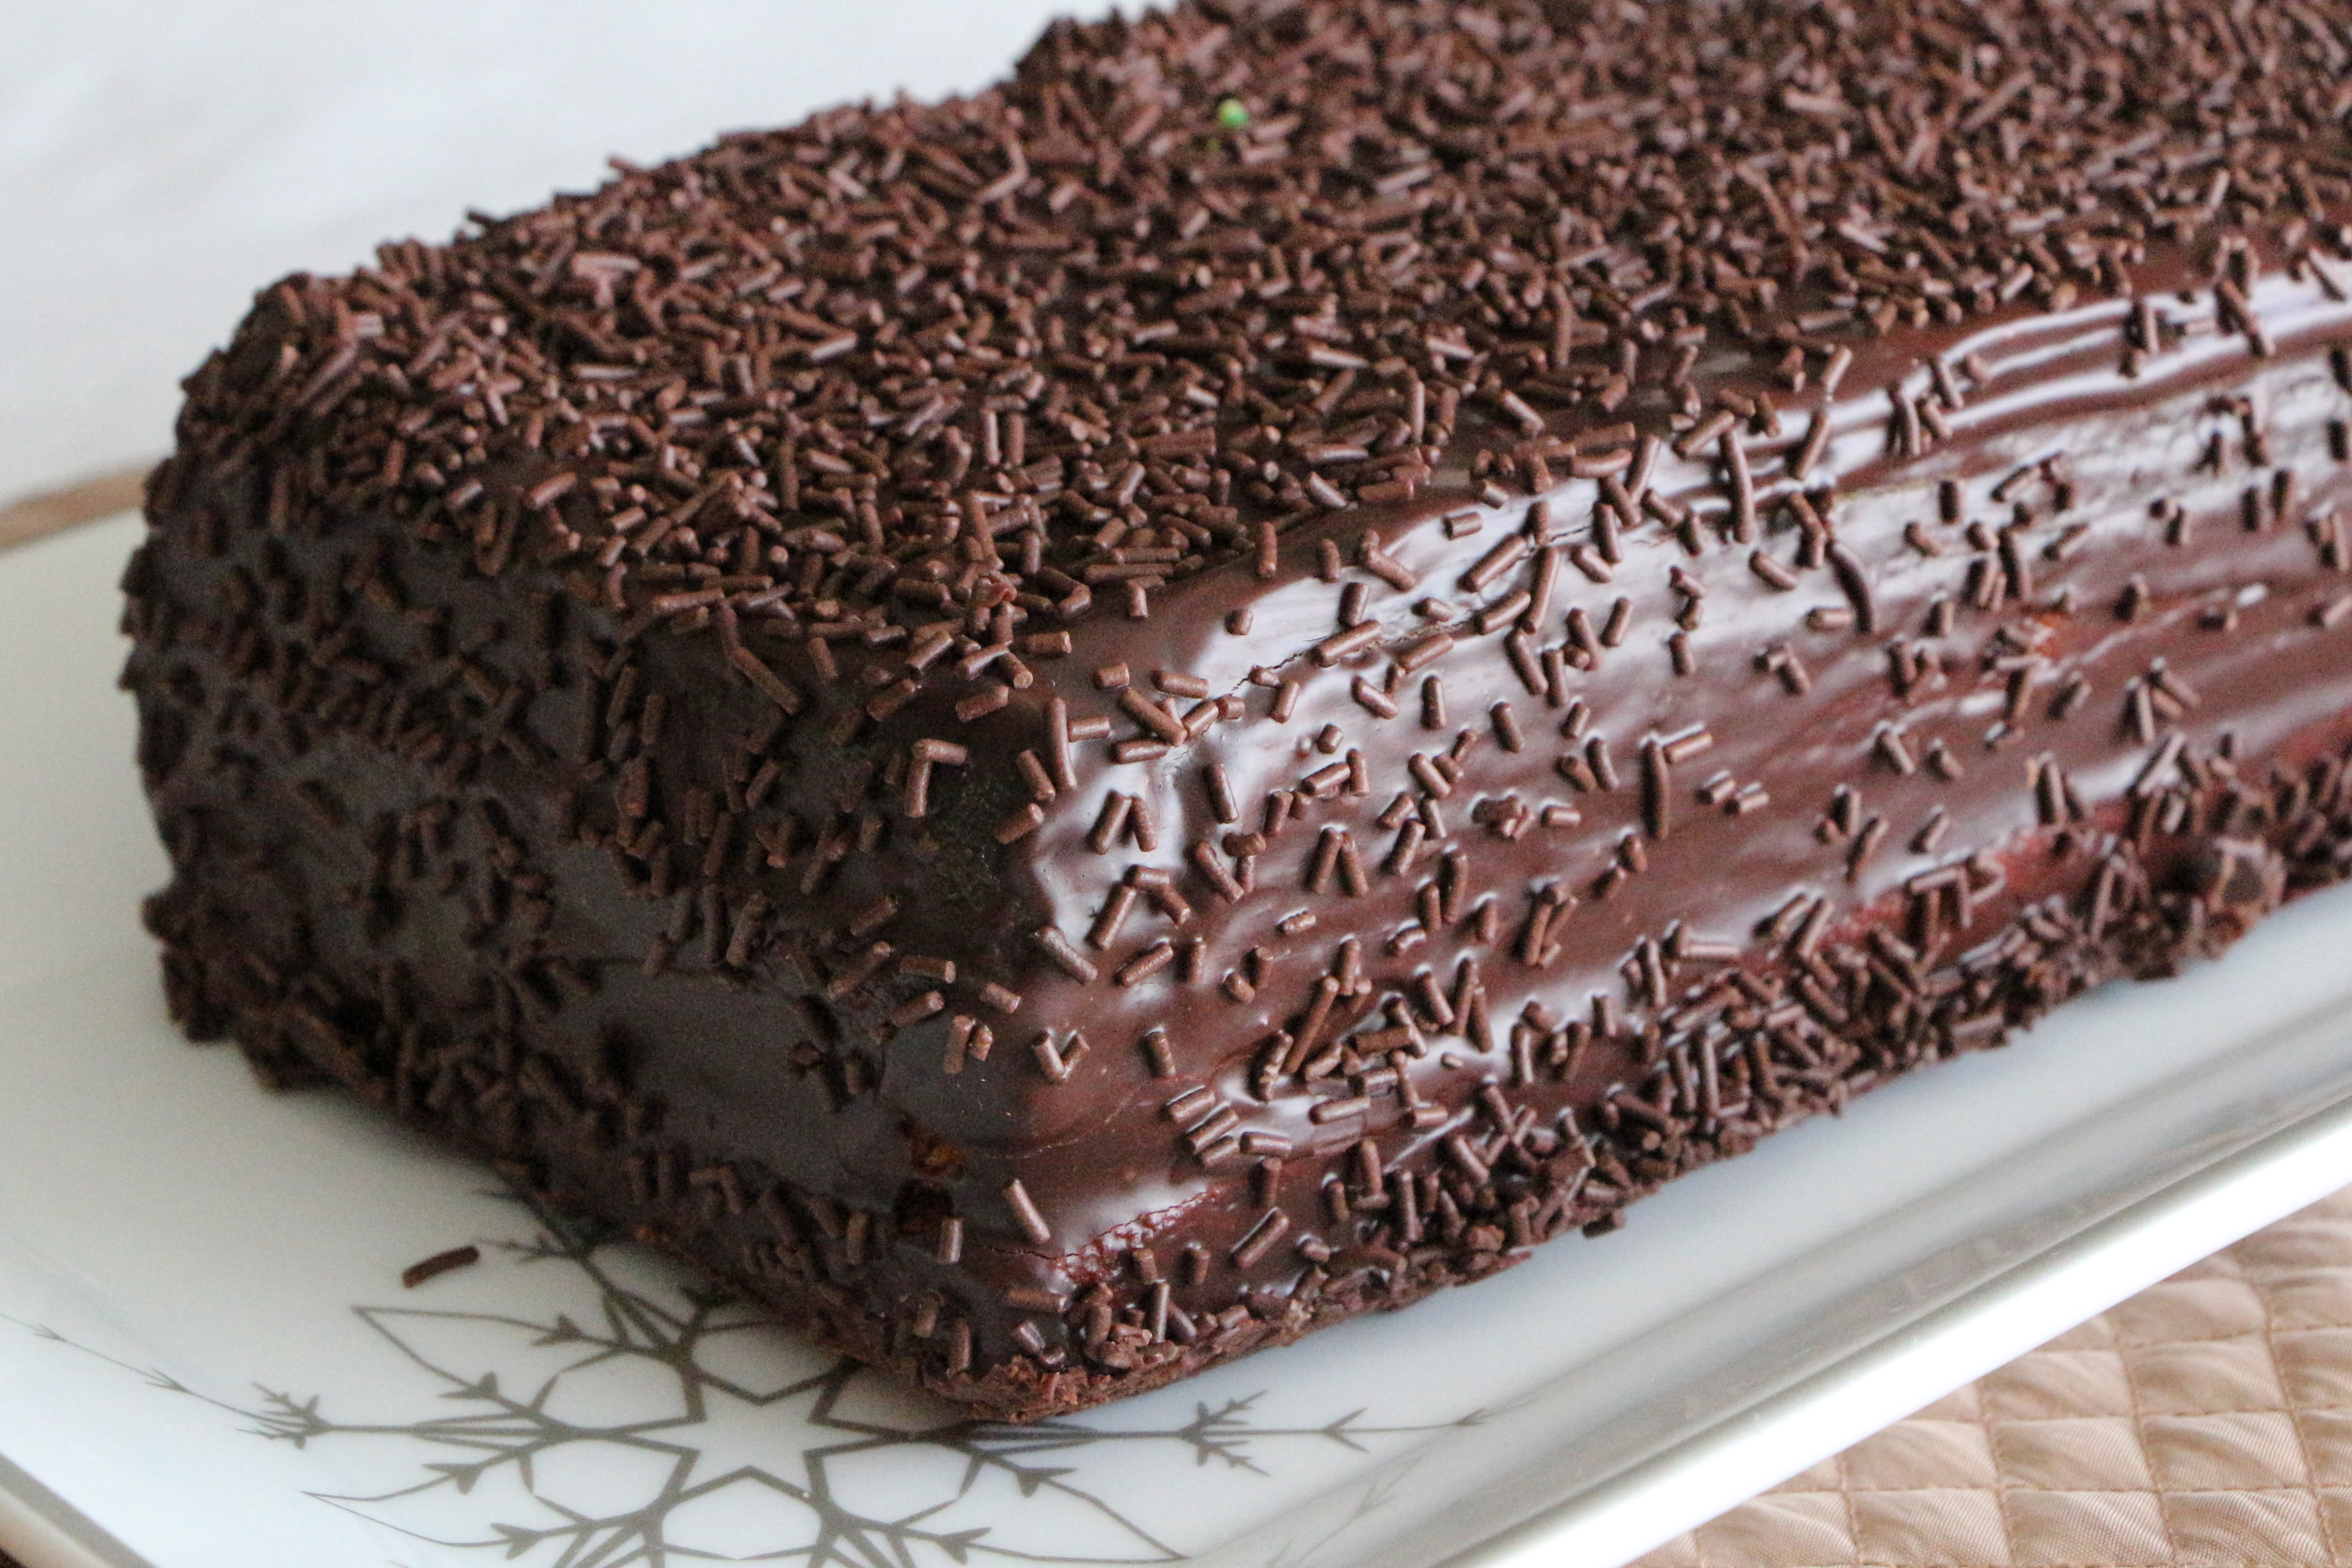
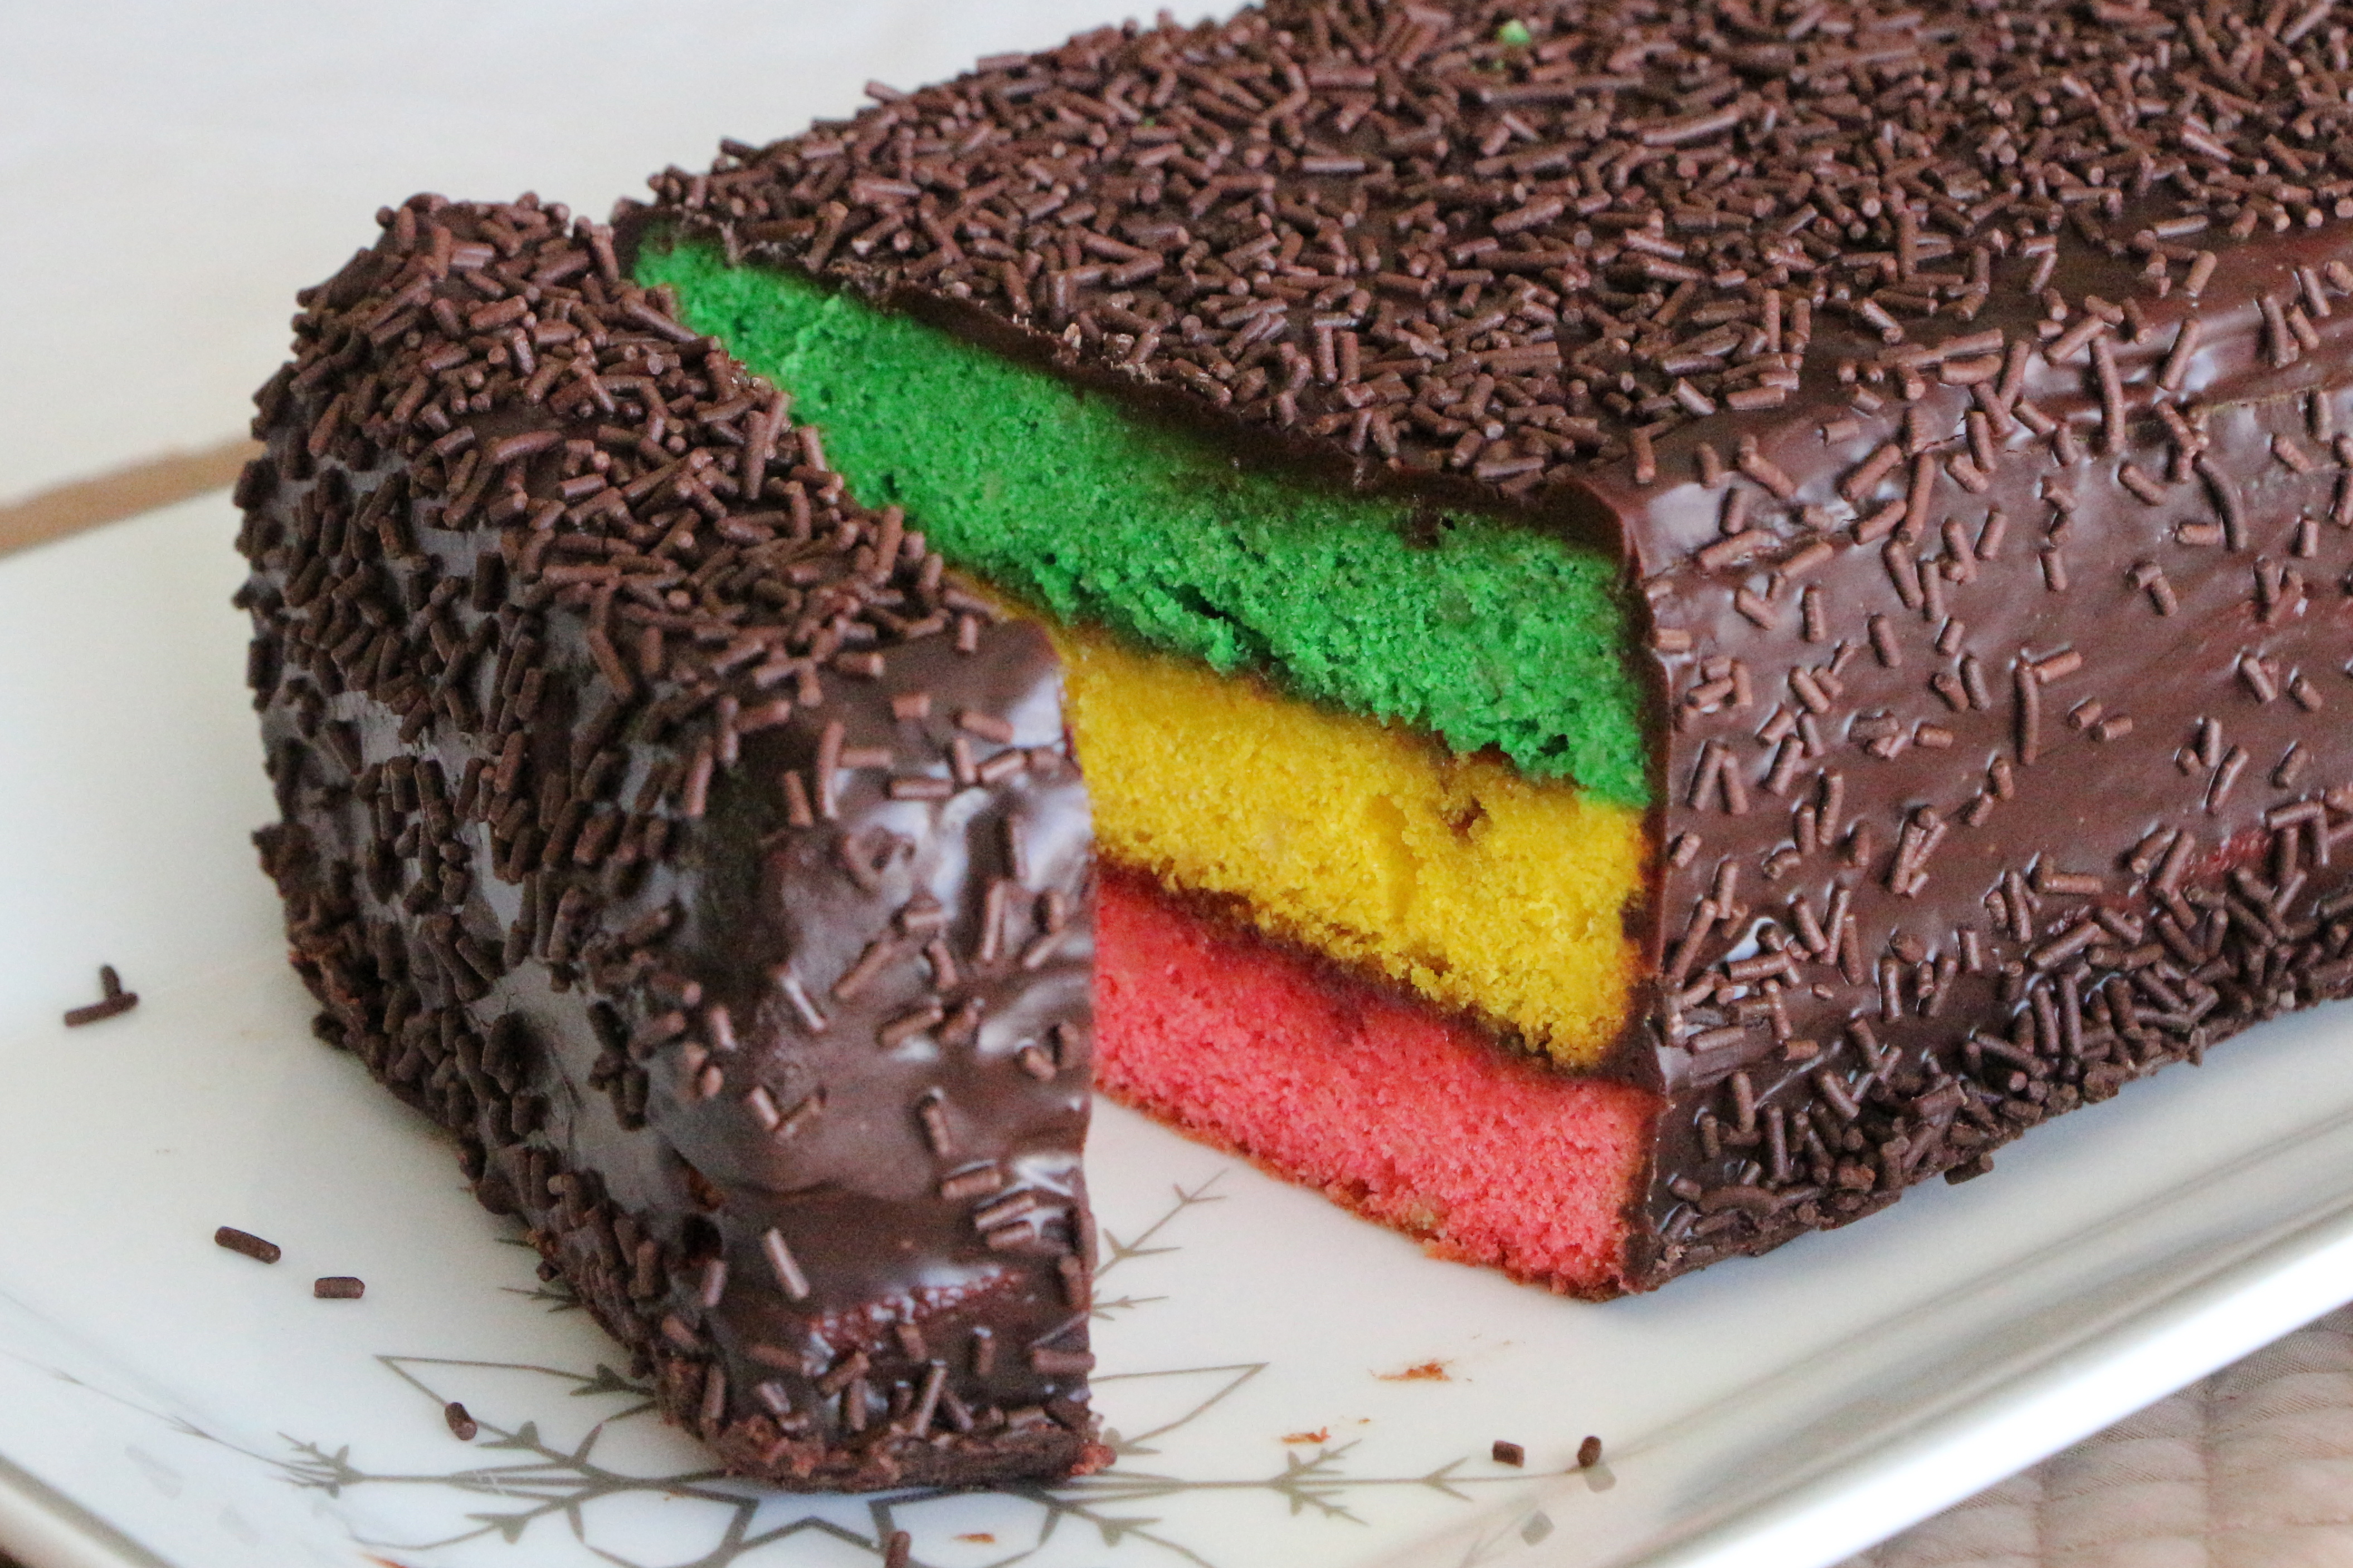
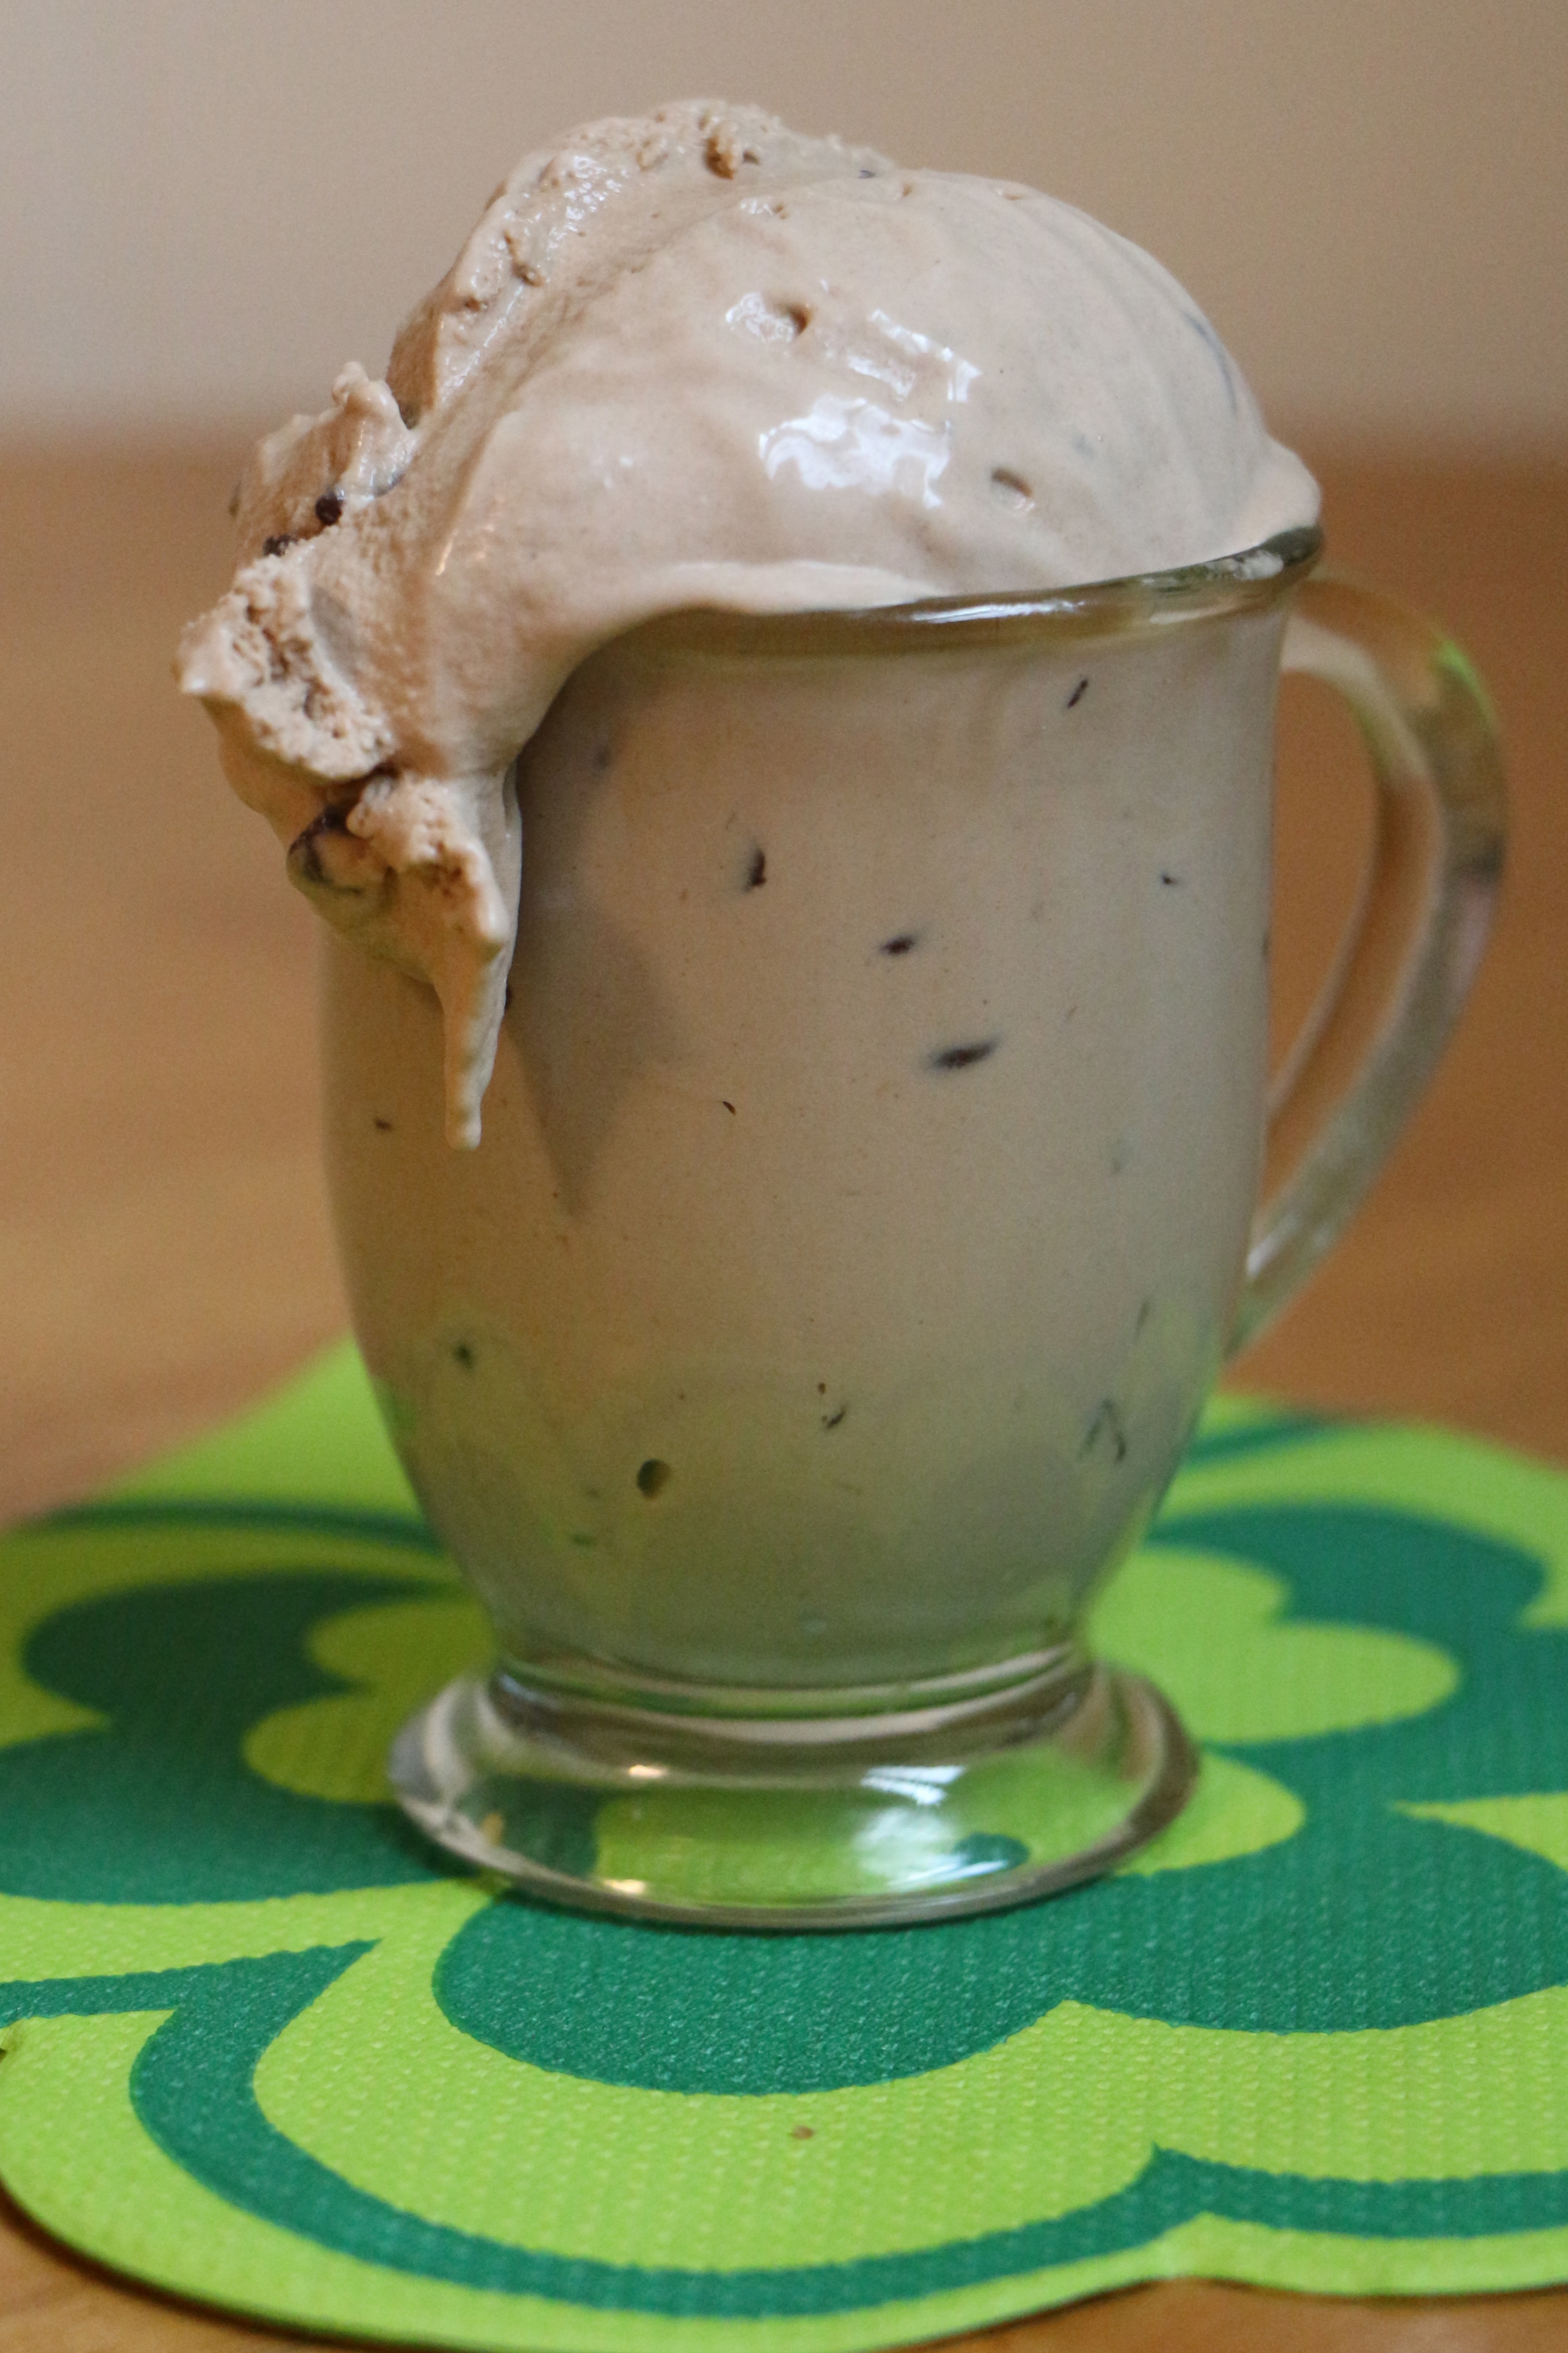
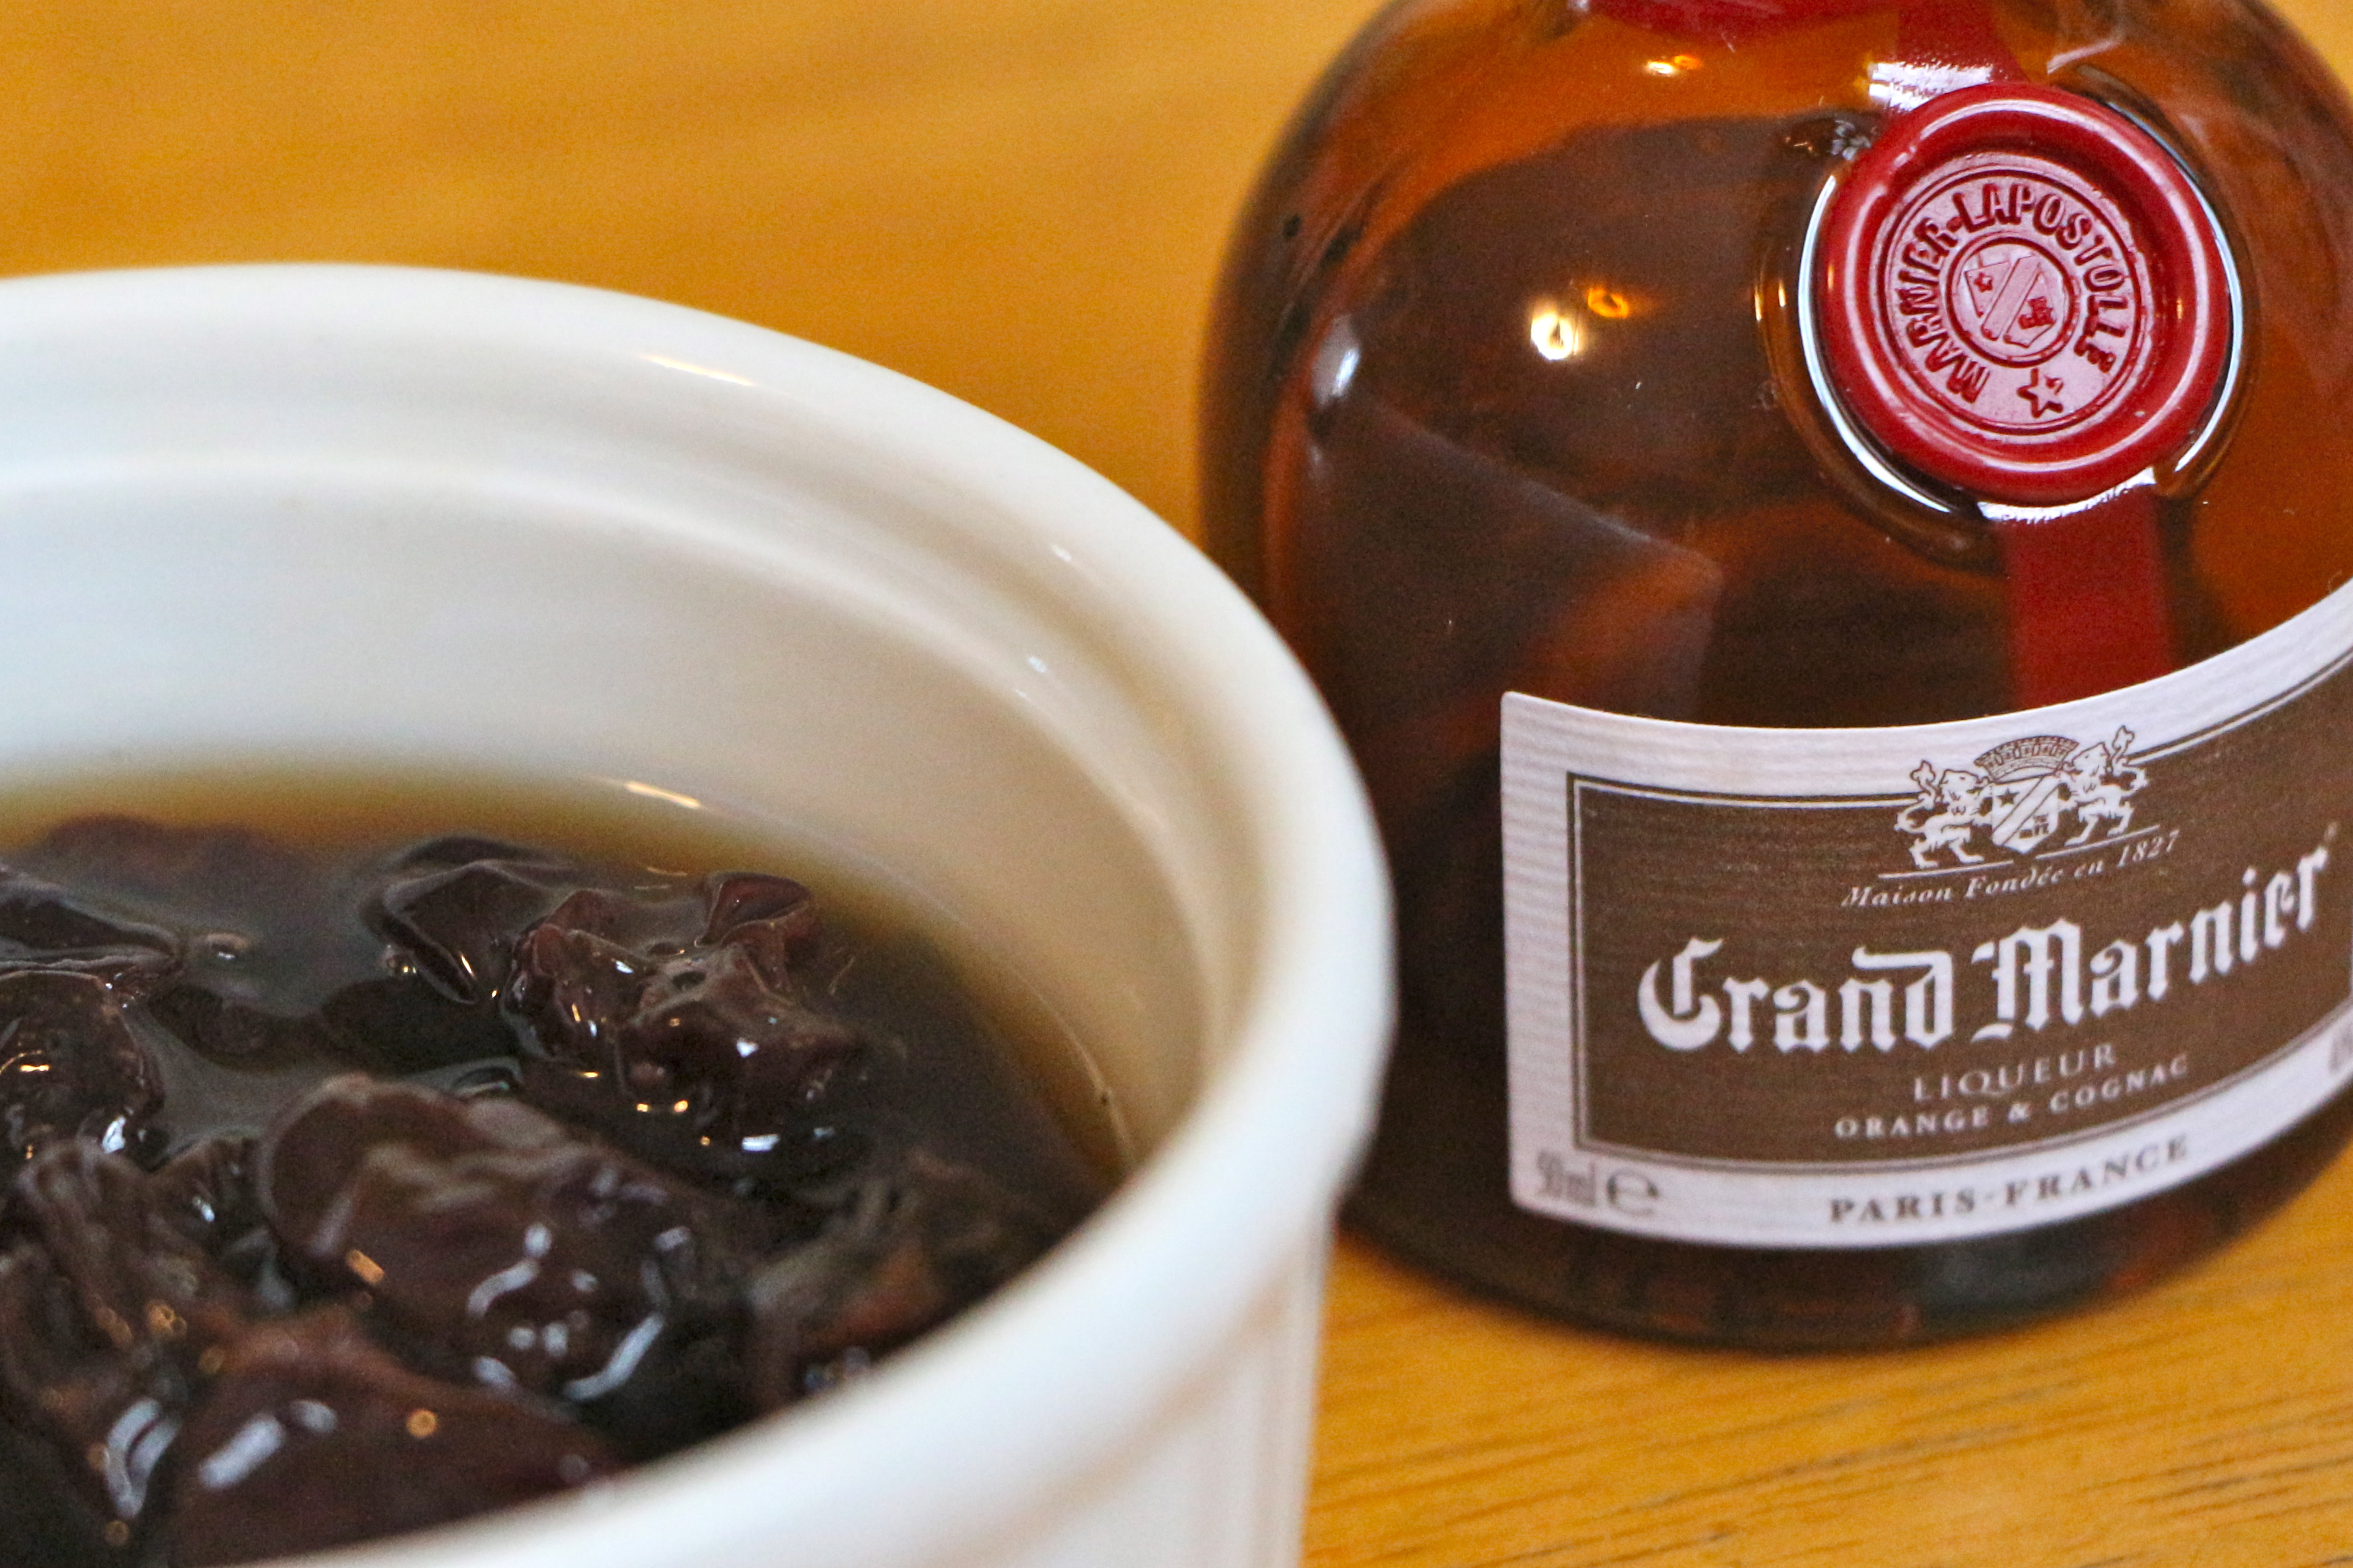
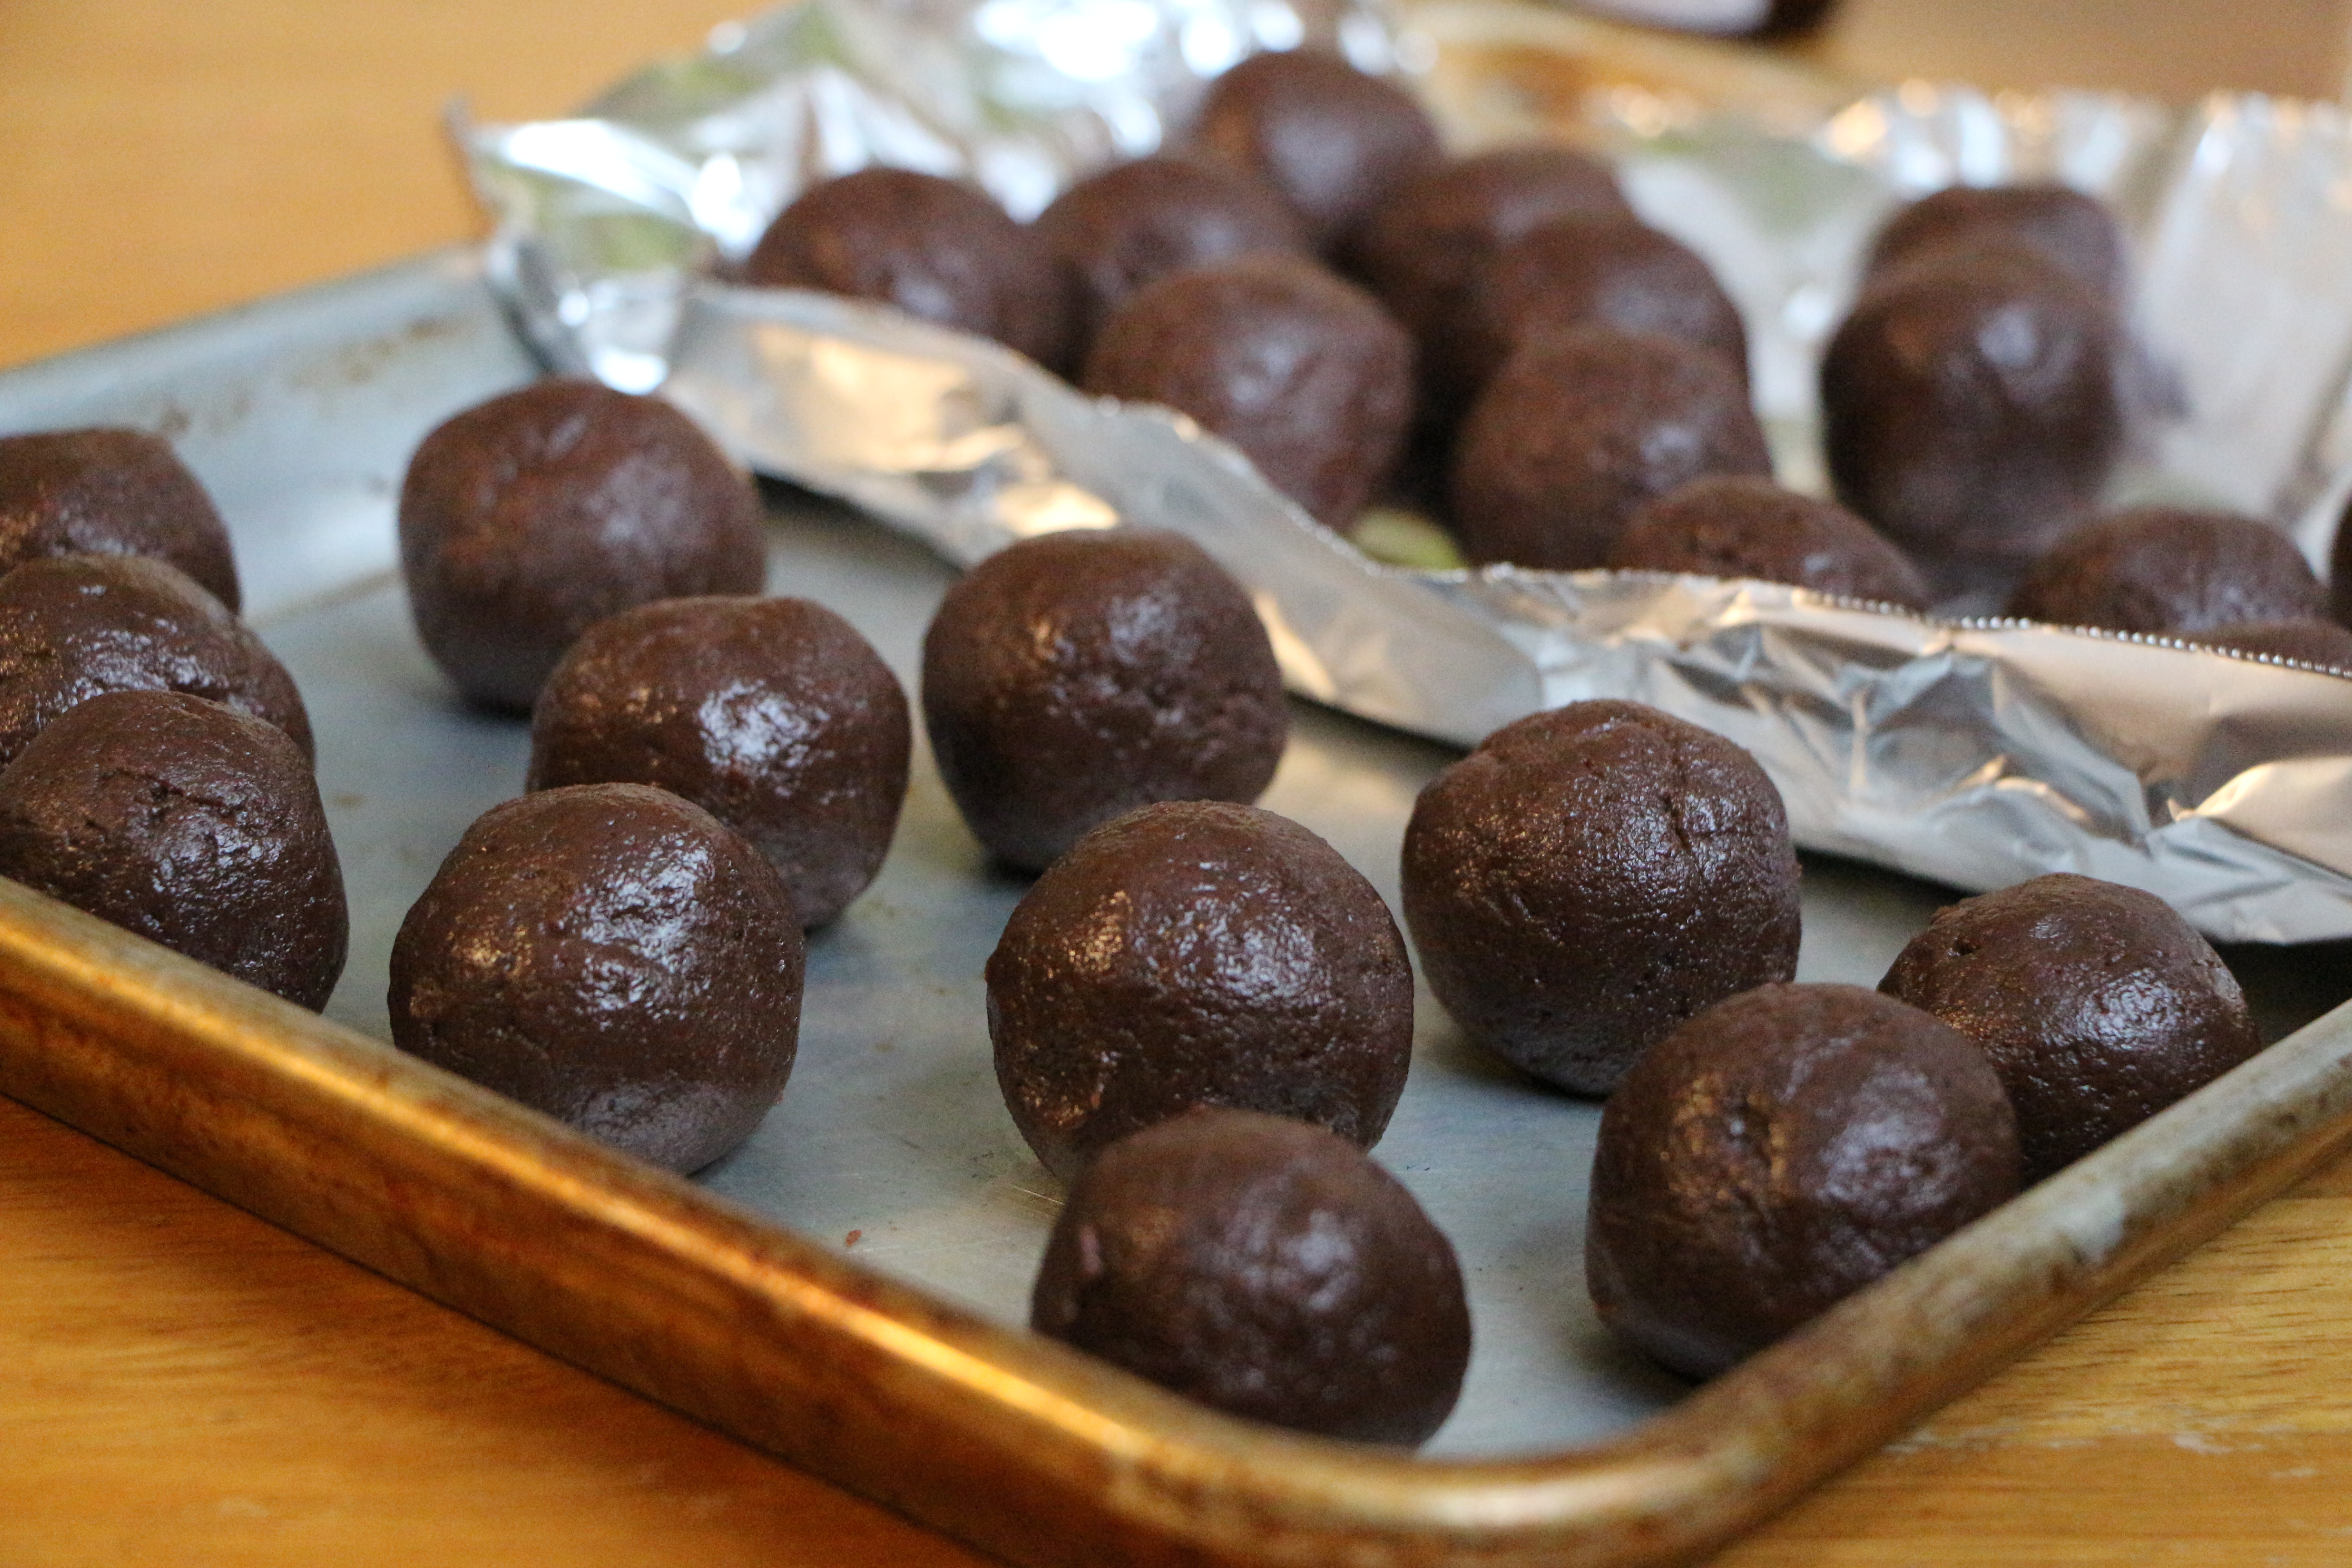
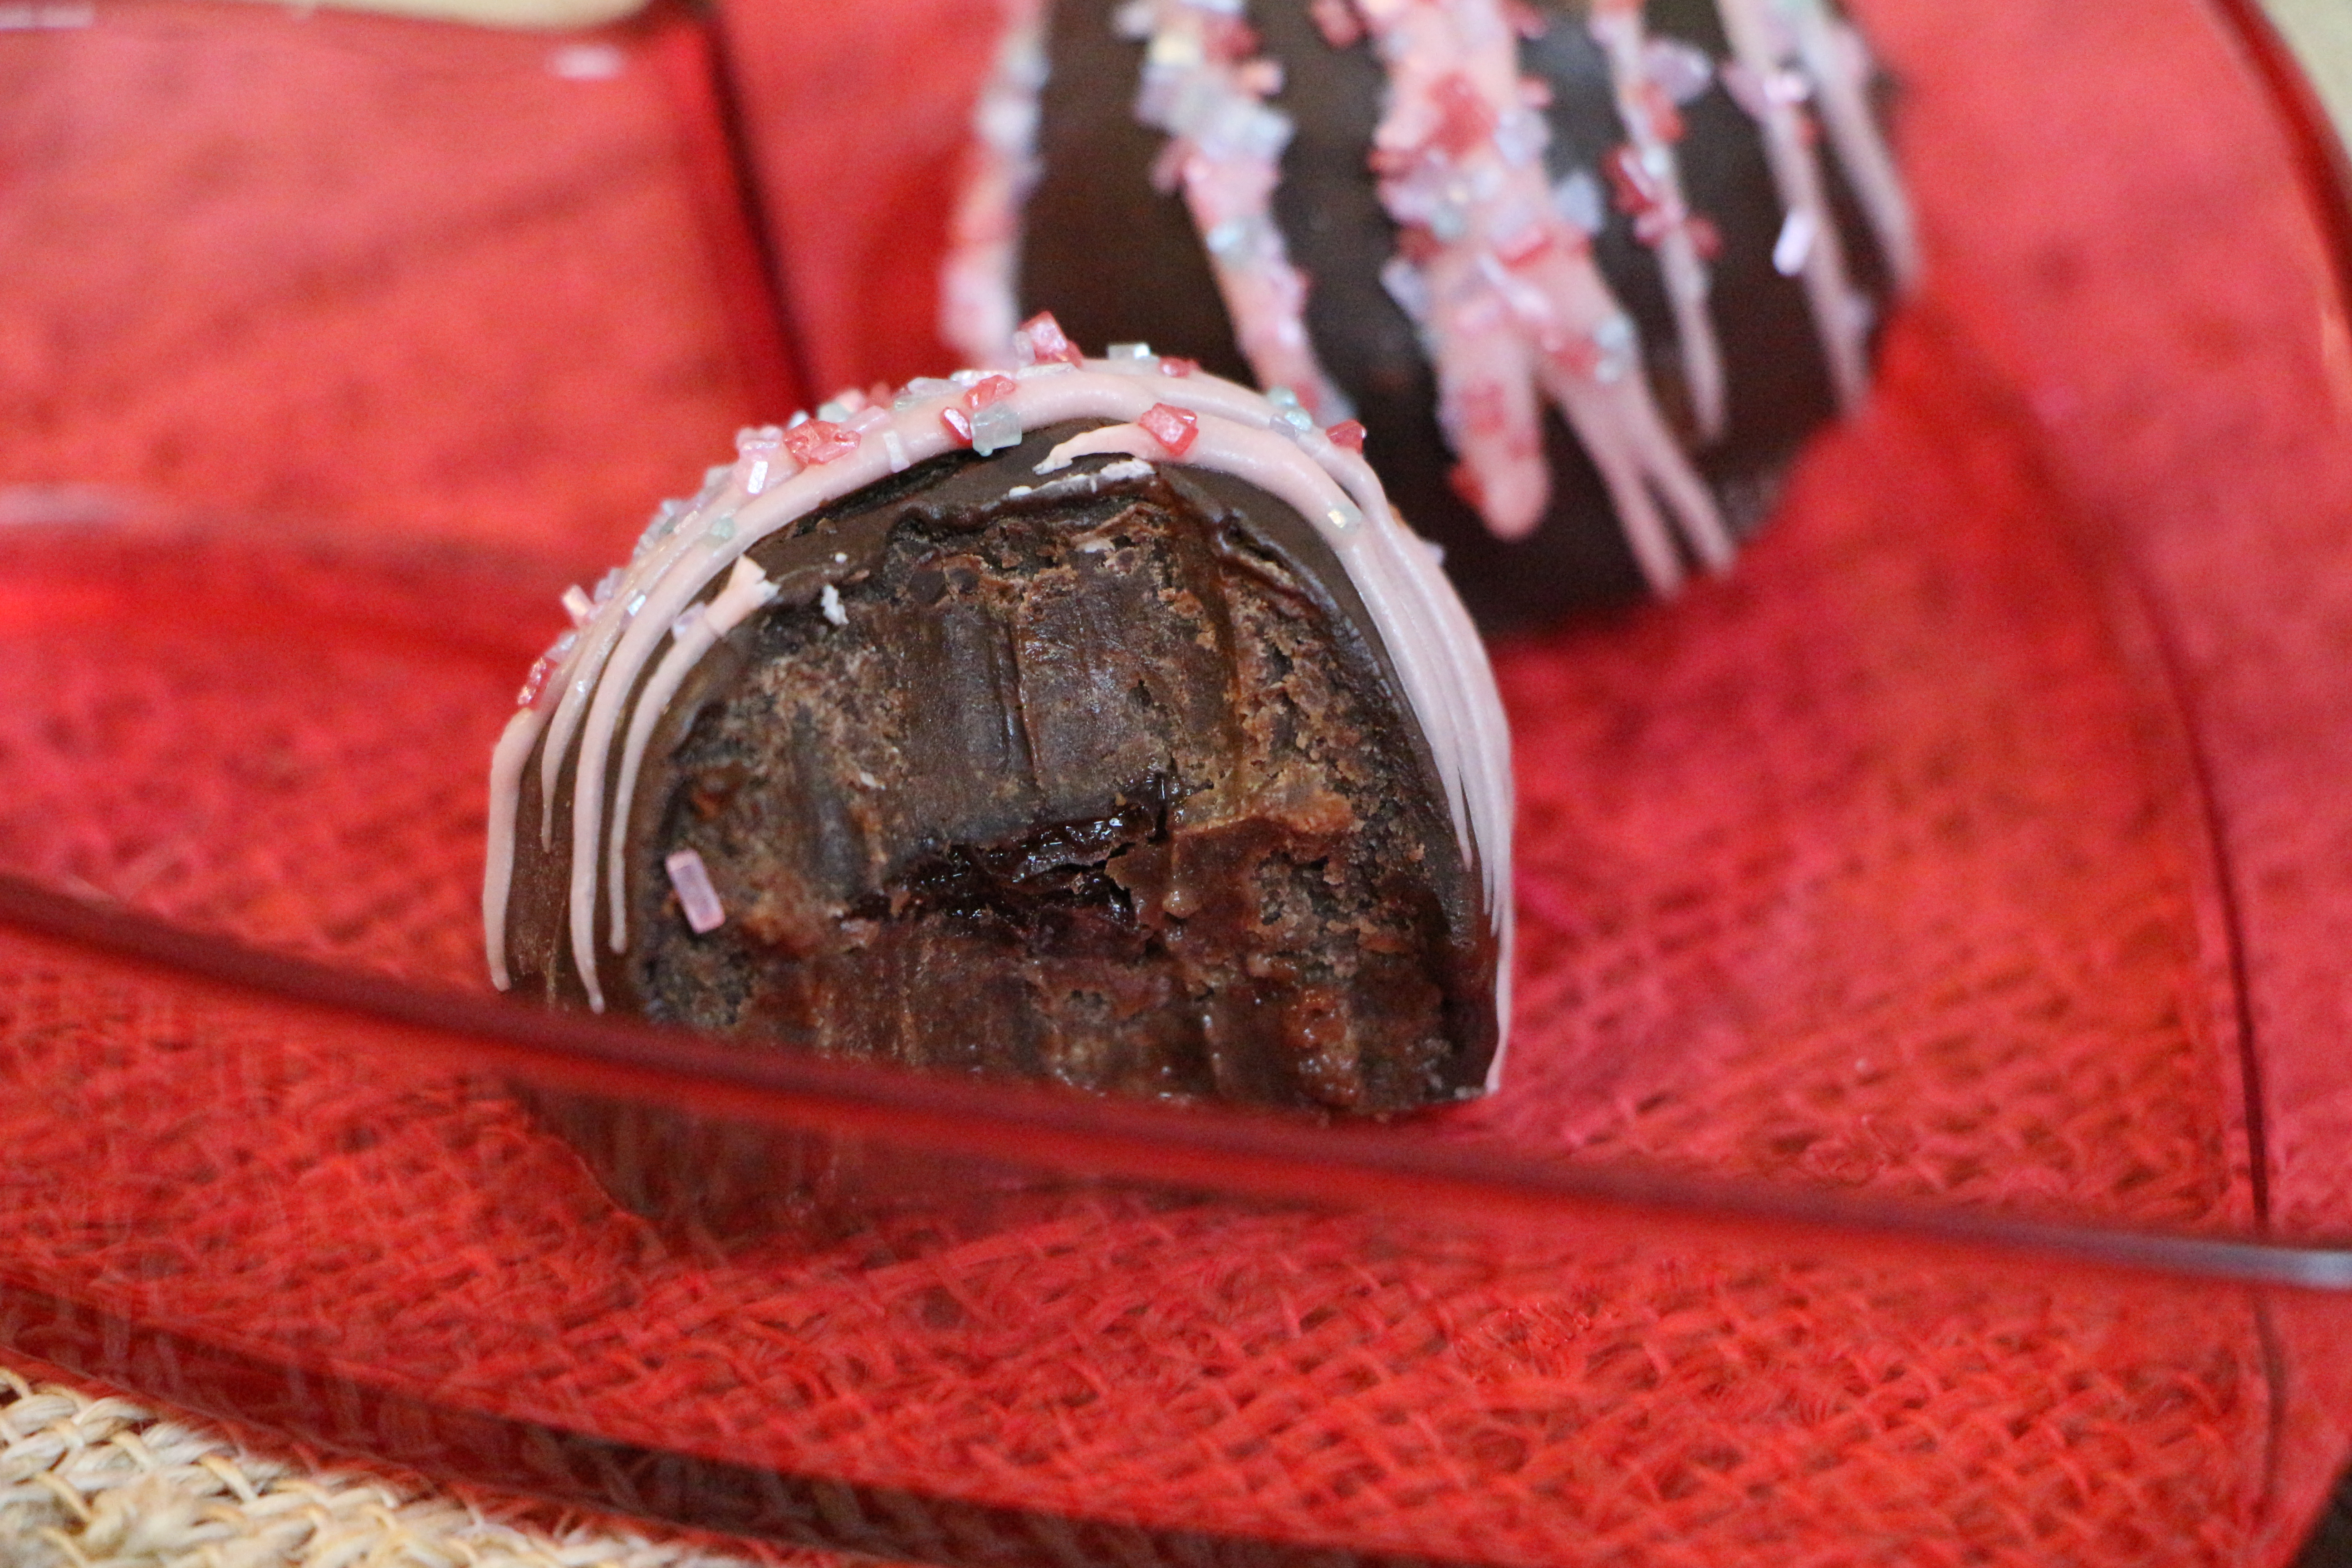
Sweet treats are the perfect way to celebrate the sweetest people in your life, like these absolutely decadent, truffle-like cherry cordial brownie bites. They start with my World’s Simplest Fudgey Brownies, which are then blended with a bit of cream cheese, until rich and smooth. The luscious brownie mixture is then rolled into small balls with a Grand Marnier (or orange juice, for the kiddies) soaked cherry in the center, before being dipped in smooth, melted chocolate. A drizzle of melted pink candy and sprinkles provide the perfect final touches.
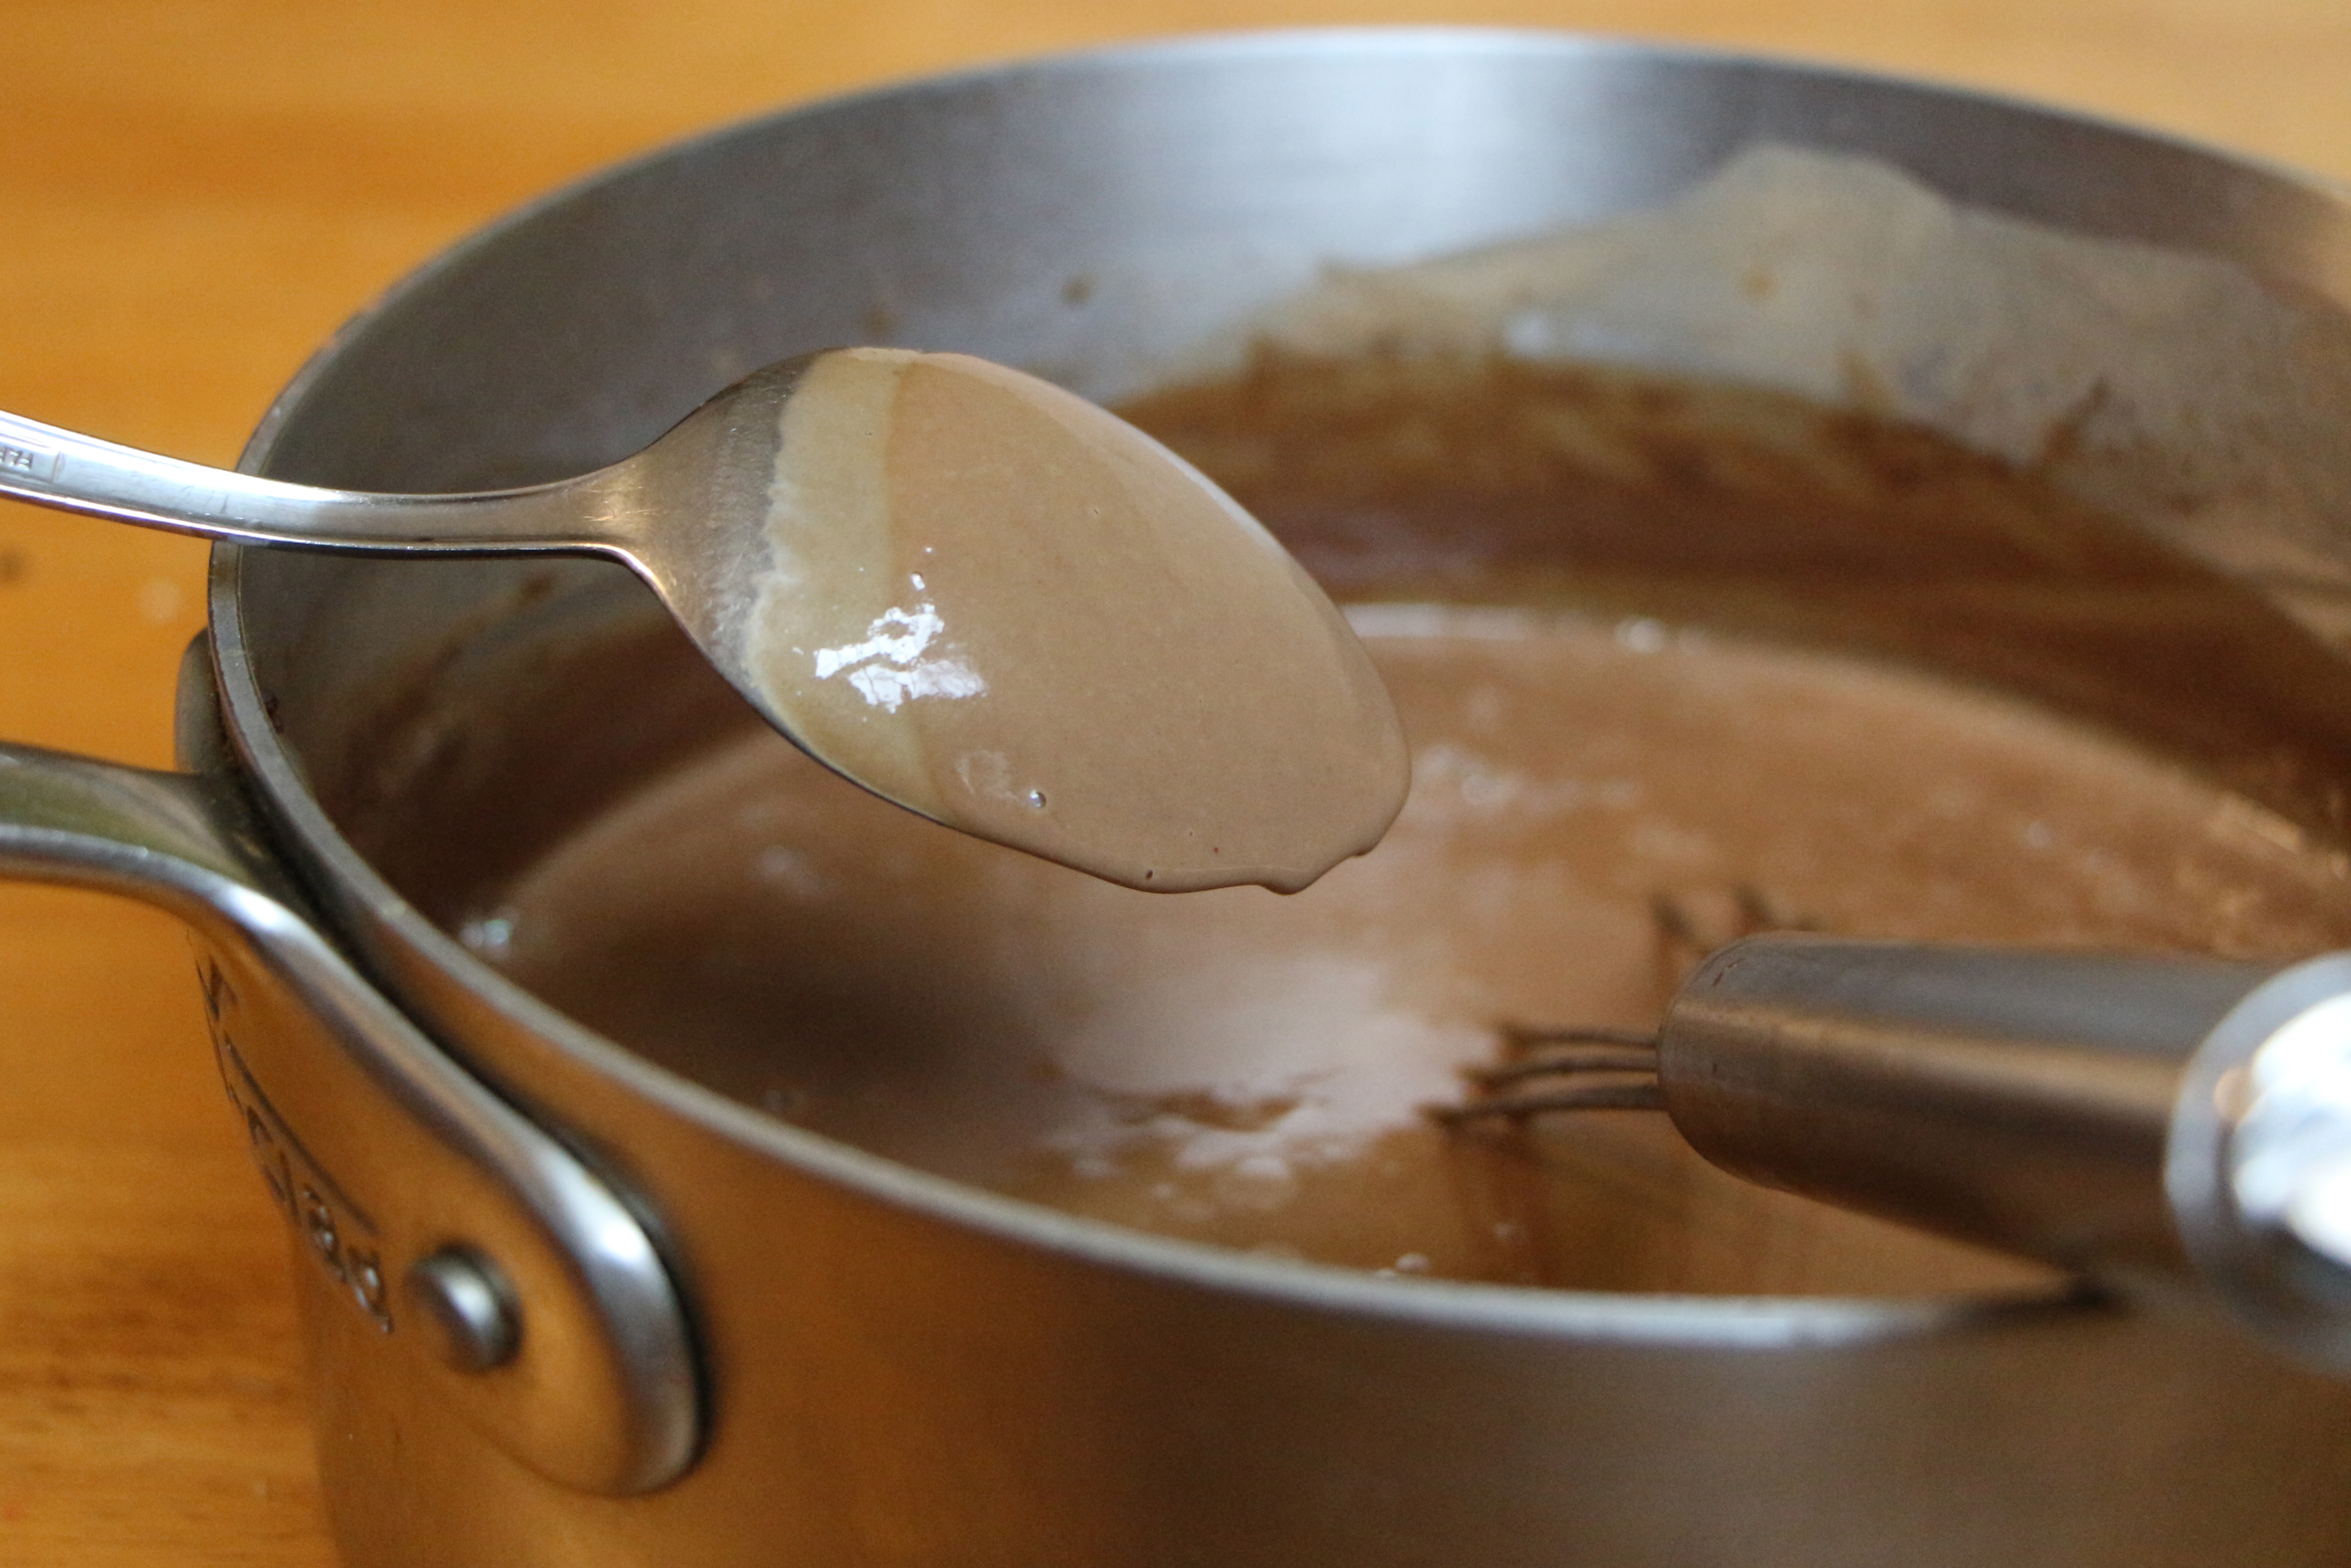
Today’s Focus on Technique – Using a Double Boiler
The process of cooking with a double boiler (also called a bain marie) is an ideal technique to use when preparing delicate sauces, such as hollandaise, or when melting chocolates. In a double boiler set-up, the food is placed in a bowl which is suspended above simmering water. The water provides a gentle, consistent, indirect heat which prevents finicky foods from breaking (separating) or burning. It works in a similar manner as using water bath to prepare custards and other delicate egg-based dishes. No special equipment or dedicated ‘double boiler’ is required to utilize a double boiler technique. Simply fill a saucepan with an inch or two of water. Place a stainless steel or glass mixing bowl on top of the pot, so that the bottom of the bowl dips into the pot, but does not touch the water. Place the food you’re preparing in the bowl, bring the water to a simmer, and you’re set to go!
For more useful tips, techniques, and culinary photo guides click HERE.

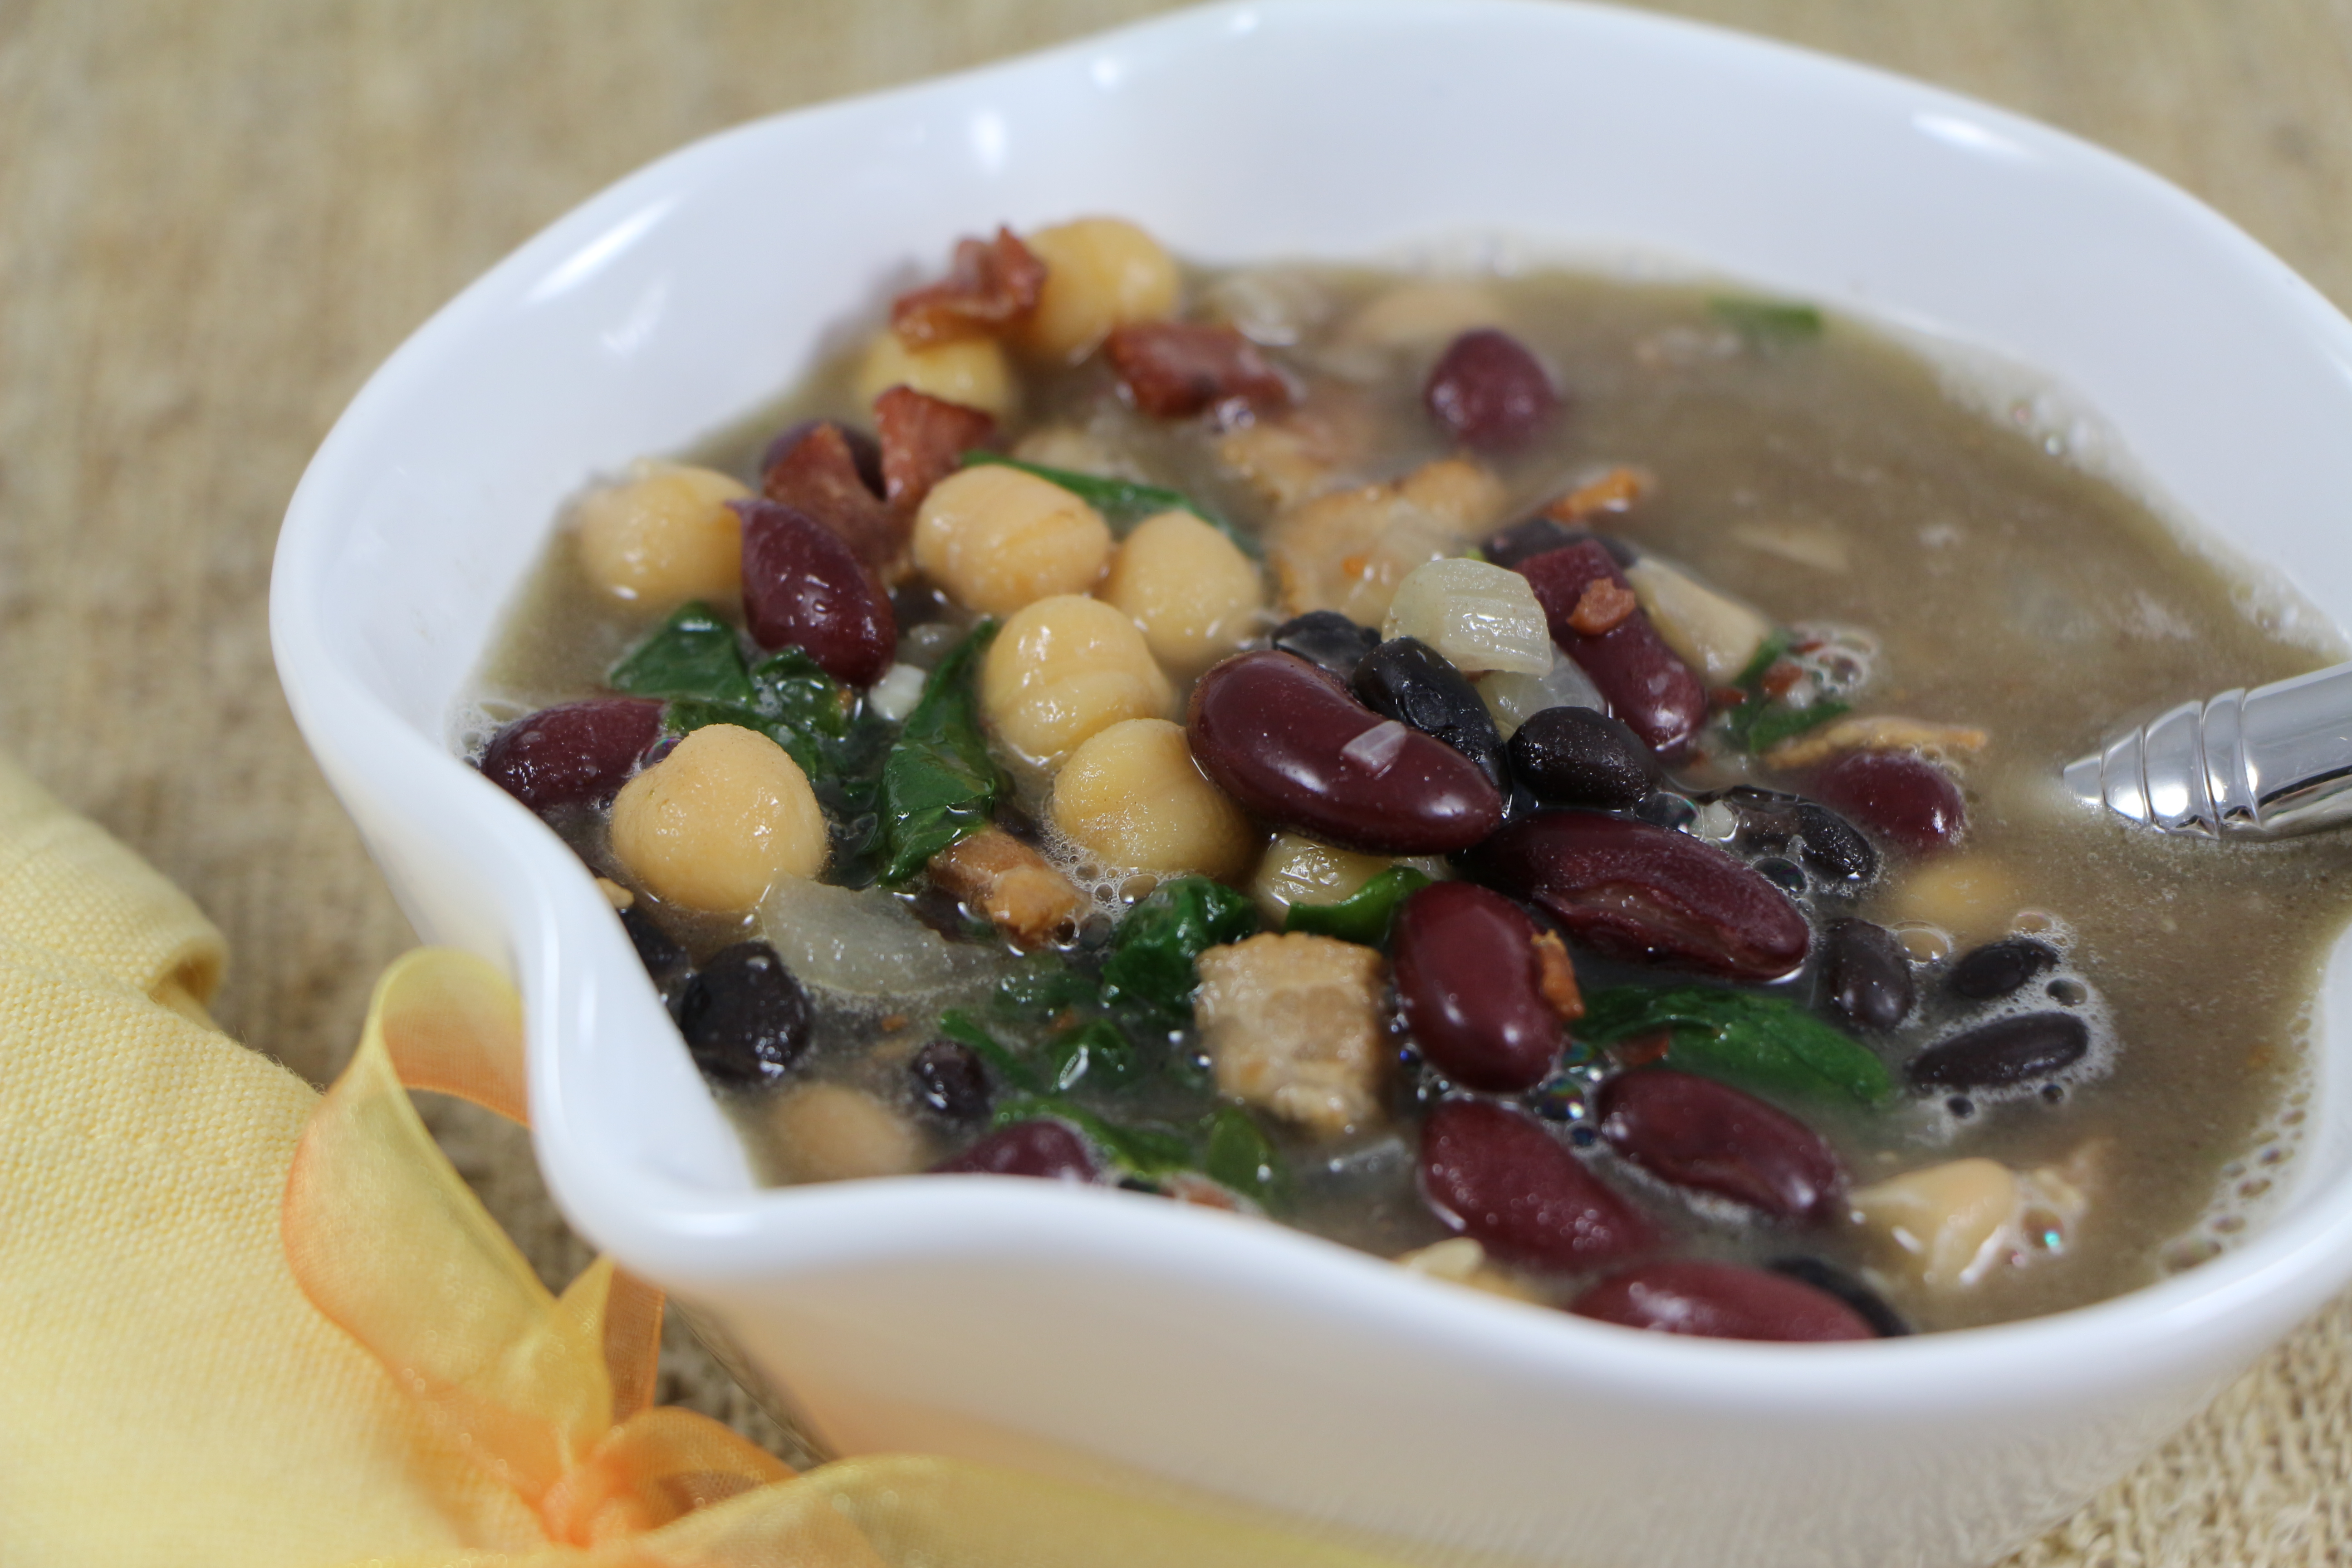
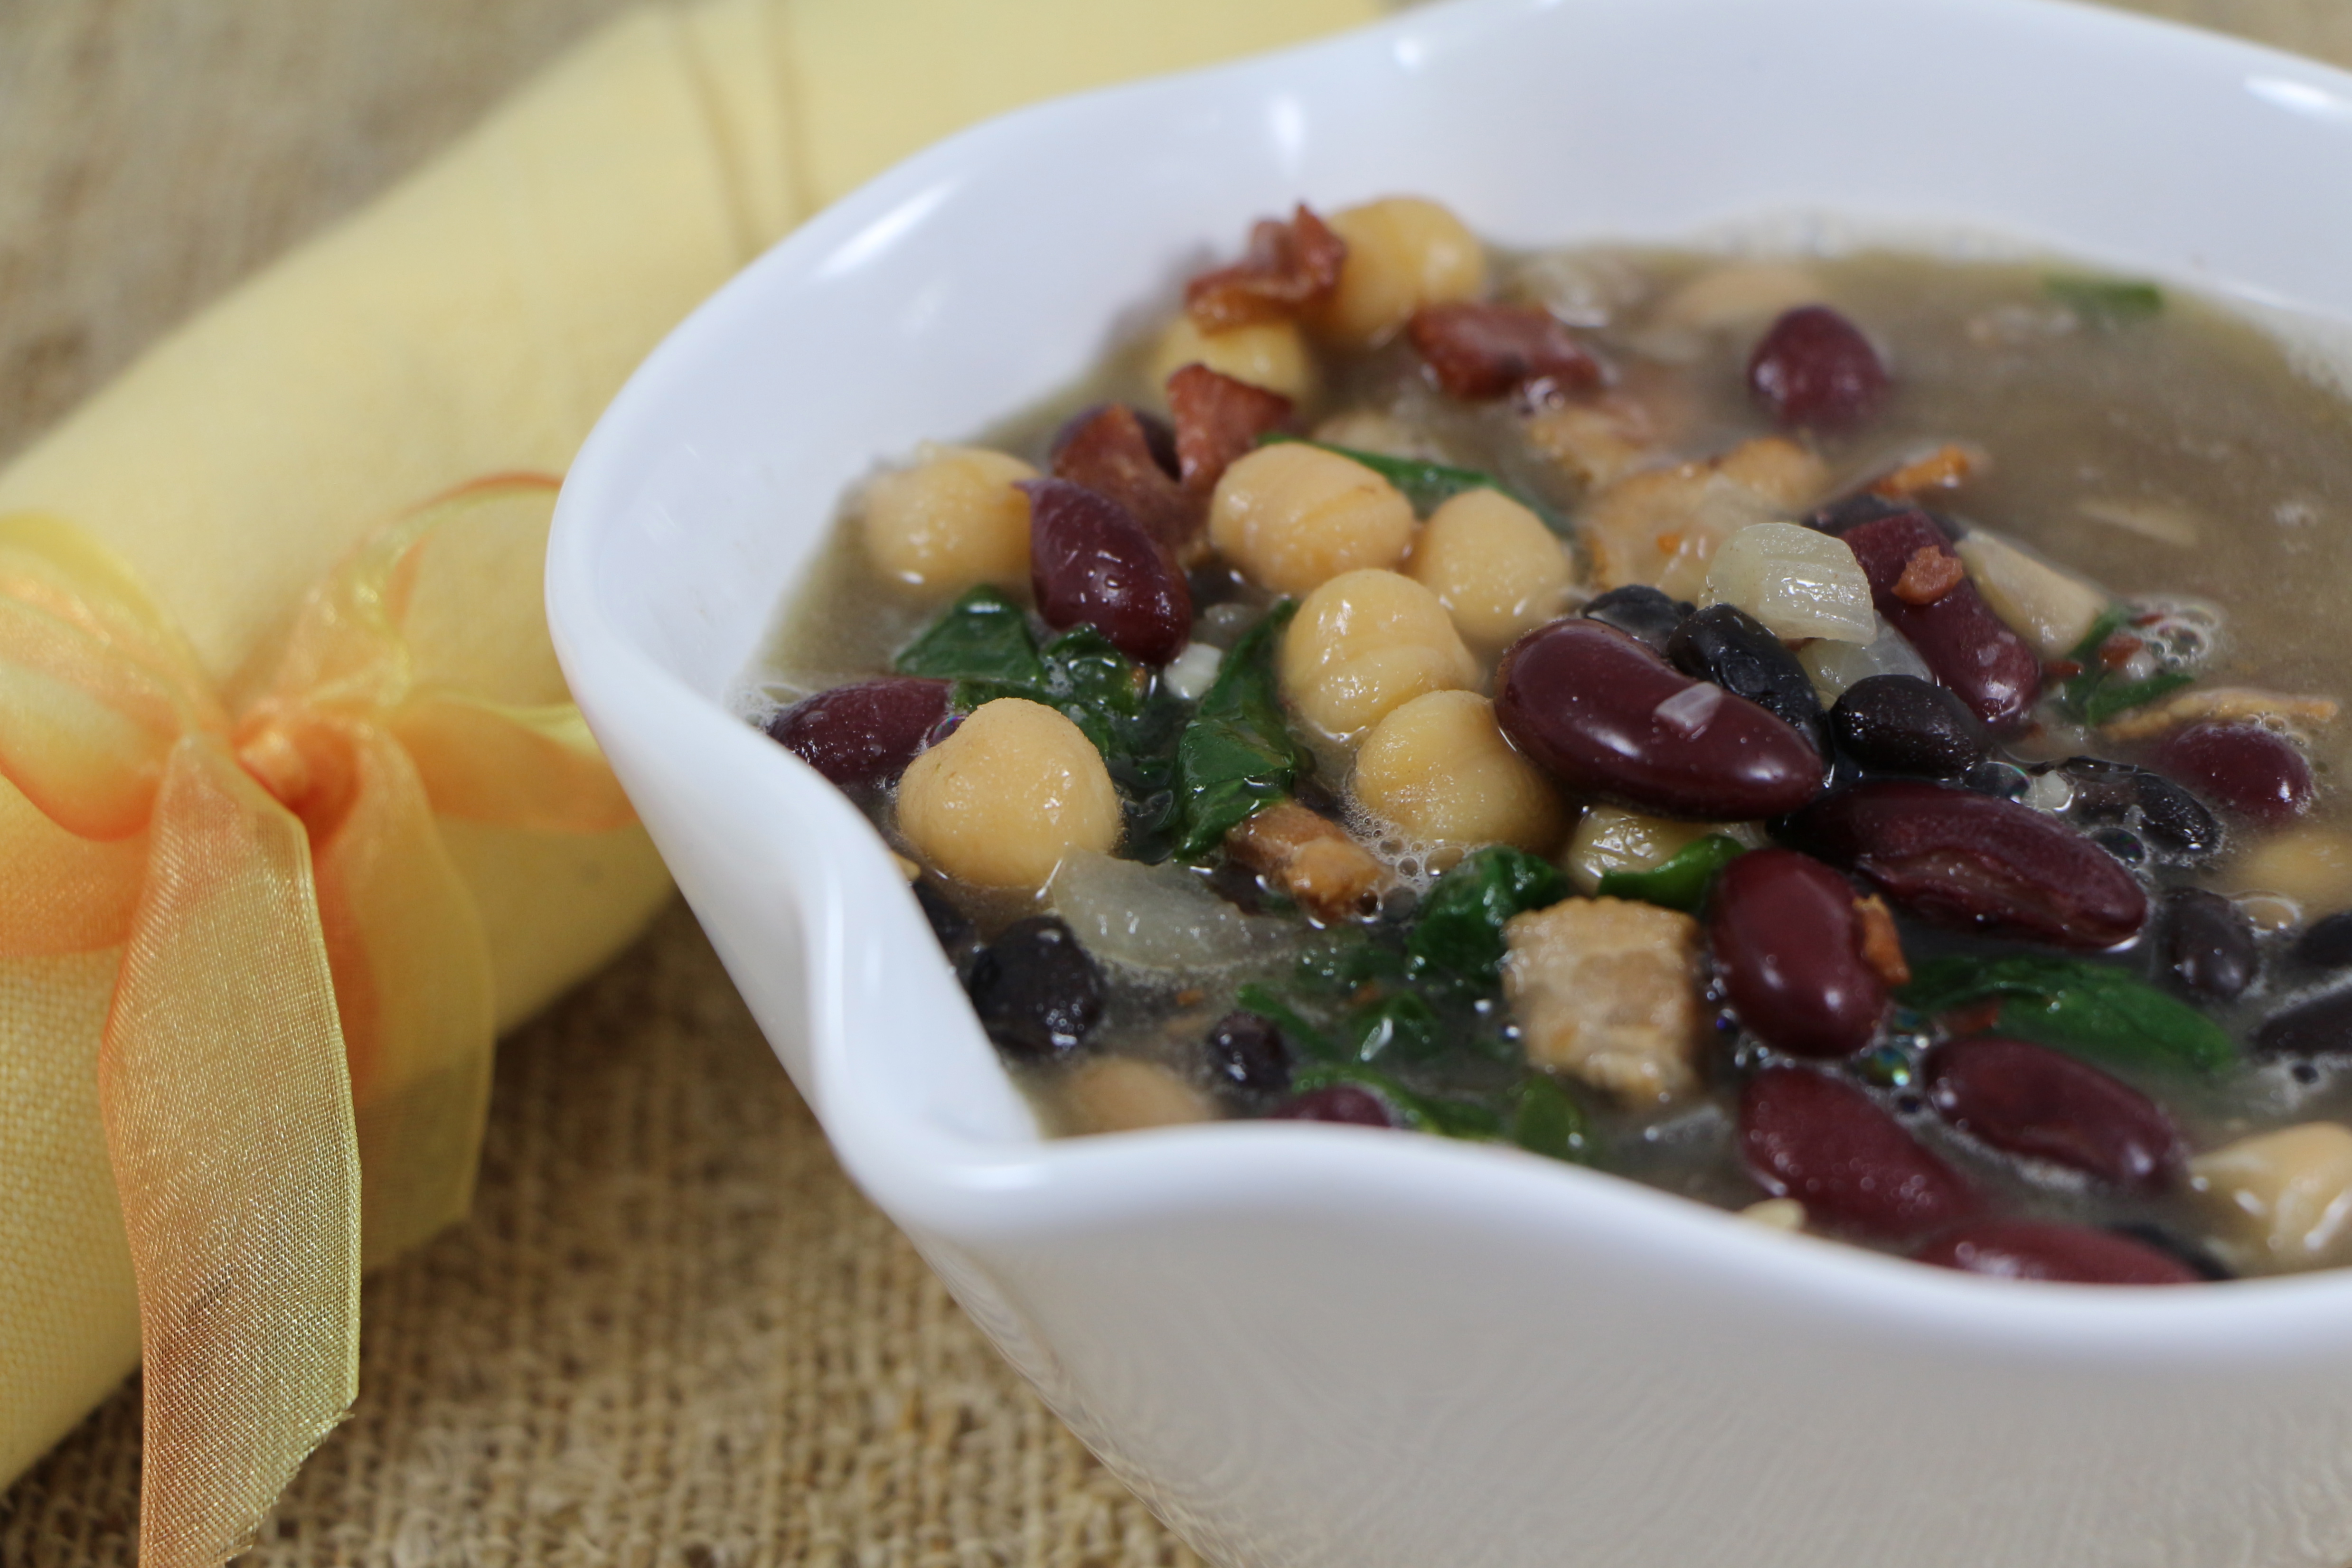
Cherry Cordial Brownie Bites
Ingredients
For the brownies:
- 1 stick of butter
- 1 cup chocolate chips
- 1 cup sugar
- 1 cup flour
- 2 eggs
- 1/4 teaspoon salt
For the brownie bites:
- 1/4 cup Grand Marnier or orange juice (approximately)*
- 3 dozen dried cherries
- 4 ounces cream cheese, softened to room temperature
- 2 cups chocolate chips (semi-sweet or milk chocolate)
- Pink or red candy melts and sprinkles, for decorating (optional)
*Be aware that no alcohol will be cooked off in the preparation of these candies, so it would be wise to use the orange juice for children, pregnant women, or anyone who is avoiding alcohol intake.
Directions
To prepare the brownies:
Preheat oven to 350 degrees. Spray an 8×8 baking dish with cooking spray. In a saucepan over medium-low heat, melt the chocolate chips and butter until smooth, stirring constantly. Turn off the heat. Stir in the sugar and salt until dissolved. Stir in the flour. Add the eggs and stir until well blended. Pour the mixture into the prepared pan and bake for about 35 minutes.
To prepare the brownie bites:
Soak the dried cherries in approximately 1/4 cup of Grand Marnier or orange juice for at least an hour.
Once the brownies are cool, crumble into small pieces, then place in a food processor. Add the cream cheese and pulse until well-blended and smooth. (A food processor would work best for this task, but it can also be done by hand. If combining by hand, cut off the crispy brownie edges before blending, for a smoother result. If using the food processor, it’s not necessary to cut off the brownies edges.) Roll the mixture into small balls (less than 1″ diameter), inserting a soaked cherry in the center as you roll. Refrigerate until well chilled.
Melt the chocolate chips in a double boiler, stirring frequently, until smooth. Use a fork to lower each brownie ball into the melted chocolate. Shake off the excess chocolate, then place on a baking sheet, which has been lined with parchment paper or wax paper. Refrigerate until the chocolate has set. If desired, drizzle the brownie bites with melted pink or red candy melts and decorate with sprinkles.**
**Click HERE to see an easy pastry bag technique, which can be used for drizzling the brownie bites.
Makes 2.5 – 3 dozen candies