Julia Child was one of America’s first (and dare I say greatest ) culinary celebrities, in a time long before shows like The Next Food Network Star or Top Chef sought to discover such talent. She was just a woman with a passion for good food, which led her down the gastronomical path that ultimately brought her into America’s kitchens. It was her passion for food which led her on the journey. It was her charm, relatability, and contagious adoration of food which grabbed the attention of adoring fans all around the world.

Julia changed the way home cooks thought about food. She knew that good food wasn’t exclusive to restaurant kitchens, prepared by professional chefs. She made expert culinary techniques accessible to everyone, in a manner which could inspire even the most novice cook to jump in head first. Because Julia understood that we learn best through trial and error. She understood that there is no such thing as a bad cook, only cooks who needed more practice. And she understood that even the most experienced cooks encountered the occasional kitchen disaster. She’d say, “Cooking is like love; it should be entered into with abandon or not at all.”
Julia viewed food as one of the greatest pleasures in life, a pleasure worth the small sacrifice of a wider waistline. (Who needs to be a size 4 anyway???) She embraced cooking as an art form akin to ballet. And she cooked with the same inspired strokes of an artist to create timeless gastronomical masterpieces. But she was often criticized by nutrition-minded individuals for her use of rich ingredients, like butter and cream, which in excess could lead to health problems. To those criticisms, she responded, “Everybody is overreacting. If fear of food continues, it will be the death of gastronomy in the United States. Fortunately, the French don’t suffer from the same hysteria we do. We should enjoy food and have fun. It is one of the simplest and nicest pleasures in life.”
I love this woman. And having lived to be two days short of 92 years old, a lifespan which she attributes to a regular diet of gin and red meat, I’d say she knew what she was talking about. Well-prepared food is a pleasure to be enjoyed, even within the framework of a healthy lifestyle.

Julia understood what really mattered. She knew that good food needn’t be complicated with elaborate presentation. She would say, “You don’t have to cook fancy or complicated masterpieces – just good food from fresh ingredients.” That’s all it really takes, isn’t it? It’s like this beef bourguignon, perhaps her most famous recipe and the subject of her very first televised episode of The French Chef on PBS. It’s a stew (with a fancy name that’s fun to say). But it’s a stew all the same, certainly not something most would consider fine dining. And yet, it’s probably one of the most delicious dishes you’ll ever eat.
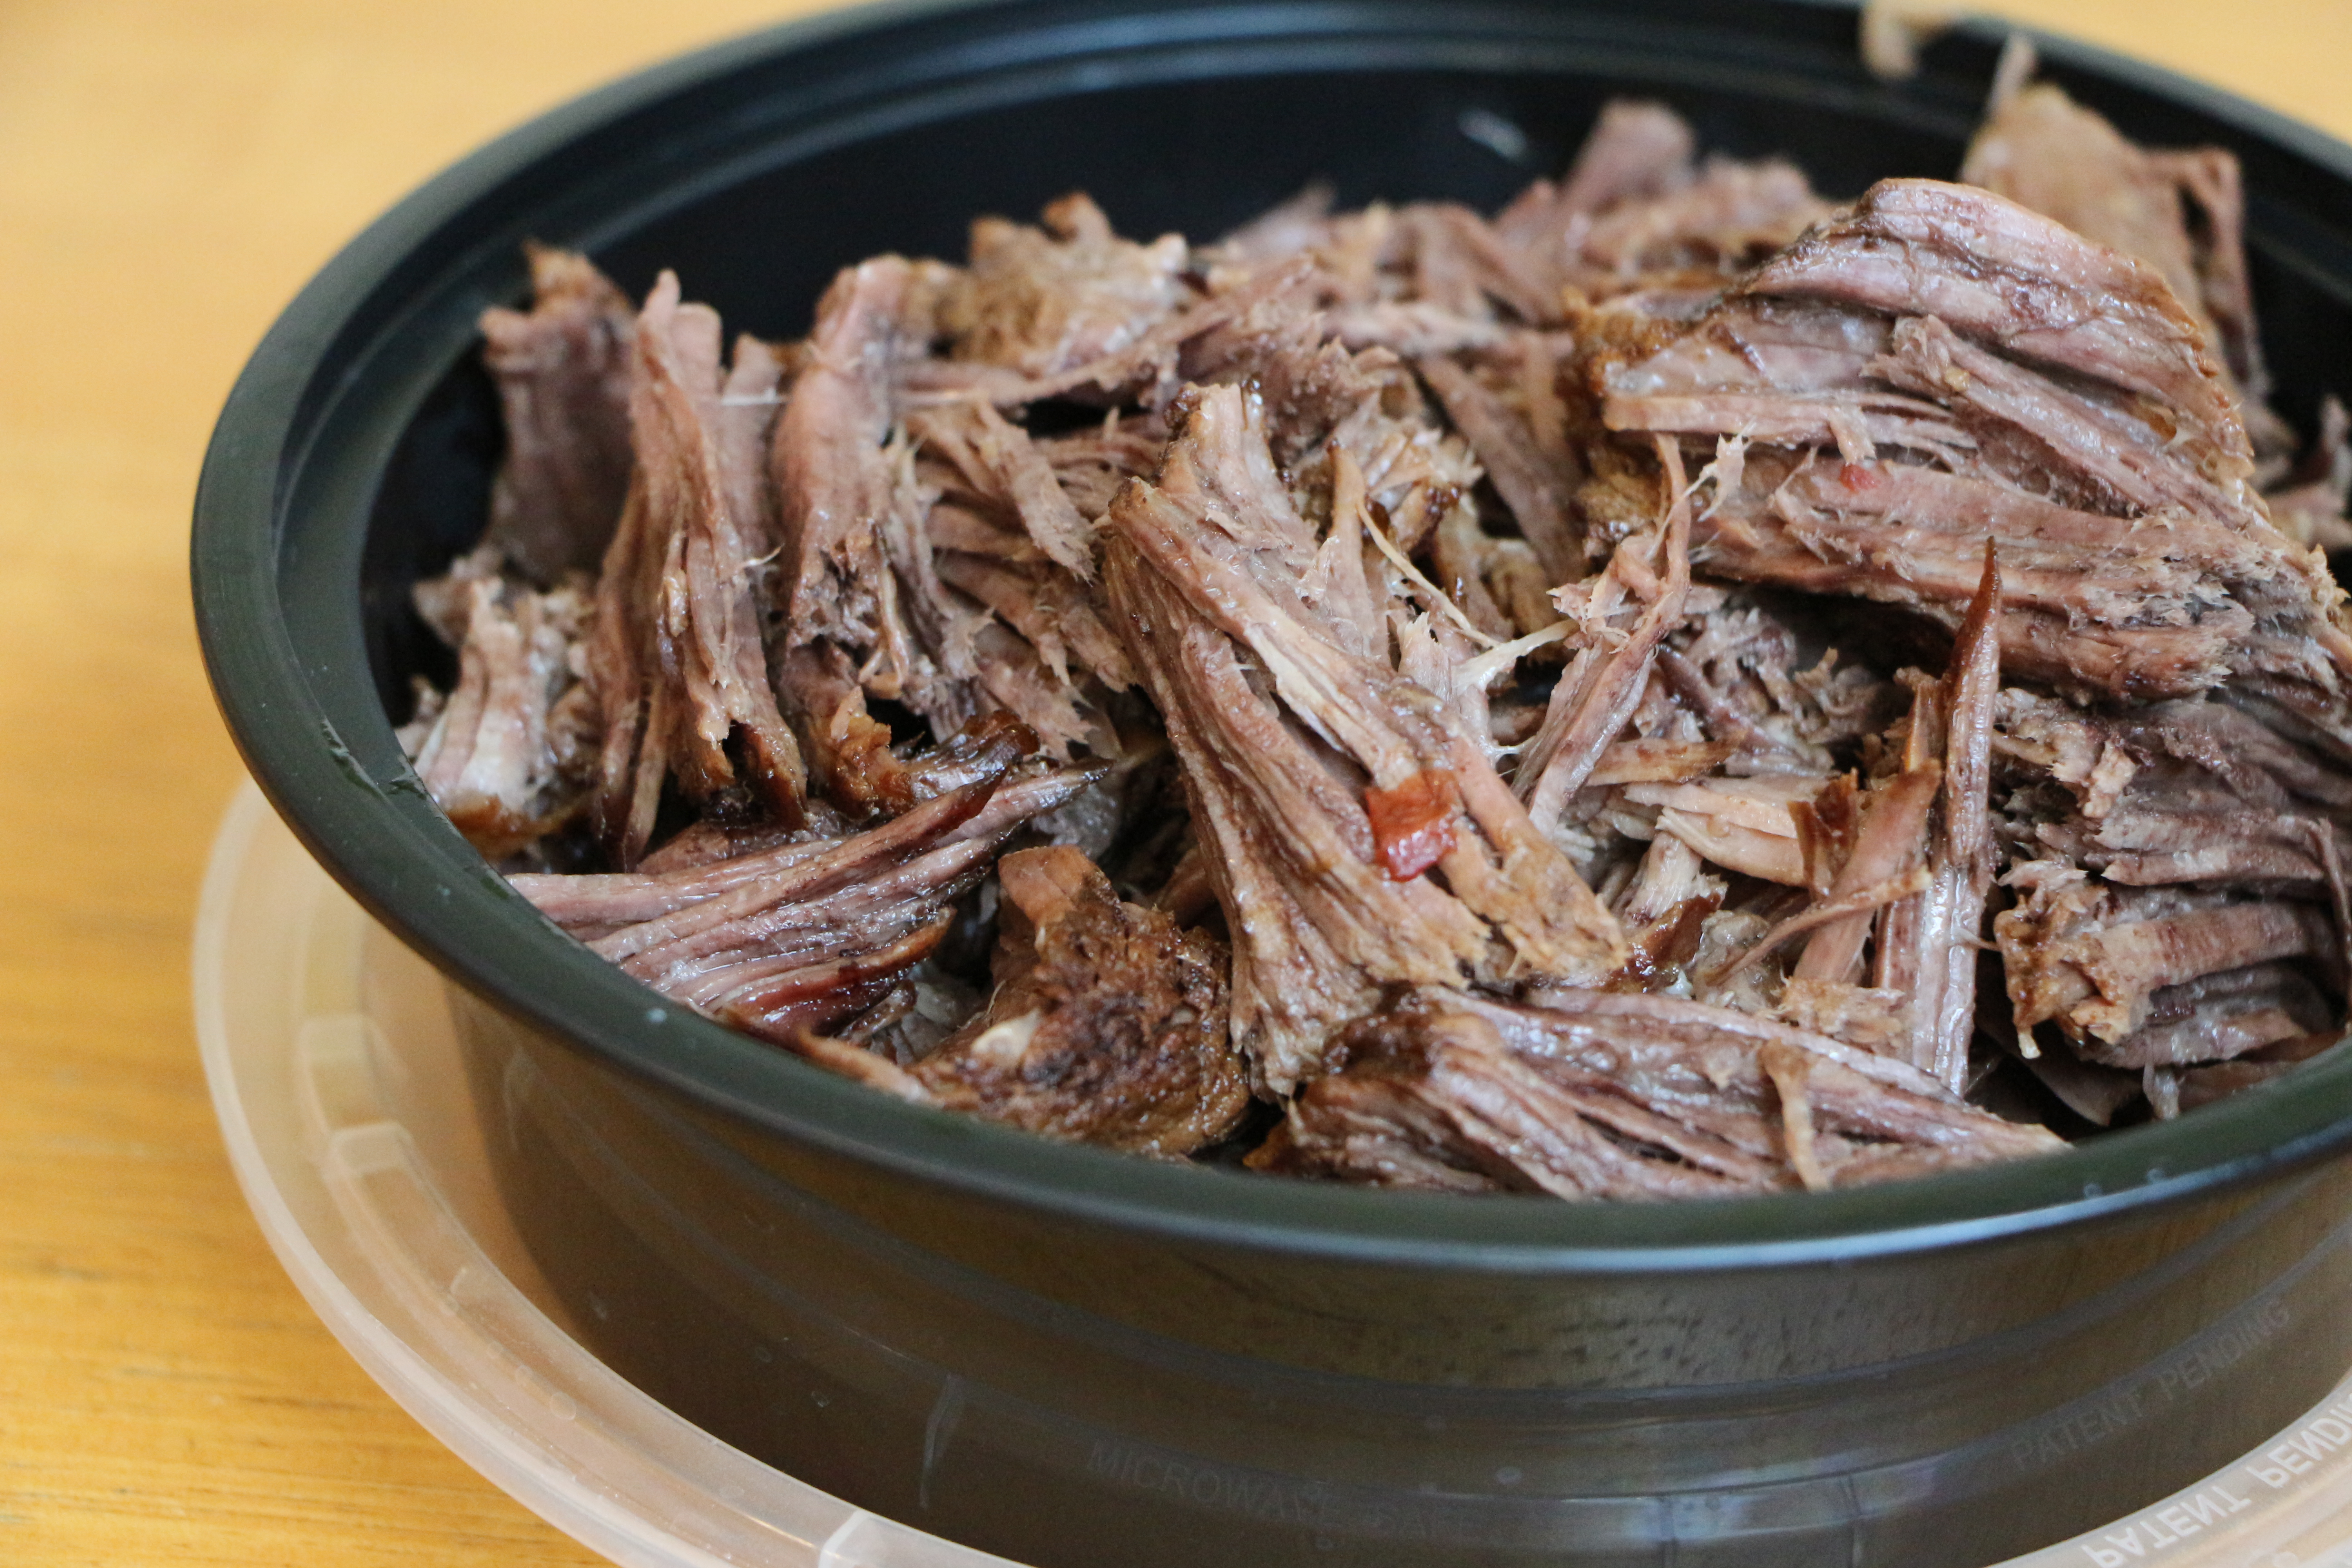
I started making beef bourguignon a few years ago as our Christmas dinner. I suppose it’s become our tradition at this point. We entertain a large crowd on Christmas and for a few years, I experimented with various menus, all delicious, but the beef bourguignon stuck. It’s enjoyed by everyone at the table and best yet, can be fully prepared the day before. In fact, it’s even better after sitting in the fridge overnight!

In honor of what would have been Julia’s 100th birthday (August 15), I prepared her infamous beef bourguignon. (I certainly wasn’t going to cook the roast suckling pig.) Beef Bourguignon is normally a recipe I would save for the colder months when it’s lovely to have the house warmed with the slow-cooking oven and flooded with the rich aromas of the dish. But when I think of Julia, I think of beef bourguignon, and so it had to be.
The original recipe can be found in Julia’s first book, Mastering the Art of French Cooking. She was a wise woman who fully recognized that some of the recipes contained in the book may require stretching one’s budget, waistline, time, and schedule, but such are the sacrifices we make in the name of something wonderful to eat. Like many of the dishes in her book, this dish takes some time, but there’s no step too complicated for even the most novice chef. Heed Julia’s advice and cook with abandon. As with many of the world’s greatest pleasures, anything worth having is worth the work it takes to get there.

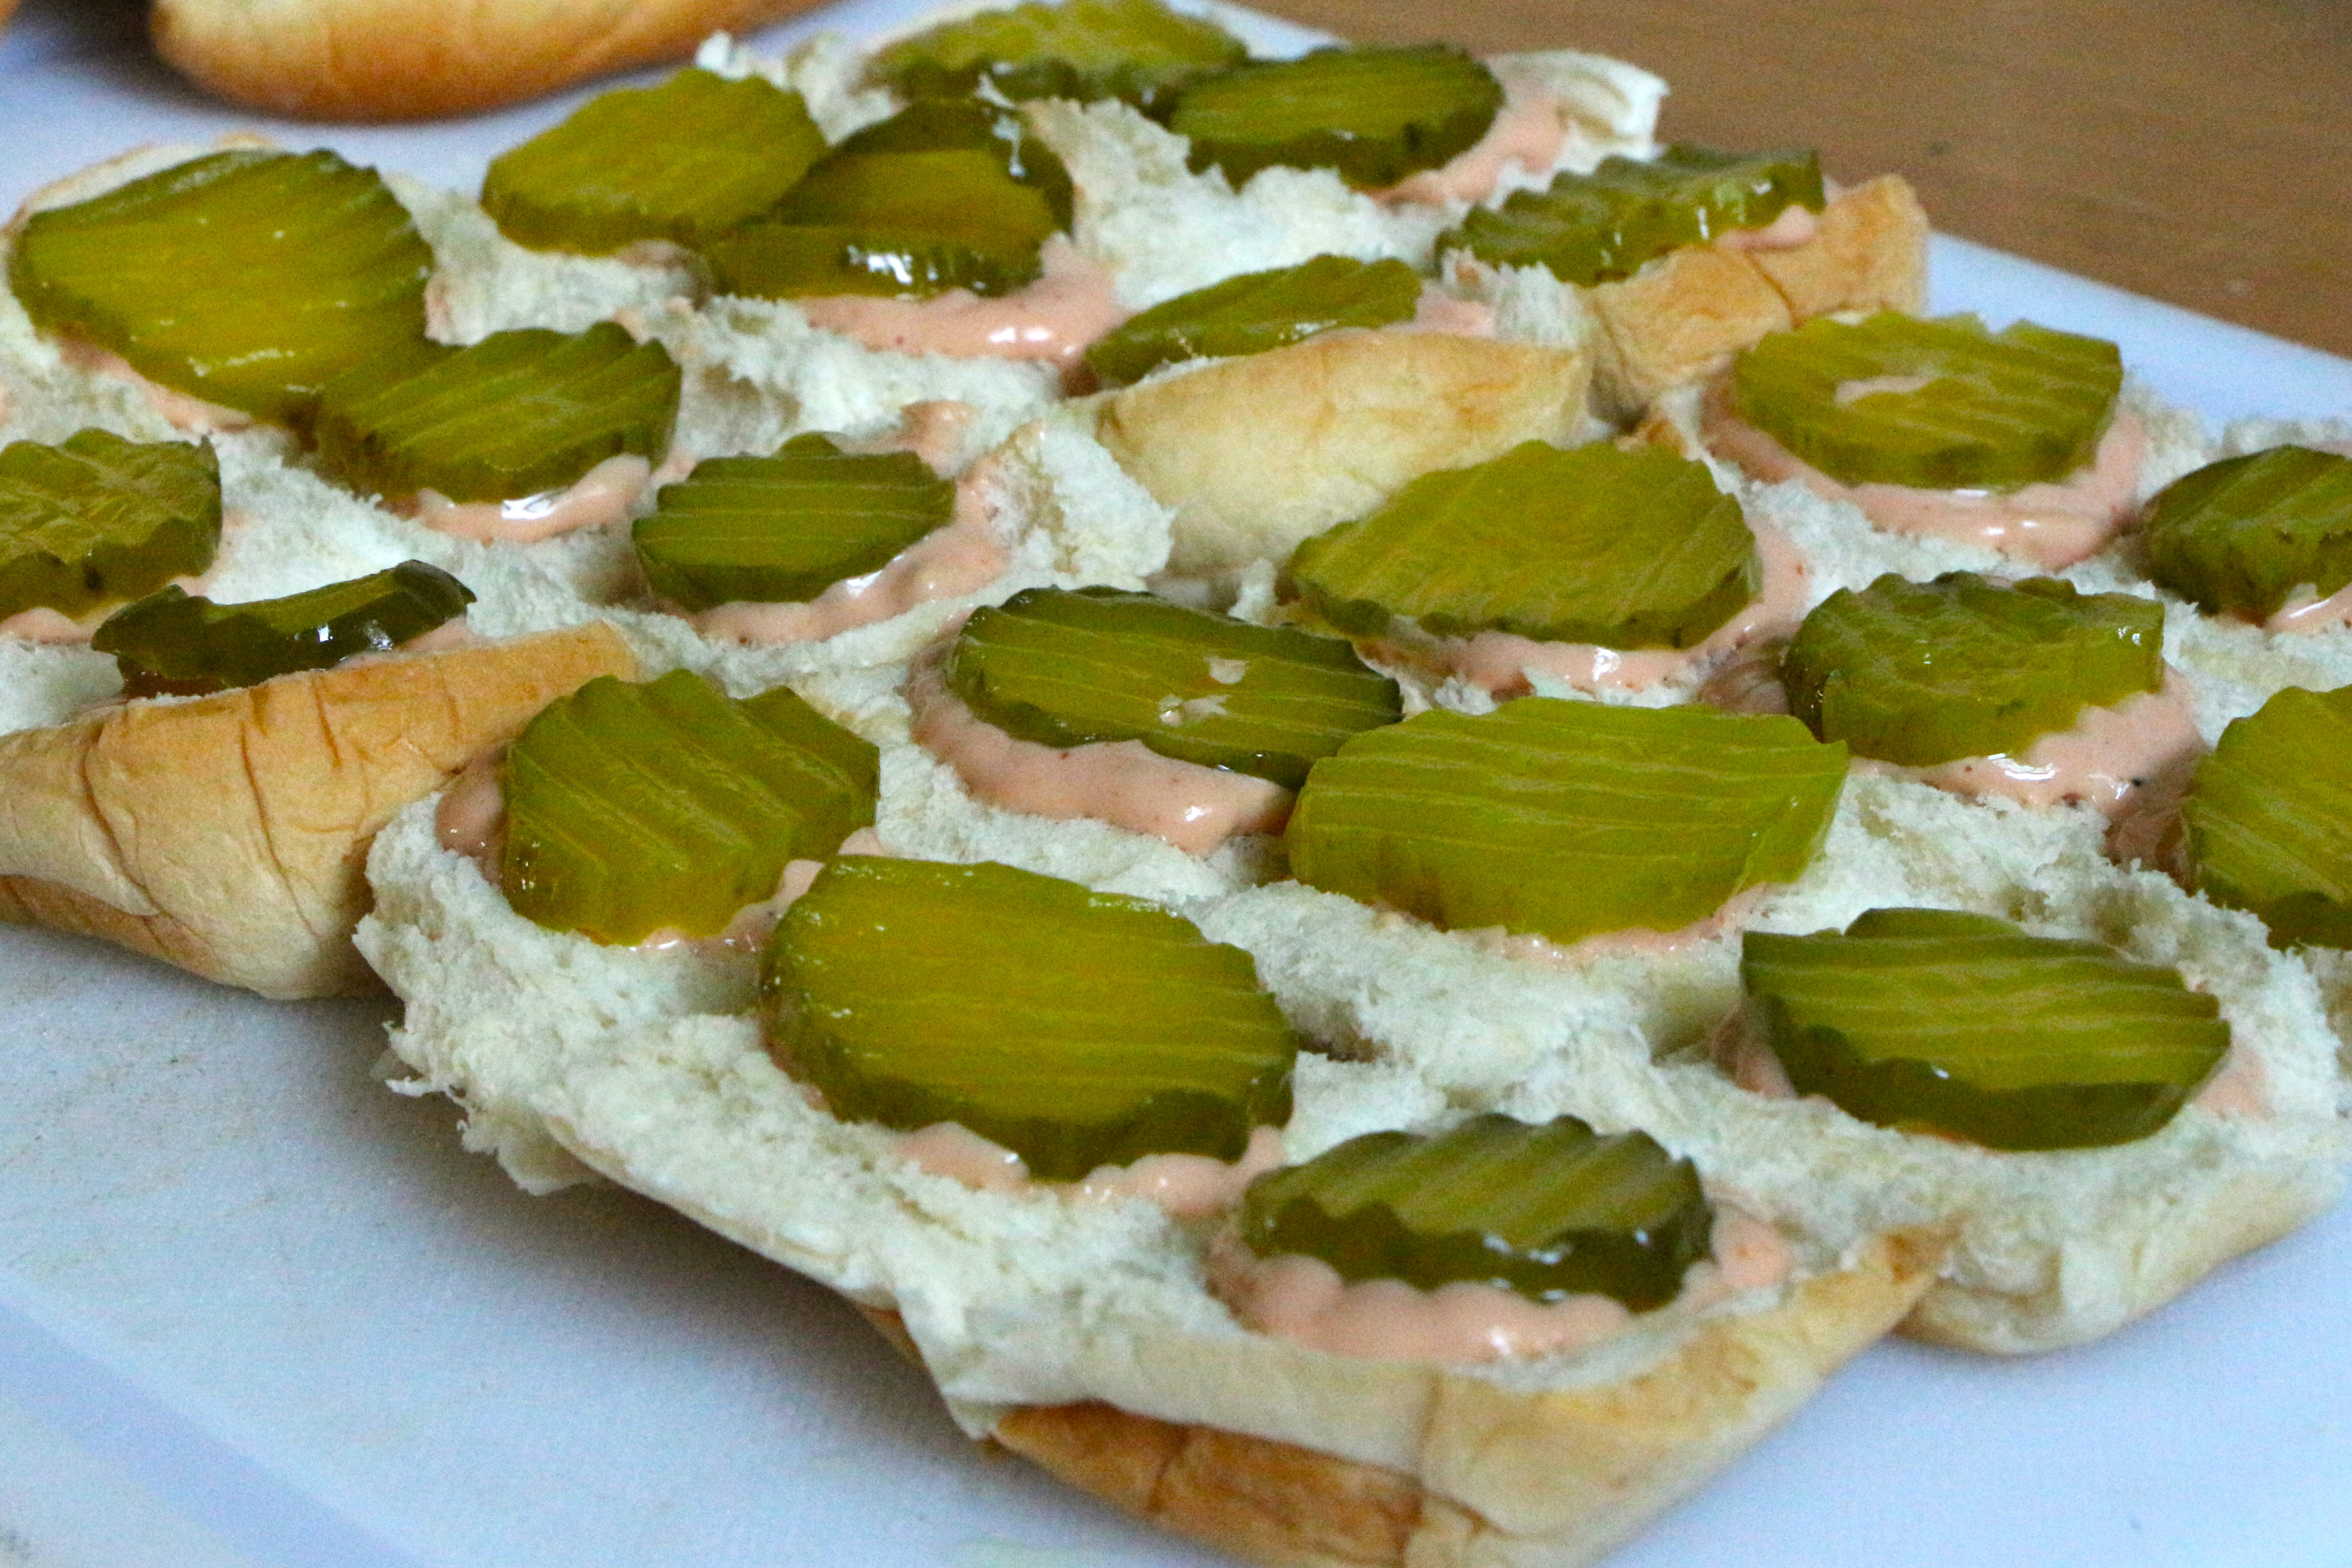
While I waited for my beef bourguignon to finish cooking, I turned on some music and danced in the kitchen with my boys. Then I poured myself a glass of wine and spread some creamy brie onto slices of French baguette. I’m pretty sure Julia would have approved.
Happy 100th, Julia and Bon Appétit!!
Julia Child’s Beef Bourguignon
Boeuf a la Bourguignonne
(In my own words. Very slightly modified from the original.)
Ingredients
- 1/2 pound bacon, chopped
- 1 tablespoon olive oil
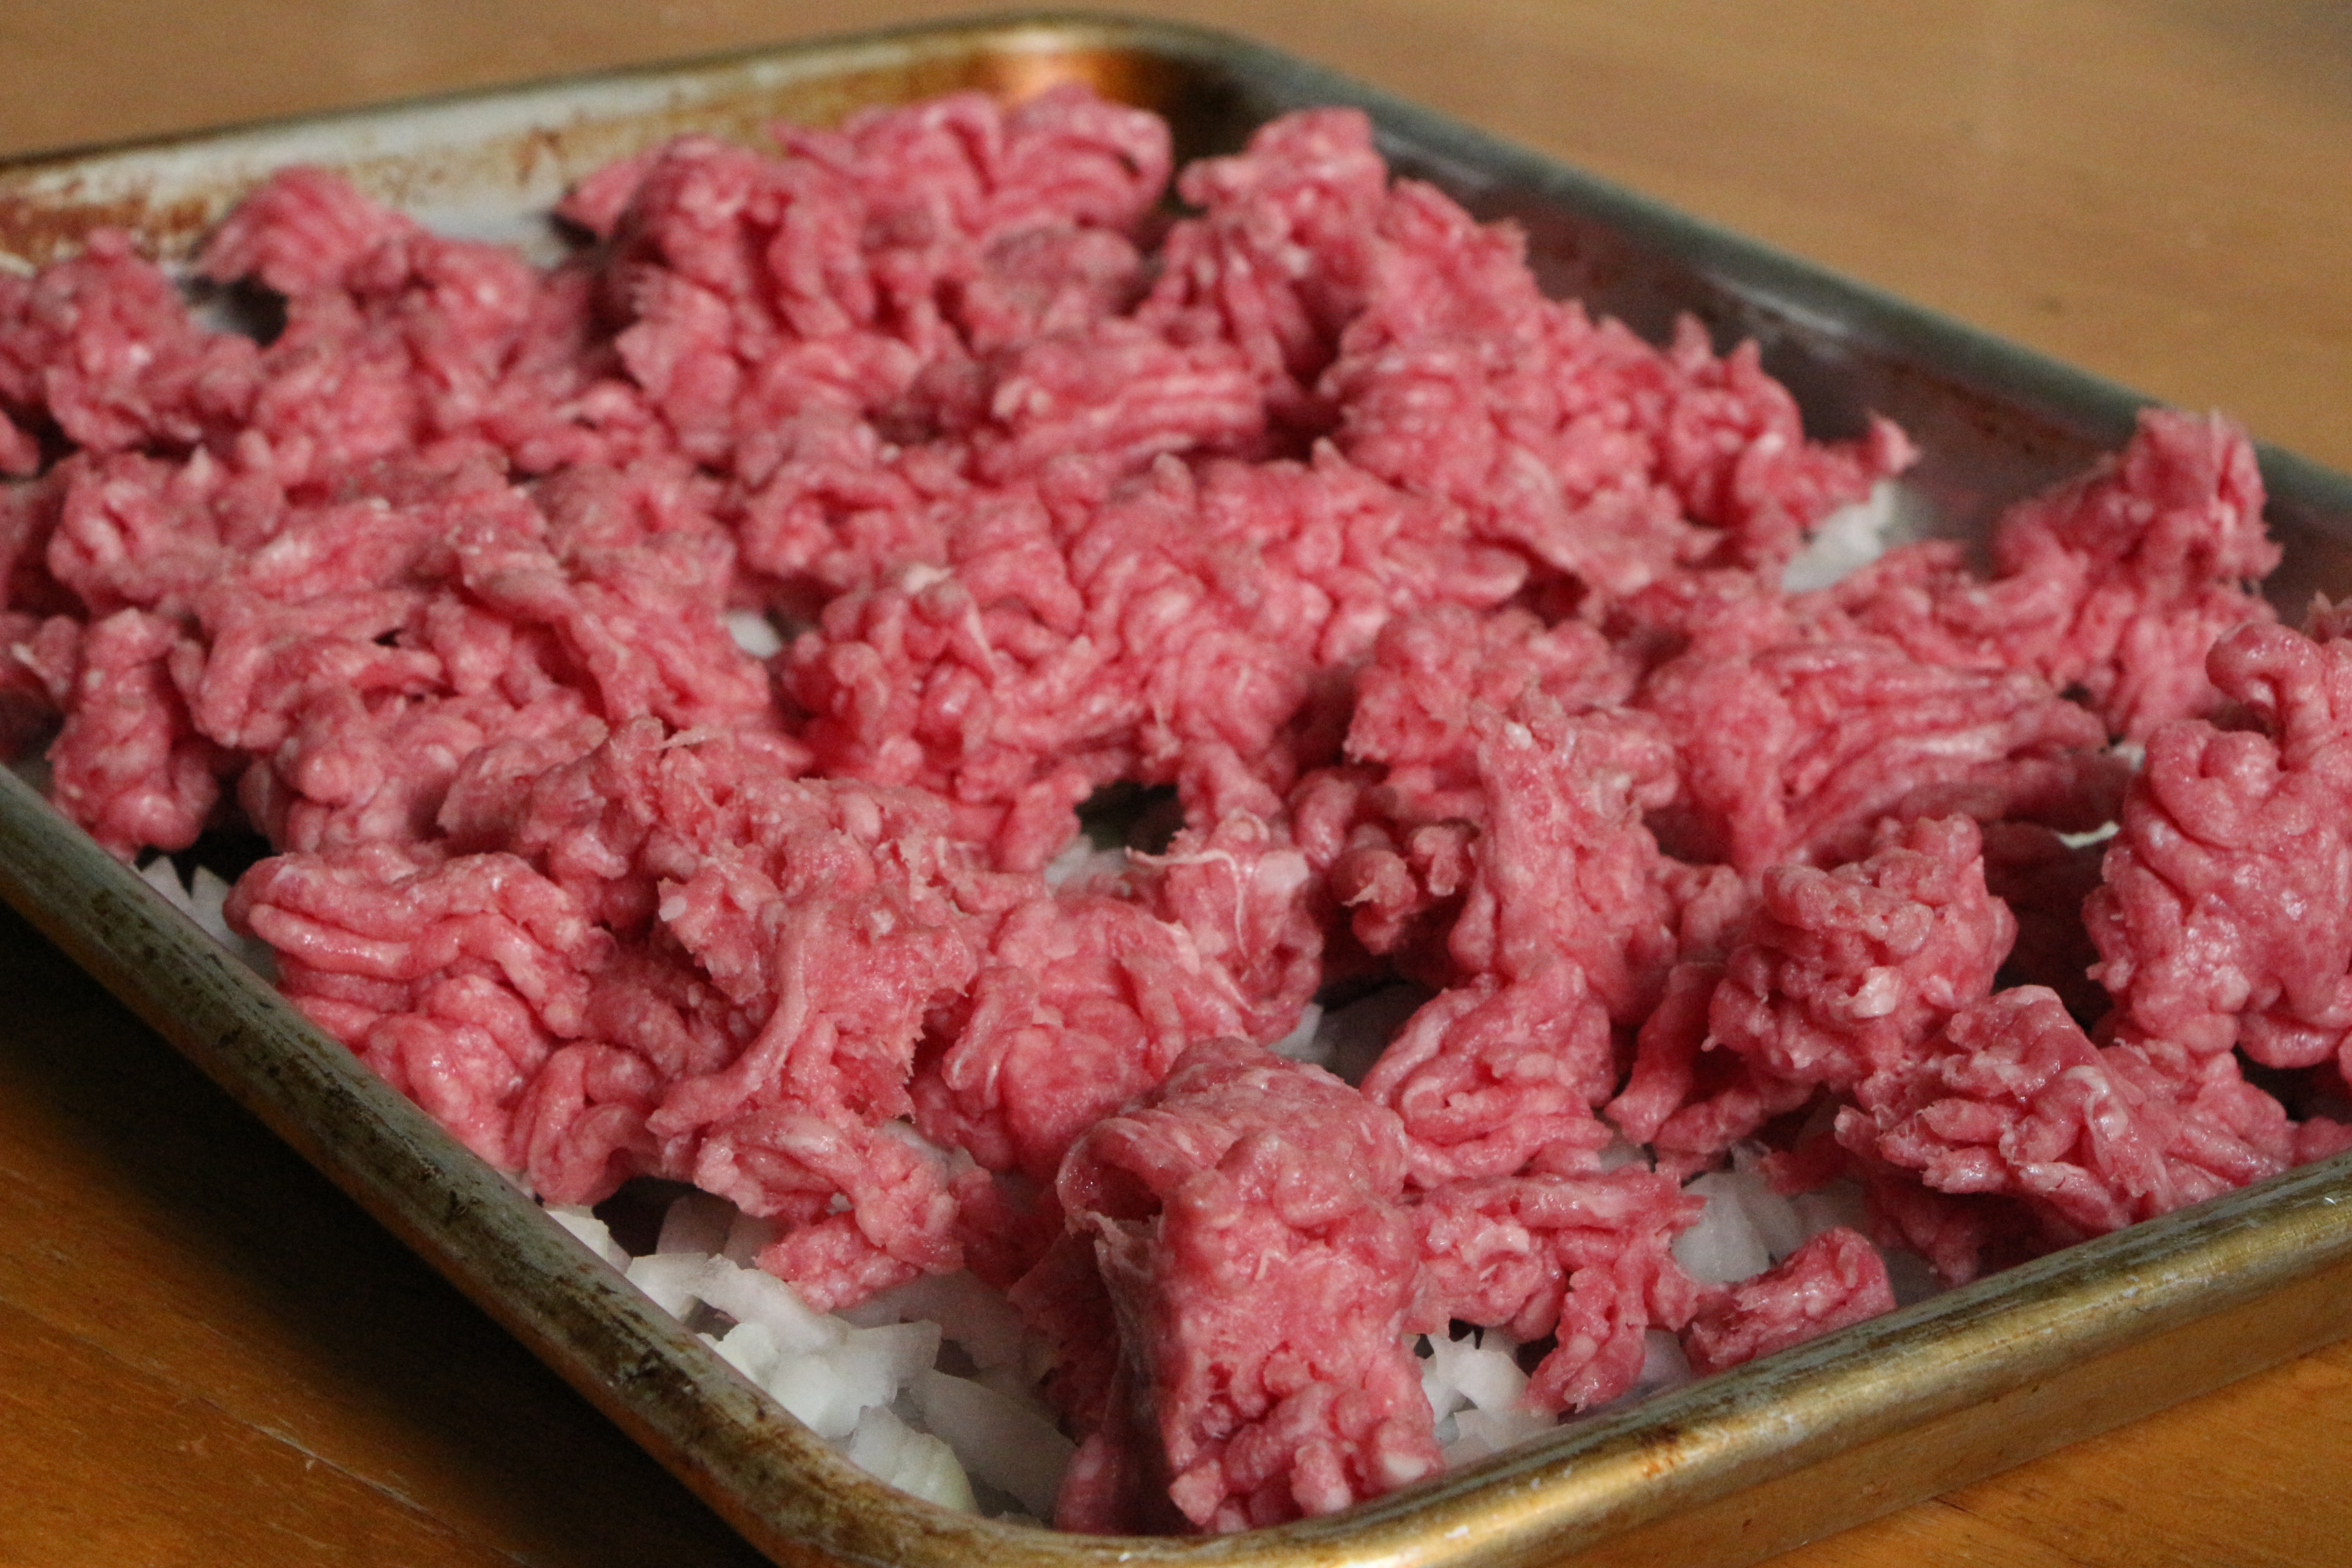
- 3 pounds lean stewing beef (cut into approximately 2″ chunks)
- 1 carrot, sliced (or 10-15 baby carrots, coarse chopped)
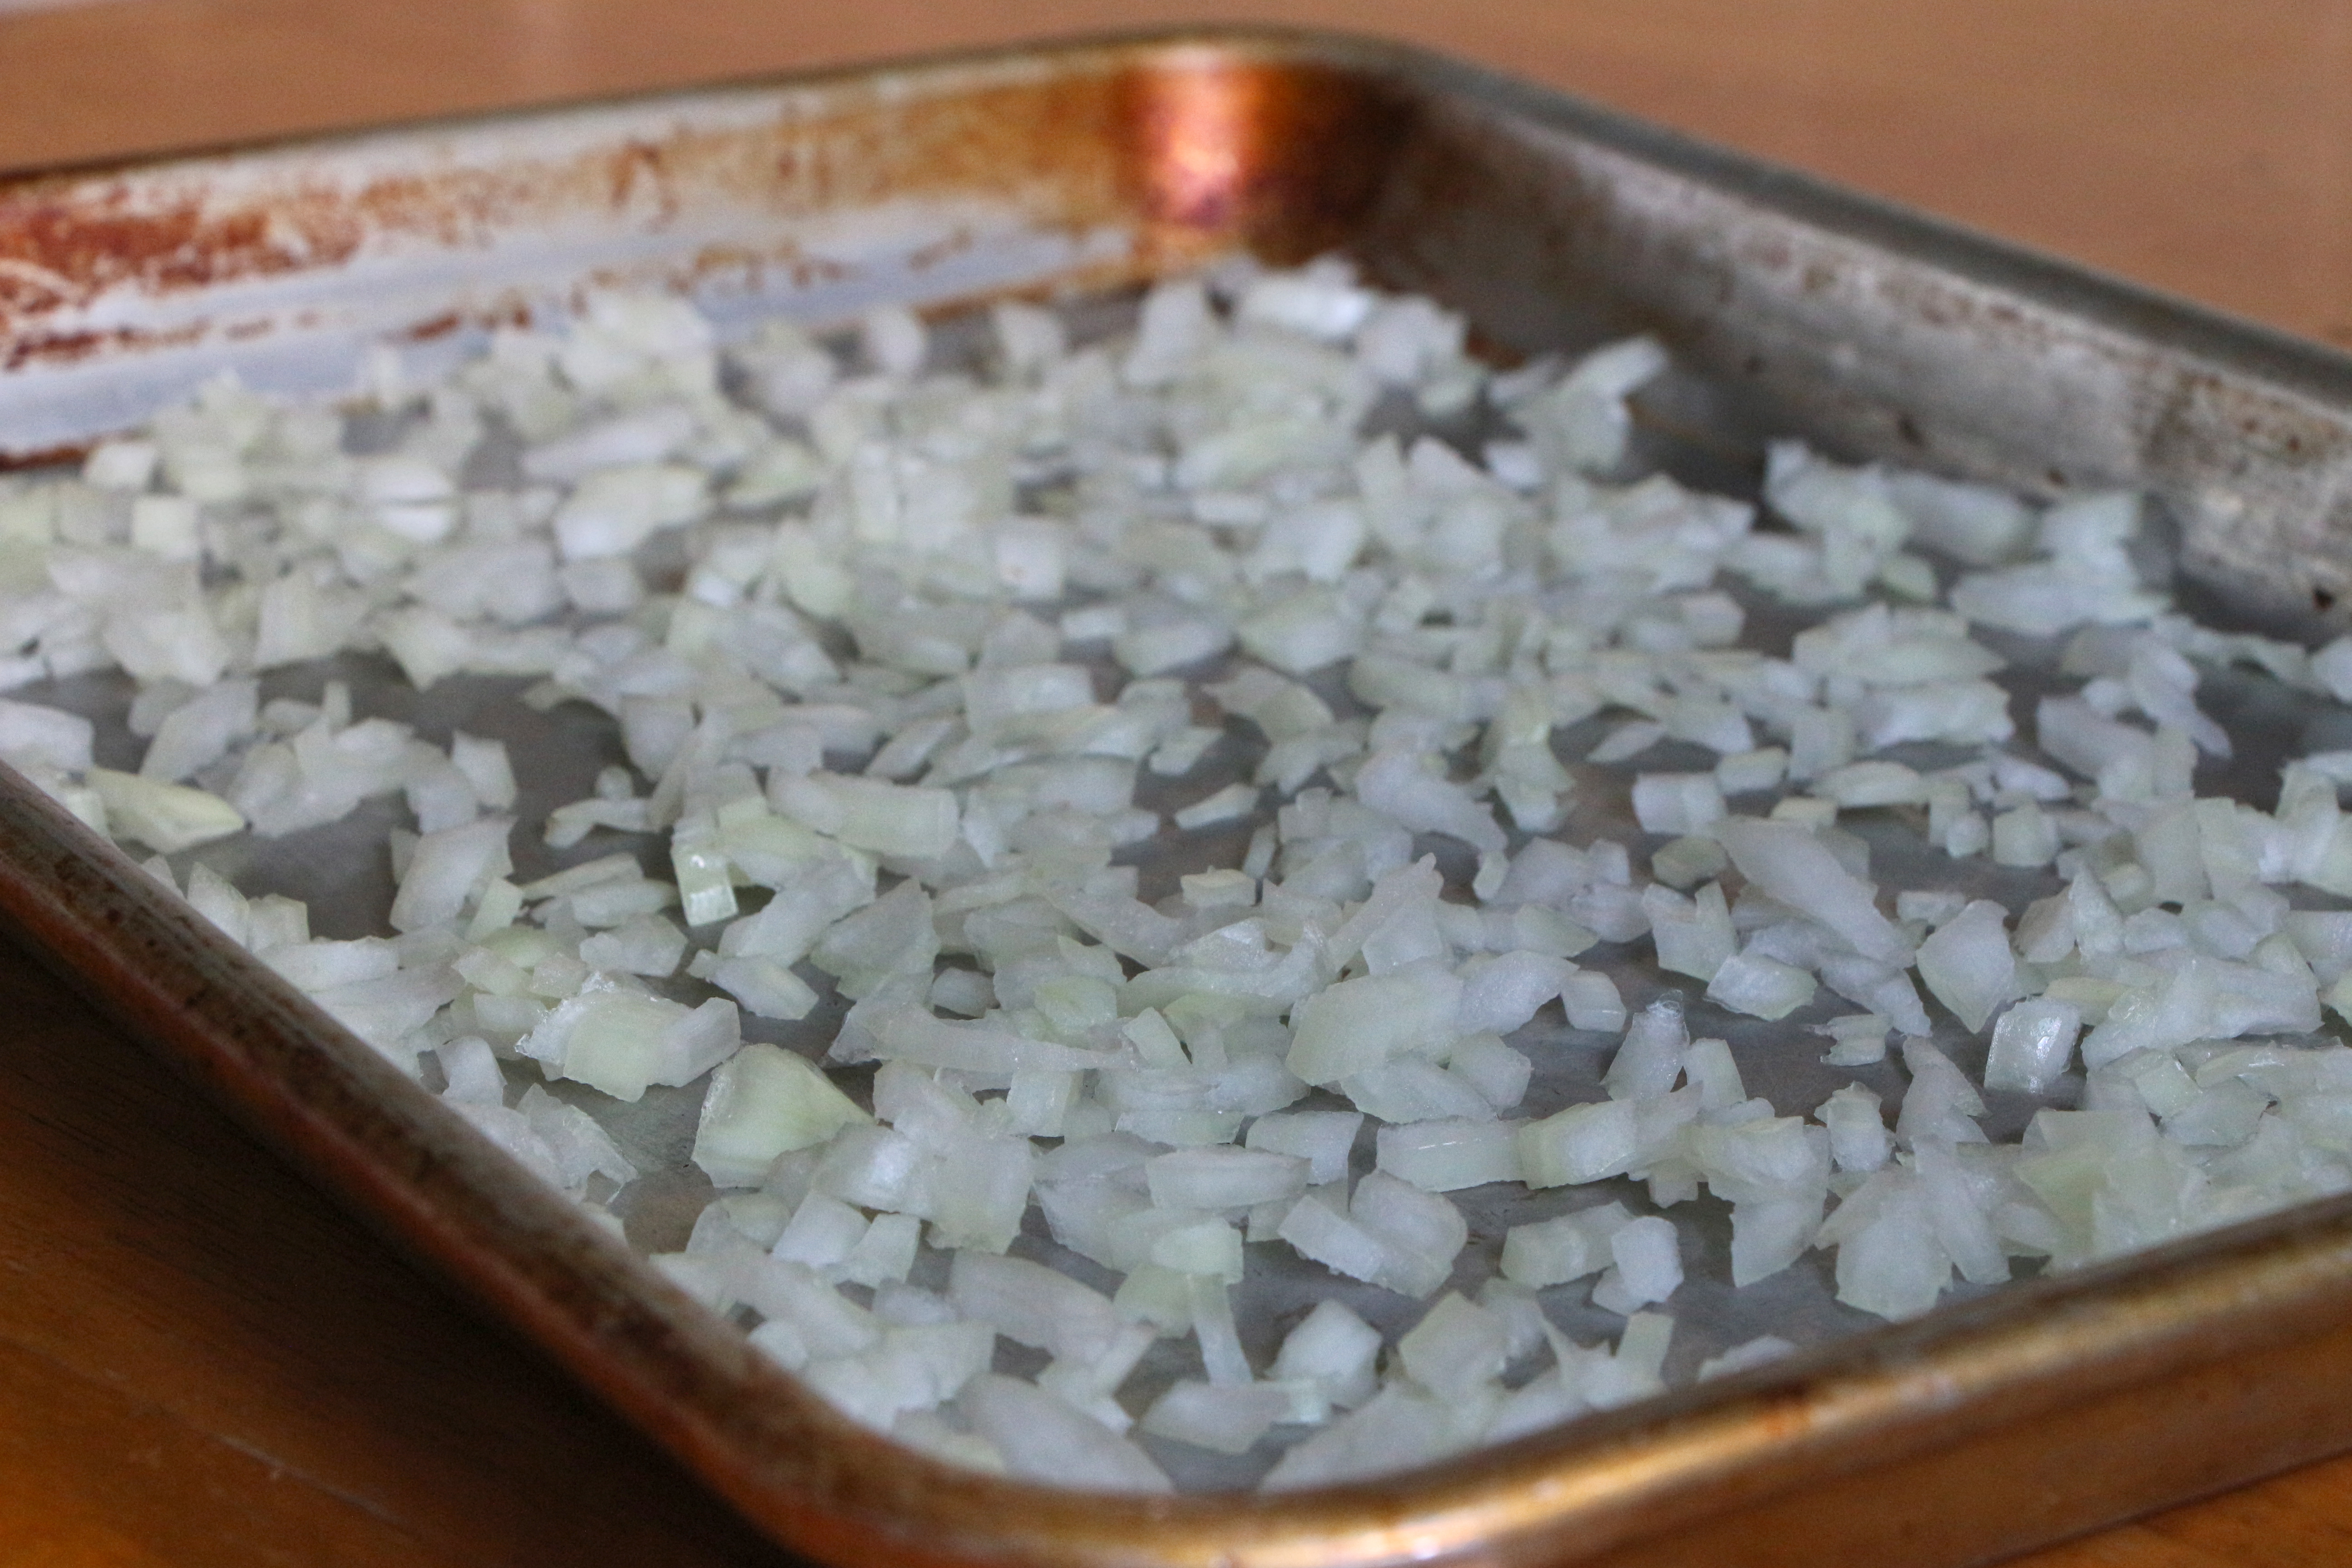
- 1 onion, chopped
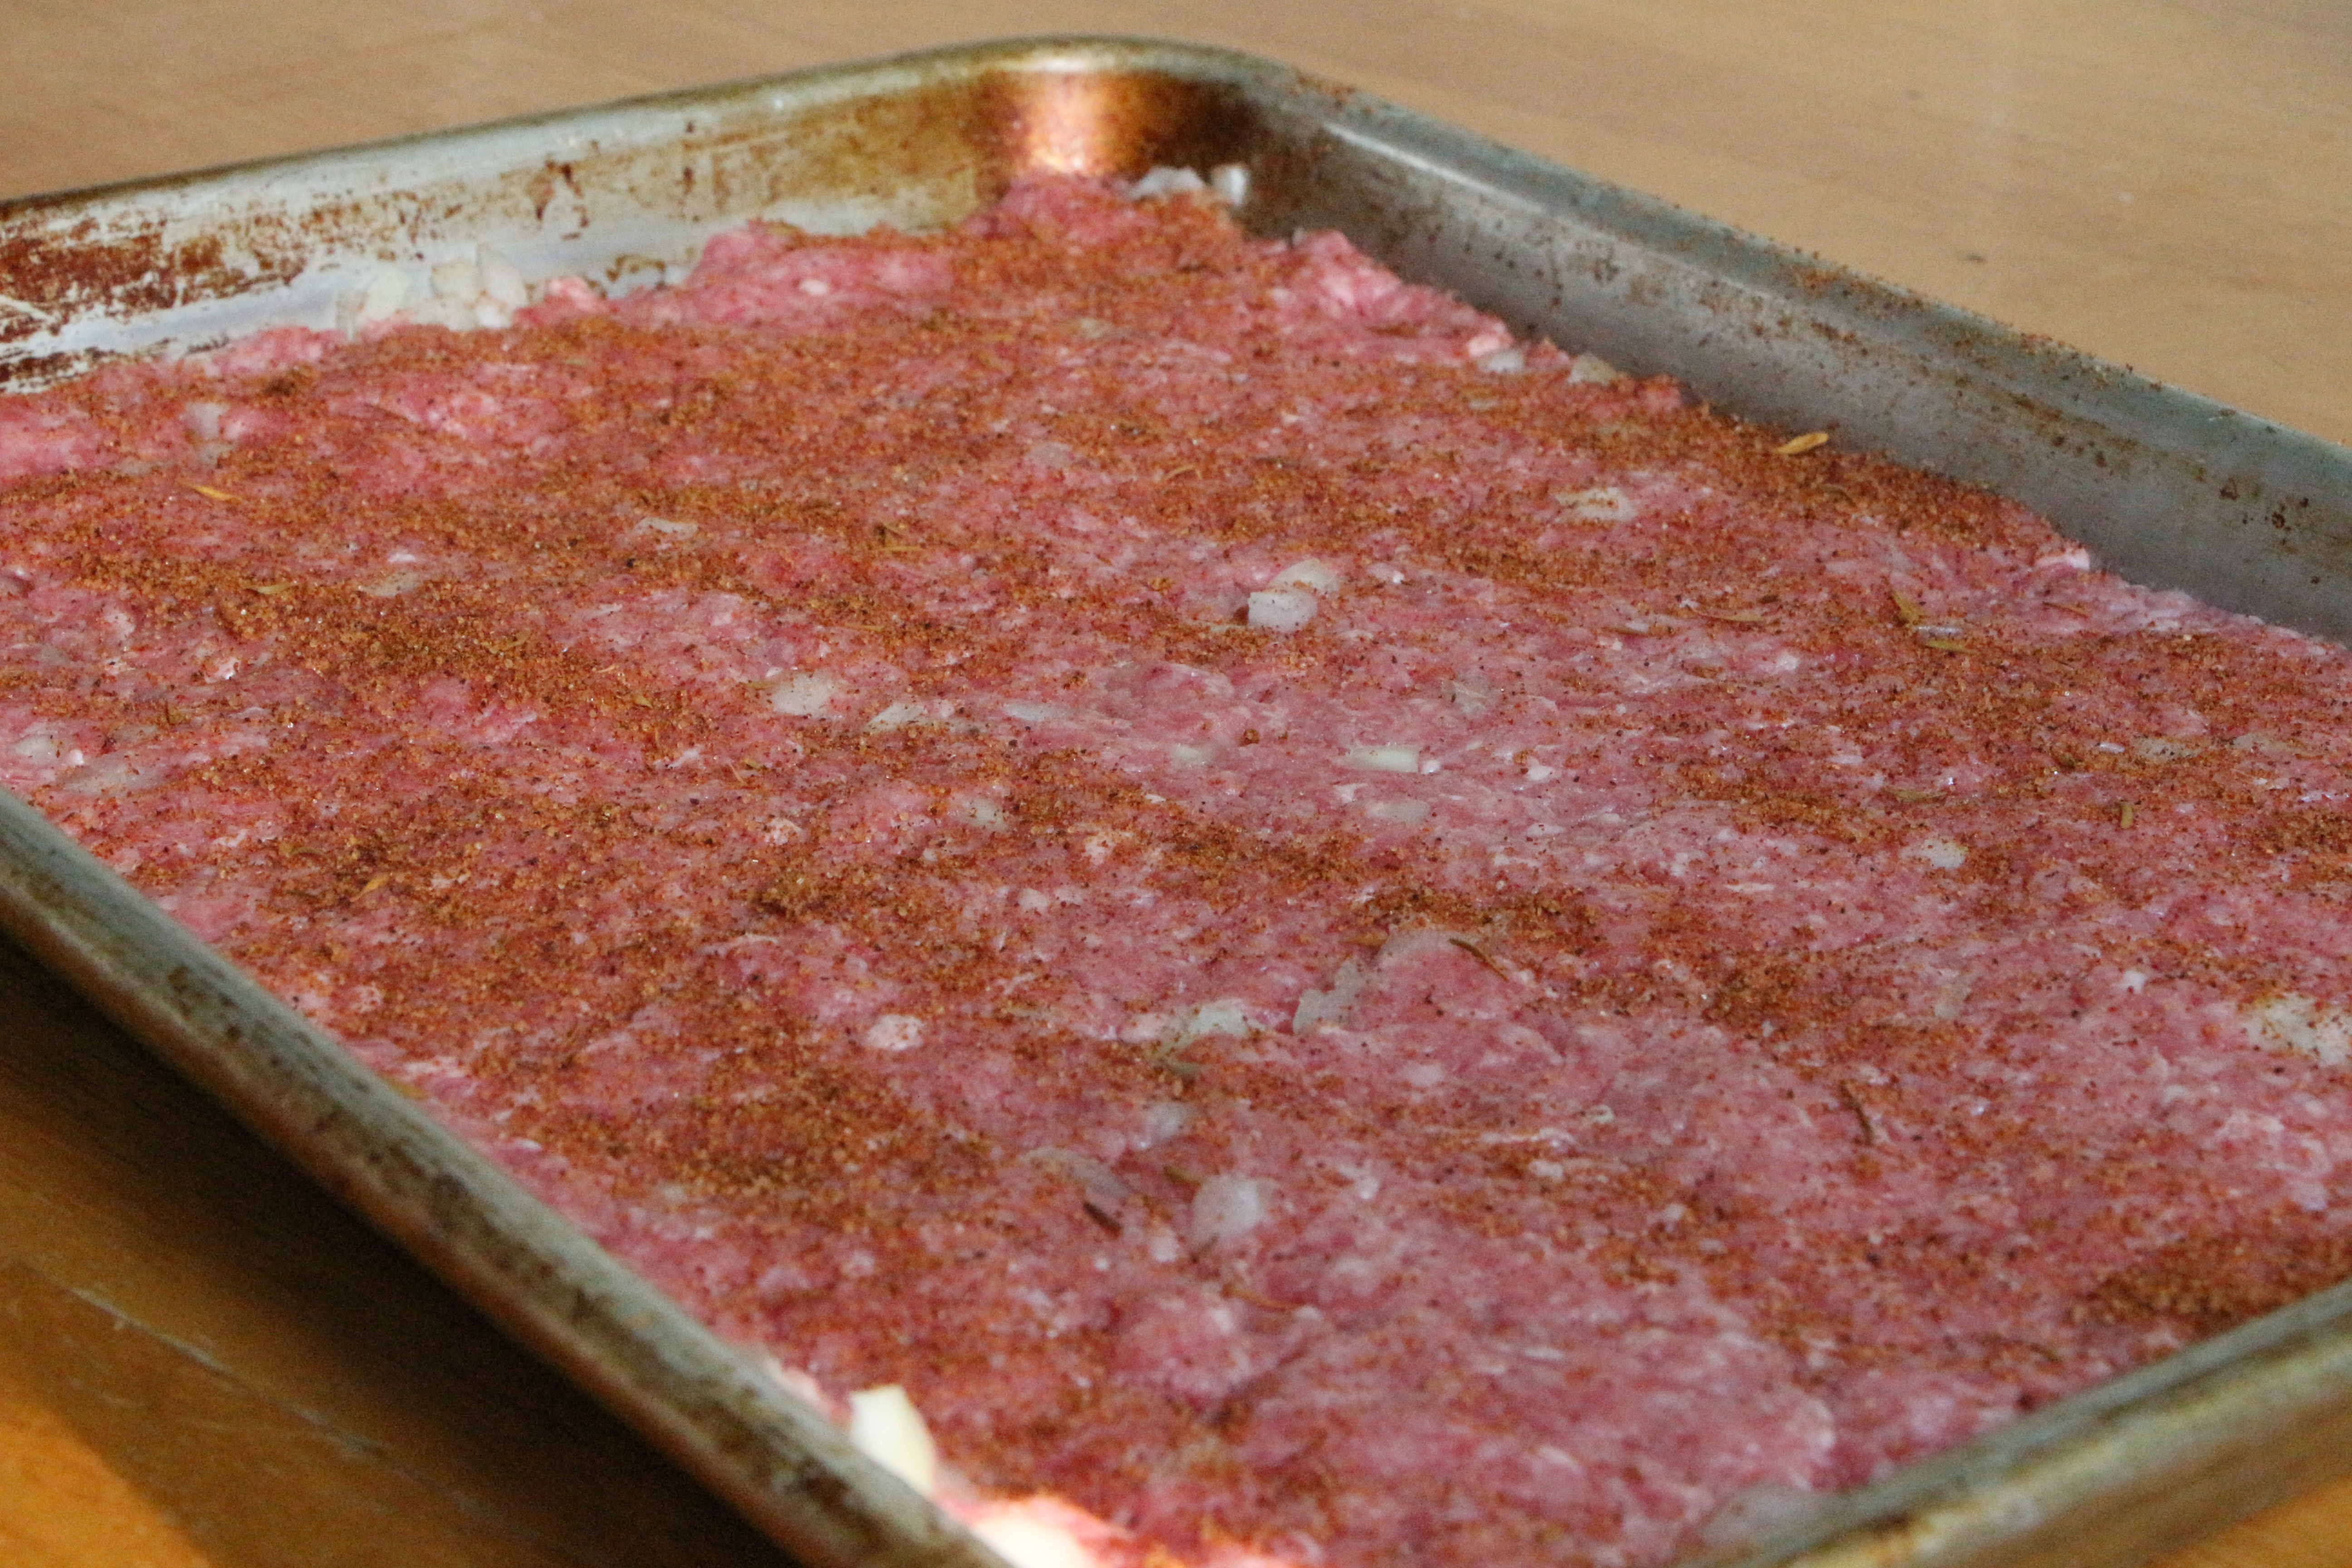
- 1 teaspoon salt
- 1/4 teaspoon pepper
- 2 tablespoons flour
- 3 cups full-bodied red wine
- 2 – 3 cups beef stock
- 1 tablespoon tomato paste
- 2 cloves garlic, smashed
- 1/2 teaspoon thyme
- 1 crumbled bay leaf (optional)
For the brown-braised onions (Oignons Glacés à Brun)
- 1/2 bag frozen white pearl onions, defrosted and patted dry
- 1 1/2 tablespoons butter
- 1 tablespoon olive oil
- 1/2 cup beef stock or beef broth
- Salt and pepper
For the sautéed mushrooms (Champignons Sautés au Beurre)
- 1 pound mushrooms, quartered
- 4 tablespoons butter
- Salt and pepper
Directions
Gather and prepare your ingredients prior to cooking. Chop the bacon, chop the beef, chop the veggies, smash the garlic… Preparing your ‘mise en place’ will help things go smoothly once you’ve fired up the stove.
Preheat oven to 450 degrees.

Arrange the beef chunks in a single layer on a tray lined with paper towels. Use additional paper towels to thoroughly pat the beef dry.
*Damp beef will not brown properly.
*Julia recommends chuck beef for stew meat. I usually use the precut ‘stew beef’ from my grocery store. It saves me a few minutes of prep time, which is invaluable when you’re cooking while three young boys threaten to tear the house (or each other) apart.

In a large dutch oven pan, heat the olive oil over medium heat. Add the bacon and cook for several minutes, until the bacon is browned and has released most of its fat. Use a slotted spoon to remove the bacon, leaving the fat in the pan.
*Julia’s recipe calls for a 6 ounce piece of chunk bacon, cut into lardons. Regular sliced bacon will work just fine!
*Any large, stove and oven-safe pan with a tight fitting lid will do the job. I use a 9-quart Le Creuset enameled cast iron french oven pan.

Over medium/medium-high heat, brown the beef in the bacon fat for a minute or two on each side. Do not overcrowd the pan. The beef should quickly develop a nice caramelized brown on the surface. Turn the beef to brown on all sides, then remove with a slotted spoon and set aside. Repeat until all of the beef has been browned.
*You do not want to steam or boil the beef. If your beef is not browning properly, it is either due to the heat not being high enough, the pan being over-crowded (which lowers the heat of the bacon fat), or the beef being too damp. Try adjusting each of these conditions.

Once all of the beef has been browned, add the carrots and onions to the pan. Cook for a few minutes until they develop a golden brown color. Then, carefully pour out the excess bacon fat, leaving the veggies in the pan.

Add the beef and bacon back into the pan. Toss with salt and pepper. Then, sprinkle the flour over the mixture and toss again. Place the pan, uncovered, on the middle rack of the preheated oven for 4 minutes. Toss the mixture, then cook for 4 more minutes.
Remove the pan from the oven and reduce the heat to 325 degrees.
Add the wine*, beef stock, tomato paste, garlic, and thyme. Add just enough beef stock to barely cover the beef.
*Julia recommends Beaujolais, Cotes du Rhone or Burgundy. I use whatever dry red I have on hand, usually Merlot, Cabernet Sauvignon, or Pinot Noir. Use something you enjoy drinking. While you’re at it, go ahead and pour a glass. Julia wouldn’t mind. In fact, I think she would have encouraged it. Cheers!
Bring to a simmer on top of the stove. Then, cover the pan, and place it in the oven. Cook, covered, for about 3 hours. Adjust the temperature slightly, if necessary, so that the liquid maintains a gentle simmer throughout the cooking time.
While the beef is cooking, prepare the onions and mushrooms.

For the onions:
Heat the butter and oil in a sauté pan over medium heat. Add the onions and cook for about 10 minutes, occasionally shaking the pan to allow the onions to roll around in the pan and brown on all sides. Then, add the beef stock. Bring to a simmer, then lower the heat. Cover and simmer slowly for about 15-20 minutes. Check the pan towards the end of the cooking time. Most of the liquid should have evaporated and formed a brown glaze around the onions. Season with salt and pepper. Set aside.
*Julia’s recipe calls for fresh, peeled white onions, about 1″ in diameter. Since my grocery store does not regularly carry the small onions, I use about 1/2 a bag of frozen white pearl onions. The added convenience is that they’re already peeled! Just be sure to defrost completely and pat dry before sauteeing. Fresh onions will require longer cooking time, about 40-50 minutes.

For the mushrooms:
Heat the butter in a sauté pan over medium-high heat. Add the mushrooms. Cook for about 10 minutes, stirring frequently.
*The mushrooms will at first appear to absorb the melted butter, but will eventually release the butter and their own liquid. As the liquid evaporates, the mushrooms will acquire a golden brown color.
Season with salt and pepper, then set aside.

Once the beef has finished cooking, carefully pour the mixture through a sieve or strainer. Allow the sauce to collect in a large measuring cup (the 4-cup kind) or glass bowl. Return the beef and bacon to the dutch oven pan. Discard the carrot and onion pieces.

Arrange the brown-braised onions and sauteed mushrooms over the beef.

Allow the sauce to rest for a few minutes. The excess fat will rise to the surface as it rests. Use a spoon to collect and discard the excess fat. Repeat until much of the excess fat has been discarded.

You should have about 2 – 2 1/2 cups of sauce. If you have much more than this, pour the sauce into a small saucepan and simmer uncovered until it’s reduced a bit. It should be quite flavorful and thick enough to lightly coat the back of a spoon. Taste and adjust the seasoning with salt and pepper, as desired. Pour the sauce over the beef, mushrooms, and onions.

Serve over boiled potatoes or hot-buttered noodles. Julia recommends a side of buttered peas as an appropriate veggie side.
This dish reheats exceptionally well. Simply bring to a gentle simmer on the stovetop for a few minutes, until all components are heated through.

If you’ve got 30 minutes to spare, you can watch Julia cooking her beef bourguignon during the first episode of The French Chef HERE.