RSS Feed

Tag Archives: eggs

Pasta with Ham and Mushrooms in a Creamy Spinach Ricotta Sauce

Posted on

If you celebrate Easter, it’s likely that come Sunday, you may find yourself with an excess of boiled eggs, some ham, and maybe even some candy. With that in mind, I’ve gathered up a few tasty ideas on how to make delicious use of those leftovers, including a brand new, super-simple recipe for pasta with ham and mushrooms in a creamy, cheesy spinach ricotta sauce.

What to do with Leftover Boiled Eggs…

Creole Deviled Eggs

029

Deviled Egg Salad

img_5869

Pasta with Bacon, Eggs, and Spinach

img_5924

What to do with Leftover Candy…

Cadbury Creme Crepes

img_3593

What to do with Leftover Ham…

Ham and Corn Chowder

img_5965

Grilled Peach and Prosciutto Salad with Creamy BBQ Dressing (use sliced ham in place of prosciutto)

img_9310

Grilled Brie, Prosciutto and Apricot Sandwiches (use ham in place of prosciutto)

img_4685

Chicken Cordon Bleu Panini

img_3708

Pasta with Ham and Mushrooms in a Creamy Spinach Ricotta Sauce

Ingredients

  • 1-2 tablespoons olive oil, plus more if necessary
  • 1/2 medium onion, finely diced
  • 1 teaspoon garlic, minced
  • 2 cups baby bella mushrooms, sliced
  • 2 cups ricotta cheese
  • 1 1/2 cups milk
  • 1 cup parmesan cheese, grated
  • 1 6-ounce bag baby spinach leaves, chopped
  • 2 cups leftover ham, diced
  • Salt and pepper, to taste
  • 1 pound pasta, cooked al dente
  • Additional parmesan cheese and crushed red pepper, for garnish

Directions

Heat the olive oil in a large pan over medium heat. Add the mushrooms. Cook for 7-10 minutes until tender and lightly caramelized. Remove the mushrooms from the pan and set aside. Add a touch more olive oil to the pan, if necessary, then add the onion. Cook for 5-7 minutes until tender and golden. Add the garlic and cook for another 1-2 minutes. Add the ricotta cheese, milk, and parmesan cheese. Cook for a few minutes, stirring frequently, until hot and well blended. Add the mushrooms, ham and spinach. Gently simmer for a few minutes until the spinach is wilted. Taste and season with salt and pepper, as desired. Pour the sauce over cooked pasta and toss to combine. Garnish with crushed red pepper and additional parmesan cheese, if desired.

IMG_6410

Advertisement

Deviled Egg Salad

Posted on

I have an easy time getting behind the whole Santa Claus thing. The spirit of good ol’ St. Nick practically courses through my veins. As a tradition, it makes sense to me. I can make the connections between Santa Claus and the true meaning of Christmas. And I’m all about sharing the tradition of Santa with my children for as long as they choose to believe.

I have a much harder time getting behind the idea of a giant man-bunny, like the ones sitting at the mall waiting to take pictures with sweet children dressed in their Easter best. I admit, I just don’t really get it. I just don’t understand the connection between the Easter bunny and Jesus rising from the dead. I can’t connect the dots.

Santa makes sense to me. (Even the tooth-fairy makes sense.) A candy-giving, egg-hiding rabbit does not.

So, around here, our discussions of Easter have focused mainly on the true reason for the holiday. We’re low-key on the rabbit stuff. Sure, we’ll color eggs, the Easter bunny will hide them, and there will be an Easter basket waiting in the morning. (There will even be animal crackers hiding under the green cellophane grass, just like there always were in my Easter basket.) But our celebration on Sunday will be more of a religious one.

Regardless of your feelings on fuzzy rabbits, if your family celebrates Easter, the odds are that you will be left with dozens of colored hard-boiled eggs come Sunday morn. Please heed the USDA’s advice and do not leave hard-boiled eggs unrefrigerated for more than two hours…the last thing anyone needs on Easter is food poisoning. Either sneak around in the early morn to hide those eggs or hide plastic eggs and leave those pretty colored eggs in the fridge.

And if you’re looking for an easy, delicious use of those purdy eggs, give this tasty deviled egg salad recipe a try. It’s a classic egg salad, with the addition of dijon mustard and pickle relish for a deviled egg flare. (Be careful though..if you’re not watching, your spouse might steal the last of it for his lunch. For real…it happened to me.)

Deviled Egg Salad

Ingredients

  • 1 dozen hard-boiled eggs
  • 1/3 cup mayonnaise
  • 2 tablespoons dijon mustard
  • 2 tablespoons sweet relish
  • 1 tablespoon parsley
  • 1 /2 teaspoon paprika
  • Salt and pepper, to taste

Directions

Peel the eggs, cut in half, and remove the yolks. Place the yolks in a medium sized bowl. Chop the egg whites and place in a separate bowl. Use a fork to smash the egg yolks, then combine with mayonnaise, mustard, relish, parsley, and paprika until smooth. Stir in the chopped egg whites. Taste and season with salt and pepper, as desired.

Spinach, Bacon, and Mushroom Salad in a Warm Bacon Shallot Vinaigrette

I haven’t talked a lot about my diet recently, but rest assured, I am still on the path of success. As of this morning, I have lost 16 pounds, give or take a pound depending on the day. I am continuing to follow the guidelines of the South Beach diet, but not without some leeway for splurging. In fact, I spent most of Valentine’s week living on a diet of chocolate, wine, and cheddar goldfish, which in an odd twist of fate, resulted in a quick 2-pound weight loss. I think sometimes we just need to mix things up and splurge a little to remind our bodies that there is indeed no famine and there is no reason to hold onto that excess weight. Somehow it’s never really as simple as calories in vs. calories out, is it?

Clearly I’m not following any hard and fast ‘rules’ as get myself in shape, but what I like about the overall South Beach diet approach is that by mostly avoiding refined carbs, I rarely feel the perpetual, intense hunger and cravings that I often feel when I’m not limiting refined carbs. I can eat a two-egg omelet in the morning and feel satisfied for hours or I can eat a bowl of rice flake cereal, be starving 30 minutes later and then spend the rest of the morning playing the hunger games (not those hunger games, silly). I chose the omelet. It just makes the weight loss process so much easier and a lot less painful. In fact, once you get the hang of it, the South Beach ‘diet’ doesn’t really feel like a diet at all. It just feels like healthy eating.

I don’t believe that refined carbs are evil, nor do I blame their excess as the root of weight gain or applaud their absence as the grand solution to weight loss. But what I do know is that refined carbs cause a rapid blood sugar spike and subsequent crash, which gives you that starving feeling soon after eating, which then causes you to eat more, which causes you to gain weight. It’s a vicious cycle of cravings. And even if you can manage to resist those cravings, you’re still left with that uncomfortable hunger which makes trying to lose weight so darn frustrating. So, for me, reducing my refined carb intake just makes the whole weight loss thing a lot easier.

And there’s still plenty of room for indulgences within the framework of a reduced carb diet plan, like this spinach salad which is topped with a slightly runny egg and drizzled in a bacon vinaigrette. I first ran across the idea for this salad on the Christian Science Monitor website, which regularly features my blog in their food section, Stir It Up. I’ve always been a fan of spinach and bacon salads, but the egg on this one really sealed the deal for me. I just love finding eggs in surprising places, like atop a pile of fries, a burger, or a salad! Not to let any of delicious bacon-y flavor escape this dish, I incorporated the bacon drippings into my vinaigrette. I couldn’t decide whether that was a genius or revolting idea as I was doing it. I firmly settled on utterly genius with my first bite.

This salad isn’t totally ‘legal’ on South Beach, since bacon doesn’t technically count as a ‘lean’ protein. And certainly mixing the bacon drippings into the dressing is not a recommended South Beach strategy. But it’s close enough (and definitely worth the splurge). This salad packs a ton of protein and lots of good healthy nutrition which will keep you feeling nicely satisfied for hours. Just go easy on the dressing and you can feel pretty good about this meal.

Spinach, Bacon, and Mushroom Salad in a Warm Bacon Shallot Vinaigrette

(Inspired by Beyond the Peel’s Wilted Spinach Salad with Bacon and a Poached Egg)

Ingredients

For the vinaigrette:

  • 1/8 cup olive oil
  • 1/8 cup warm bacon drippings (reserved from cooking bacon)
  • 1/4 cup balsamic vinegar
  • 1 tablespoon shallot, finely diced
  • 1 teaspoon dijon mustard
  • Pinch of salt and pepper

For the salad:

  • 8 slices bacon (use applewood smoked bacon, if available)
  • 2 cups baby bella (cremini) mushrooms, sliced
  • 1/2 tablespoon butter
  • 8 cups baby spinach
  • 4 eggs

Directions

Cook the bacon according to package directions. Reserve the bacon drippings for the vinaigrette. Once cool, crumble or chop the bacon into small pieces.

To prepare the vinaigrette: Whisk together the warm bacon drippings with the olive oil, balsamic vinegar, shallot, mustard, salt and pepper until blended. The vinaigrette will get firm when cooled (from the bacon drippings). Microwave for a few seconds to warm and loosen the dressing.

To prepare the mushrooms: Heat the butter in a pan over medium heat. Add the mushrooms and cook for about 7-10 minutes, stirring frequently, until tender and slightly golden. Season with a pinch of salt and pepper.

To assemble the salads: Place about 2 cups of baby spinach on each plate. Scatter the bacon and mushrooms over the spinach. Just before serving, fry an egg to your preferred doneness (I prefer over-medium…well-cooked white, runny yolk.) Place the fried egg over the salad. Drizzle with a bit of the vinaigrette.

Makes 4 Salads

Diet Update: 16 pounds down and staying the course…only 6 pounds away from my first major goal!

Mini Crustless Quiche Lorraines

Some days, I wish I could go back in time to my fifteen year old self and shake myself silly. The fifteen year old self who thought her chest was too small and her hips too wide for her too thin waist and flat as a washboard stomach. Oh you silly, silly girl. Why in the world are teenage girls programmed to despise themselves so?? What I would give to go back in time to appreciate the beautiful body I never knew I had.

And now I sit here, in my mid-thirties, after having had three kids over the course of four years, wishing my hips were only as wide as they were twenty years ago or that my chest were nearly as small or my stomach as flat. Oh, the lessons we learn too late.

And while I may never be as small as I was then, I am confident that I will regain a healthy and strong figure; a body I am proud of as much for the way it looks and feels as I am for how it has grown, birthed, and nourished my three beautiful babies. It’ll just take a little effort to get there.

I’m 17 days into my New Year’s diet; a diet which I intend to stick with, long past the one month expiration date which many people’s New Year’s resolutions seem to have. Because it’s more than a diet. It’s a shift to healthier living and a healthier, more confident me. I’m feeling motivated and optimistic. Over the past few weeks, we’ve eaten so many delicious meals; cut out the junk we shouldn’t be eating anyway and replaced it with tons of fresh veggies, lean proteins, and healthy fats. We’re eating like kings around here and our extra pounds are falling off.

I’ve got a growing list of new healthy recipes to share with you, but for now, here’s a quick recipe for a delicious, protein-rich, low-carb breakfast or snack.  These mini quiches hold well for a few days in the fridge and take only a few seconds in the microwave to reheat. You can even freeze half the batch for later use! I added swiss cheese, tender, sweet onions, and crumbled bacon for a tasty play on quiche Lorraine, but the options are endless. Try different combinations of cheese, veggies, and meats to create your personal favorite mini quiches!

Mini Crustless Quiche Lorraines

Ingredients

  • 1 small onion, chopped
  • 1/2 tablespoon butter
  • 8 eggs
  • 1/2 cup milk
  • 1/2 teaspoon salt
  • Black pepper
  • 1 tablespoon fresh parsley, chopped
  • 1/2 cup swiss cheese, shredded
  • 4 slices bacon, cooked until crispy and chopped

Directions

Preheat oven to 375 degrees. Spray two mini muffin tins with non-stick cooking spray.

In a small pan, heat the butter over medium heat. Add the chopped onion and cook for 7-10 minutes, until tender and golden.

In a large measuring cup or bowl, whisk together the eggs, milk, salt, pepper, and parsley. Set aside.

Place a pinch of the cheese, onions, and bacon in the bottom of each muffin tin. Then, carefully pour the egg mixture into each tin, just to the top.

Place the trays on the middle oven rack and bake for about 15 minutes. They will look puffed and golden when done.

Makes 24 mini quiches

*Quiches can be served immediately or refrigerated or frozen for later use. A few seconds in the microwave will do the trick for reheating.

Diet Day: 17    Weight Loss: 11    Motivation: Let’s do this!

Roasted Vegetable and Goat Cheese Quiche

I’ve discovered the long sought after secret to getting kids to eat their vegetables.

Are you ready for it?

Treat veggies like you treat treats.

If you’re tearing your hair out trying to barter with your children (two bites of green beans in exchange for a cookie) or trying to rationalize with them about how veggies are good for their growing bodies, then stop right now! You’re doing it all wrong.

Kids are clever, curious, and complicated creatures. But they are not rationale. I mean, my three-year-old believes he can become a firetruck when he grows up, if he just works hard enough. Kids are not concerned with silly things like vitamins and minerals…unless the vitamins are shaped like superheroes and taste like gummy bears.

I’m not suggesting that you should neglect teaching your kids about good nutrition. Kids should know the difference between healthy food and junk food. Just don’t treat eating healthy food like a chore. You need to speak in kid-language. And kids don’t eat things because they think it’s good for their bodies. They eat what they think is good.

The simple trick is to handle nutritious foods like the special treat they are. Show them how much you enjoy eating delicious, mouth-watering vegetables. Being good for their bodies is an added bonus they’ll appreciate when they’re older. For now, work the tasty angle. Drool over your veggies. They will follow your example. Empathize with how awful veggies are and they’ll follow that example instead.

I know it works.

I just stood in the kitchen watching my boys fight over the snow peas in my lunch, with genuine concern over who got more. They snuck them out of my dish as if I were going to cry over my missing snow peas. You should have heard the mischievous giggles as their sneaky fingers worked they’re way into my dish, snatching the crisp, green veggies, while I stood there shooing them away from my delicious snow peas. They go wild for asparagus too. And they’re pretty sure that green strawberry-spinach smoothies are a special dessert.

My kids eat their veggies because they’ve never been given the impression that they should enjoy their vegetables any less than their desserts. They know that vegetables are good for them, because I’ve told them so. But they eat them because they’re delicious.

Shhhhh…don’t tell them that some kids don’t eat their veggies. I’ve got a good thing going here!

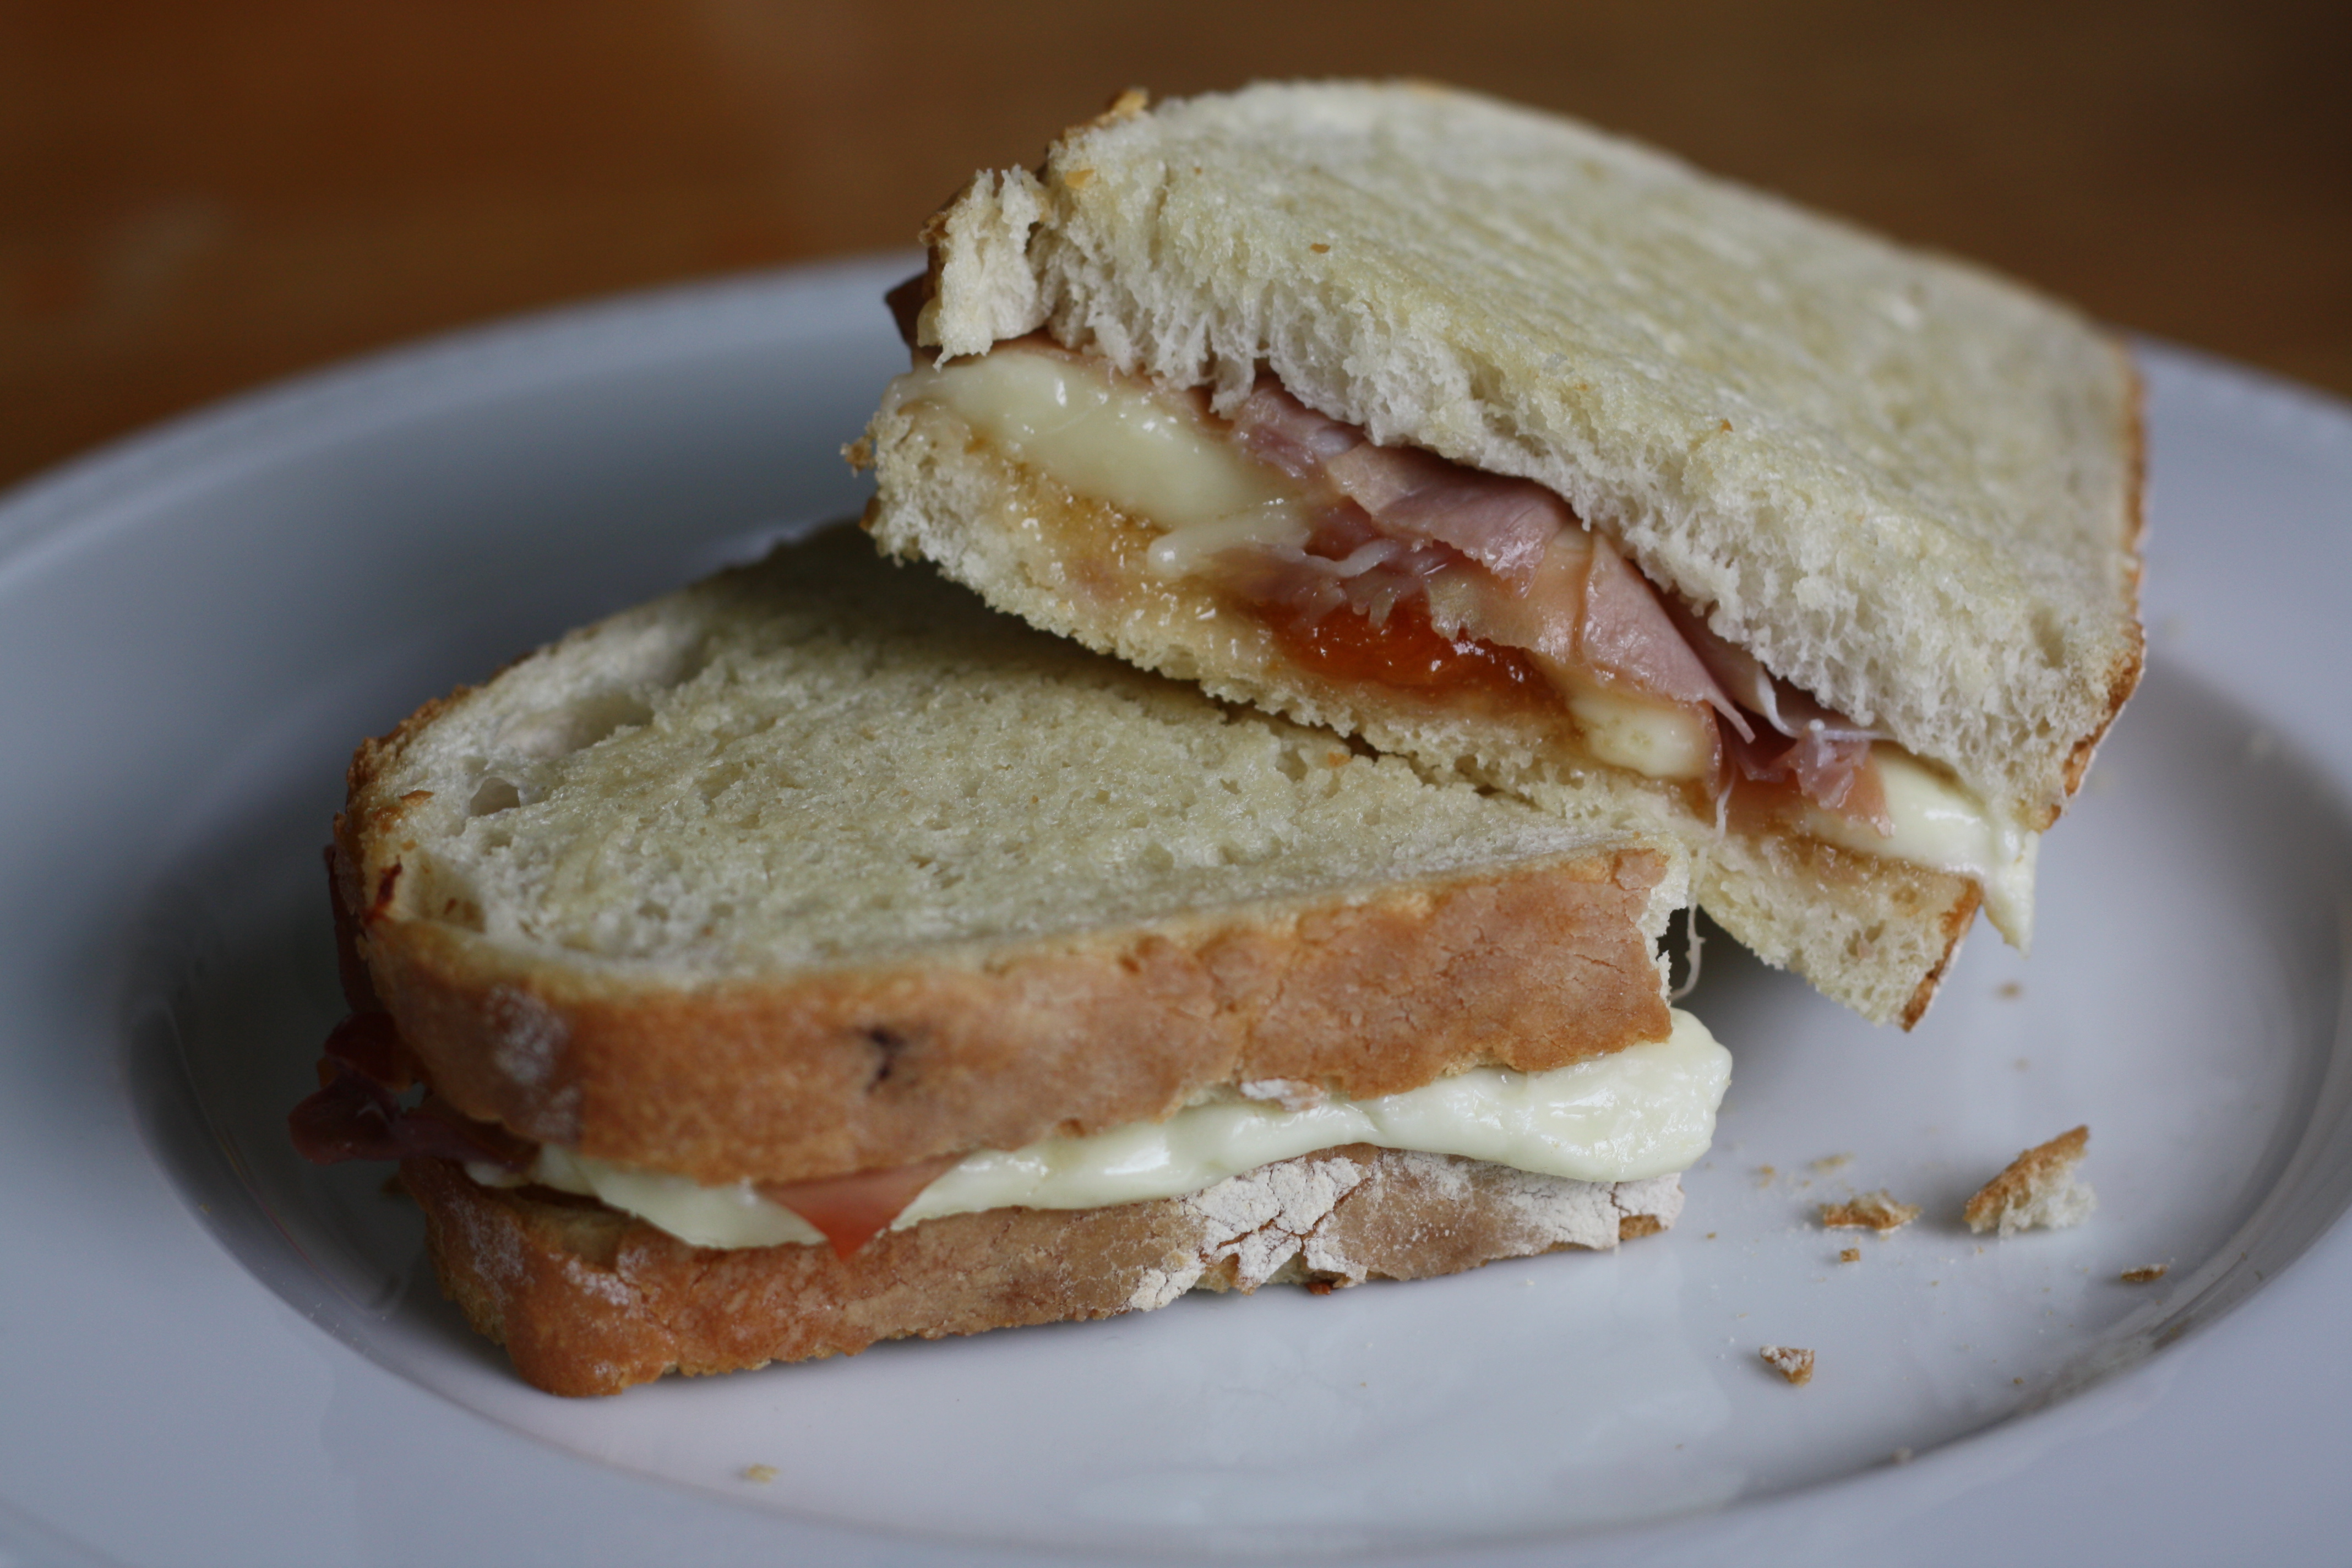
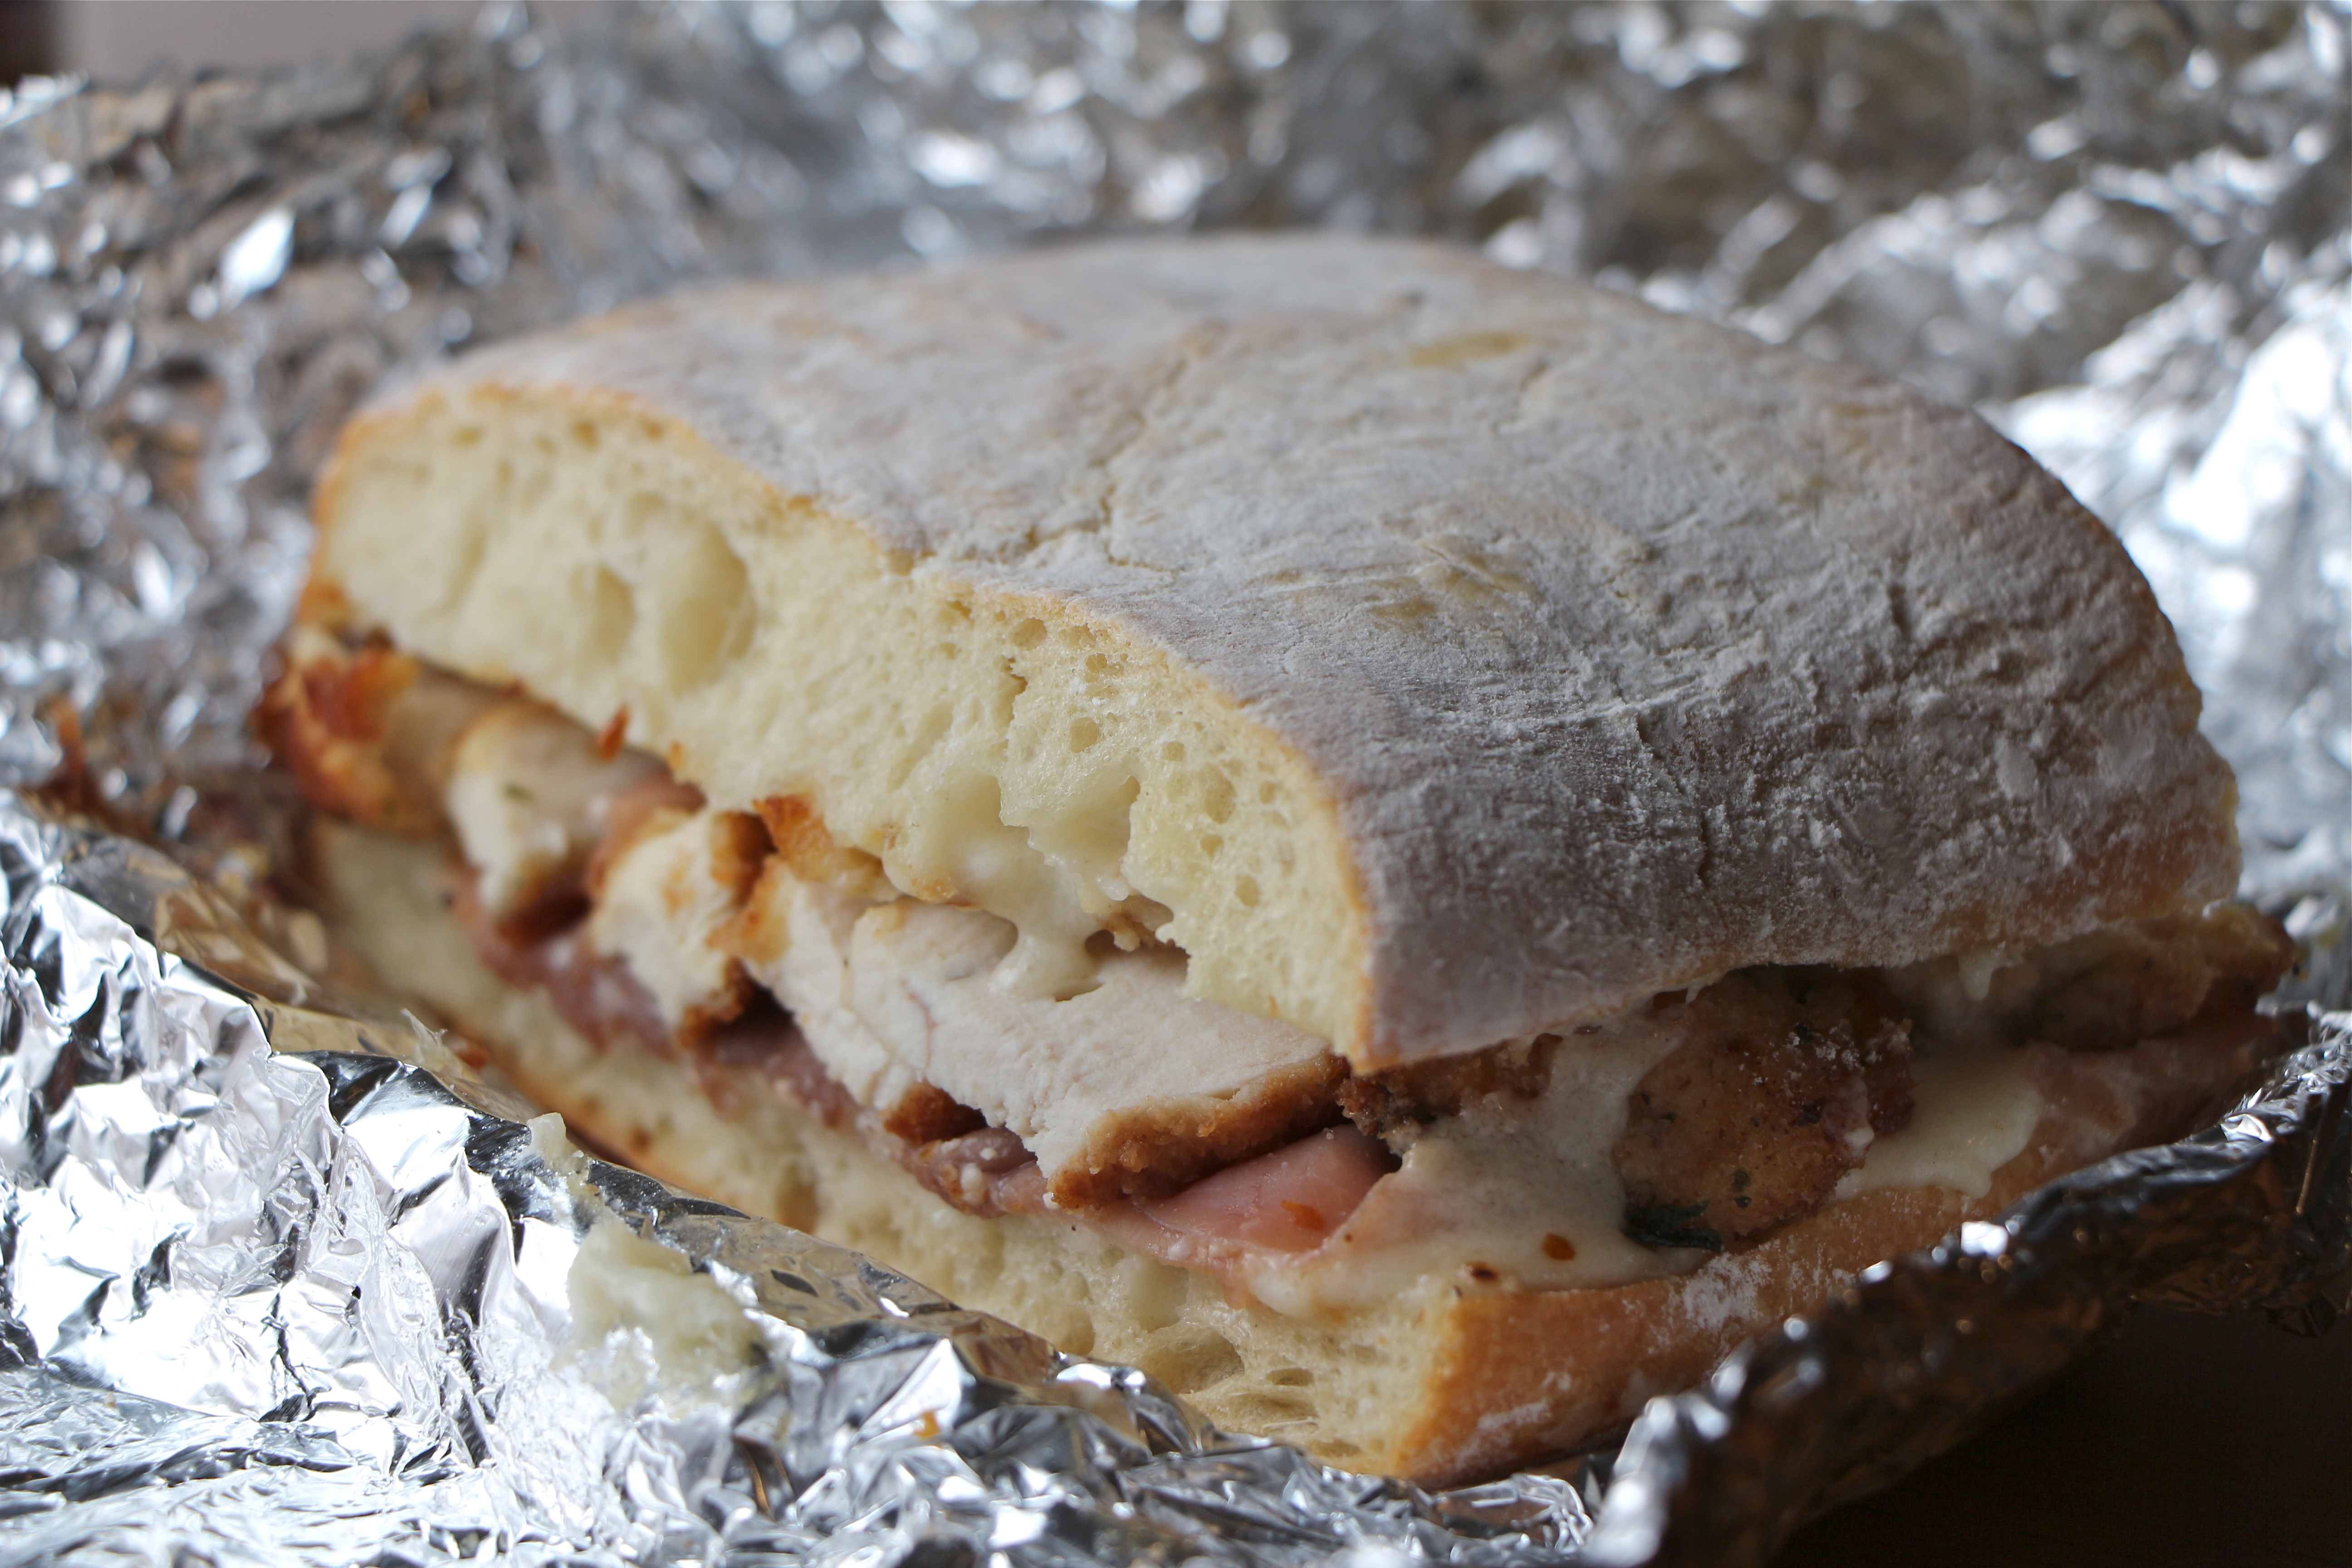
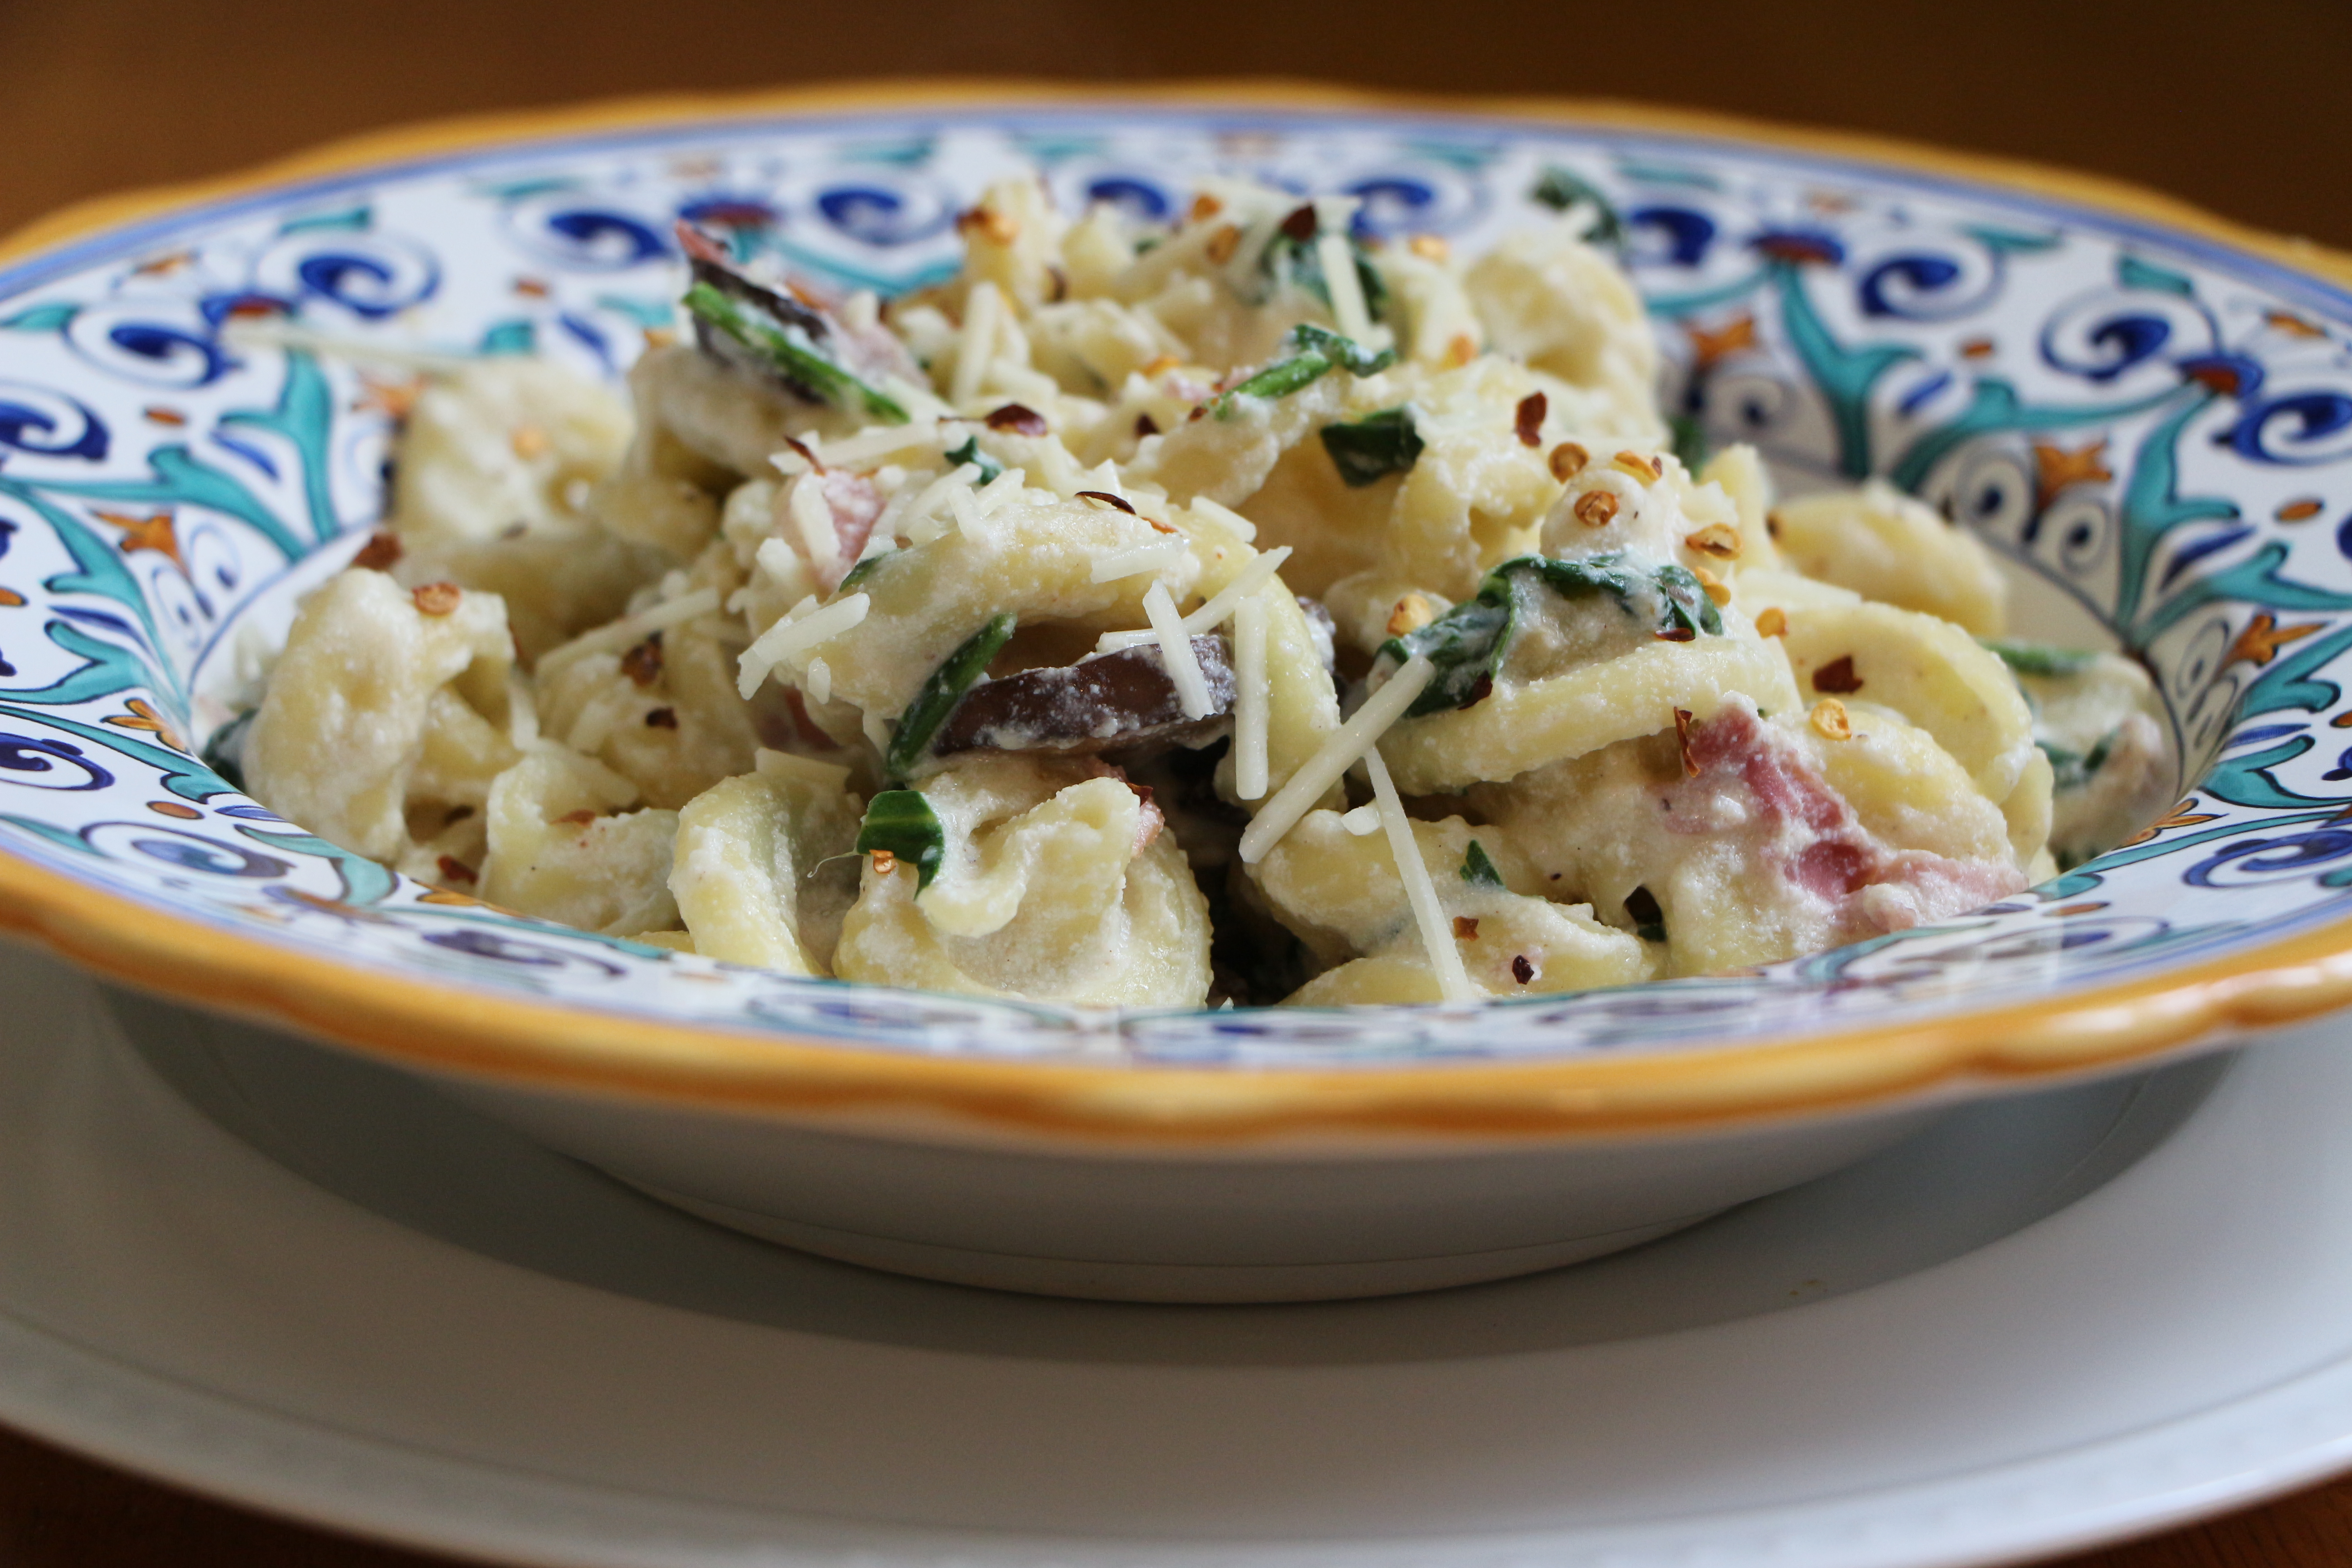
Roasting veggies brings out their natural, delicious sweetness. Make a huge batch of roasted veggies for sandwiches, omelets, and pasta. And throw some in this fantastic quiche the whole family will enjoy!

Roasted Vegetable and Goat Cheese Quiche

Ingredients

  • 1 deep-dish pie crust, frozen or homemade
  • 1 1/4 cup roasted vegetables*
  • 2 ounces goat cheese, crumbled
  • 5 eggs
  • 1 cup milk
  • Salt and pepper

Directions

*To roast the vegetables: Chop any combination of vegetables into small pieces. Onions, peppers, mushrooms, eggplant, squash, asparagus, carrots, brussell sprouts, leeks, or zucchini would all be delicious. (I used asparagus, yellow squash, baby eggplant, red onion, and mushrooms.) Toss the veggies with a bit of olive oil, minced garlic, rosemary, salt, and pepper. Arrange in a thin layer on a baking sheet. Bake for 40-45 minutes in a 375 degrees oven, stirring every 10-15 minutes.

To prepare the quiche: Preheat oven to 375 degrees. (If using a frozen pie crust, allow it to thaw in the fridge for 20-30 minutes before using.) Line pie crust with a piece of foil.  Fill with dry beans.  Bake in oven for 15 minutes.  Remove foil and beans.  Return to oven for another 5 minutes. (You can save the dried beans to reuse as pie weights.)

Scatter the roasted vegetables in an even layer in the prepared pie crust. Sprinkle with the goat cheese. Whisk together the eggs, milk, salt, and pepper. Pour over the veggies and goat cheese, being careful not to overfill the crust.

Place the pie shell on a baking sheet. Bake on the bottom rack for 35-45 minutes, until the filling has set in the middle. (You’ll know because it won’t wiggle anymore.)

Allow it to cool slightly before serving.  Serve with a side of spring greens or baby spinach with balsamic vinaigrette.

Quiche will keep well in the fridge for a couple days.  You can reheat it in a 200 degree oven until warm.

Sausage, Biscuit, and Gravy Casserole

Posted on
Don’t you just love a good breakfast casserole? Something savory, made with eggs and cheese or maybe something sweet, like a French toast casserole, oozing with cinnamon and syrup? There’s just something so satisfying in its completeness.
For some incomprehensible reason, I’d never even heard of breakfast casseroles until well into my adulthood. It just wasn’t something my family ever made. My first experience with a breakfast casserole was at a monthly workplace breakfast. An unknown casserole sat on the table alongside the tray of bagels and bowl of fruit salad. One scoop of this casserole contained bread, eggs, sausage, peppers, and cheese. I thought, What brilliant genius created this complete breakfast in a baking dish? The following month, someone different made something nearly identical. My workplace was clearly dripping with geniuses. And the month after that, someone else made it again. Seriously, Mensa should send an evaluation team to this place.
Over the years since, I’ve enjoyed numerous breakfast casseroles from various coworkers, friends, and family members. It seems that everyone, except for me, was privy to this genius breakfast casserole idea. And I’m pretty sure that everyone is using the same secret recipe, for every one of these casseroles has been nearly identical (and equally delicious).
Recently, I fell upon a different version of a breakfast casserole that sounded too good to resist; a casserole of eggs with sausage, biscuits, and gravy. Ummm…can you say comfort food?? I’ve made this casserole twice now and it does not disappoint. In fact, my brother-in-law’s response to his first bite was something to the effect of, If I wasn’t already married to your sister, I’d marry this casserole. I’d venture to say that he enjoyed it.
I can not take credit for this recipe, nor can I cite the original creator. It’s one of those recipes which is all over the internet in a hundred variations. Perhaps you’ve already enjoyed something like this, but just in case you haven’t, I needed to share it with you. Make it for breakfast, brunch, or breakfast for dinner. Share it with your coworkers, friends, and family. You’ll be happy you did!
***
Sausage, Biscuit, and Gravy Casserole
***
Ingredients
  • 8 large buttermilk biscuits, frozen or refrigerated
  • 1 pound bulk breakfast sausage (without casings)
  • 8 eggs
  • 1 envelope country gravy mix
  • 2 cups milk
  • 2 cups cheddar cheese, shredded
Directions

Bake the biscuits according to package directions, using the lower end of the recommended cooking time so they do not overcook. When cool enough to handle, cut the biscuits in half to create a top and a bottom. Set aside.

Brown the sausage in a skillet over medium heat, until fully cooked. Use the edge of a spoon to break the sausage into small pieces as it cooks.

Spray a 13×9 inch baking dish with cooking spray. Line the bottom of the baking dish with the bottom halves of the biscuits. Scatter the cooked sausage on top of the biscuits. Sprinkle about 1 1/2 cups of the cheese over the sausage.

In a large bowl, whisk together the gravy mix, milk, and eggs, until well combined. Pour the mixture into the baking dish.

Arrange the top halves of the biscuits over the eggs. Lightly press the biscuits into the egg mixture.

If desired, cover and refrigerate the mixture for a few hours or overnight.

Bake in a 350 degrees oven for 50-55 minutes. Sprinkle the remaining cheese on top of the biscuits during the last 5 minutes of cooking time. Allow to rest for 5 minutes before serving.

Chorizo and Asparagus in a Deconstructed Hollandaise

Posted on

I love eggs. I love ’em boiled, fried, scrambled, or poached. I love ’em with hot sauce or just a touch of salt and pepper. I love them stuffed as cheesy omelets or served on top of a huge pile of corned beef hash. Deviled eggs, egg salad, and potato salad with chunks of chopped boiled eggs warm my heart. And I go gaga for bacon, egg, and cheese bagel sandwiches, most especially when they come from any bagel shop in NYC.

I love eggs. I love a slightly runny yolk with a thoroughly cooked white. I anxiously await the burst of the yolk between two halves of an English muffin and find particular pleasure in wiping up the drippings with a corner of bread. I love the little bits of scrambled egg which are tossed in fried rice. Oh, and quiche…I love quiche. Egg pie, perfectly genius. And don’t even get me started on Eggs Benedict! Oh, incredible,edible egg…you make my heart swoon!

Of all the ways I love eggs, there is nothing I love more than finding an egg in an unexpected place; in the middle of a pizza, on a burger, or set atop a mound of crispy fries. Or how about gracing a pile of perfectly roasted asparagus??

I like to think of this dish as asparagus in a deconstructed hollandaise sauce. Asparagus and hollandaise sauce are a classic pairing. Hollandaise sauce is traditionally made by creating an emulsion of egg yolks, lemon juice, and butter. A dash of salt and sprinkle of cayenne pepper complete the sauce’s seasonings. It’s a rich, buttery sauce which has a tendency to be a bit finicky to prepare. (Click here to see my step by step photo guide on how to make Hollandaise sauce.)

Today’s dish combines all the elements of asparagus with a classic hollandaise sauce, without the fuss. We’ll fry our eggs sunny-side up in a generous amount of butter, leaving the yolks smooth and runny for optimal dippability. Then, we’ll set the eggs atop piles of roasted asparagus, drizzled with a touch of fresh lemon juice. Slices of spicy chorizo sausage complete the dish.

Chorizo with Asparagus and a Deconstructed Hollandaise

Ingredients

  • 2 smoked chorizo sausages
  • 1 large bunch of asparagus
  • 1-2 tablespoons olive oil
  • Salt and pepper
  • 1 lemon
  • 1 tablespoon butter
  • 2 eggs

Directions

Preheat oven to 375 degrees.

Place the chorizo sausages in a baking dish and cook for 25-30 minutes, until thoroughly heated through. Slice the chorizo before serving.

Rinse the asparagus and trim off the tough end. (A little trick for determining how much to cut is to hold one asparagus spear by the ends and bend. The point where the asparagus snaps is generally a good place to trim off.) Toss the asparagus in a bit of olive oil and season with salt and pepper. Arrange the spears in a single layer on a baking sheet. Place them in the oven for the last 10-12 minutes of the sausage’s cooking time.

To cook the eggs, heat butter in a nonstick or cast iron pan over medium heat. Crack two eggs into the pan, being careful not to break the yolks. (If desired, you can first crack the eggs into a small bowl or ramekin to ensure that the yolk remains unbroken and then carefully transfer to the pan.) Cook for a few minutes, without flipping, until the whites are cooked, but the yolk remains runny. Season with a dash of salt.

To serve, arrange several asparagus on a plate. Drizzle with a squeeze of fresh lemon juice. Carefully place the fried egg on top of the asparagus and arrange the chorizo slices on the plate. Garnish with fresh lemon slices.

Serves 2


Chorizo and Potato Frittata

During a recent episode of Man v. Food, host Adam Richman visited the city of Syracuse, the city I call home. Though, admittedly, I don’t regularly watch Man v. Food, I recorded this episode, since I’d heard there would be a segment featuring one of my favorite places, Dinosaur BBQ. And there was. But the segment which really caught my attention featured a place I haven’t been to, called Mother’s Cupboard, home of the six pound frittata. You heard me right. Six. Pound. Frittata.

Now this frittata is not like any frittata I’ve ever seen. If I had to guess, I’d say that about 5.95 pounds of it is composed of the fillings; sausage, peppers, onions, pepperoni, and a full pound of potatoes. The entire pile of food is bound together with 4 scrambled eggs and served with 4 ends of Italian bread. Don’t get me wrong. I LOVE to eat and I have a very healthy appetite, but watching Adam Richman eat that entire mass of food turned my stomach just a bit. The small percentage of diners who do manage to eat the entire meal, as Mr. Richman did, get a T-shirt and their picture on the wall. I don’t think I’ll be attempting the challenge anytime soon, but it was sure fun to watch.

I like frittatas quite a bit and don’t make them nearly enough. Frittatas are an egg dish, similar to an omelet, filled with any combination of ingredients and typically finished in an oven. Once you’ve got the idea, the possibilities are infinite. They make a great breakfast, lunch, or dinner. They’re also perfect for using up leftover vegetables, cheese, or meat.

For my frittata, I made use of some chorizo I’ve been storing and a few potatoes I purchased for another meal. The potatoes get cooked with the chorizo and a bit of chopped onion. As the chorizo cooks, it releases its tasty flavor to coat the potatoes. Once the potatoes are tender, the egg mixture gets poured over the fillings, cooked for a few minutes on the stovetop (try not to burn the bottom like I did), then placed in the oven to finish. A bit of melty Fontina cheese adds the finishing touch.

Chorizo and Potato Frittata

Ingredients

  • 4 Baby Red Potatoes, sliced thin
  • 1/2 small Onion, diced
  • 1/3 cup Spanish Chorizo, chopped
  • 6 Eggs
  • 1/3 cup Milk
  • Salt and Pepper
  • Fresh Parsley
  • 1/3 cup Fontina Cheese, shredded

Directions

Preheat oven to 425 degrees. Spray an oven-proof skillet with cooking spray. Heat the pan over medium heat. Add the chorizo, potatoes, and onion. Cook for about 10 minutes, stirring frequently, until the potatoes are tender. In a bowl, whisk together the eggs and milk. Season with salt, pepper, and fresh parsley. Once the potatoes are tender, pour the egg mixture into the pan. Cook for a couple minutes until the eggs appear cooked around the edges. Sprinkle the fontina cheese over the egg mixture and place the pan in the oven.  Cook for 10-15 minutes until the eggs are completely cooked through. The top will appear golden brown and the center should look a bit puffy.

Serves 4

Brunch – It’s the meal that comes with a Mimosa

Posted on

There’s breakfast, lunch, and dinner. And then there’s BRUNCH, the meal that comes with a Mimosa. Sign me up for that one! I do love a good, hearty brunch! Aside from enjoying my darling breakfast at lunch time, brunch usually means good times with good friends and family.

Yesterday, we hosted our first Brunch to BBQ party. And it was a fantastic success, though we never actually fired up the grill. We started with a wonderful brunch and several Mimosas. Then, we lied around on the living room floor until we felt like we could move again, watched a bit of the World Cup and then headed outside for a few games of Polish Horseshoes. My sister whipped up a batch of margaritas and the festivities continued. Later in the day, we enjoyed dinner and then relaxed in the backyard until it was time to sleep. A great day!

Here are a few details on the brunch…

Eggs Benedict

Eggs Benedict

Ingredients

Directions

Preheat oven to 250 degrees. Toast English muffins in a toaster. Place on a baking sheet in the oven to keep warm while you assemble the other components. In a skillet over medium high heat, cook each slice of Canadian Bacon for a minute or two on each side, until it is hot and slightly browned. Place one slice on each English muffin in the oven to keep warm. Poach the eggs, according to the procedure shown here. Hold the eggs in the cold water bath while you prepare the hollandaise sauce (Recipe here). Prepare the hollandaise sauce and keep it warm above a bowl of warm water. Reheat the eggs by gently placing them in a pot of barely simmering water for about a minute. Remove the eggs and dry on a paper towel. Place one egg on each English Muffin. Top with a spoonful of hollandaise sauce. Serve immediately.  Serves 4


*As a little variation, use smoked salmon in place of the Canadian Bacon. Just don’t cook the salmon or put it in the oven!

Salmon Eggs Benedict

Brunchy Beverages

Brunch and Mimosas go hand in hand. Bellinis are another brunchilicious option. Both Mimosas and Bellinis are champagne cocktails. Mimosas mix orange juice with champagne while Bellinis traditionally combine champagne with peach nectar. About 2 ounces of fruit to 4 ounces of champagne should do the trick. Substitute other fruit nectars to make your own variation. For a non-alcoholic option, use ginger ale or sparking cider instead of champagne.

Mango Bellini

Homemade Cream Cheese with Bagels

Make your own flavored cream cheese by softening cream cheese and adding your own flavors. For today’s brunch, I made scallion cream cheese by mixing in a bunch of chopped green onions and an olive cream cheese using a mix of chopped olives. Sliced Spanish olives with pimento would work great too! After you stir in your flavoring, put the cream cheese back in the refrigerator to cool before serving. A few other ideas for homemade cream cheese flavors: Smoked Salmon, Strawberry, Veggie, Blueberry, Honey-Nut, Roasted Garlic, Sun-dried Tomato, Maple, Cinnamon Apple, Cherry Almond, Spicy Pepper.

Homemade Cream Cheese

Breakfast Pizza

Breakfast Pizza

My sister treated us to her breakfast pizza, which as she explains, is based off of a breakfast pizza she saw offered at a Hess gas station. Imagine my surprise! Basing a dish off of something you saw at a gas station?? I suppose food inspiration can come from anywhere! I may base my next Beef Wellington off of Hess’ food offerings. All kidding aside, this pizza is delicious. It’s easy to put together and makes a great dish for guests.

Ingredients

  • 1 Prepared Pizza Crust (my sister uses a whole wheat crust)
  • 1/2 pound Bacon
  • 1 1/4 cup Mozzarella Cheese, shredded
  • 6 Eggs
  • 1/4 cup Milk
  • 1/4 cup Cheddar, shredded
  • Salt and Pepper

Directions

Preheat oven to 450 degrees. In a skillet, cook bacon until crispy. Allow bacon to drain. Then, crumble it into small pieces. Reserve bacon grease. Whisk the eggs together with the milk. Season with a bit of salt and pepper and then cook in a pan until scrambled. Set aside. Brush the pizza crust with a bit of the bacon grease. Sprinkle about a cup of the mozzarella cheese over the crust. Top with the scrambled eggs and bacon. Sprinkle the remaining mozzarella and the cheddar cheese on top. Season with a bit of pepper. Bake for about 8-10 minutes.

Breakfast Casserole

Sarah's Breakfast Casserole

A good friend brought along a breakfast casserole, a delicious mix of eggs, cheese, bread, and sausage. She explained that ever since she enjoyed this dish at a friend’s house, it’s been her go-to breakfast recipe. It’s a great all-in-one breakfast dish that’s perfect for a crowd. My mother in law makes a similar casserole, but she uses peppers and onions too. They’re both delicious. I’ll have to get the recipes to share with you soon!

Part 1 of our day was perfect!  The food, the drinks, and the company were all amazing.

Round 1 Results: Food - 0 The Gourmand Mom - 1

To be continued…

Quiche Lorraine

Posted on

I’ve got a fridge full of leftover cheese that I don’t want to waste, including a large tub of shredded gruyere.  One of my favorite ways to use gruyere is in Quiche Lorraine. Doesn’t get much better than gruyere and bacon in a pie crust! I like to add sauteed onions, but if you’re not an onion fan, leave them out. Quiche makes a delicious breakfast, lunch, or dinner meal! It reheats nicely in the oven, making it a convenient dish to prepare ahead of time.

Today’s schedule does not include time for making a pie crust, so I’ll be using a frozen pastry shell. But, if you’re feeling sassy, go ahead and whip up your own buttery pie crust for this recipe!

Quiche Lorraine

Quiche Lorraine

Ingredients

  • 1 pie crust, homemade or frozen
  • 1 tablespoon butter
  • 8 oz. bacon, chopped
  • 1 medium onion, chopped
  • 3/4 cup gruyere cheese, shredded
  • 5 eggs
  • 1 cup half and half
  • 2 tablespoons chives, chopped
  • Salt and pepper
  • Pinch of ground nutmeg

Directions

Preheat oven to 375 degrees. If using a frozen pie crust, allow it to thaw in the fridge for 20-30 minutes before using. Line pie crust with a piece of foil.  Fill with dry beans.  Bake in oven for 15 minutes.  Remove foil and beans.  Return to oven for another 5 minutes. (You can save the dried beans to reuse as pie weights.)

In a saute pan, melt 1 tablespoon butter.  Saute the chopped bacon over medium heat until it is cooked, about 10 minutes. Using a slotted spoon, remove bacon from the pan and place it over a double layer of paper towels to remove the excess grease. Sprinkle the bacon into the pie shell. Add onions to the bacon grease remaining in the pan.  Cook onions for about 5 minutes until they are soft and slightly caramelized. Drain over a paper towel. Sprinkle the onions over the bacon.  Distribute the gruyere evenly over the bacon and onions.

In a bowl, whisk together the eggs, half and half, and seasonings.  Pour over the bacon, onions, and cheese, being careful not to overfill.

Place the pie shell on a baking sheet. Bake on the bottom rack for 35-45 minutes, until the filling has set in the middle. (You’ll know because it won’t wiggle anymore.)

Allow it to cool slightly before serving.  Serve with a side of spring greens and balsamic vinaigrette.

Quiche will keep well in the fridge for a couple days.  You can reheat it in a 200 degree oven until warm.

Secrets of An Avon Beauty Boss

Achieving Beautiful Dreams with Avon

The Gourmand Mom

Good food, seasoned with a dash of life

%d bloggers like this: