Well, hello there! Long time, no see.

I hadn’t intended to abandon the blog for any length of time, but life sort of sucked me into its unpredictable time warp. Between the kids and appointments and work and all of the other business of being a family of five, the weeks just flew by. Oh, and I joined a local gym, which has a ‘Kids Korner’, that the kids actually love going to. Ninety bucks bought me up to two hours of time for myself, every day, forever. Best childcare deal out there, folks. I’ve rarely missed a day since I joined. The getting in shape aspect almost feels like the bonus of going, not the very purpose itself.
But, it’s come to my attention that one of my favorite holidays is rapidly approaching. So, I’ve pulled myself out of life’s time warp in order to bring you an appropriately Irish themed recipe. This is one for the grown-ups, as it’s chock full of caffeine and festively spiked with a bit of Irish Cream. Interestingly, it was my five year who inspired the whole ice cream idea, while I was pondering aloud about some Baileys twist on panna cotta or chocolate mousse. “It should be an ice cream,” he insisted. And with the approaching spring season peppering our days with warmer weather, he was right-on with that suggestion. I may need to reward him with a decaf, alcohol-free version of this recipe soon.
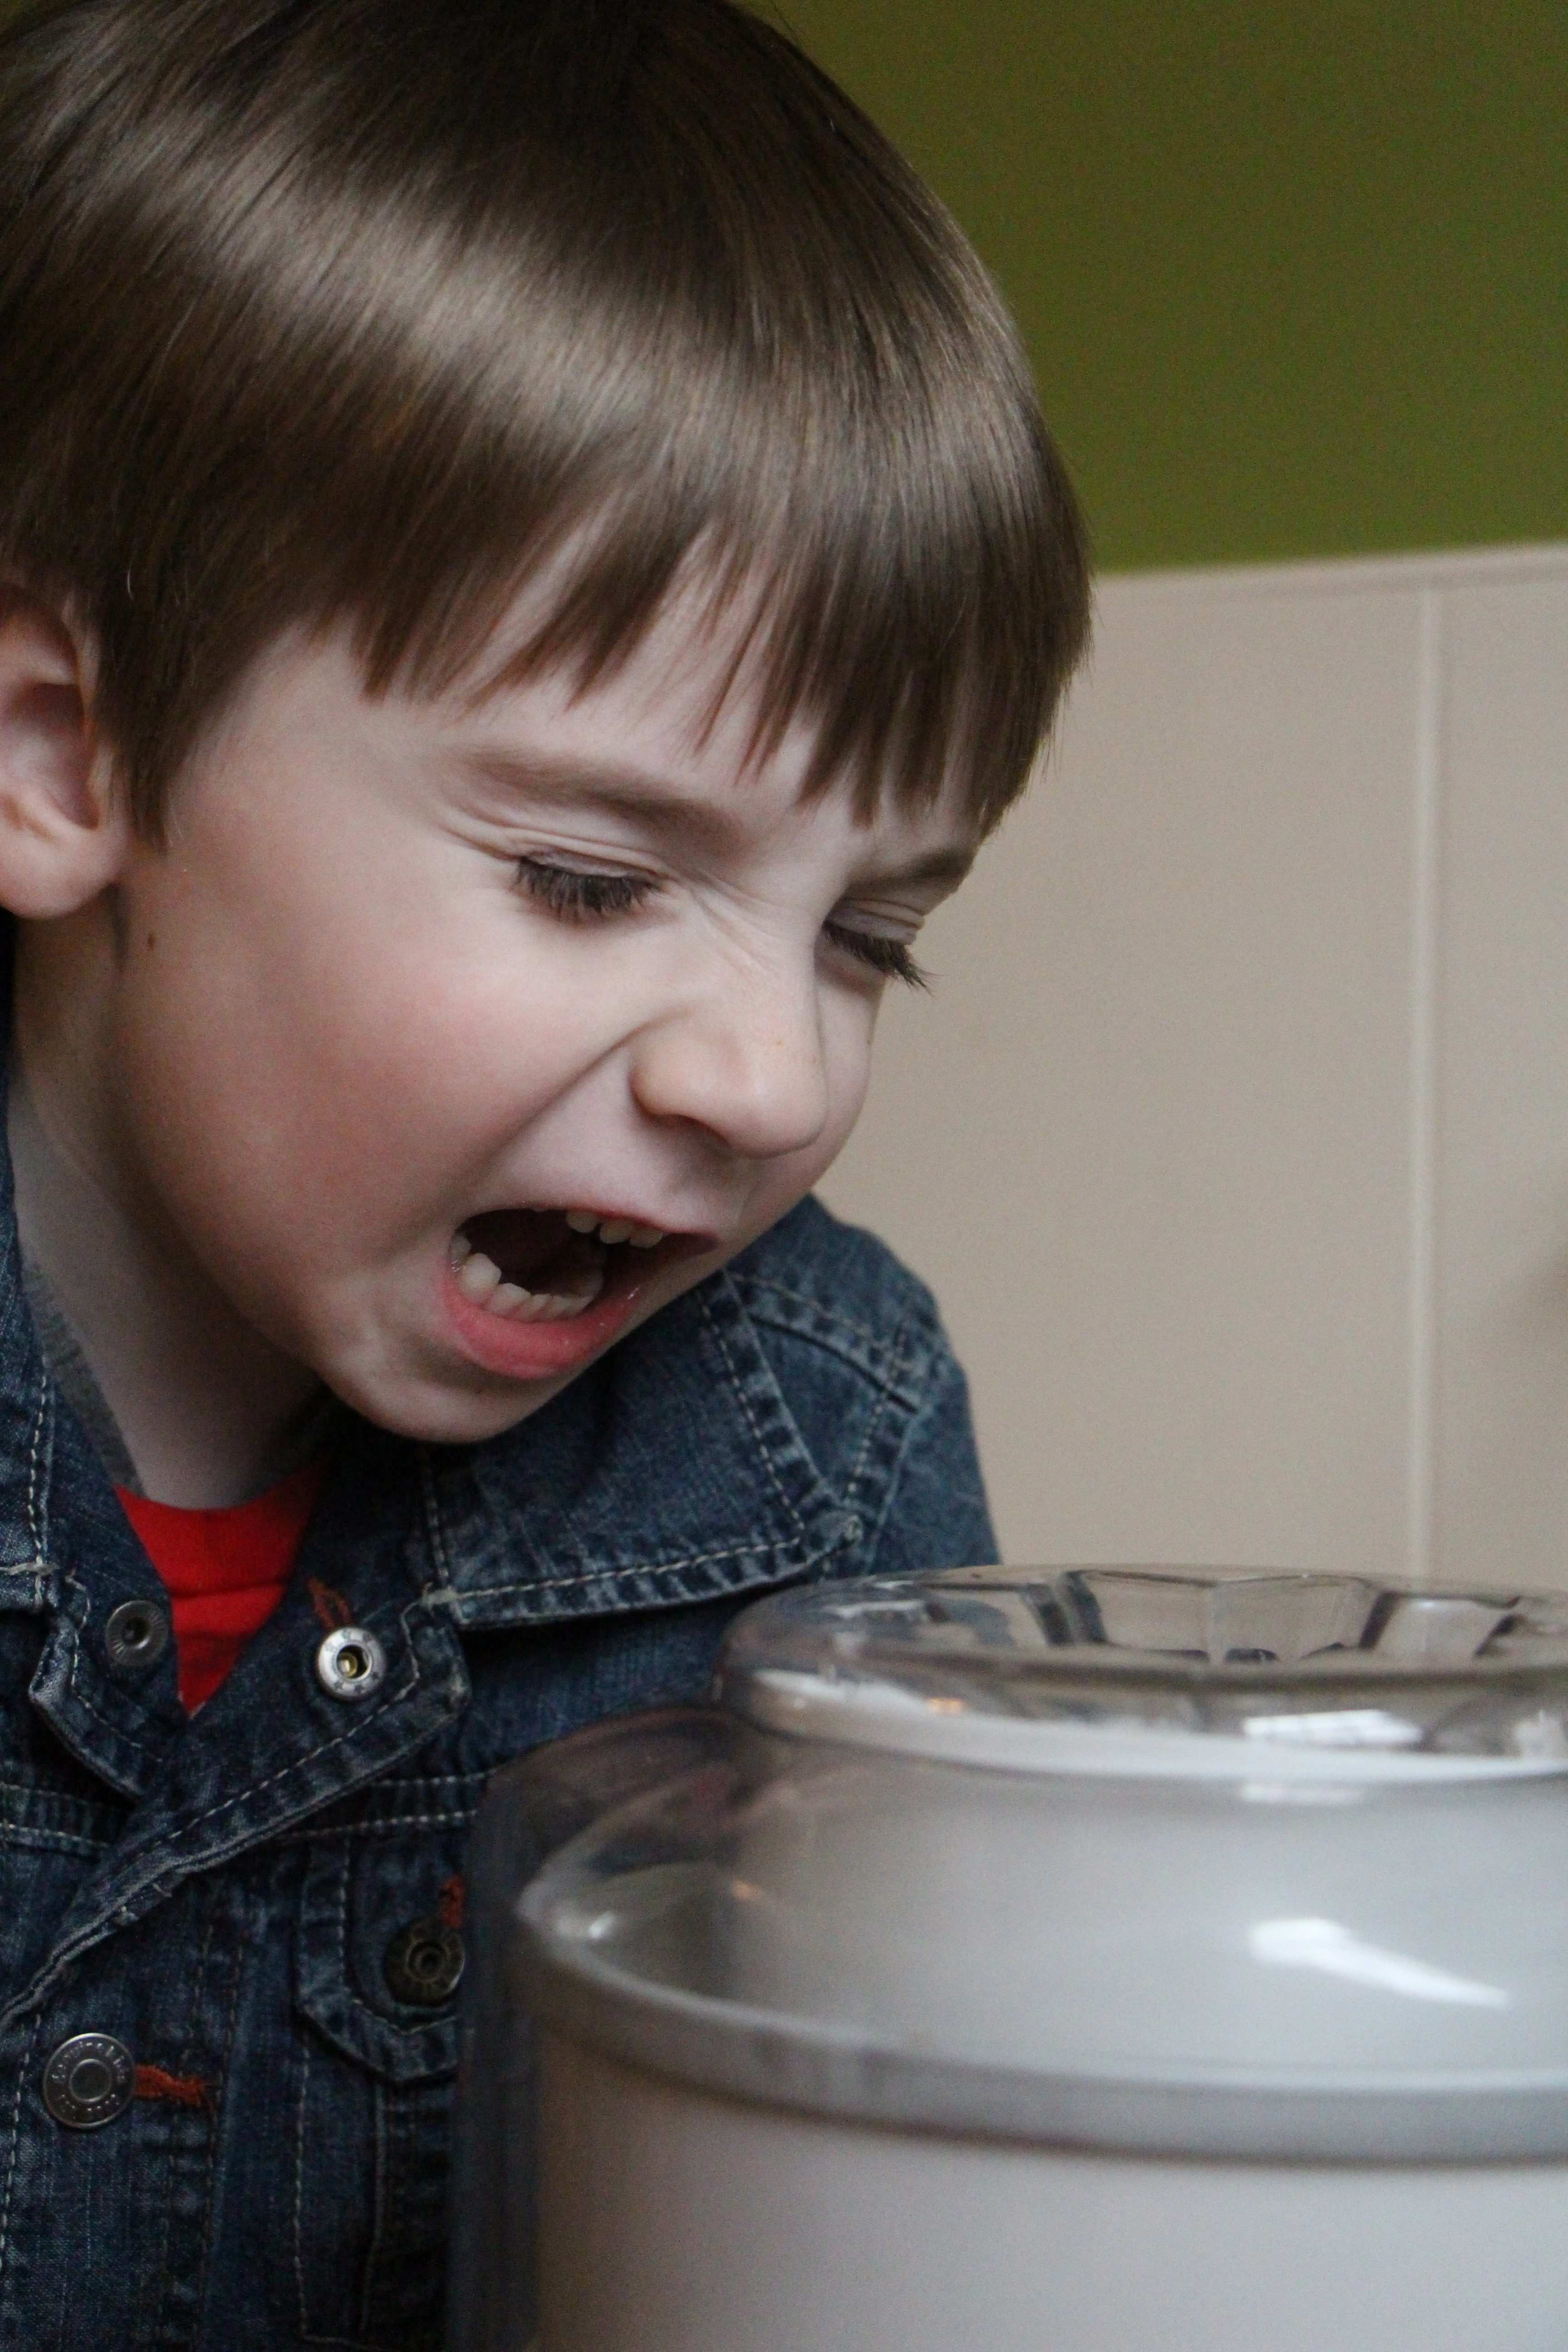
The look your child may make when you prepare an ice cream, just for grown-ups.
If you’re looking for some more traditional Irish ideas, like Corned Beef and Cabbage, Irish Soda Bread, Shepherd’s Pie or even a low-carb twist on Cottage Pie, check out last year’s St. Patty’s Day recipe round-up HERE.
Have fun and most importantly, be safe, in all of your St. Patty’s Day festivities!
Today’s Focus on Technique – The Difference Between Ice Cream and Frozen Custard
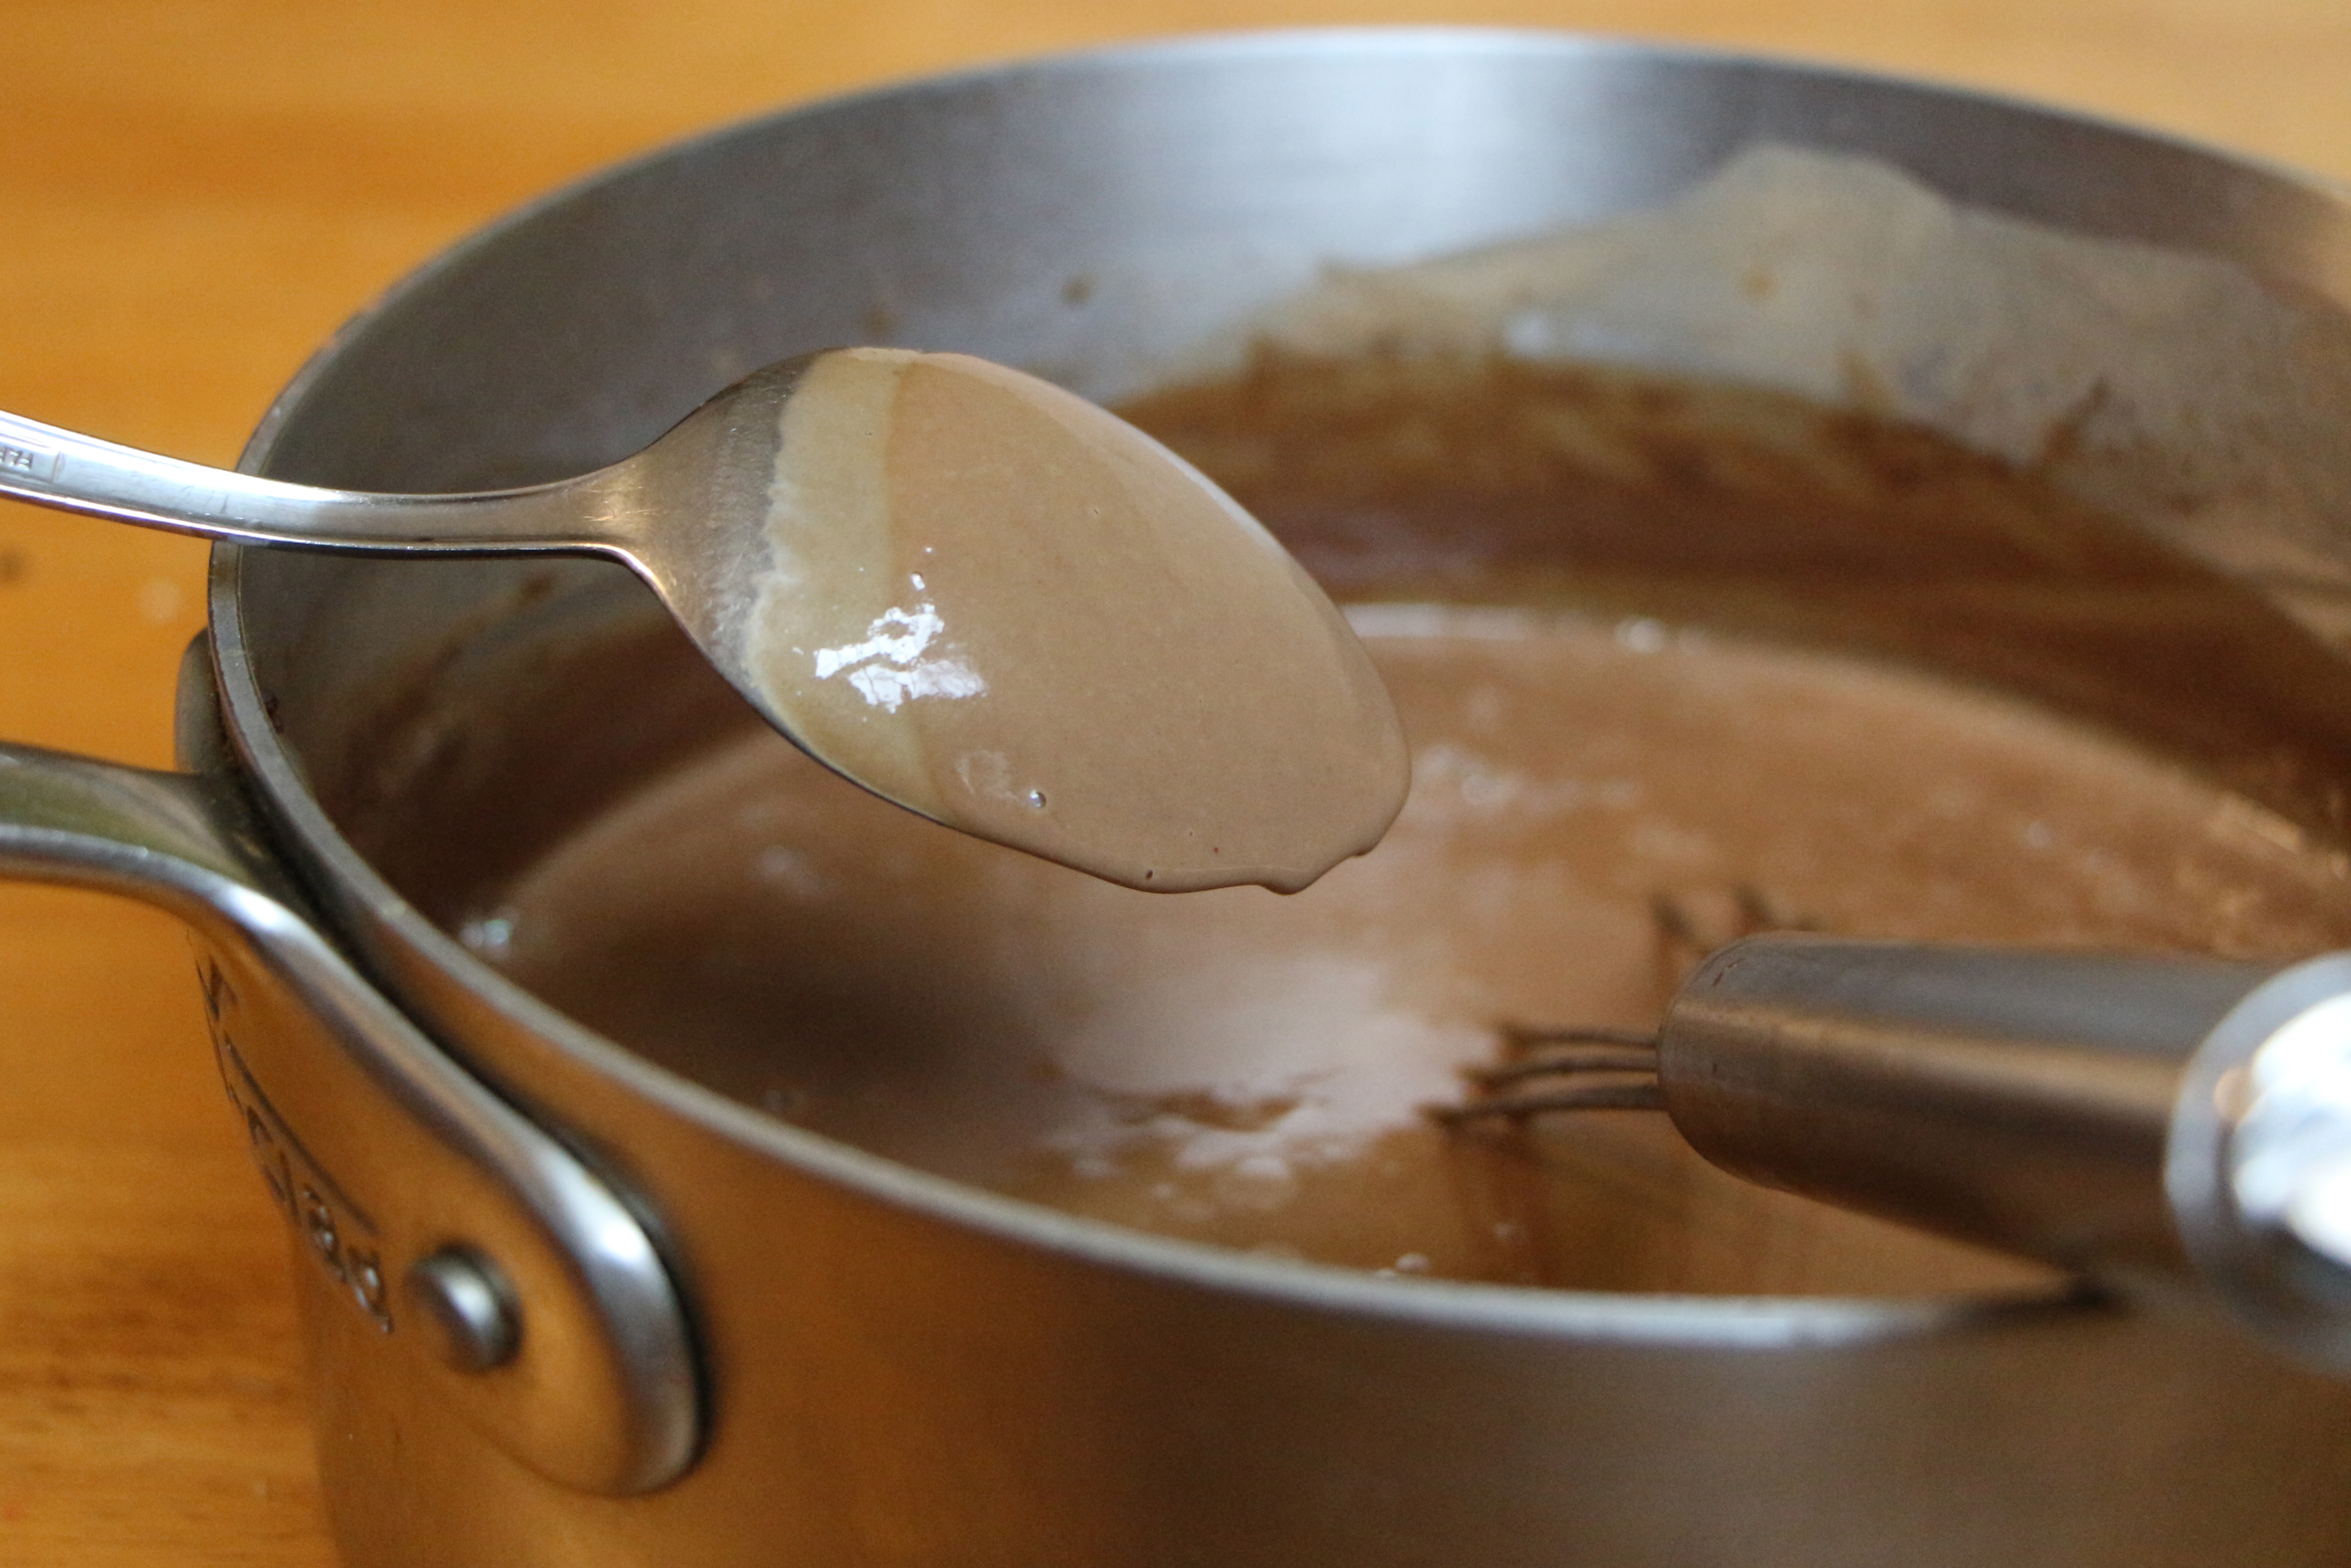
The main difference between ice cream and frozen custard (also known as French-style ice cream or French custard ice cream) is the addition of egg yolks. Technically, to be considered a frozen custard, it must contain at least 1.4% egg yolks by weight. The USDA has lengthy documents which define all of the characteristics of ice cream, frozen custard, gelato, sherbet and something called mellorine, but basically, the difference between ice cream and frozen custard comes down to the egg yolks. The egg yolks in a frozen custard add a rich, silky creaminess to the end result. When adding the egg yolks to the ice cream mixture, it is important to temper the eggs by very gradually adding the hot cream mixture to the yolks. This allows the temperature of the eggs to rise to meet the temperature of the hot cream mixture without scrambling the eggs. The egg mixture is then returned to the pan and gently heated until the eggs are cooked to a safe temperature. For more info on tempering eggs into hot liquids, click here. I haven’t calculated the percent weight of egg yolks in the following recipe, but I’d venture to say it falls technically in the family of frozen custards.
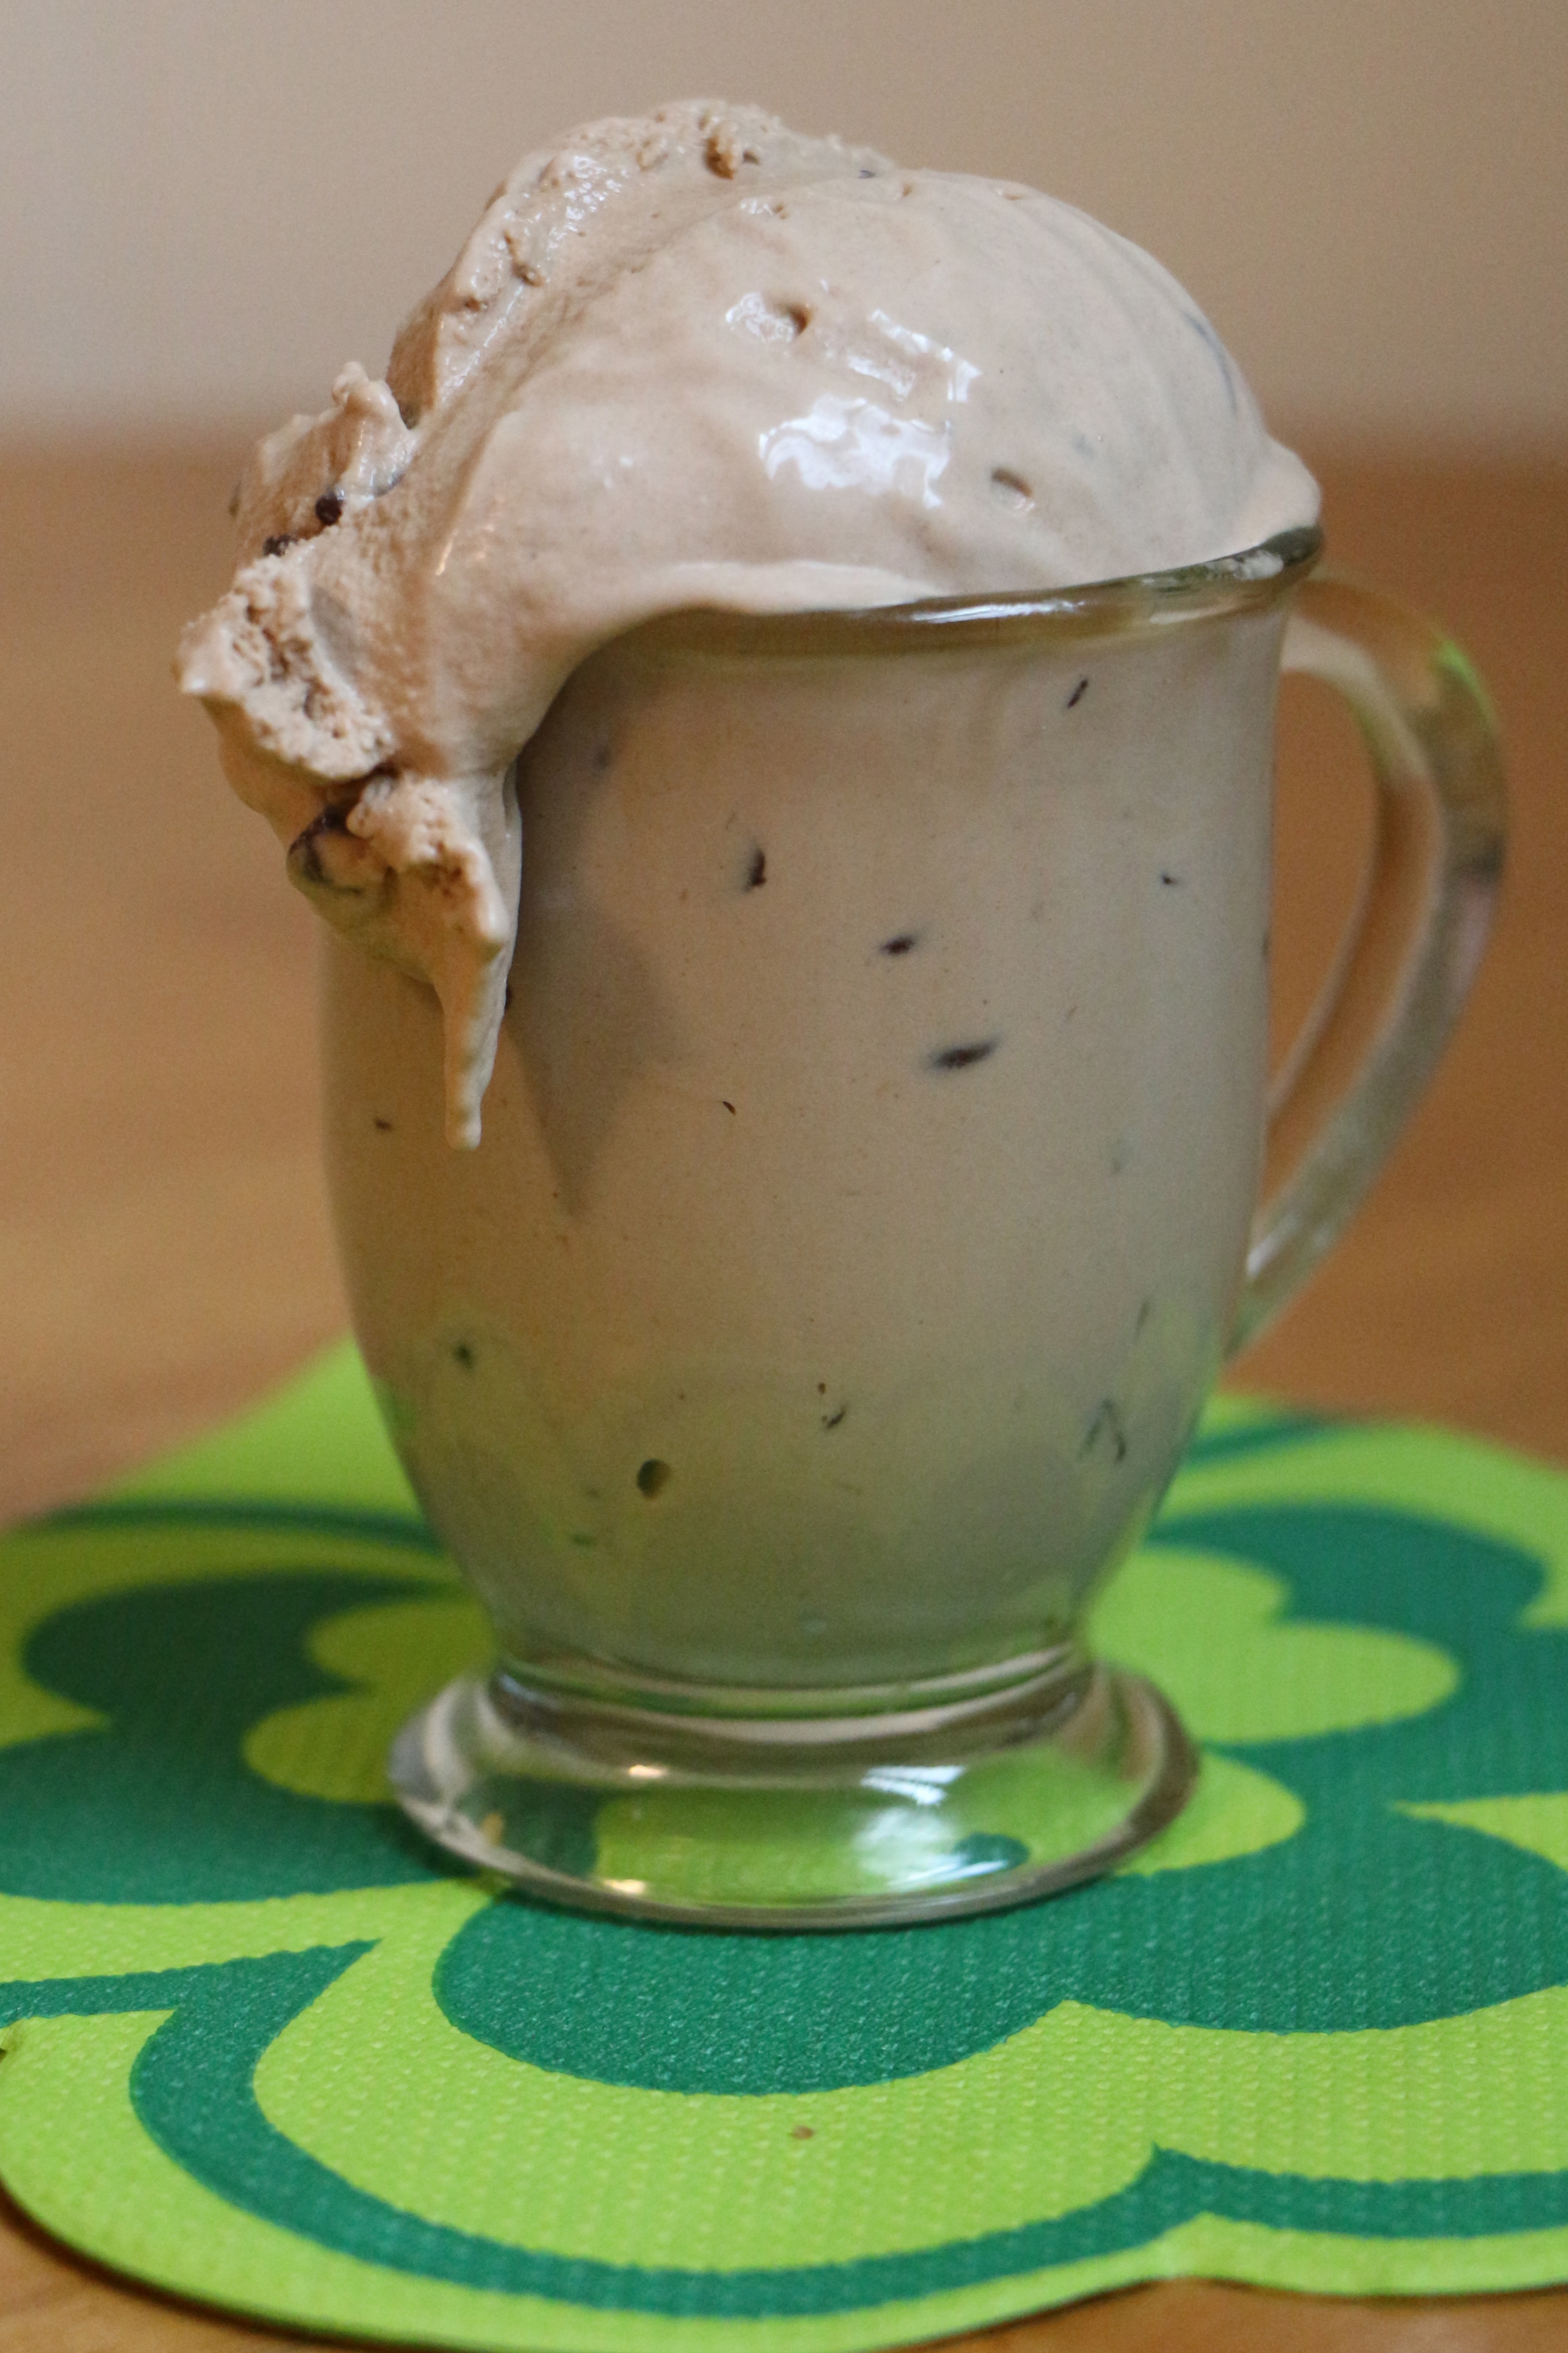
Irish Mocha Chip Ice Cream
Adapted from Emeril’s Coffee Ice Cream
Ingredients
- 1 1/2 cups heavy cream
- 1 1/2 cups whole milk
- 2/3 cup sugar
- 1 1/2 tablespoons instant coffee granules
- 1 1/2 tablespoons unsweetened cocoa powder
- 3-4 tablespoons Baileys Irish Cream*
- 4 egg yolks
- 2/3 cup mini chocolate chips
*TIP – When cooking with liquors or liqueurs that you don’t frequently use, see if your liquor store carries the mini bottles (like they have on airplanes), to avoid having leftovers go to waste.
Directions
Combine the cream, milk, sugar, coffee, and cocoa powder in a medium saucepan. Bring to a gentle boil over medium heat, stirring until sugar, coffee and cocoa are dissolved. Remove from the heat.
In a medium bowl, lightly beat the egg yolks with a fork. In a slow steady stream, gradually whisk about 1 cup of the hot mixture into the egg yolks. Then, gradually add the egg mixture to the remaining mixture in the pan. Cook the mixture over medium-low/low heat, stirring frequently, for 5-8 minutes, until it just begins to bubble. (You can use an instant read thermometer to check that the mixture is at least 170ºF.) Remove from the heat. Cool slightly at room temperature, then transfer to a bowl and cover with plastic wrap, pressing down against the surface to prevent a skin from forming. Refrigerate until completely chilled, about 2-3 hours. Stir in the Baileys Irish Cream and chocolate chips just before freezing in the ice cream maker.
Transfer the cooled mixture to your ice cream maker. Freeze according to your ice cream maker’s instructions. The ice cream will still be semi-soft (and lusciously creamy) coming out of the ice cream maker. It will harden a bit further after a few hours in the freezer.
*This recipe would make a perfectly delicious mocha chip ice cream without the Bailey’s. You could also use decaf instant coffee grounds if you’d prefer to skip the caffeine.